Build a Shaker Lap Desk – Part I
In this three-part series, learn how to build a beautiful Shaker lap desk tailor-made for today's laptop computers.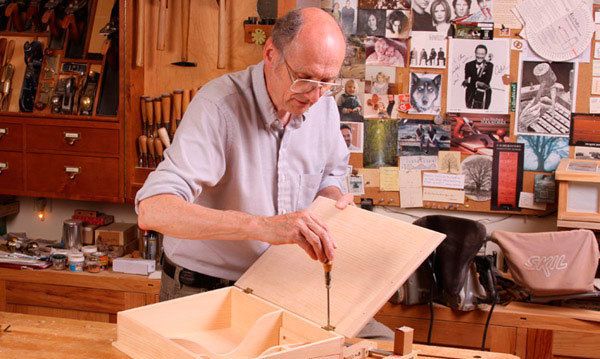
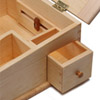
Designed to function as a miniature traveling office, the classic Shaker lap desk was indeed the laptop of its time. With room for paper, envelopes, pens, and a small inkwell drawer, similar designs—like the model used by Thomas Jefferson to write the Declaration of Independence—continue to draw attention for their precise joinery on a miniature scale, and harken back to an earlier era when pen and ink were king. This traditional lap desk can still be used for writing while sitting in an easy chair. Better yet, with the center divider removed, it can be used to store your laptop computer, cords, and even thumb and flash drives in the tiny inkwell drawer. For those in search of a weekend project to hone their joinery skills, this project offers a carcase of exposed dovetails, breadboard ends designed for the long haul, and plenty of small-scale details that come together to form a piece that’s sure to spark many a conversation.
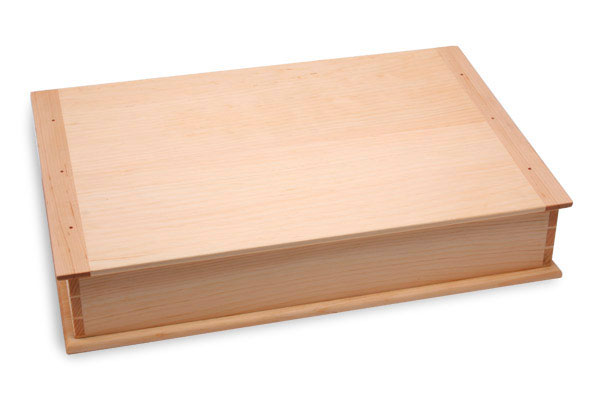 Built of pine like the original, the desk requires about 7 to 8 bd. ft. of lumber milled to 3/8-in. thickness. The tiny inkwell drawer, perhaps the most enjoyable aspect of this project, is constructed from 1/4-in. stock, and the top features hardwood breadboard ends secured with cherry dowels.
Dovetailed Carcase Hones Your Hand Tool Skills
Begin by tackling the 12-in. by 19-in. carcase. To make the desk more comfortable for writing—or typing—the top is set at a slant, with the back measuring in at 4 in. high and the front at 2-3/4 in. The two sides are cut to reflect this taper, beginning at 4 in. and tapering down to 2-3/4 in. at the front. Before proceeding to the dovetails, be sure to cut out a 2-1/2-in. by 3-in. opening to accommodate the inkwell drawer on the right side. Once I’ve cut the four sides to size, I dovetail the corners and then turn my attention to the four 3/8-in. dadoes in the interior, all of which are cut using a dado set at the tablesaw.
 |
|
Remember to cut out the small inkwell drawer opening on the carcase’s right-hand side before cutting your dovetails. |
Simple Bottom Made for Moisture
Once the carcase has been glued and sanded, I cut, profile, and attach the bottom. While it might seem almost too simple, the bottom of the lap desk is simply glued to the edge grain of the carcase. The one caveat for this procedure involves the wood species. The only native species stable enough to withstand 12 in. of cross-grain gluing is quartersawn white pine. As a result, even when making this desk out of cherry or any other hardwood, I still use quartersawn white pine for the bottom, cutting it flush with the sides, then hiding the edges with a 3/8-in. quarter-round cherry molding. While you could opt for a floating panel or frame-and-panel bottom, gluing the bottom directly to the carcase offers much better resistance against racking.
The bottom measures 12-3/4 in. by 19-3/4 in. and is adorned with a quarter-round profile routed into all four sides. Be sure to rout the end-grain sides first. Then come back and rout the two remaining edge-grain sides. Routing in this order, any blowout suffered while working the end grain profile will be resolved by the following edge-grain passes.
 |
|
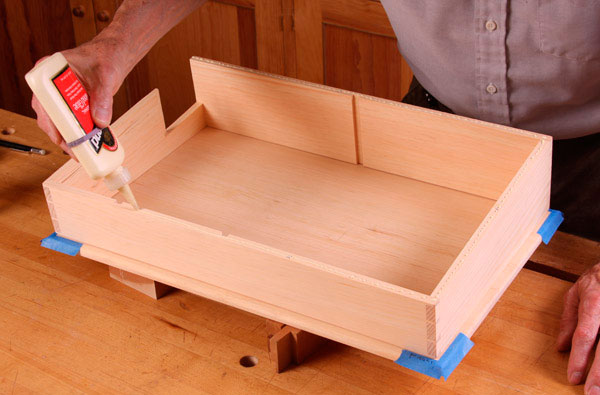
Use masking tape to denote where the carcase should align with the bottom and use glue sparingly. |
With the edge profile routed, it’s time to glue the bottom to the carcase. Apply a bead of glue to the bottom of the frame and use two spring clamps to hold it in place while checking the diagonal measurements for square. To make the clamping process easier, keep the desk elevated off the surface of your bench by slipping a couple of scraps beneath it. This makes it easier to slip on the clamps. Begin by adding a bar or cam clamp to the 4-in.-high back, with one jaw contacting the top of the carcase and the other clamping to the desk bottom. This keeps the desk secure while you continue to apply clamps around the frame’s perimeter.
 |
|
Use angled clamping cauls to evenly distribute pressure along the tapered sides when gluing on the desk’s bottom. |
A Dovetailed Divider
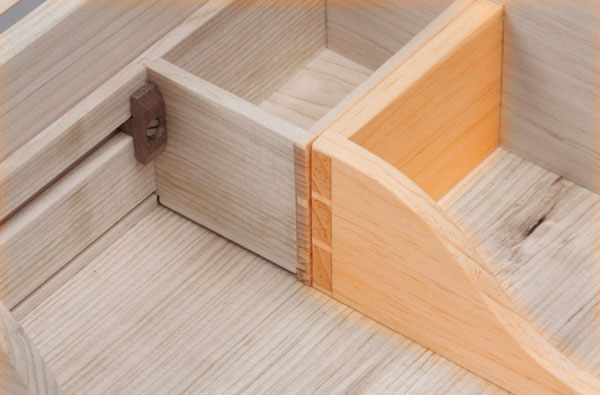
Next, I cut the 3/8-in.-thick dividers. In keeping with the utilitarian nature of this desk, the center divider is removable and features a sharp curve that allows for easier access to paper and other items. Since it’s removable, be sure to sand it just a bit thinner than its mating dadoes. This allows for a smoother fit. The small “L” shaped divider beside the drawer features the same sharp curve but incorporates a dovetailed joint at the L. Opposite the dovetailed corner, the divider’s rear wall is attached to the side of the carcase with a stopped dado.
 |
 |
|
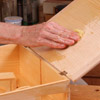
A bit of cautious sanding will ensure a snug, yet easy fit for the center divider. |
The small “L” shaped divider features a dovetail joint at its corner. |
Read the Entire Three-Part Series
 |
 |
CLICK HERE to download the hand-drawn project plan.






Comments
As of 1/1/17, the Part II and Part III links are bad, as well as the hand drawn project plan.
If anyone reads the comments, please fix the links.
I read every comment that comes in, or I try. After the website relaunch there are some links that didn't port over correctly. I don't know about them until someone tells me. I'll put this on the list.
As Martino23 mentioned the links are bad. I have noticed this on several of the projects. It makes it frustrating to use the website.
Links are still broken
Thought I got it the first time. Should be really fixed this time!
Log in or create an account to post a comment.
Sign up Log in