Build a Shaker Lap Desk – Part III
In the final installment of the Shaker Lap Desk series, learn how to build delicate breadboard ends.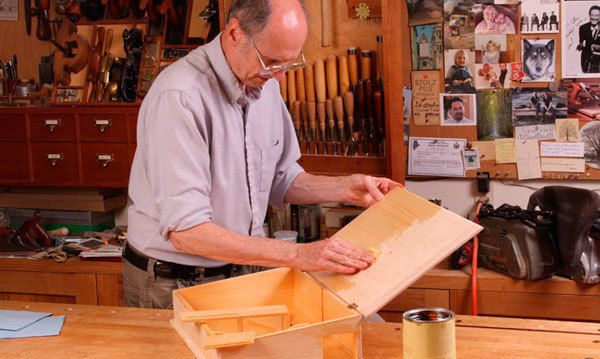
In part II of the Shaker Lap Desk project, I covered the basic layout and construction of the desk’s tiny inkwell drawer. For the third and final installment, let’s switch focus to the desk’s top and breadboard edges.
Beautiful Breadboard Ends
The methods used to create the breadboard ends in this small lap desk are no different from larger-scale projects. The pine top, which can be built from regular flatsawn stock milled to 3/8-in. thick, measures 12-3/8 in. wide by 18-3/4 in. long. Use a dado set on your tablesaw to cut 3/16-in. thick by 3/4-in. wide tongues on both ends of the top.
 |
|
Cut the tongues for the breadboard ends using a dado set on your tablesaw. |
Made of maple or another hardwood, the 3/8-in.-thick breadboard ends should be cut to a width of 1-1/4 in. The mortises which will later accept the tongues are carefully made using stop cuts at a tablesaw outfitted with a zero-clearance throat plate. With the blade set to make a 13/16-in.-deep cut, set your rip fence 3/32 in. from the blade. Mark where the front and back of the blade enters the throat plate, then clamp stops to the fence that will allow you to start and stop your cuts within 3/8 in. of either end. With the end of the bread board held firmly against the front stop, lower the stock onto the blade and continue to cut until the piece hits the back stop. Next, turn the stock side-for-side and repeat the procedure. This will yield you a 3/16-in. groove, 11-1/2-in. in length.
For an alternative method to make this cut, consider using a router table outfitted with a 1/8-in. straight-cutting bit. Attach two stop blocks to your fence and rout the groove in successive passes, raising the bit by 1/8-in. with each pass, until you’ve reached your maximum depth of 13/16 in.
 |
 |
|
Begin the cut–This delicate plunge cut requires two stop blocks on the rip fence, and great care. |
End the cut–As an alternative method, consider using your router table. |
Mirror Your Sawblade
For a perfect fit, you’ll need to account for the curved shape of the sawblade when mating the tongues to the breadboard ends. To do this, I simply trace the sawblade onto both ends of the tongues and cut out the profile using a coping saw. With the profiles cut, it’s simply a matter of fine-tuning the fit with a rabbet plane.
 |
|
For a perfect fit, trace the profile of your saw blade onto the tongues of your breadboard ends, then cut them out with a coping saw. |
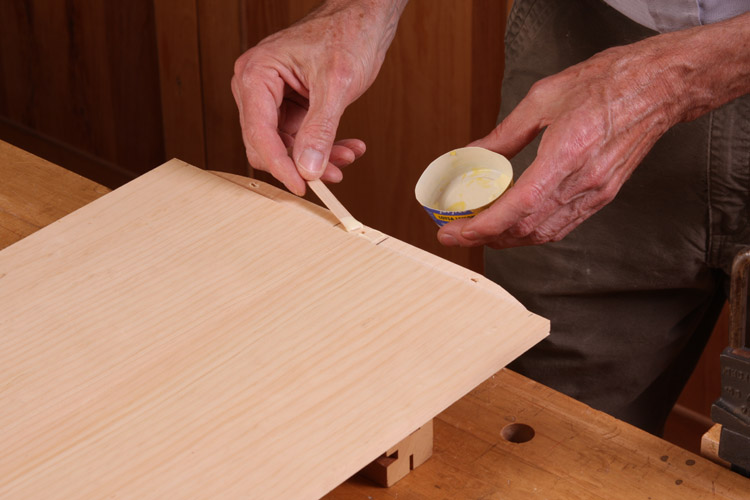
To join the ends to the top, begin by clamping the breadboards into place and drilling three 1/8-in. holes along a line 3/8 in. from the beginning of the tongue—one in the center and one on either side of the center, about 3-1/2 in. away. Remove the clamps and use an 1/8-in. round file to shape the two outside holes into ovals. As with any breadboard end, this step is critical, as it allows for seasonal wood movement. Finally, apply a dab of glue at the center, re-clamp, being sure that the center holes align perfectly, and drive 1/8-in. dowels through all the holes. Trim and plane the dowels flush with the top.
 |
|
By only applying glue to the center of the tongue, the pine top can expand and contract without fear of cracking. |
Finishing Touches
After sanding the faces and edges, rout a quarter-round profile on the underside of the breadboard top. Once again, the order of routing is important to mask any potential blowout in the exposed end grain of the breadboard ends. Begin by routing the profile on the front edge of the writing surface first. Then continue routing the two sides. The back edge remains untouched, because you’ll be mounting hinges. Mount the top using hinges with leaves no bigger than 3/8 in. which are 1 in. to 1-1/2 in. long. Position the hinges about 2-1/2 in. from both ends, and be sure to use 3/8-in. screws to mount the hinges to the lid, filing down the tips to avoid any penetration through the top.
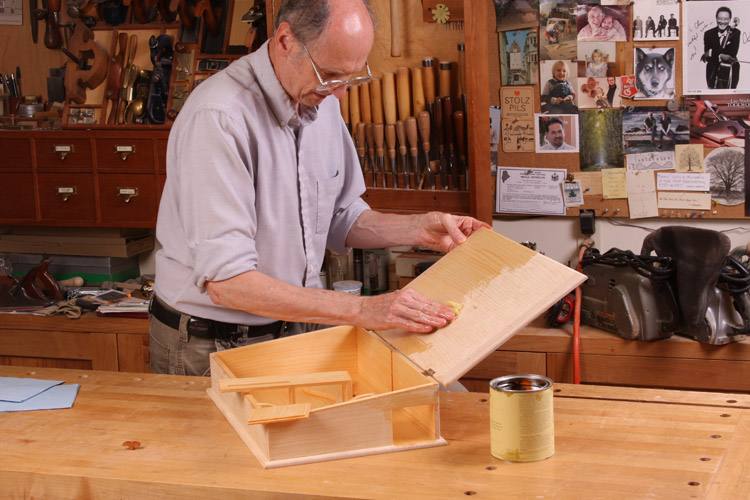
After a final sanding to 220-grit, I oiled the desk with Tried & True Varnish Oil. Allow the oil a few days to thoroughly dry before polishing with 0000 steel wool, and apply two more coats a few days apart.
Read the Entire Three-Part Series
 |
 |
CLICK HERE to download the hand-drawn project plan.







Log in or create an account to post a comment.
Sign up Log in