A friend of mine and I were talking the other day and he suggested I do a blog post about the tools on the Camera toolbar. It’s a fairly straightforward set of tools but I think there are a few often overlooked options here.
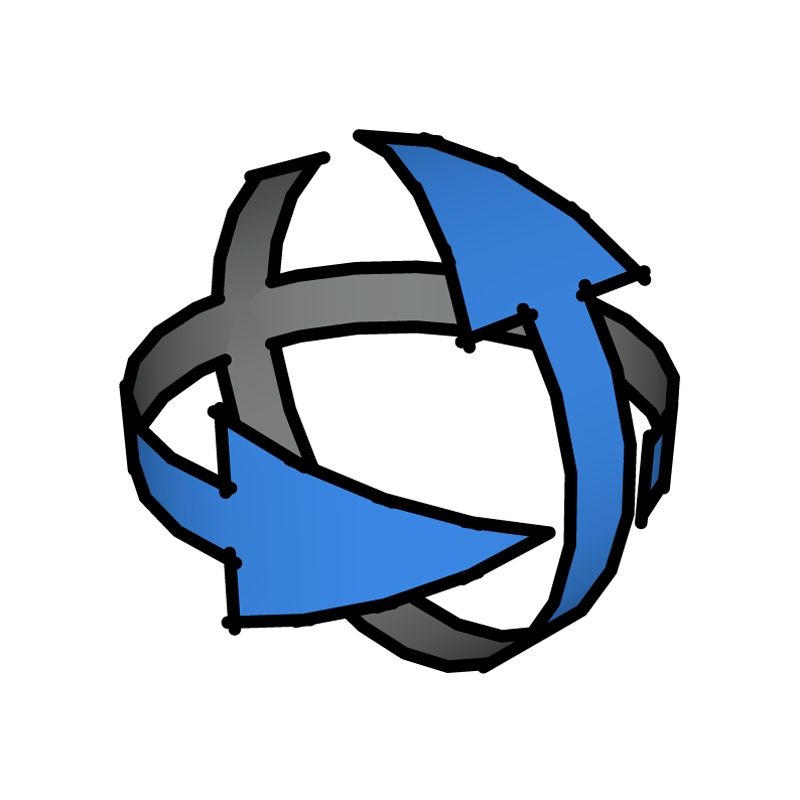
Orbit allows you to move the camera around the model. When selected from the toolbar, holding the Left Mouse Button (LMB) and dragging the mouse will move the camera around. If you hold Ctrl on the PC or Option on the Mac, you can roll the camera. It is easier to access this tool via the Center Mouse Button (CMB) because you don’t need to actually pick the tool off the toolbar and, when you let go of the button, you return to the previously selected tool. No matter how you get the tool, the center of the orbit is the point on the screen where the cursor is when you click the LMB.
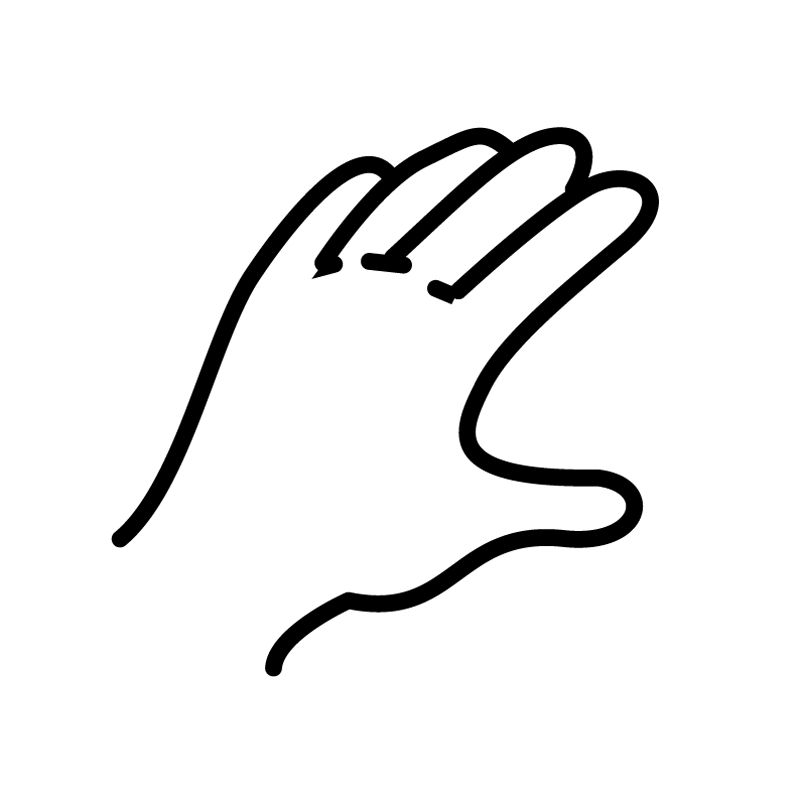
Pan shifts the camera from side to side. As with the Orbit tool, if you pick it off the toolbar, holding the LMB and moving the mouse will move the camera. Also, as with the Orbit tool, this one is easier to use with the CMB. Just hold the Shift key while pressing on the CMB to activate Shift. When you let go, you return to the tool you were using. Sometimes you need to combine both Pan and Orbit to navigate in your model and you can switch between Orbit and Pan quickly with the Shift key.

Zoom does what it says. If you pick the tool from the toolbar, press the LMB and drag the mouse up or down to zoom. In addition to zooming, you can set the field of view in degrees or the lens focal length. Notice when you pick this tool, the Measurements Box (or VCB in earlier versions) label is either ‘Field of View’ or ‘Focal Length’. If you want to change this you can either type an angle followed by ‘deg’ or a focal length followed by ‘mm’. The scroll wheel on the mouse is much easier to use for zooming. If you use the Zoom tool on the toolbar with the LMB, the camera zooms straight in toward the center of the view. If you use the scroll wheel the camera zooms toward the point on the screen where the cursor is. If you move the mouse as you are zooming, the camera will follow it around. The zoom speed with the scroll wheel is dependent upon how close you are zoomed in and on what the cursor is place. If the cursor is on the background, you may zoom past your model very quickly. If the cursor is on very near geometry, the zoom action will be much slower.
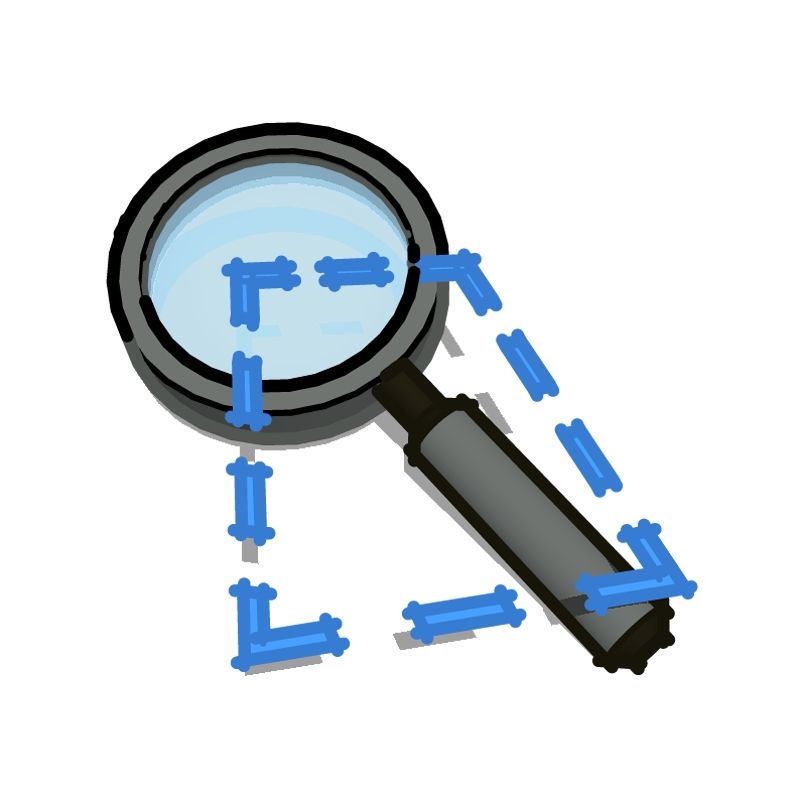
Zoom Window allows you to drag a box around the area on which you want to zoom. Simply pick the tool and click and hold the LMB and drag a box around the region you want. When you let go, the camera will zoom in on the selected area.

Previous returns the camera to the previous setting. This one can be handy if you inadvertently zoom past what you are trying to look at. You can go back and try again.

Next sets the camera to the latest position. You can switch between previous and next positions which is nice if you want to momentarily go back to a view and return to where you are working.

Zoom Extents is a very useful tool. If you get lost click on it and the camera will zoom back so you can see the entire model. If you hit this button and your model gets very small or seems to disappear altogether, it is a sign that you have geometry at a long distance from the rest of the model. Often, when Zoom Extents has been selected that stray geometry is so small it is difficult to see. I’ve been sent models on occasion that have this problem. I make sure the model is near the origin of the global axes and then drag selection boxes around what looks like empty space to select any stray geometry out there and then hit the Delete key to get rid of it. I hit Zoom Extents again to check to see if I’ve managed to delete the strays. Sometimes it takes a couple of tries to get rid of all of them.
There’s another version of Zoom Extents that doesn’t have a toolbar button. This one is found in the Context or right click menu. This Zoom Extents works differently in that it zooms to the extents of whatever you have selected. If you can select the thing you want to zoom to, you can get there very quickly by right clicking on it and choosing Zoom Extents from the menu.







Comments
I didn't know about the right click zoom thingy. Just learned my new thing for the day!
Glad to hear that. I hope we can come up with another new thing for you next time.
Dave
Thanks for covering this subject and the very clear explanation for the various related tools. The enlarged tools add enormously to the clarity of the explanation.
I was glad to be reminded of the usefulness of the Zoom Extent tool for seeing the entire model and for times when I get lost in space as it were .
I had intended for sometime to write to the forum for tips on avoiding excessive zooming , the effect on my eyes after a few hours drawing is noticeable . I find the use of the scroll wheel encourages zooming as it is so easy .
I was therefore particularly interested in the bottom tool , i.e using the Zoom Extents from the context menu as an " easier on the eye" zoom method .
I would be interested if others had views/hints on this particular matter .
Thanks again for the post.
Jonas Mac
JonasMac, I'm glad that helped and I'm happy you like the enlarged tool icons.
As to the thing about zooming, you're right. The wheel encourages it. That is generally a good thing but I see your point. Remember to use Previous also when you need to go back to a previous view. A keyboard shortcut for the context Zoom Extents might also be useful.
I like to remind folks when they are drawing in SketchUp that they are doing sculpture and not a painting. You have to be able to move around the model easily to be able to work efficiently. That's one of the reasons a mouse with a center wheel/button is so important. At the same time, it is a good idea to learn to try to group tasks so you aren't flitting around the model. Using components certainly helps. If you only need to cut the mortises by editing one leg instead of each of the four, that saves you a lot of navigation time. Maintain the relationship between components as long as possible. For example in a small shaker table with a drawer, the legs are nearly identical except for the mortises for the front and back pieces. Make the legs as instances of the same component and do everything but cutting those mortises that are different. After the front-to back mortises are cut and the legs are tapered and so on, make one pair unique to break their relationship with the other pair. Now cut those side to side mortises. By working this way you've again limited how much you need to move about the model space to work.
Another strategy is to draw all of your parts in situ as Tim and I are always harping. Not only does this help to reduce errors but it helps to reduce the amount of zooming and orbiting you need to do.
And a third strategy is to learn to work "blind". there are times when I can't see the face on which I want to use the Push/Pull tool because it is obscured by another component. I can tell be what is highlighted where the tool is going to work so I don't need to see it do its thing. Sometimes working in X-ray mode helps too although I also find there are times when there's more clutter than I'd like. You can set things up so other components are hidden when one component is open for editing but I don't like that so much because I am often editing one component relative to its neighbors and that's hard to do when you can't see the neighbors.
I hope that gives you some ideas.
Dave
I am just trying to learn sketchup. I did a drawing of a art desk that I want to build I was wondering if you could send me your email address so that I could send it to you so that you could look at it and tell me if There are ways that I could make it better.
Greg, my e-mail address is drkr4109 at gmail dot com.
Dave
Thanks for elaborating and helping me further in ways to reduce the need for excessive zooming and "flitting about "
Jonas Mac
Log in or create an account to post a comment.
Sign up Log in