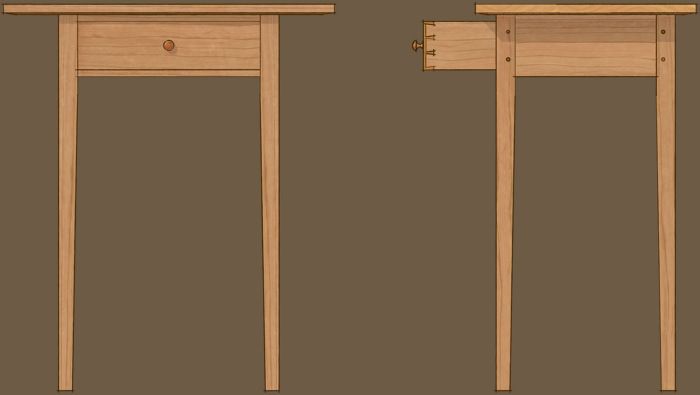
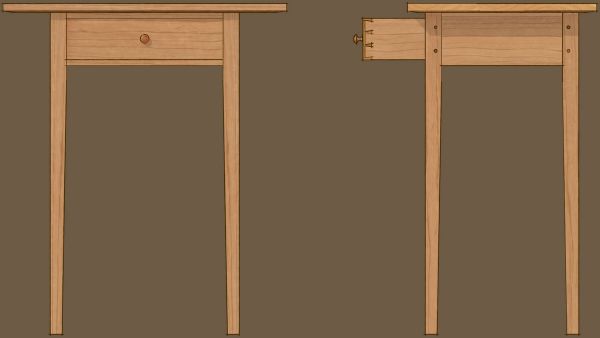
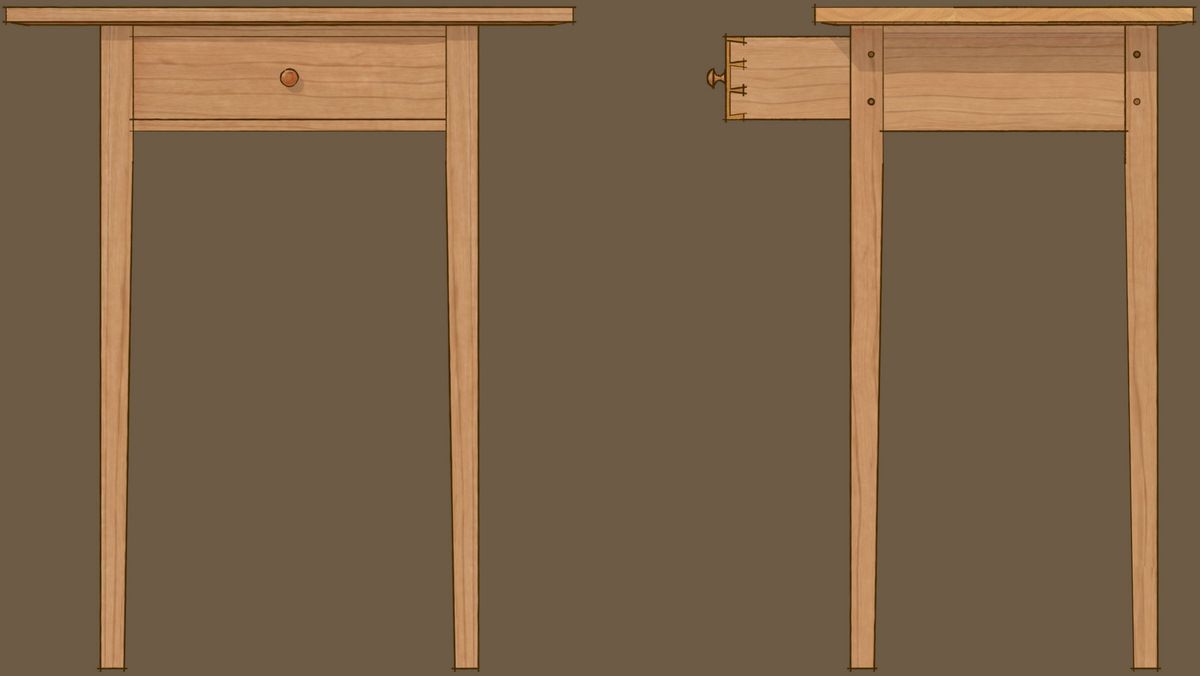
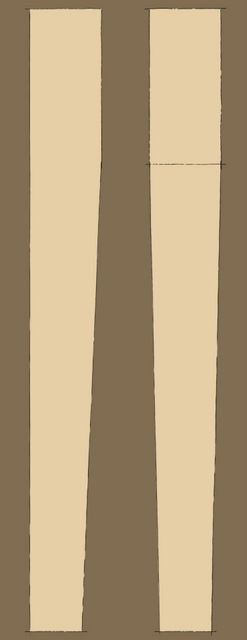
The other day I was asked about the best way to draw a tapered Shaker-style leg in SketchUp. I don’t think there is a best way to do it although some ways might be easier than others. Just as in woodworking, there is often more than one way to arrive at the same end. In the shop you might taper that leg with the bandsaw or tablesaw. You might use the jointer or planer or you might plane them by hand. When you get to the end, it is a tapered leg. So here are a few ways to end up with that tapered leg in SketchUp. The method you choose should be the one that works best for you.
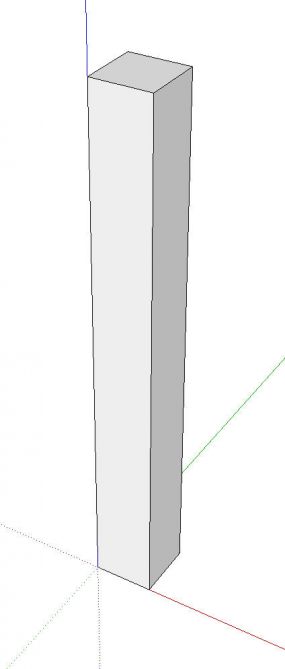
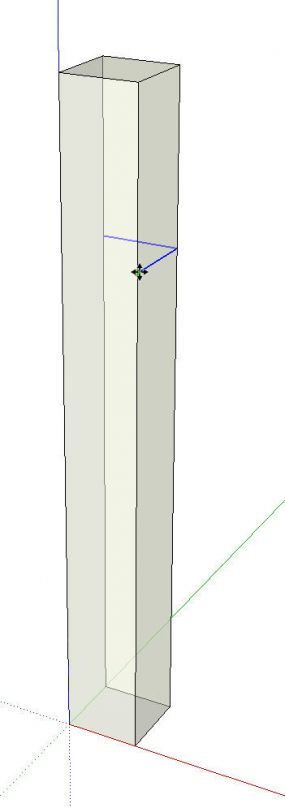
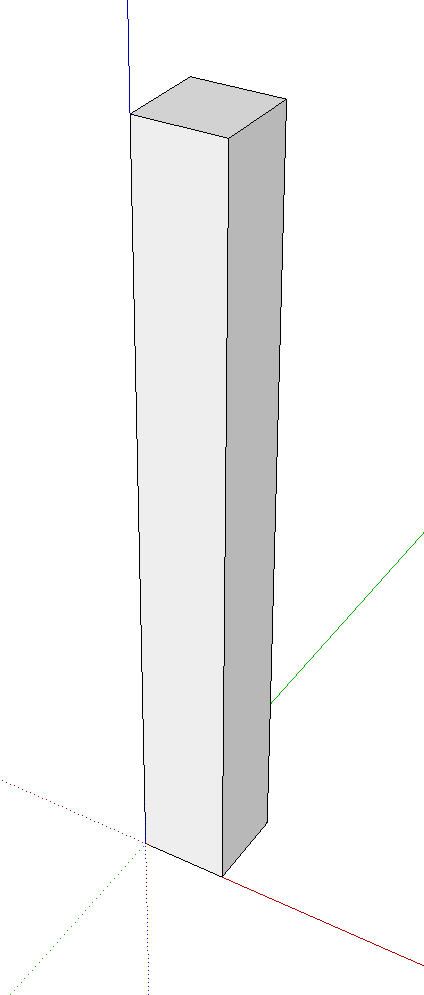
In all cases I’m starting from the same leg ‘blank’ which I’ve drawn as 1-3/8 in. square and 12 in. long. for the first two methods we need to establish the limits of the taper. This can be done by laying out a guideline or two and using the Line tool to draw the lines. I selected the corresponding edges at the top of the leg and copied them down with Move/Copy. Same result, fewer steps and no guidelines to delete.
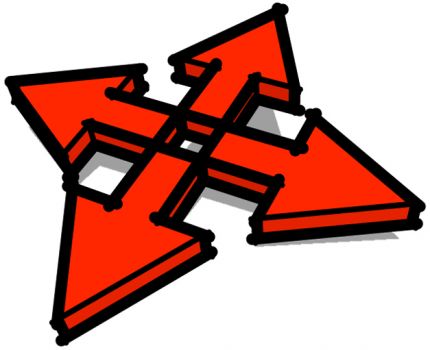
The first method uses the Move tool.
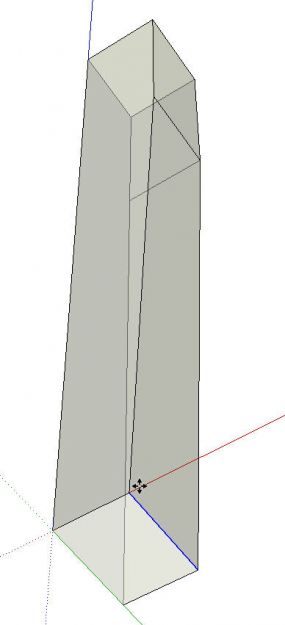
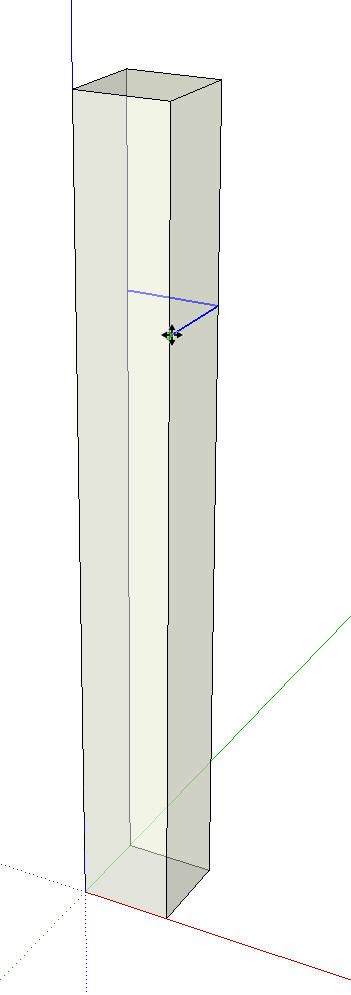
Select one edge, get the Move tool, hold Alt on the PC or Option on the Mac to invoke Auto-Fold and move the edge in the desired direction and type required distance. In this case that is 3/8 in.
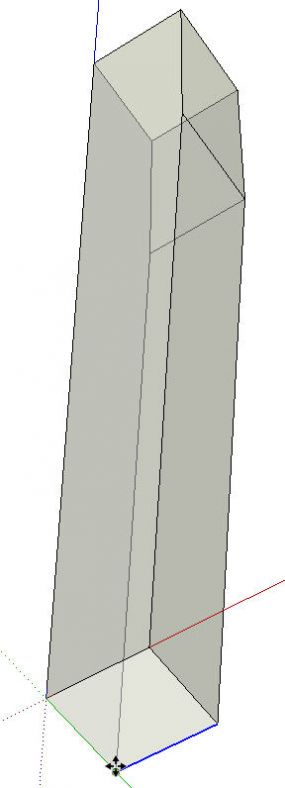
Repeat those steps for the other edge.
If you wanted to put tapers on all four sides, you would work around the foot moving each edge inward. This works just fine although it isn’t the most efficient method. It could be difficult or impossible to use on a leg that isn’t square Keep in mind though that Moving an edge of edges may be a good method in some situations so it is good to have this skill in your toolbox.
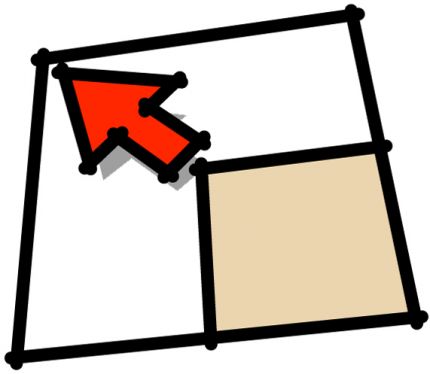
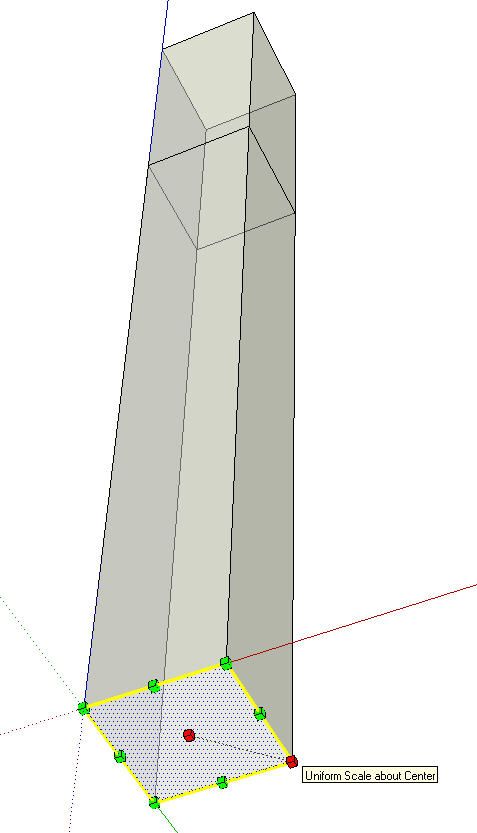
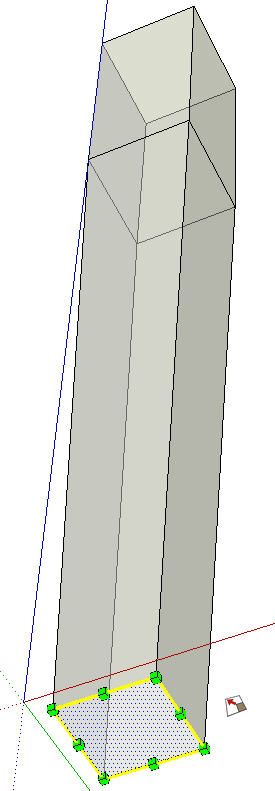
The next method is to use the Scale tool. This one is quick and easy. It can also be used on round or other non-square legs sections.
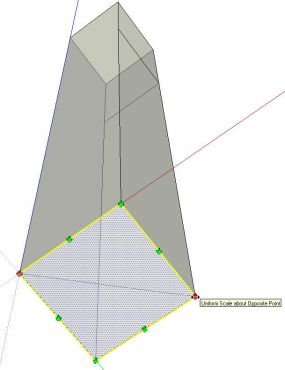
Select the bottom face of the leg and its bounding edges. I do this with a double click of the Select tool. You could also drag a left to right selection box or you could individually select each entity. (More than one way, again)
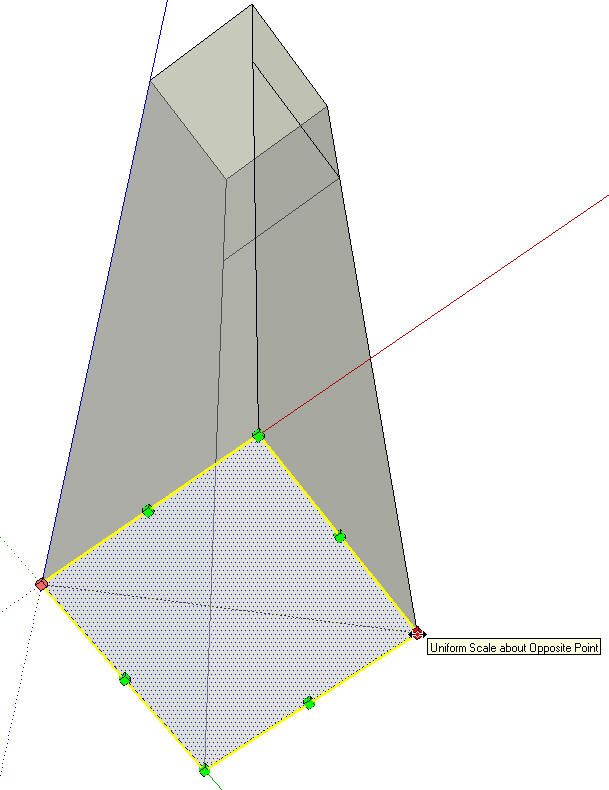
Get the Scale tool and click on the the corner handle between the edges that need to move and move the handle inward.
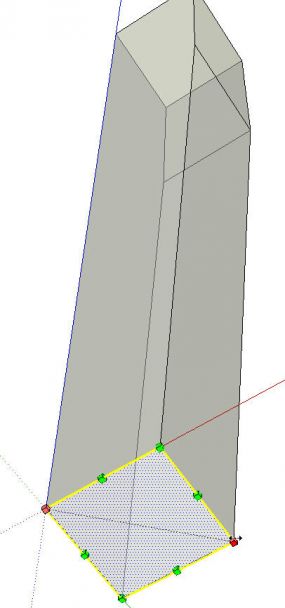
If you know the scale factor, type it in and hit Enter. The format would be something like .75,.75 which would scale the face to three-quarters of its original size. Notice there are no units in this case.
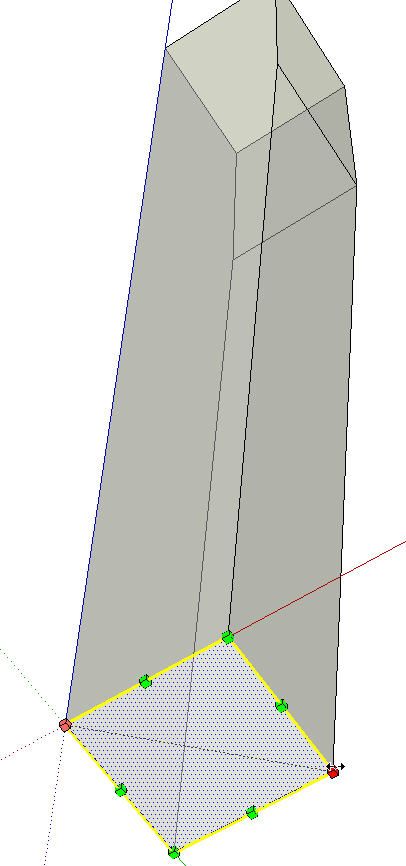
Rather than calculating the scale factor though, you can enter the desired final x and y dimensions instead. So for this leg, I typed 1″,1″ and the face was scaled to 1″ square.
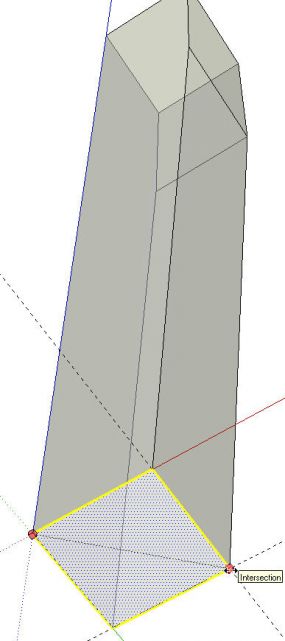
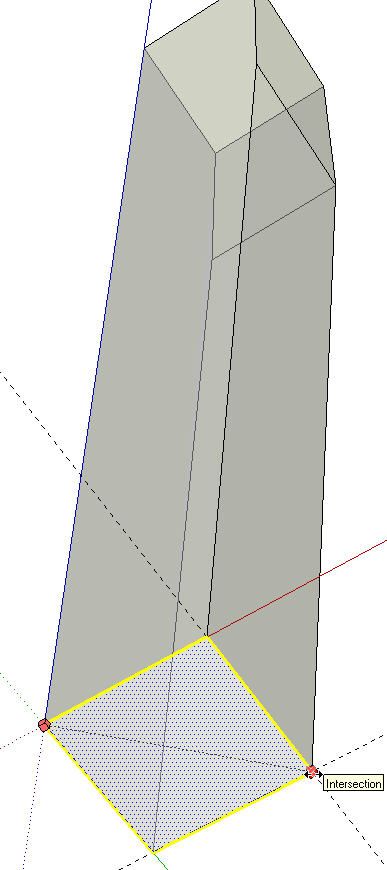
You could also place crossing guidelines, as shown above, to give the cursor a snap point.
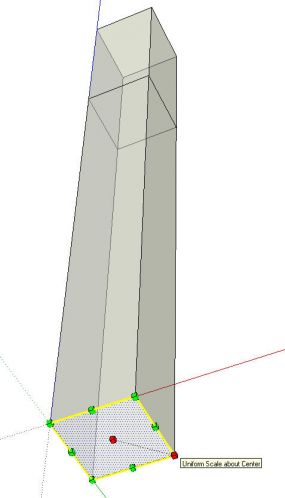
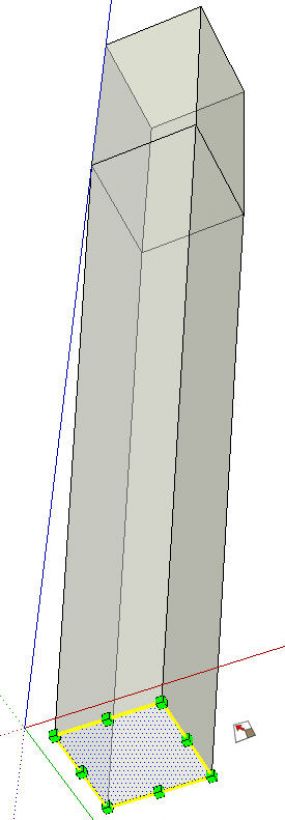
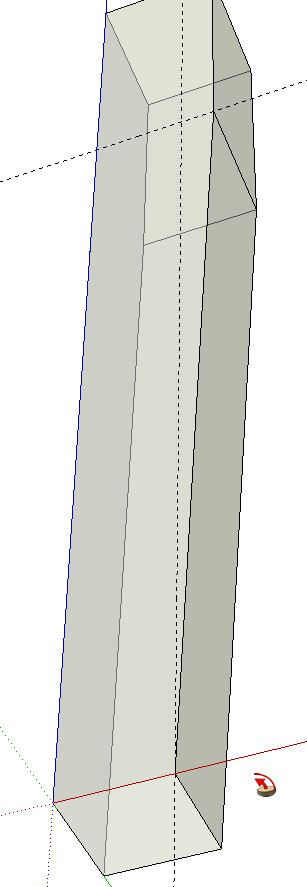
If you want a four-sided taper, draw the edges for the limit of the taper and hold Ctrl when using the Scale tool to invoke Scale About Center.

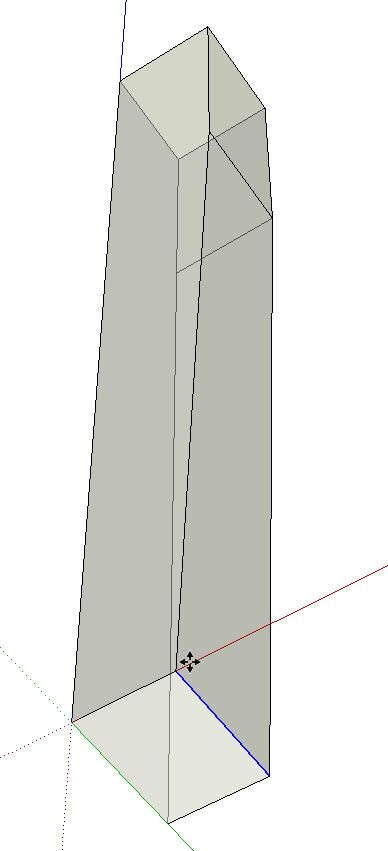
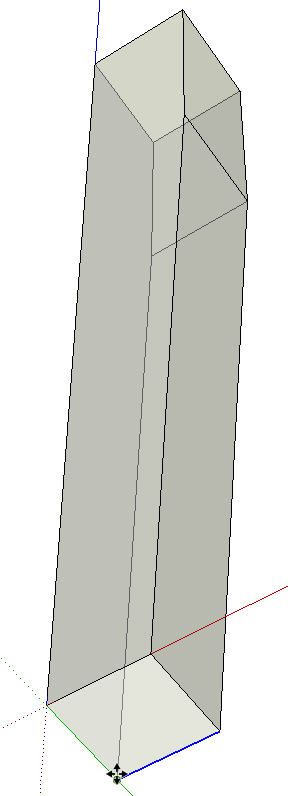
And the third but probably not the last way to create the taper is to use Follow Me. This one works well for straight tapers and would be the tool of choice for curved tapers as well.

In this case we don’t need the lines to indicate the limits of the taper. Instead, we’ll draw a line on one face representing the line of the taper. I used a couple of guidelines to identify where the end points of that line need to be.


I like to preselect the path for Follow Me and then run the tool.
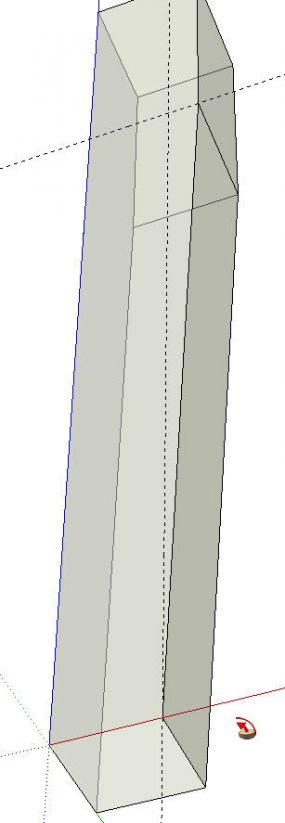
Done.


Another option you might consider in some cases is to draw the leg blank up to the limit of the taper. Create the taper and then use Push/Pull to pull the top of the leg to its final height.

If you are creating a four-sided taper, keep in mind that you may end up with an internal face in the leg when you draw the limits of the tapers. That face should be removed because it may create a sort of sparkling effect which can appear in exported images. As I did for the two edges at the beginning, I would select just the edges and copy them down. This won’t create the internal face in the first place.
So as you’re drawing your models, think about the possible ways to complete a task. While some may not work, you may find easier ways. And one method that doesn’t work for one thing, might work for something else so don’t always discard the method as useless.






Comments
Hi Dave,
You forgot the Push/Pull method. Start as for your Follow Me method then at step 3 push the face you have shown as selected. Repeat on the other outer face.
Oh, and skip step two.
What is step 2?
I didn't forget it. I left it out intentionally. There are probably other way, too.
Of course you can use Push/Pull. You'll have to lay out the taper on the two outer faces as you say. You will have to deal with the fact that the second Push/Pull step will not push through the angled face after the first Push/Pull step. You can hit Ctrl to make Push/Pull go through the angle face. Then you'll have to run Intersect and delete the unneeded geometry.
Still, it is another way to create the tapered leg.
Dave
Thanks for the tips! I've used the all of them you listed except the scale tool. Don't know how I forgot about that one. You hit the nail on the head. There is no one/correct way to do anything. Sketchup is just like that! Finding the best way for a situation and personal preference is key. Again, Thanks for tips!
Log in or create an account to post a comment.
Sign up Log in