Beautify Doors With Divided Light
A surprisingly painless approach for multi-pane doors
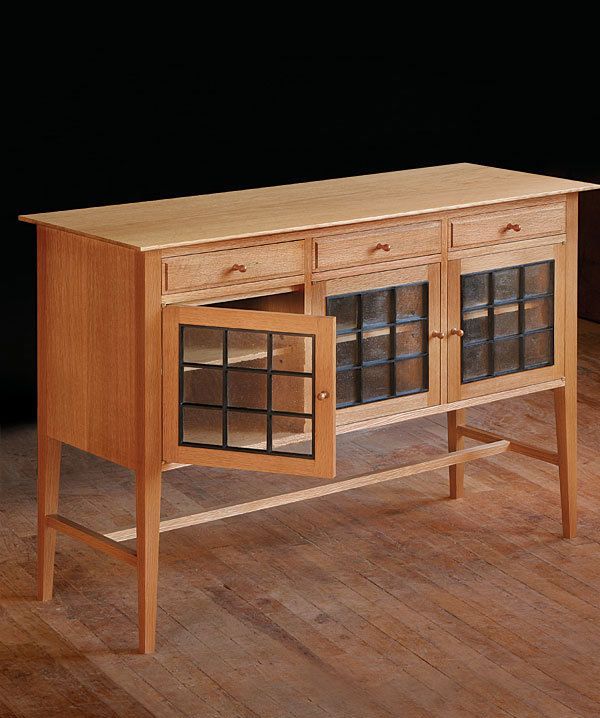
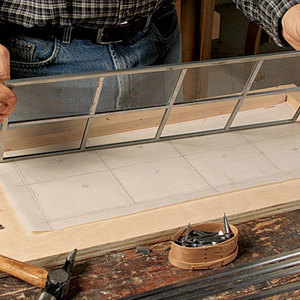
Learn to make distinctive glass-paned doors by following the technique Mario Rodriguez used when he made this handsome sideboard. Rodriguez simplified the construction of these true divided-light doors by beveling the edges on each muntin, creating an interlocking grid that is both light in appearance and strong in construction. He rabbets the muntins and shapes their beveled edges on the tablesaw, using hold-downs and a hardwood sled to hold the small parts. He copes the ends of the muntins on the router table.
Recently, I received a commission for a small sideboard. My design, inspired by classic English Arts and Crafts pieces, was a low, three-section piece in riftsawn white oak, each section a slender drawer above a divided-light glass door.
My client and I decided the doors should be true divided lights, with individual panes and real muntins (no fake grille fitted over a single piece of glass). The originals that I liked had muntins of contrasting stock, assembled in a separate grid inside the door frame rather than as an integral part of it, which is the usual method.
Several of the original pieces also had muntins made from slender stock with a flat, beveled profile on the edges. To make the design work, I needed to produce this type of profile in stock only 3⁄4 in. thick and find a way to create strong joints. Cope-and-stick router bits would work, but none of the profiles I found in catalogs were right. So after some experimenting, I devised a simple technique that involves milling the beveled edges on the tablesaw at 15°, and then coping the mating ends on a router table using a 15° dovetail bit, creating clean joints. Then I borrowed an age-old window-building trick, using glue-soaked cloth strips to lock the thin muntins into place. It worked perfectly.
The result is a clean and modern-looking grid that contrasts beautifully with the door frames—a great option for furniture makers who want to make distinctive doors with divided light. Here’s how I did it.
Mill the muntins
English Arts and Crafts designers often used ebony for muntins like these, but ebony is hard, brittle, and prone to splitting. It’s also expensive and hard to find. So I used walnut instead, milling the pieces and then dyeing them with an alcohol-soluble dye to resemble ebony. Start with stock in lengths of 18 in. to 20 in. Thickness the stock to 3⁄8 in. and rip the boards into 2-in.-wide strips. Each strip yields two lengths of finished muntin. Be sure to mill extra stock to use in case of mistakes.
From Fine Woodworking #217
For the full article, download the PDF below:
Fine Woodworking Recommended Products

Bessey K-Body Parallel-Jaw Clamp

Starrett 12-in. combination square

Bessey EKH Trigger Clamps


Comments
Great explanation, thank you! I'm looking at Resoration Glass and it comes in two thicknesses, 1/8" standard non-safety, and 5/16" laminated safety. For a glass door like the one on this sideboard, which glass thickness would you recommend?
Log in or create an account to post a comment.
Sign up Log in