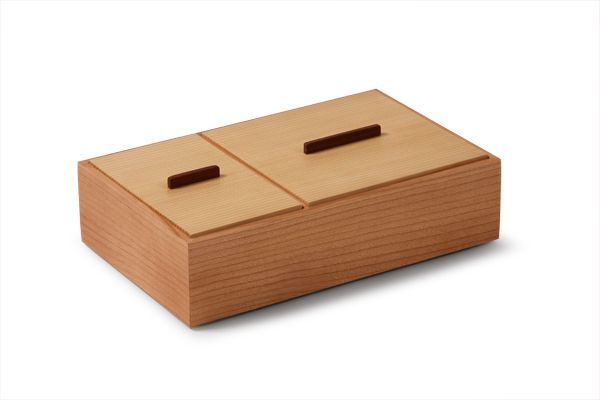
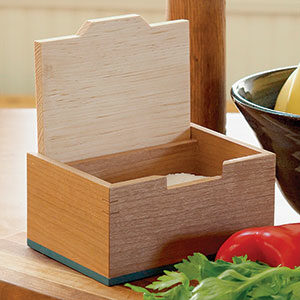
A new take on an proven design. Once again, I used the golden mean as the basis for a box. It's 5 in. wide by 8 in. long (and about 2 in. tall).
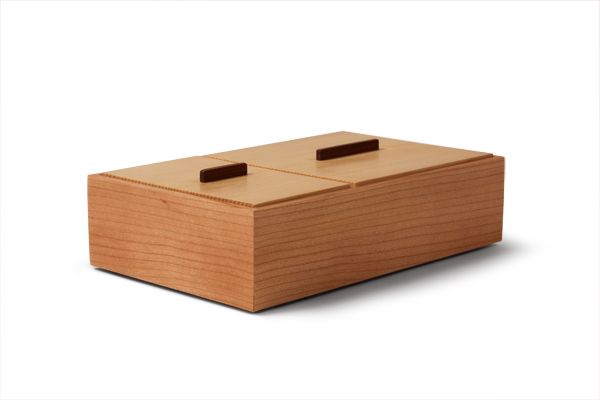
A few weeks ago, I wrote about a little box that I made one Friday night. After milling the lumber for that box, I stuck pretty much to handtools–something I typically do for a box. (There are a few places, like rabbets and v-grooves, where power tools just can’t be beat.) However, my preference for handtools isn’t just for kicks. I believed they were the only way to get a perfect grain wrap around all four corners of the box. A backsaw and plane remove less material than a tablesaw blade when you’re cutting the miters and so produce a better grain match. But I recently made another little box of similar design and put away all of my handtools, except my smoothing plane (I can’t imagine working without it.). Here’s the big lesson I learned. You can use power tools to make a lovely box with absolutely perfect grain matches at all four corners. I still think you’ve got to include handtools at several key points, but you can use power tools to do some very precise work, too. I’ll share some of what I learned. And in the near future I’ll explain my technique for perfect grain wrap. There’s more too it than just resawing a thicker board to make the sides. Eventually, I’d like to share my entire approach to box making, but that would take quite a while and, you know, this is just a blog and there are articles that need editing!
Tune your tablesaw
I know that some of you will say, “Well, duh!” But it is worth repeating. So, before you start making your next box, go over your saw with a critical eye (some good setup tools don’t hurt, either), checking to make sure that the miter slot is parallel to the blade and that it remains that way when you tilt the blade to 45 degrees.
Use a good crosscut blade
This really does make a difference. I have an 80 tooth blade that I used to cross cut the sides to length and then to miter them. And it gives cuts that are much better than the combination blades that I’ve used (and I’ve used some really good ones). And when you’re making a box, you can’t afford any sloppiness when you’re cutting miters. A 40 tooth combo blade, for example, will leave a rougher cut than an 80 tooth crosscut blade and you’ll have to clean up that roughness to get a really tight miter joint. How are you going to clean it up? Sand it? Shoot it with a handplane? Whatever you do, you’re opening the door to error. So get a good blade, make that accurate and clean cut once and be done with it. I know it can be hard to lay out the cash for a $100 – $120 tablesaw blade, especially one that’s used only for special crosscuts (a 40 tooth combination blade is fine for most work), but I think of it this way. I make a lot of boxes and I want them all to be as good as I can make them. I’d rather spend that extra cash than get ticked off every time I need to make a crosscut because my blade isn’t optimized for them.
Take the time to make quality jigs
I used two different tablesaw sleds to make the box: One for crosscuts with the blade at 90 degrees and another for when the blade is at 45 degrees. Those sleds are used only with my good crosscut blade, so that they remain zero-clearance and I always know precisely where a piece will be cut. Eventually, I’ll write a blog about how I make sleds to give you more details. In the meantime, let me say this. Use good material for them. I buy 1/2 in. thick lightweight MDF for the sled base. It’s flat, light, and durable. I use a store-bought miter bar because it’s easy to attach to the sled base and because it’s fit in the slot and is very easy to adjust. Removing any slop from the fit is critical, because a loose fit will inevitably lead to bad cuts. And I use stable hardwoods, like cherry and maple, for fences. Finally, I take my time attaching the fence, making sure that it is square to the blade.
Well, I suppose that’s enough for now. I’ll definitely post more of what I’ve learned making boxes, so look for that in the future.
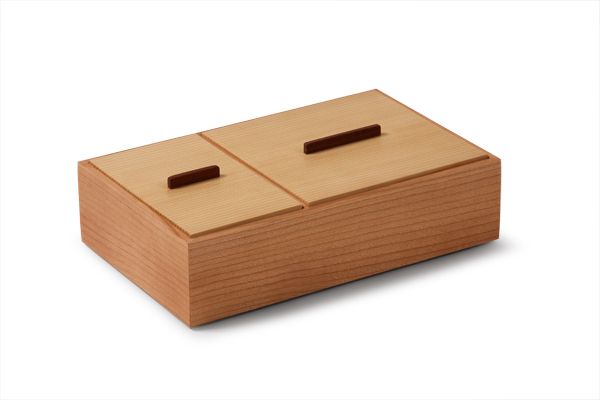
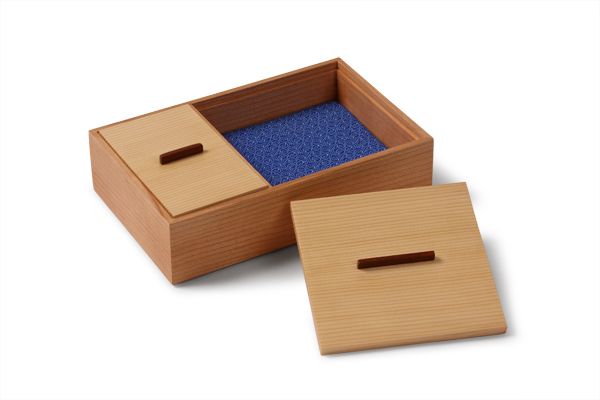
A few notes about the box: The sides are rift-sawn cherry. The top is made from salvaged spruce. And the lifts are cocobolo. It’s about 2 in. tall by 5 in. wide by 8 in. long. Finish: shellac and wax.






Log in or create an account to post a comment.
Sign up Log in