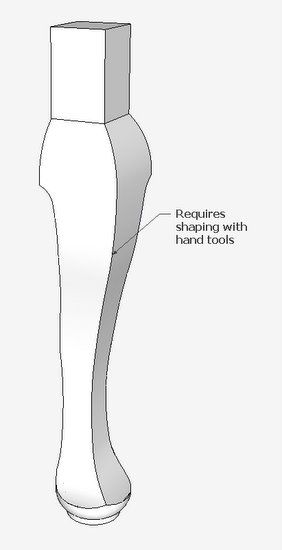
As mentioned in my last blog entry, I attended this year’s Williamsburg conference “Working Wood in the 18th Century”. The theme of the conference was Asian and Oriental influence on 18th Century furniture. I was surprised to learn that the cabriole leg probably came from an earlier Chinese version.
Therefore, the conference included several tables and chairs with cabriole legs and other Asian influences. Phil Lowe was one of the main speakers at the conference and demonstrated his procedure for creating a Queen Anne chair. In the following steps, I’ve tried to mimic his procedure in developing the cabriole leg. He was using all hand tools – I’m using SketchUp.
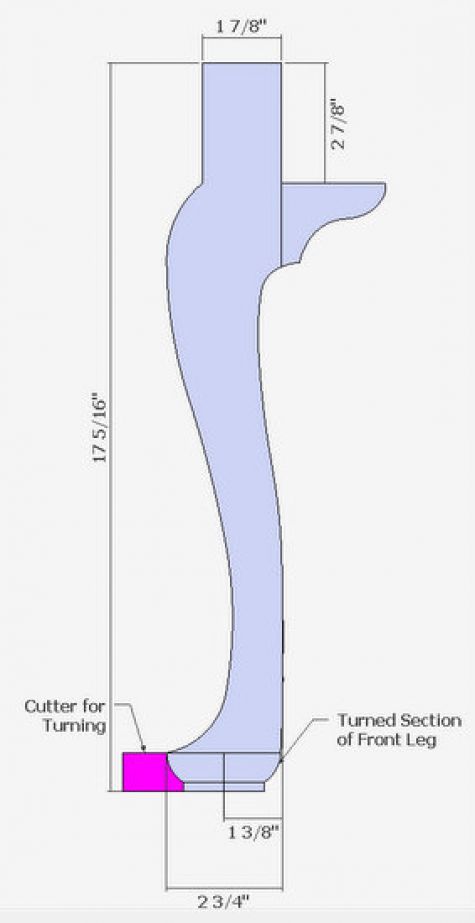
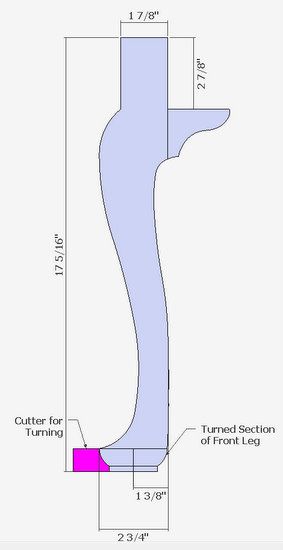
Step 1: Develop the full size design and template of the front leg. (On stage was Phil’s full-size drawing of the chair). I’ve attempted to re-produce that shape and design as shown here.
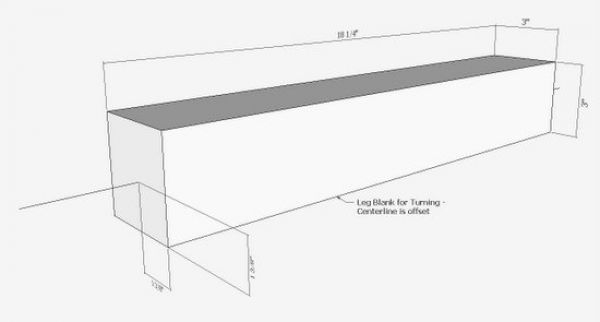
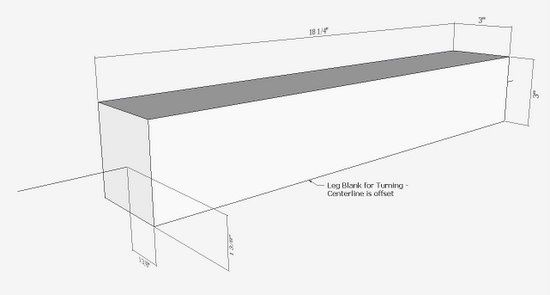
Step 2: Phil used a 3 x 3-in. blank, and as a first step chucked it up into the lathe to turn the foot. The centerline is somewhat offset as shown above and also below.
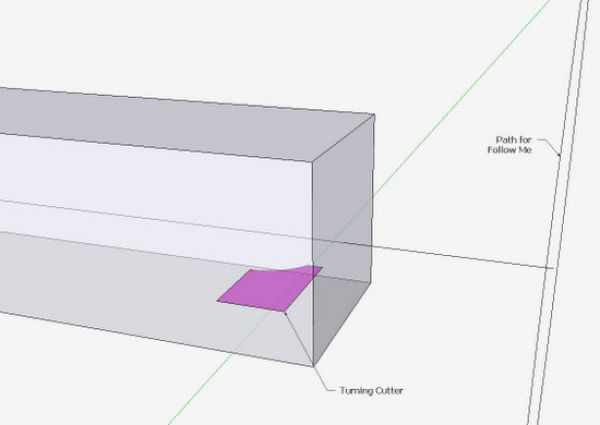
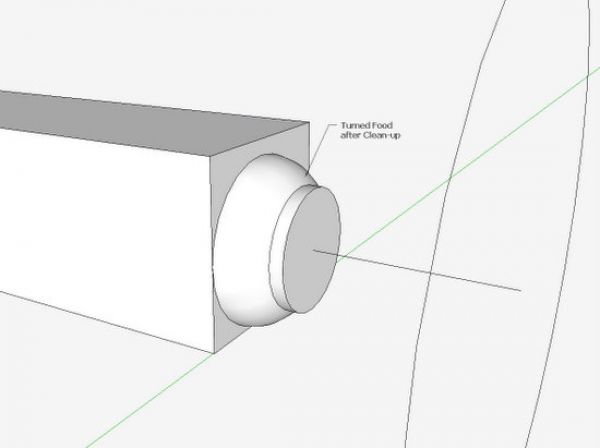
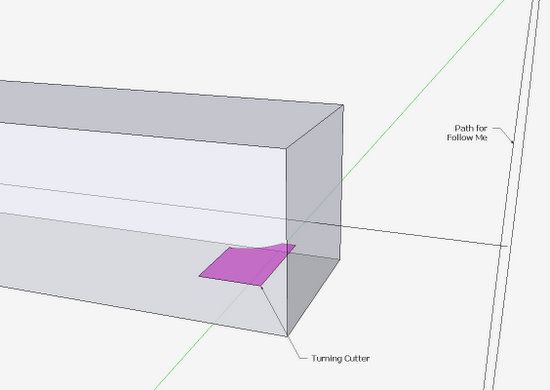
Step 3: While Phil used mostly a skew chisel, I used a shaped turning cutter. After creating a circular path for the Follow Me, I clicked on the tool’s profile shape.
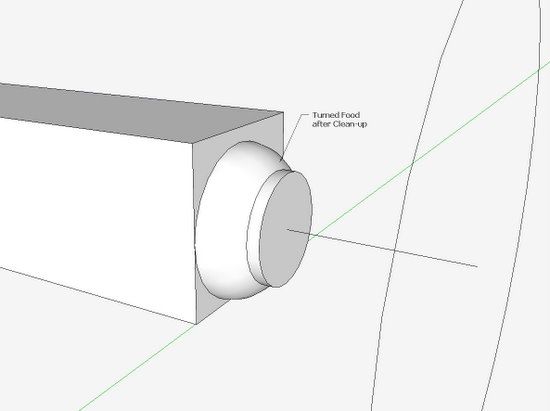
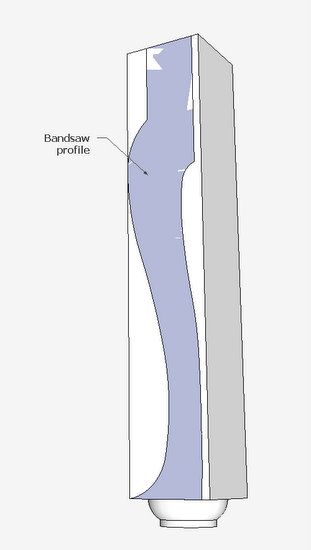
Step 4: After the Follow Me, I used Intersect, then cleaned-up the waste with the Eraser Tool.
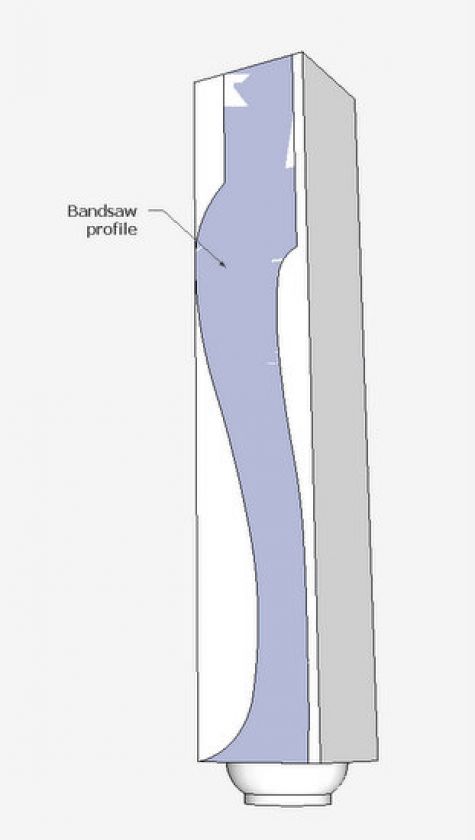
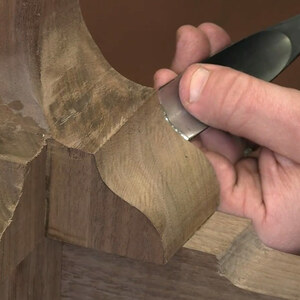
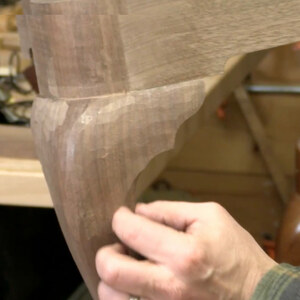
Step 5: Now to cut-out the shaped upper part of the cabriole leg. Phil cut into the waste with a hand saw, then used a wide sharp chisel to quickly remove waste close to the line. Then he used a spokeshave and files to make the final shape.
I will use Push/Pull and the Intersect to remove the waste.
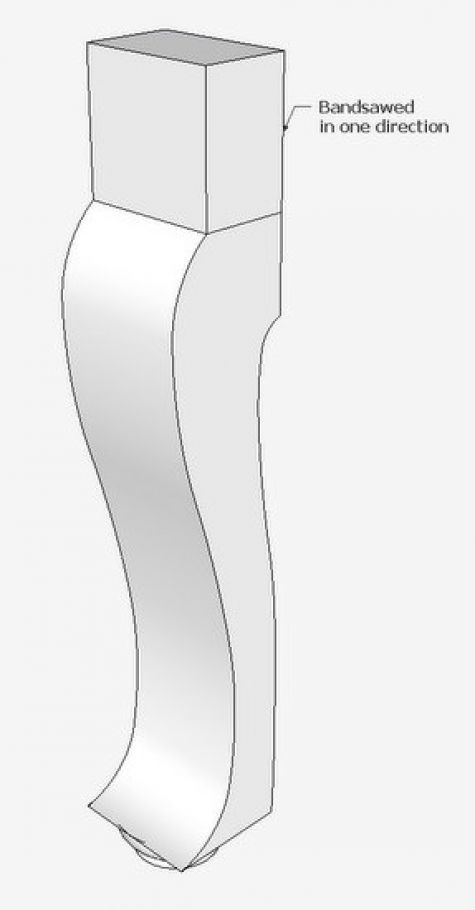
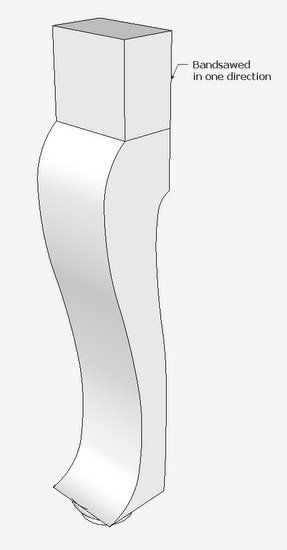
Step 6: Here it is shaped in one direction.
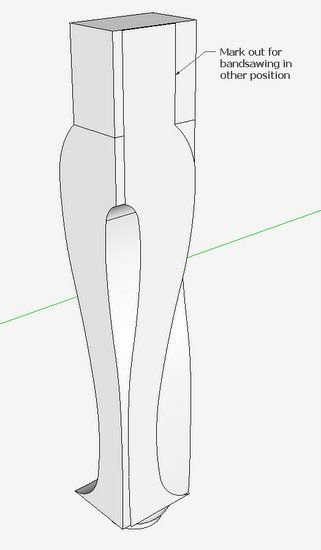
Step 7: Mark out the shape from the other direction using the full-size template. Again Phil used hand tools, and I will use Push/Pull and Intersect.
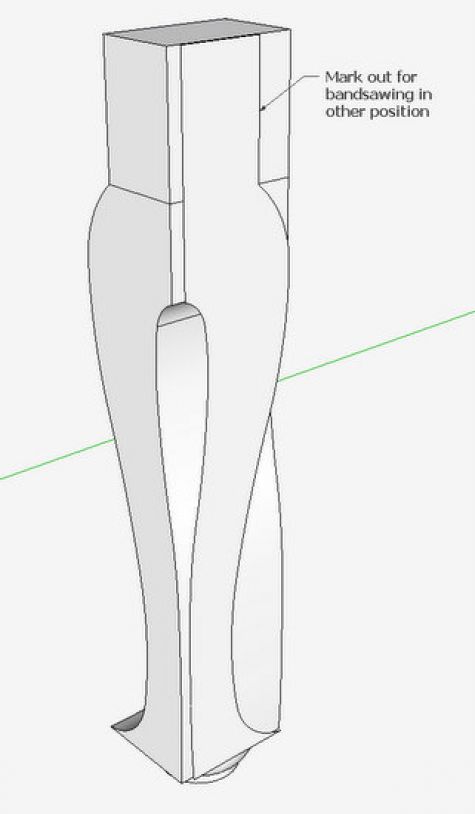
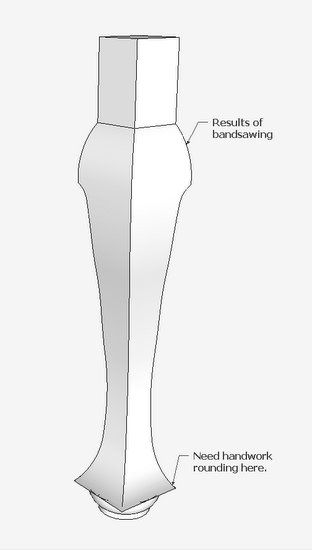
Step 8: Here’s how it looks after rough shaping from two directions. There is quite a bit of shaping needed at the foot transition area. Phil would use various hand tools to round this area.
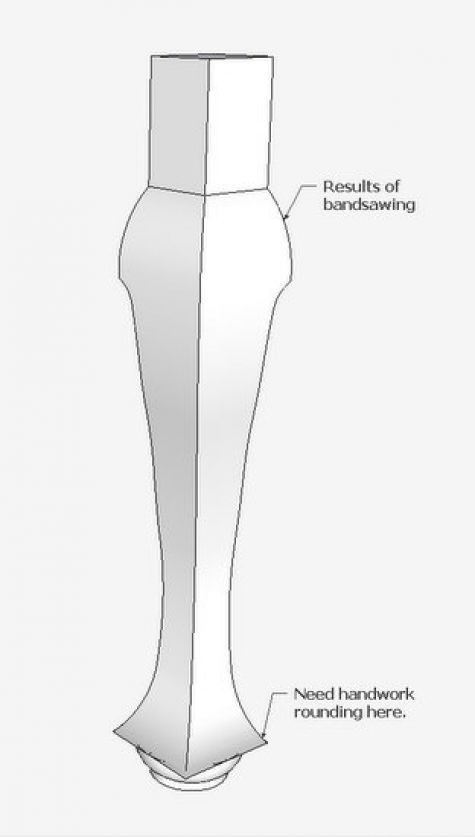
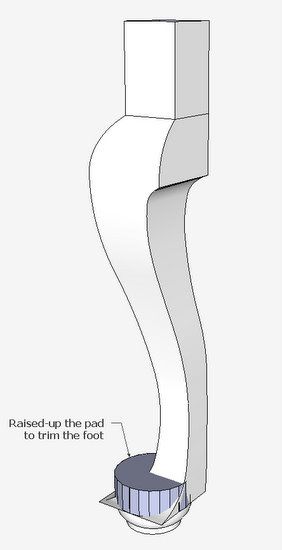
Step 9: I’m using a much harder method, by raising up the top face of the turned foot, then using Intersect and the Eraser.
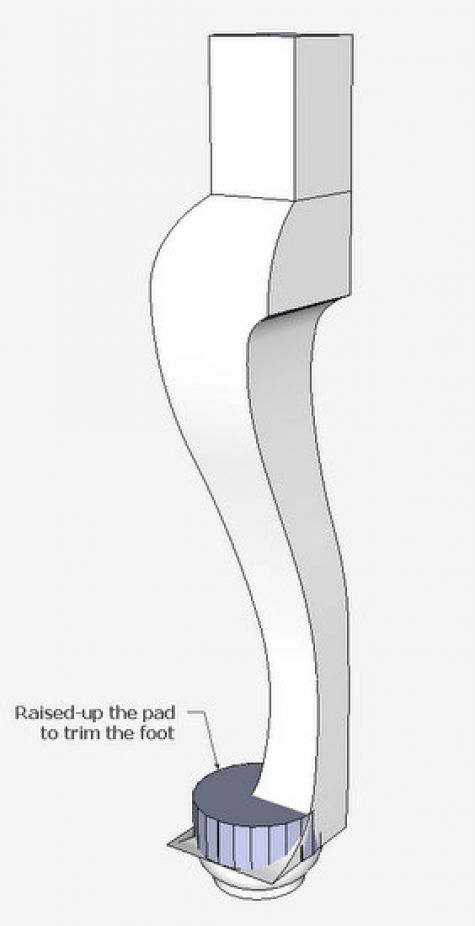
Step 10: Here’s the results, but there is much more final shaping required in SketchUp. This would be very hard to do, so I stop at this point.
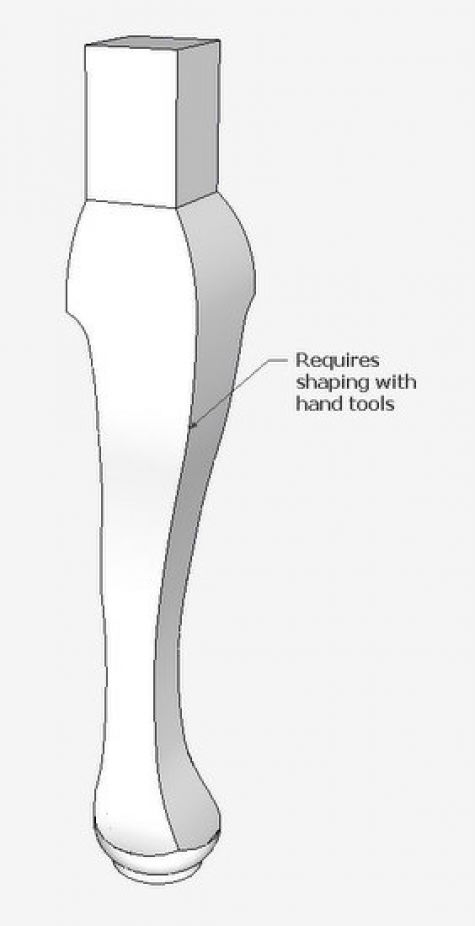
Phil could have done two front legs with hand tools in the time that it took me to create this one in SketchUp.
Tim




Log in or create an account to post a comment.
Sign up Log in