Try Back-Beveling Your Plane Blade
This sharpening step tames the wildest wood without tearout.

Synopsis: Sometimes, even the most meticulously tuned handplane can’t handle wood with challenging grain, and your are left with torn-out surfaces. That’s when you should try adding a back bevel to the blade. Chris Gochnour swears by it. The higher cutting angle of a back-beveled blade can solve most tearout problems. Learn how to sharpen your blade this way, and how to build a simple jig that makes sharpening easier.
From Fine Woodworking #218
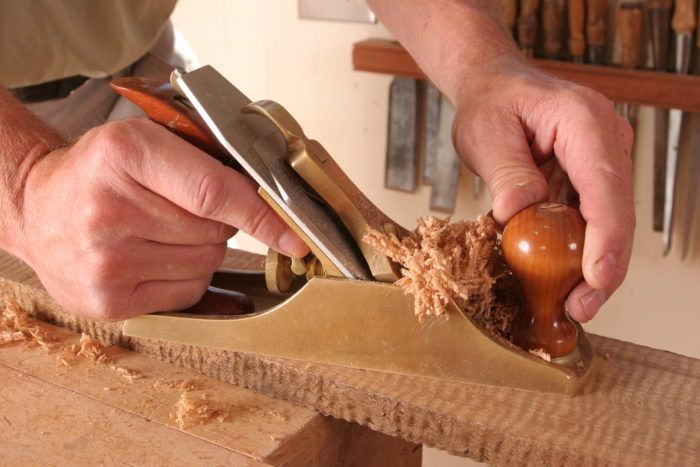
Some time ago, on an early fall morning, I entered my workshop anxious to smooth a quartersawn white-oak tabletop using a handplane that I had meticulously tuned the previous day. It was a high-quality plane with a flat sole, a well-tuned chipbreaker, and a razor-sharp edge with the slightest camber. It was my kind of morning.
Surprisingly, though, my plane did not perform as expected. Each successive pass across the ray-flecked oak left a gaping tear. With each pass, I was taking one step forward and two steps back.
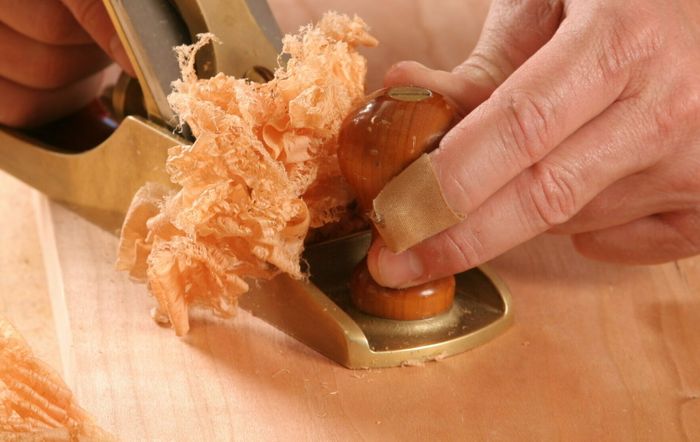
Frustrated, I searched for solutions. I found the answer at my local library in Double Bevel Sharpening, a booklet by Brian Burns (Palo Alto Publishing, 1999). As a luthier, Burns deals with highly figured and challenging grain every day, and he recommended increasing the cutting angle by adding a back-bevel to the blade. I took his advice, sharpened my blade in the new way, and my plane tamed the grain in that tabletop, leaving a glasssmooth surface.
Since then, I keep two blades on hand: one with a back-bevel and one without. I use the standard blade almost all of the time. But when I notice that I’m getting tearout in challenging grain, I replace the standard blade with the back-beveled one.
I’ve developed a low-tech method for back-beveling a blade. This quick, easy, and repeatable method employs a generic single-roller honing guide and a jig made from a 3⁄8-in. carriage bolt, a couple of washers, and a wing nut (see p. 88).
When to use which blade
In a traditional bevel-down plane, the cutting angle is determined by the angle of the frog, which is typically 45°. I add a back-bevel of 8°, which increases the cutting angle to 53° (to learn how to increase the cutting angle of a bevel-up blade, see “bevel up blades are even easier,” p. 90). I arrived at that number by experimenting with different angles, and it works well. But you can modify this setup to suit your needs. I made a second jig that back-bevels at 60°. With both the 53° and 60° jigs, I’m ready to tackle any kind of figured wood that comes my way. In the rare event that the 60° back-bevel doesn’t work, I simply use a scraper or sandpaper.
For the full article, download the PDF below:
Fine Woodworking Recommended Products

Veritas Precision Square

Veritas Wheel Marking Gauge

Veritas Micro-Adjust Wheel Marking Gauge


Log in or create an account to post a comment.
Sign up Log in