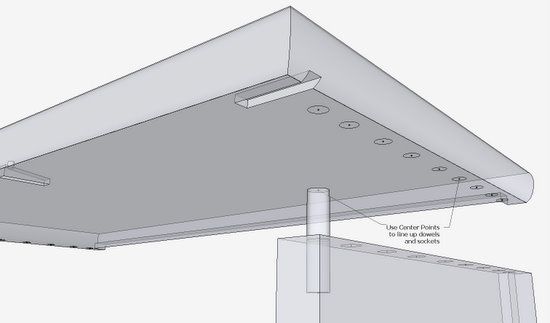
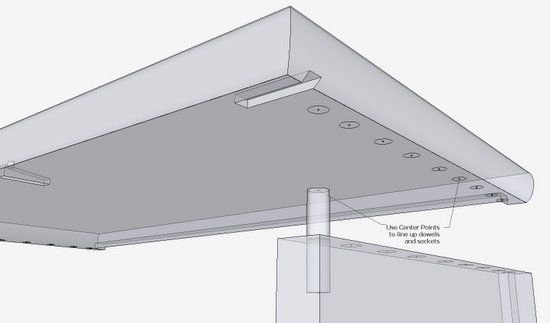
Some SketchUp users may wonder how you align and connect a dowel joint. After all, there are no corners to grab on the dowel to match-up with the socket. To get around this limitation, you need to place guidepoints (or centerpoints) on both the dowel ends and the sockets. Now you have common connecting attachment handles.
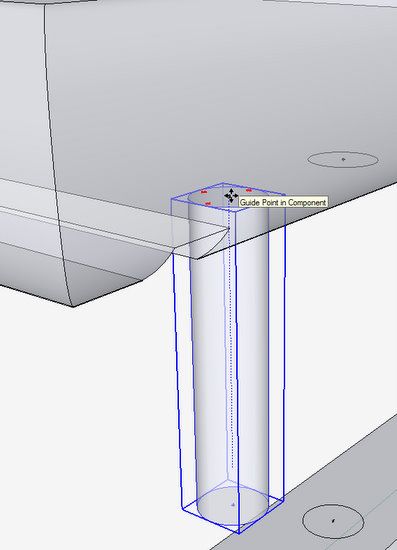
Here’s an example of a dowel joint between a top piece and the corresponding side.
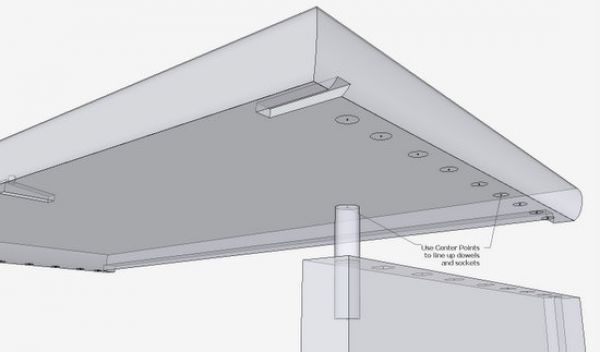
Note: I would not typically show the dowel in the model as there is not much advantage of having it there. The centerpoints in the sockets can be used for alignment and connection of the two components without having dowels.
Step 1: Set-up for making the guidepoints or “centerpoints” in circles.
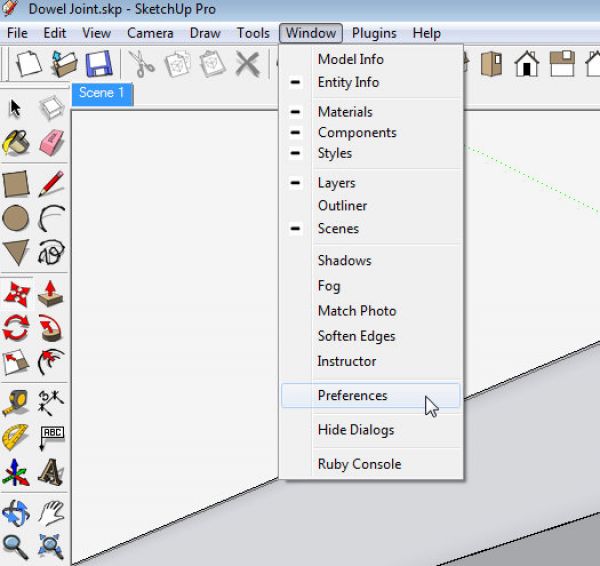
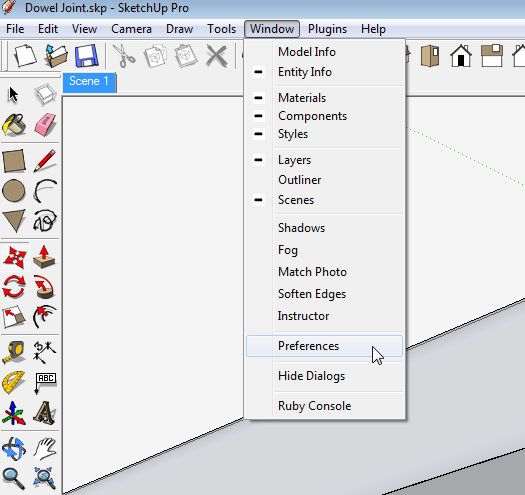
Click on Window in the Menu Bar, and select Preferences from the pop-up menu.
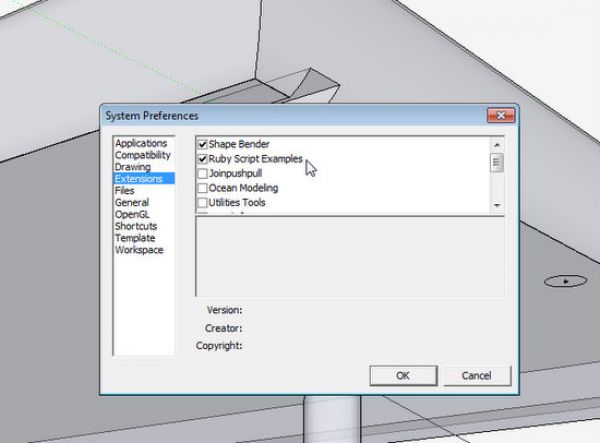
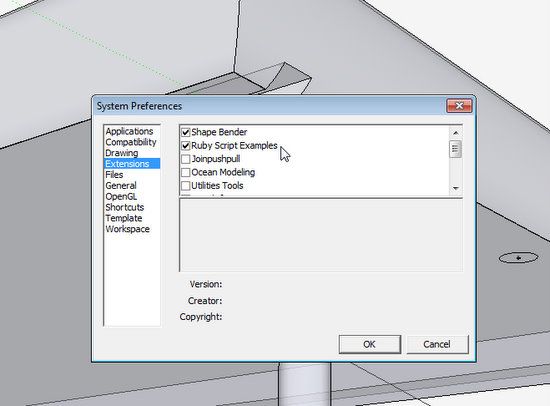
The following dialog box will appear. Click on Extensions in the left panel. Then place a click in the check box for Ruby Script Examples. Click OK.
Now you are set up to create those centerpoints in circles.
Step 2: Create the centerpoints on the sockets and the dowel ends.
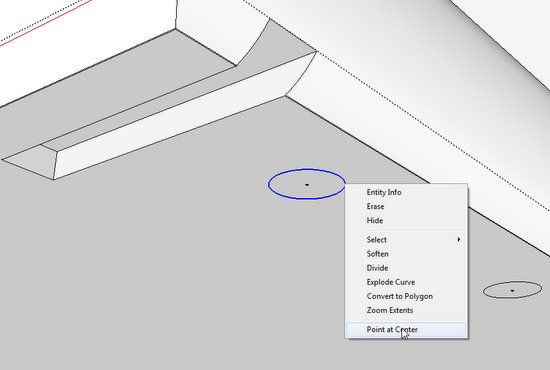
Right click on the socket circle perimeter. It will highlight in blue and a menu will appear. Select “Point at Center” and a guidepoint will appear at the center of the circle.
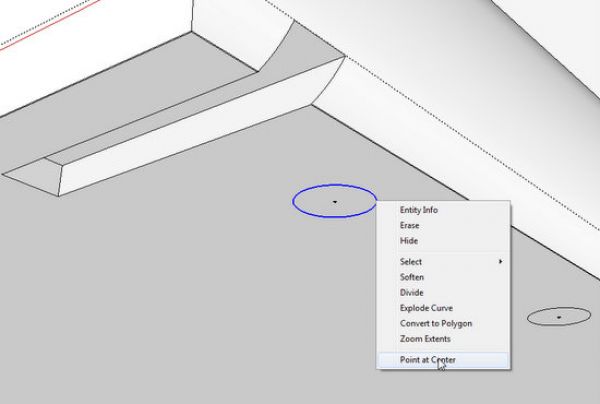
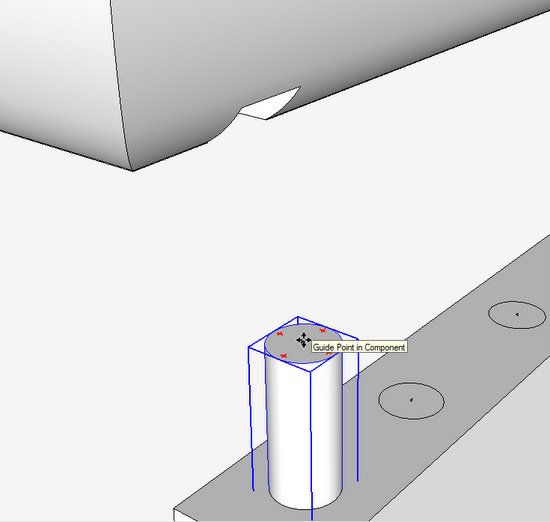
Step 3: Grab the dowel centerpoint with the Move Tool.
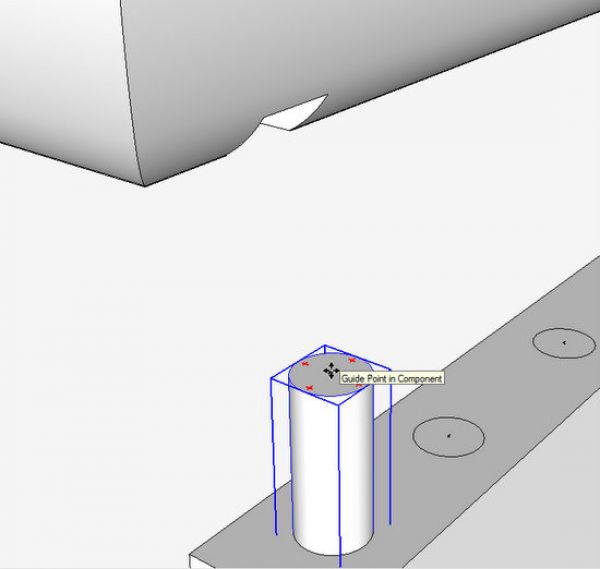
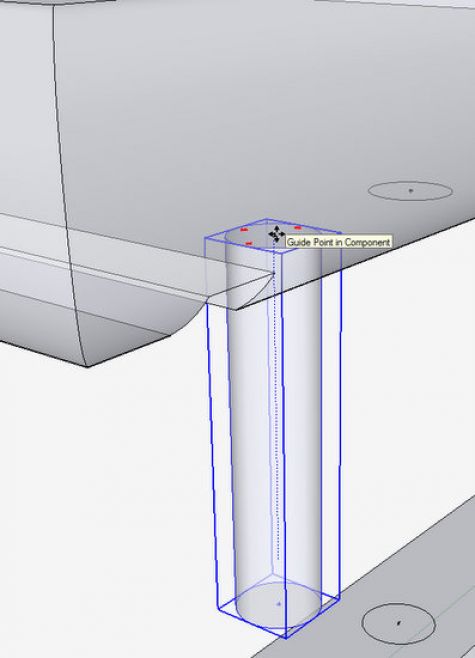
Step 4: After turning on X-ray, move the dowel to connect with the socket centerpoint. You can now continue to insert the dowel to its proper depth. Use the Arrow Key to force the dowel on the appropriate axis – in this case the down or up arrow key, to move on the Blue axis direction.
After placing the dowel, you can use the Move Tool to connect the centerpoints of the Side and Top sockets.





Comments
Awesome! Thanks for the tip. I have gone through great frustrations to create that center point. This is so simple.
Log in or create an account to post a comment.
Sign up Log in