I’m learning to cut mortise-and-tenon joints by hand, but I only have a marking gauge with one cutter. How can I use it to lay out the joint accurately?
Ismael Salazar, Schaumberg, IL
A:
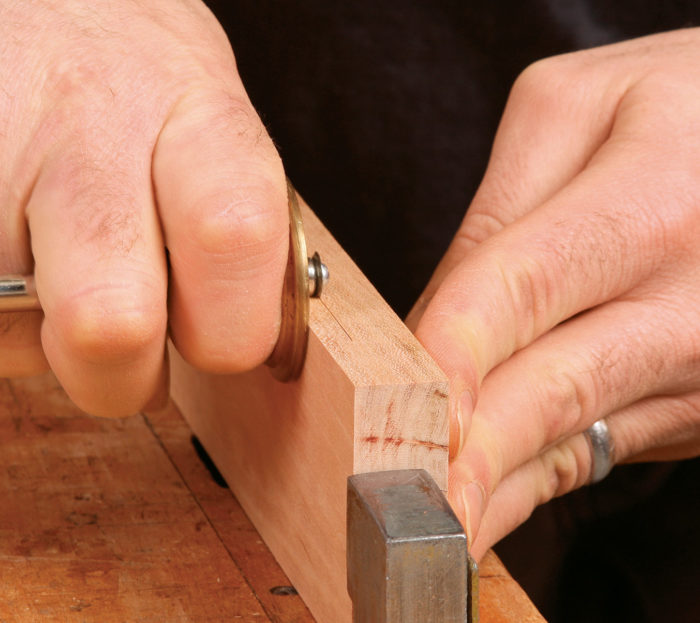
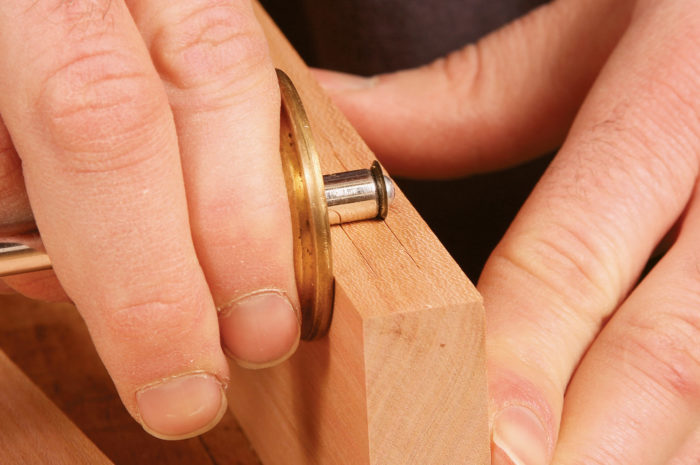
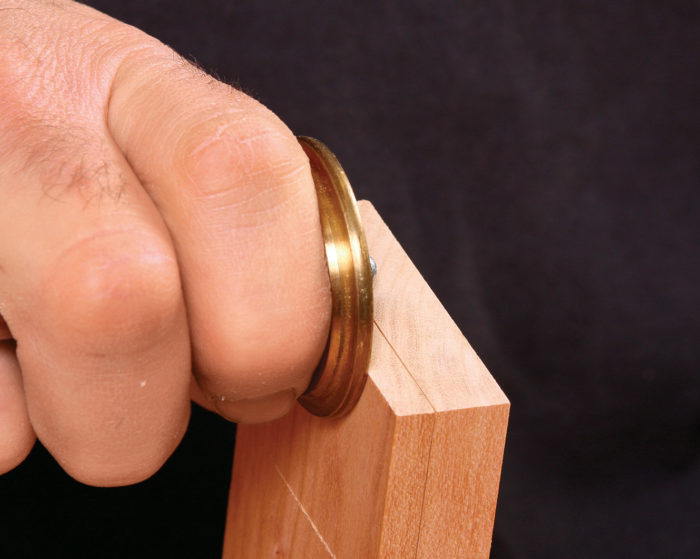
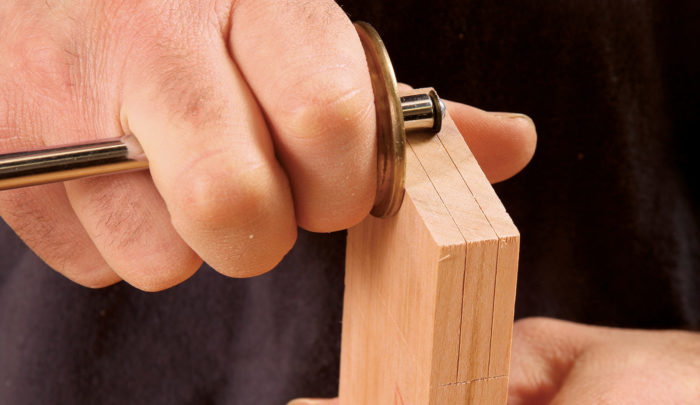
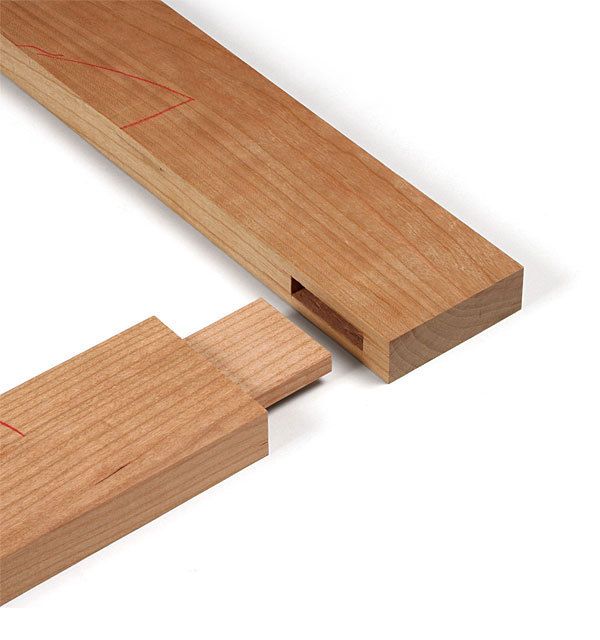
You don’t need a two-cutter mortising gauge to lay out this joint. Just mark the two sides of the mortise and tenon one at a time, and be sure to lay out all the lines using the same face of your parts as a reference. That way, the joints will align perfectly even if your stock thickness varies slightly. Although it might seem intuitive to set your marks from each side to ensure a centered tenon, it is more accurate to mark all lines from the same face.
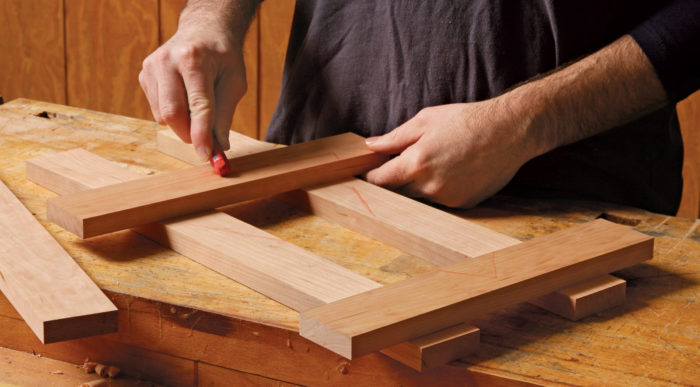
First, mark the front face of each piece using a lumber crayon. Next, set the marking gauge for one side of the mortise and mark all of the mortises. Keep the same setting on the gauge and mark the sides and top of the tenons. Then reset the gauge for the other side of the mortise—the distance between the two gauge lines should be a hair wider than one of your chisels. Now mark the second line on all of the mortises and tenons.
Fine Woodworking Recommended Products
Leigh Super 18 Jig
This jig is a value-oriented alternative to the Leigh D4R, but its template system is just as excellent.
The D4R Pro is Leigh’s flagship jig. Like the other Leigh jigs in our test, it represents a different world of quality, from its clear, comprehensive instructions to its ingenious engineering, impeccable manufacturing, and unmatched capabilities.
With its graceful curves, cabriole legs, and ornamental back splat, a Queen Anne side chair is a bucket list build for many woodworkers. Dan Faia had a very specific Queen…
Become an UNLIMITED member and get it all: searchable online archive of every issue, how-to videos, Complete Illustrated Guide to Woodworking digital series, print magazine, e-newsletter, and more.
Log in or create an account to post a comment.
Sign up Log in