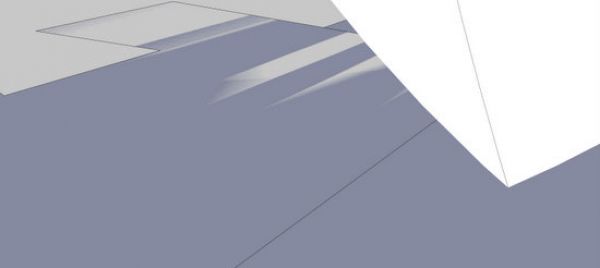
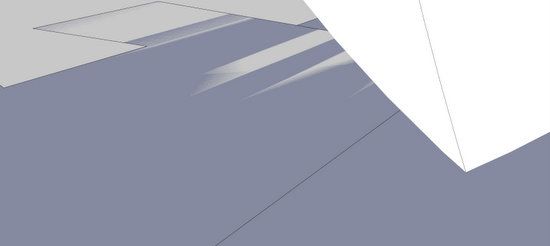
In this case, I’m not referring to a particular shop hand plane, rather a phenomenon in SketchUp. You can run into a Clipping Plane when zooming in very closely to your model. All of a sudden the model explodes with a bunch of splinters and jagged pieces. It can be scary, as you wonder what happened to all of your modeling work. Thankfully, all is OK – as you zoom out the model recovers without damage.
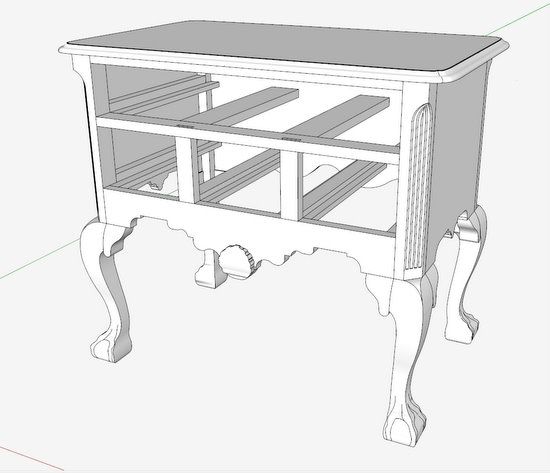
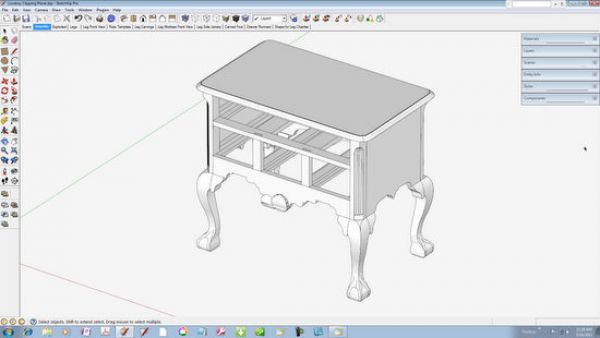
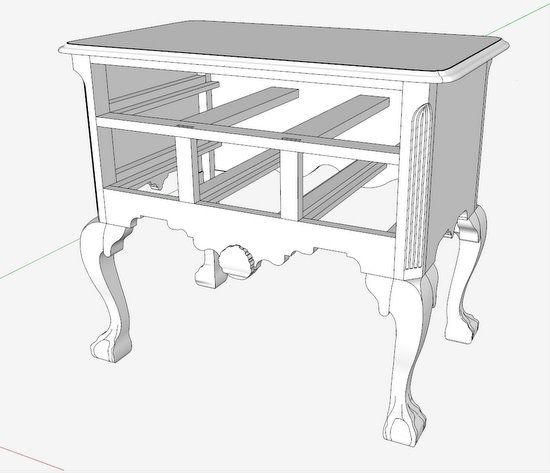
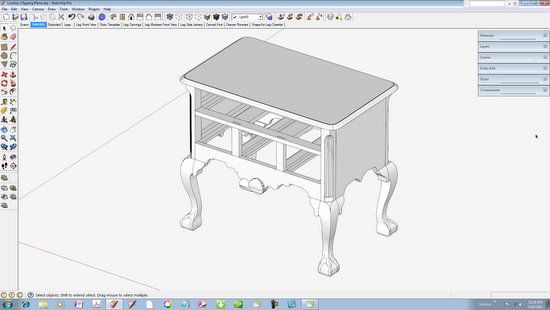
Recently, I’ve been working on a Philadelphia Lowboy that includes quite a bit of complex intersections and curves. See picture below. Although working to avoid graphics anomalies (holes, gaps, missing faces, and distortions), nevertheless these things can show up when doing Intersections or Follow Me’s on small curvatures. Scaling up by factors of 10 or even 100 helps, but I can still find problems although miniscule.
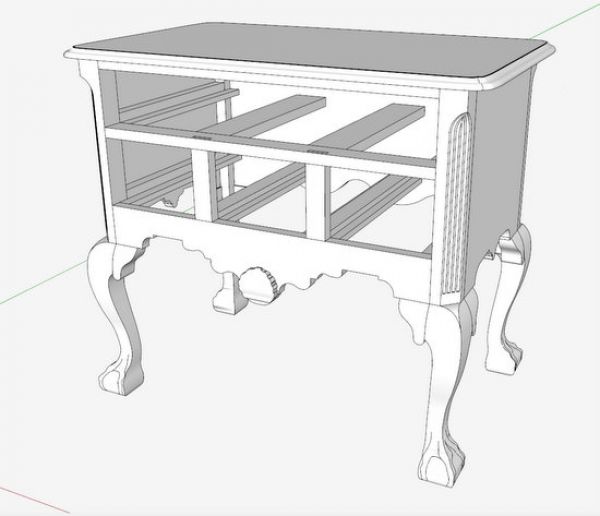
In trying to repair these problems, I’m forced to zoom very closely to the model, and that is when I run into the Clipping Plane. It won’t allow me to get close enough to the problem. It’s frustrating, but fortunately, there is an easy remedy.
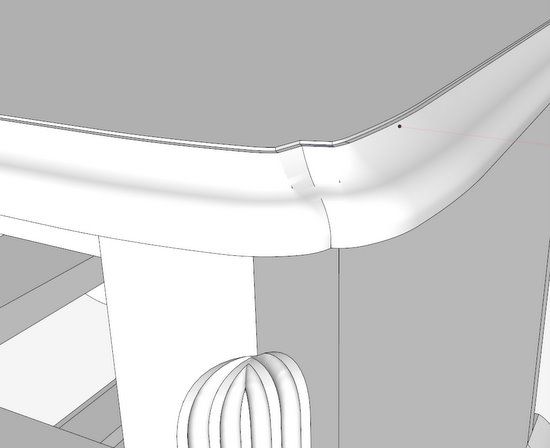
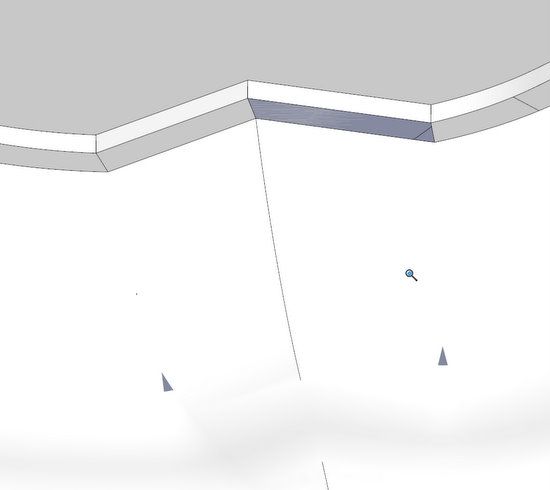
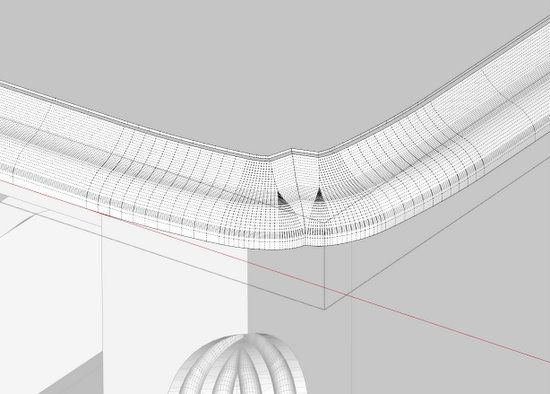
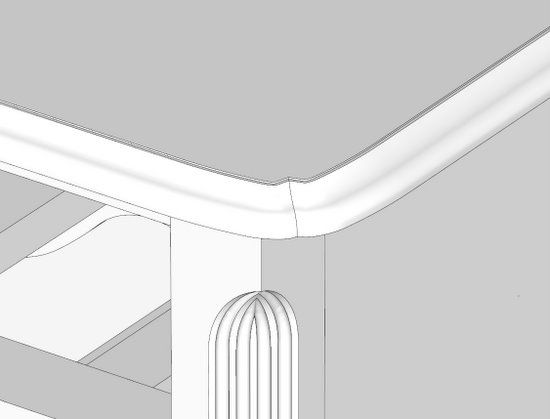
I will use this corner of the Lowboy top as an example. This shaped edge was done with Follow Me but some very small anomalies are there, albeit very small.
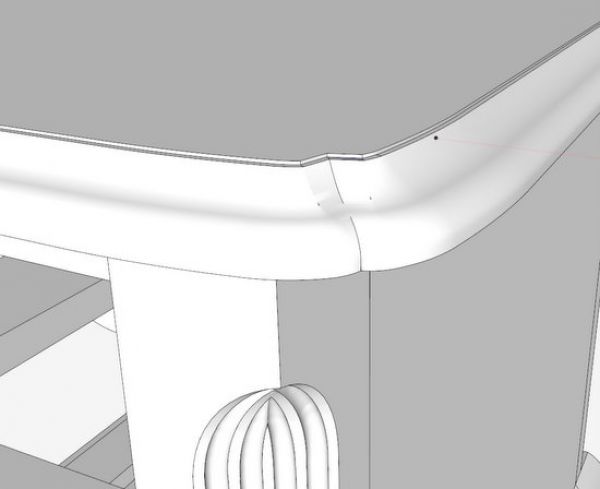
When zooming in closely to view and fix these problems, the Clipping Plane explosion occurs as shown below.
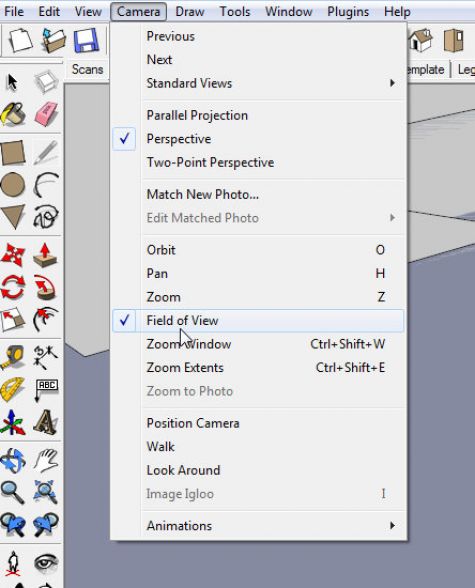
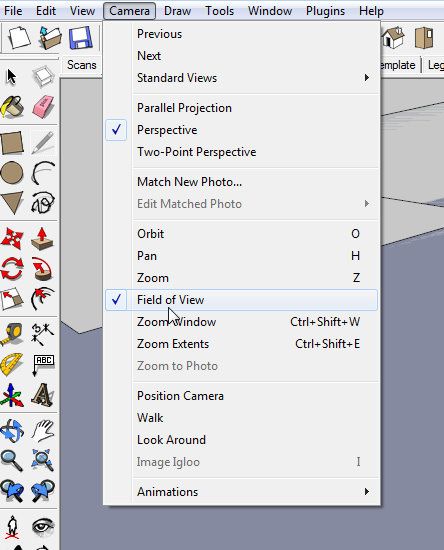
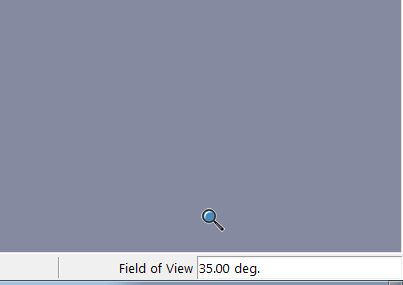
To remove this issue, go to the Menu Bar and click on Camera. You will see the list as shown below. Click on Field of View. The normal setting for this parameter is 35 degrees. Type 2 to change this to 2 degrees (almost parallel projection). Immediately your clipping plane should disappear, and you should have a very good close-up view of the model.
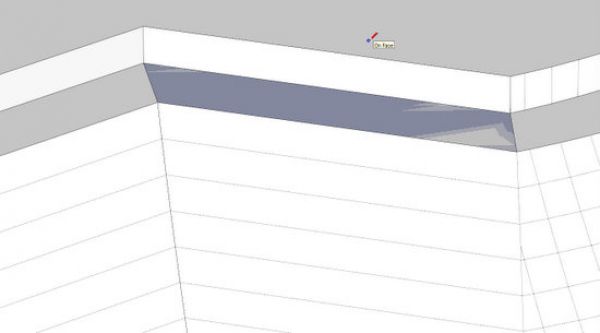
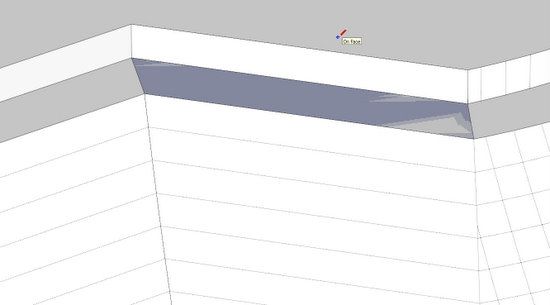
Now I can see the small anomalies where faces are missing.
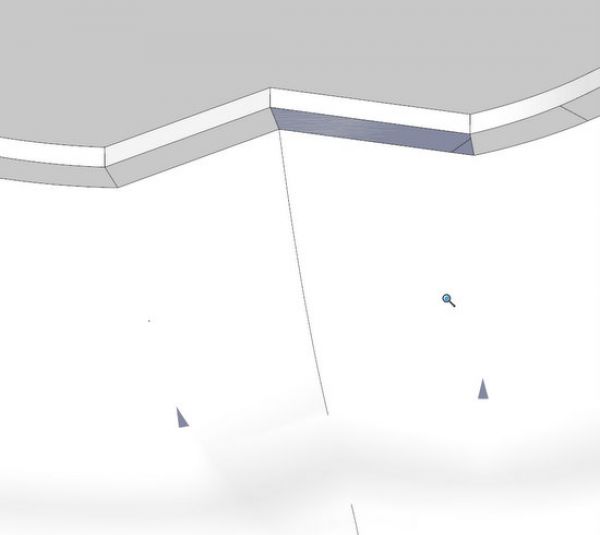
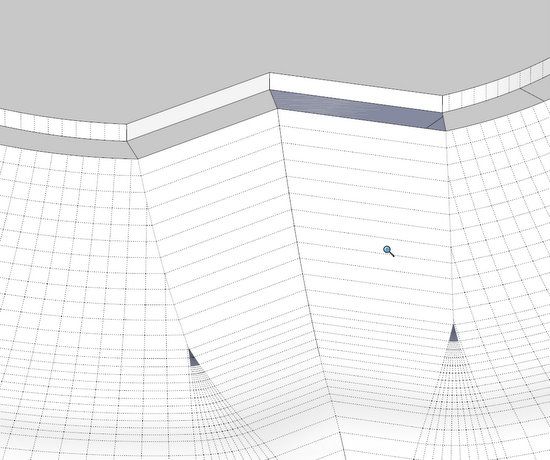
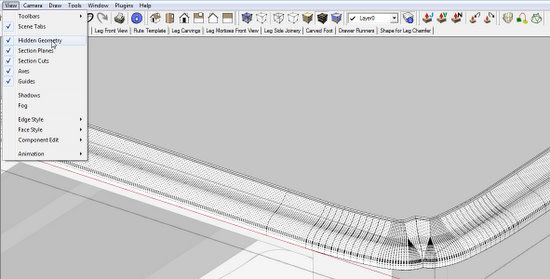
I turn on Hidden Geometry which you will find in the View Menu. There are three missing faces, two small triangles and a flat face above (you can see through the hole to the inside face of the base of the Top).
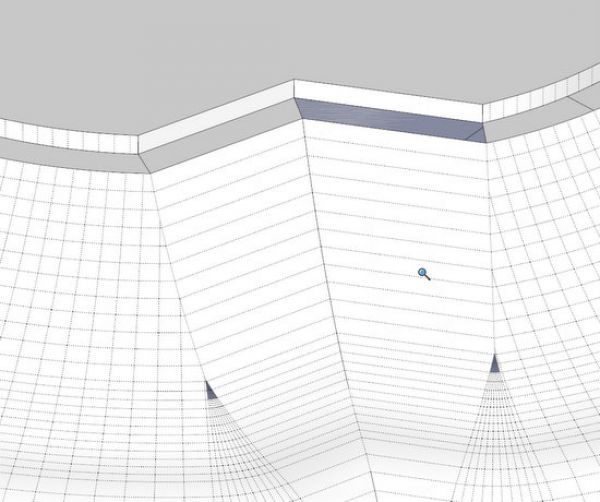
Now I can really get close and by using the Line Tool, I’m able to repair the hole and close in the faces.
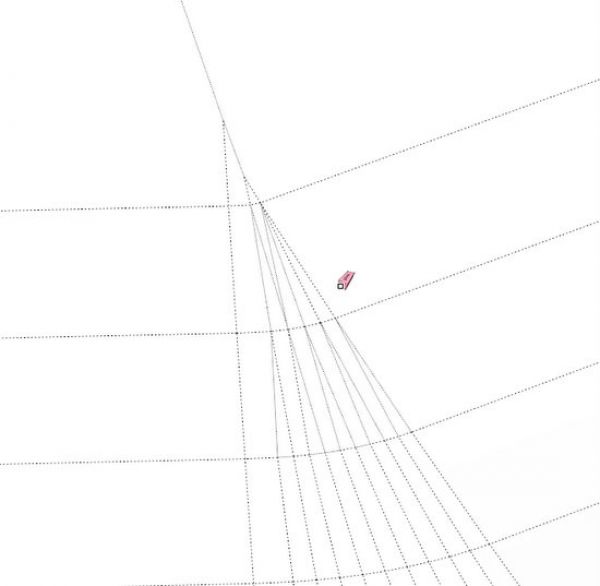
Here’s a closeup of the upper hole. Again with the Line Tool, I can trace over one of the edges of the hole, and the face closes in.
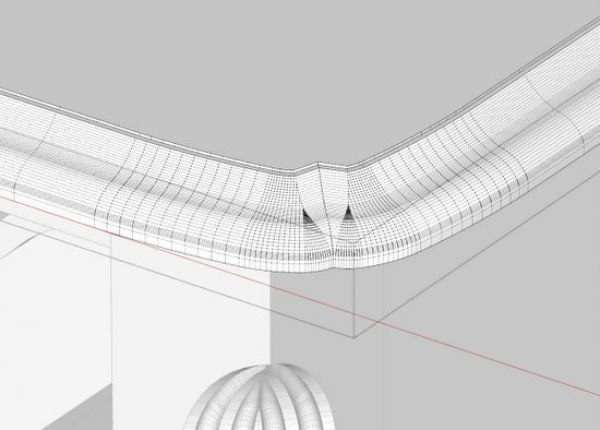
After the repairs, I zoom out. The Hidden Geometry is still “On”, but the repairs are intact.
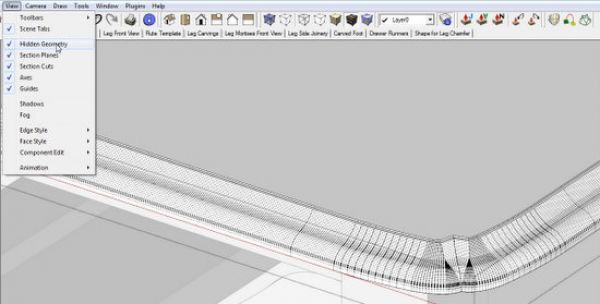
Go to the View tab and in the pop-up menu, click on Hidden Geometry to remove the checkmark.
This looks good.
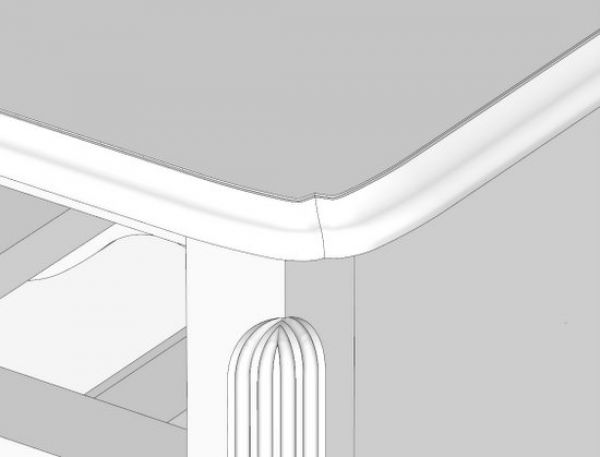
Here is the view of the model in 2 degree perspective. It looks funny and much like it would look in Parallel Projection.
You can also avoid the Clipping Plane by switching to Camera/Parallel Projection. It works but I find that using the Field of View is quicker and easier. When using Parallel Projection, I find that I have to re-orient the model and zoom in again.
Tim


Comments
I think of the clipping plane as a sheet of glass that's interposed between me and the model. When I get too close to the model, I crash into the glass. Decreasing the focal angle is the same thing as using a telephoto lens: I can stand further away (thus avoiding hitting the glass), but still have an image that's large enough for me to see fine details.
-Steve
I'm pretty new to SU so some of these things come up like
"Although working to avoid graphics anomalies (holes, gaps, missing faces, and distortions), nevertheless these things can show up when doing Intersections or Follow Me's on small curvatures." this happens to me a lot especially when curves are involved. Can you explain in more detail about the scaling you mentioned or a link if it's been covered before and not sure what you and Dave refer to as(in situ).
Thanks for the help.
Walt
Walt, SketchUp won't fill in tiny faces which are generally those with a side around 1/64" or less. When intersecting small radius curved surfaces, especially with a large number of sides, it isn't uncommon to have these tiny gaps occur. By scaling up the model or at least the component in which these tiny faces might occur before doing whatever it is that creates them, you can avoid the gaps in the first place. The "whatever it is" is commonly a Follow Me operation of an Intersection.
"In situ" refers to building the model with all parts in place. Some folks like to draw each part separately and then move them into place to assemble the model much like you'd do in the shop. I think Tim agrees with me that this has the potential to create errors. It also means you're working harder than you need to. For example, if you are drawing a table, draw and place the leg components first. The draw the aprons, stretchers and so on to fit in between. If you've located the legs properly at the beginning, the other parts have to fit and you don't need to concern yourself with the lengths of aprons or anything at that phase of the modeling. If you draw all the parts separately, you have to know in advance who long to make the aprons. Then you have to go through the process of moving them into place. For examples of modeling in situ, see my videos at the following links.
https://www.finewoodworking.com/item/22911/a-fern-stand-demonstrating-my-drawing-process
https://www.finewoodworking.com/item/24328/jeffersons-bookstand-another-workflow-example
Dave
Log in or create an account to post a comment.
Sign up Log in