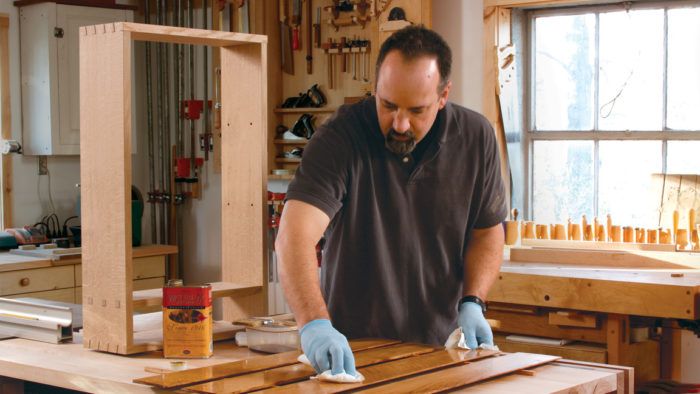
For me, the ideal finish for handmade furniture is a silky smooth, low-luster finish that lets the beauty of the wood shine through. over the years, I’ve tried countless products and techniques trying to achieve this look. Some required elbow grease and homemade concoctions. Some took weeks to apply. Some looked great at first only to fade over time.
Finally, I’ve found a finish that gives me the durability and flawless look I want along with easy application. The answer is wiping varnish. It’s a versatile finish that is thin enough to wipe on, but dries hard even when applied in thicker coats. This allows me to build the finish quickly, then end with thin coats that give me just the look I want. My brand of choice is waterlox, a tung-oil-based varnish. It builds quickly, levels well when brushed on, and adds a beautiful amber tone to the work.
In finishing, the technique is just as important as the product, and the directions on the back of the can just don’t cut it. I’ll share the simple steps I’ve discovered for fast, dependable results. I’ll also show you how to apply wiping varnish for a high-luster look, suitable for high-style furniture.
Simple steps to a flawless finish
As opposed to oil finishes, which must go on in thin coats, wiping varnish lets you build the finish fast, level it, then continue with thin coats that dry quickly. One secret to a durable finish is to build to a little higher gloss than you’re aiming for, then rub it out to a lower luster. This way, you have a thick enough film for adequate protection with the sheen you want.
Step 1: Flood it on and wipe it off
For this thin-film approach to work, careful surface prep is crucial to remove any mill marks, sanding scratches, or tearout. Be sure to sand to P320 grit, or higher for blotch-prone woods.
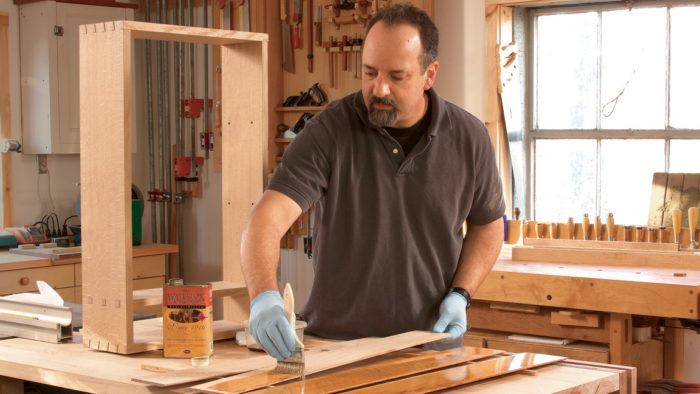
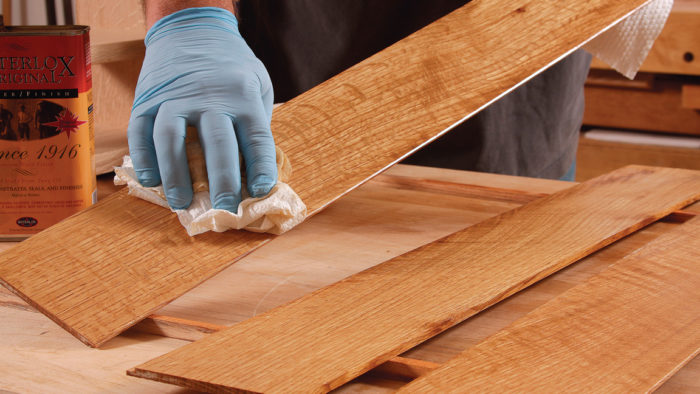
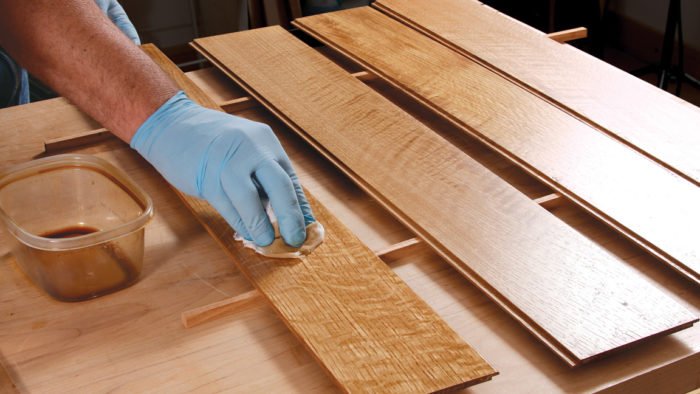
With that done, begin applying the finish by brushing on a liberal coat. The finish will penetrate the bare wood, so apply more finish to any areas that begin to look dry. After 10 minutes or so, wipe the entire surface dry.
Step 2: Wipe on a coat and leave it
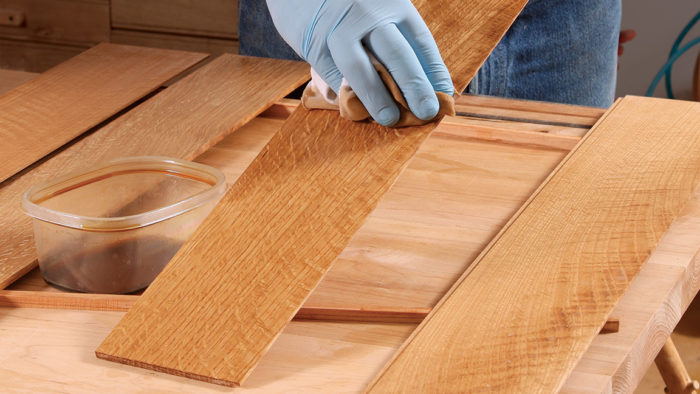
The second coat also will go on heavy, but this time you’ll leave more of it behind. So now you should switch to a clean cotton cloth, as wiping is easier to control than brushing.
After coating the surface with circular strokes, wipe the finish gently in the direction of the grain, working to level it without wiping it off. Let it dry overnight.
Step 3: Level the surface
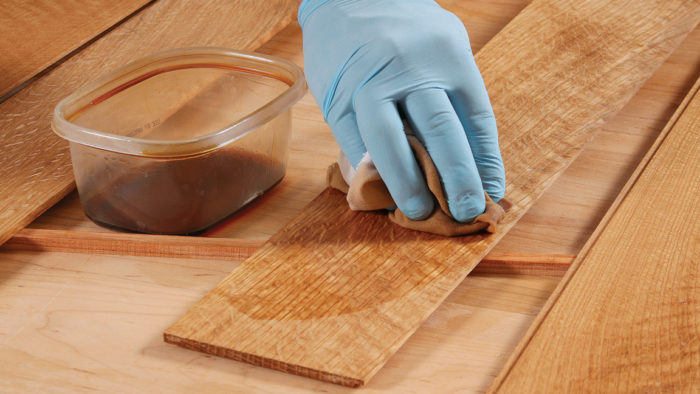
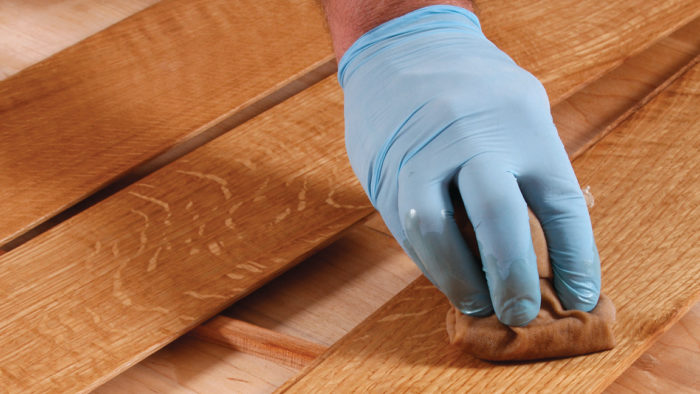
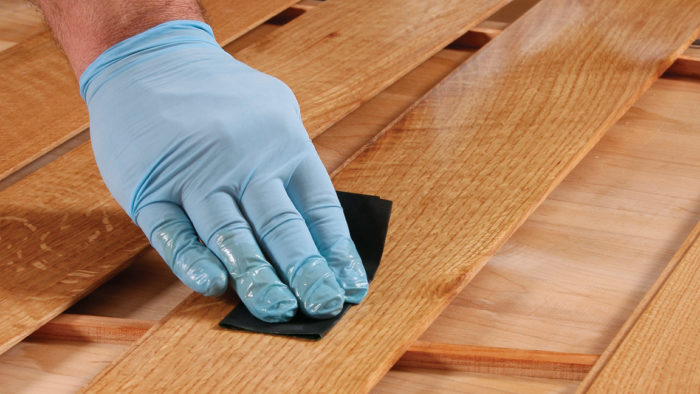
Once the first two coats have dried, there may be areas of raised grain or dust nibs, so it’s important to smooth the surface. The easiest way is to apply a thin third coat of finish and wet-sand it with P400-grit paper. the result is a sealed, smooth starting point from which to begin applying the remaining coats. Wet-sanding lubricates the sandpaper and prevents clogging, allowing the paper to cut more aggressively while still leaving a fine scratch pattern. Let it dry overnight.
Step 4: Add a few thin coats
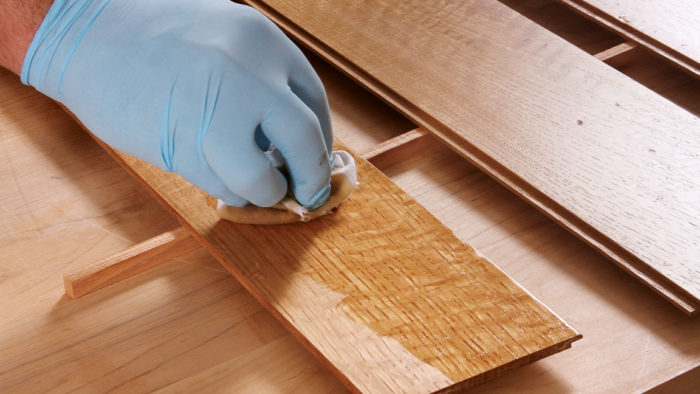
With the foundation coats applied and the surface smoothed, continue building the finish in a series of thin coats that level easily and dry quickly enough to avoid dust nibs.
Again, start with a circular motion to apply the varnish. Then follow the grain with light strokes to even out the finish without completely wiping it off, and allow it to dry. Fourt to six of these light coats should build up enough finish to protect the wood without encasing it in a heavy film.
Step 5: Rub it out with steel wool
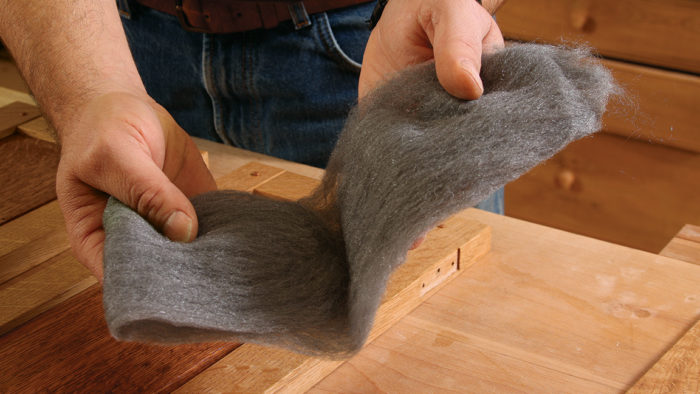
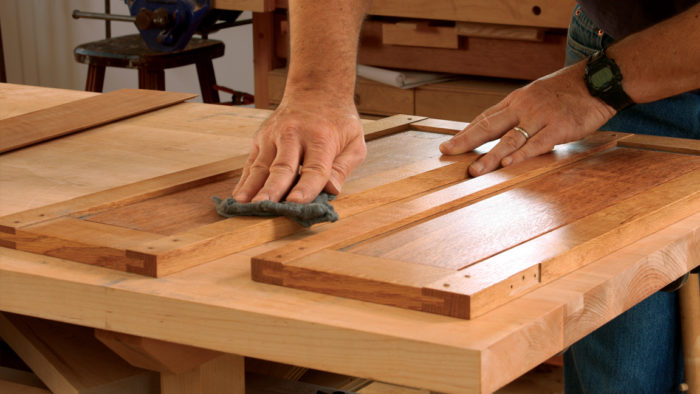
For years, I applied wax with steel wool. Why not? It killed two birds with one stone, rubbing out and waxing the piece in one step. Trouble is, wax makes it hard to see the scratch pattern created by the steel wool, and it’s easy to end up with an uneven sheen.
Rubbing out the surface first with steel wool alone lets you see what you’re doing. Afterward, you can apply the wax with a cloth. For broad, flat surfaces, you can also wrap the 0000 steel wool around a cork-faced sanding block. Wipe the surface clean to check your progress. The finished result should be a dull, even sheen.
Step 6: Wax is the final touch
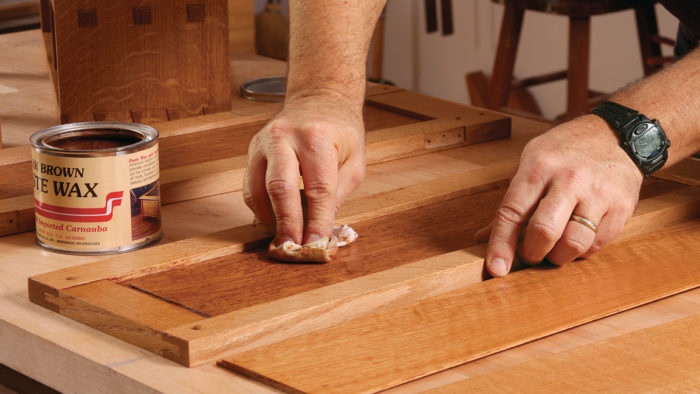
A coat of wax will protect against scuffing and bring out the shine. The solvents in wax can soften a fresh finish, so let the finish cure for a week or so before applying the wax.
When wiping on wax, I dampen the cloth with mineral spirits first. It thins the wax and allows me to apply an even coat that’s easier to buff when dry.
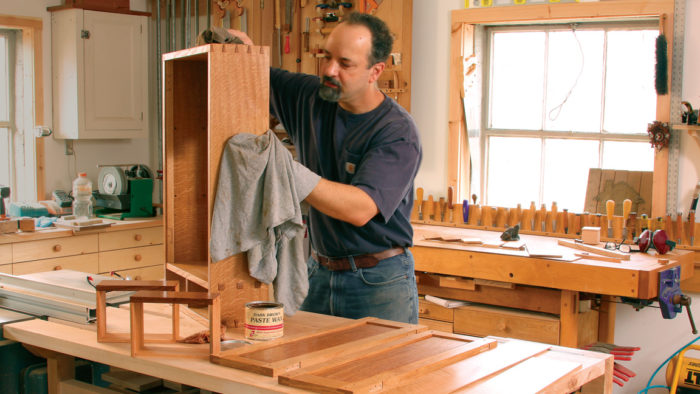
For more on finishes, check out these articles:
- The Confusion Over Wipe-On Finishes
- Wiped-On Varnish
- Tool Test: Wiping Varnishes
- A Durable Wipe-On Top Coat
- Another foolproof finish
Fine Woodworking Recommended Products
Odie's Oil
Diablo ‘SandNet’ Sanding Discs
Osmo Polyx-Oil




Log in or create an account to post a comment.
Sign up Log in