Period-Perfect Bracket Feet
Best approach is a combination of machines and hand tools
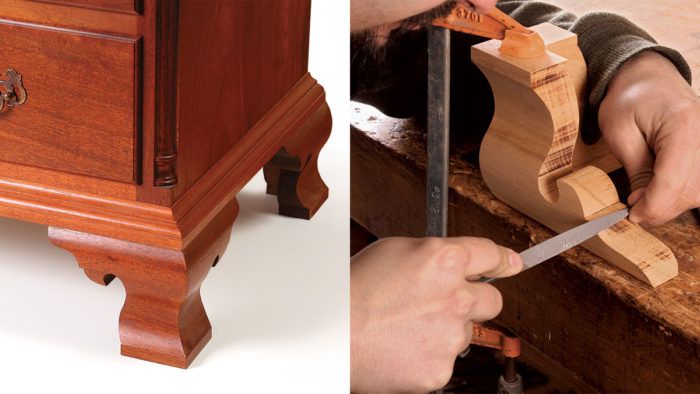
Synopsis: One of the most recognized forms in furniture, ogee bracket feet were traditionally made with hand tools. But shaping the distinctive S-curve on the faces and ornate profiles on the ends using hand tools alone is a labor-intensive process, so Dan Faia uses a technique that combines the best of new and old. He uses a tablesaw to rough out the ogee profile and a bandsaw to cut the end profile. Then he turns to hand tools for the final shaping needed to refine the machine-cut shapes into the classic form.
Ogee bracket feet, often linked to the Chippendale style, have been around since the late 17th century, and they remain one of the most recognized forms in furniture.
The distinctive s-curve on the faces (the ogee) and the ornate profiles on the ends of the feet traditionally were made with hand tools—a time-consuming, labor intensive process. My method blends the best of the new and old. I’ve replaced the molding planes with the tablesaw to rough out the ogee profile, and the bandsaw has replaced the coping saw for cutting the end profile. However, machines can’t replace the scrapers and other hand tools that are necessary to refine those machine-cut shapes.
Tablesaw takes the big bites
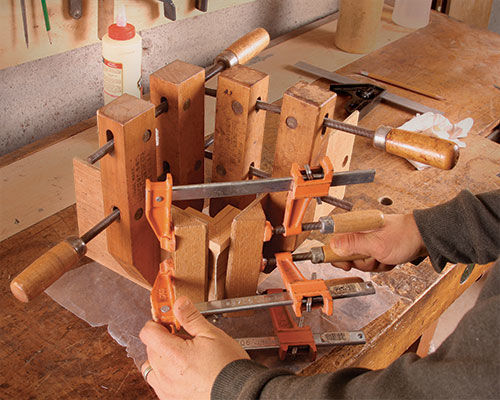
The front pairs of feet typically are mitered. To get the best possible grain match and flow, and for efficiency, start with a long blank, milled to the right size. You’ll need a board long enough to make six pieces. You’ll also need enough stock to make the unshaped portions of the rear pairs of feet, which are dovetailed together. Often these unshaped pieces were made of a secondary wood, because they were not seen.
The key to success is making a couple of full-size patterns out of 1⁄8-in.-thick plywood, which will guide both machine and handwork (to learn more about designing ogee bracket feet, see Master Class, p. 90). I use one pattern to draw the ogee profile on each end of the blank. After the ogee shaping is complete, I use another pattern to lay out the miters and to draw the profile on the inside of the foot.

For speed and consistency, I shape the face of the long blank on the tablesaw, using a cove-cutting technique. This is done by passing the piece diagonally across the blade, guided by an auxiliary fence, and raising the blade a bit more for each pass. You can use any straight material for the fence, as long as it’s thick enough to support the workpiece. The fence I made is simply two 3⁄4-in.-thick strips of MDF. After screwing the pieces together, I ripped both long edges straight. I don’t use a special blade for the cove cut; it’s just a combination blade.
Because this cove cut is symmetrical, the blade will be perpendicular to the table (an asymmetrical cove would require the blade to be tilted). Start by raising the blade to the apex of the cove, using the pattern as the guide.
Now dial in the width of the cove by pivoting the auxiliary fence. Place the end of the pattern against the fence. To ensure accuracy, use the head of a combination square to keep the pattern 90° to the table and fence. With your eyes level with the table, pivot the fence until the blade aligns with the cutout on the pattern. Clamp the fence in place and make a test cut.
For the full article, download the PDF below:
From Fine Woodworking #220
Fine Woodworking Recommended Products

Dividers

Stanley Powerlock 16-ft. tape measure

Compass


Log in or create an account to post a comment.
Sign up Log in