Routing a Mortise for a Knife Hinge
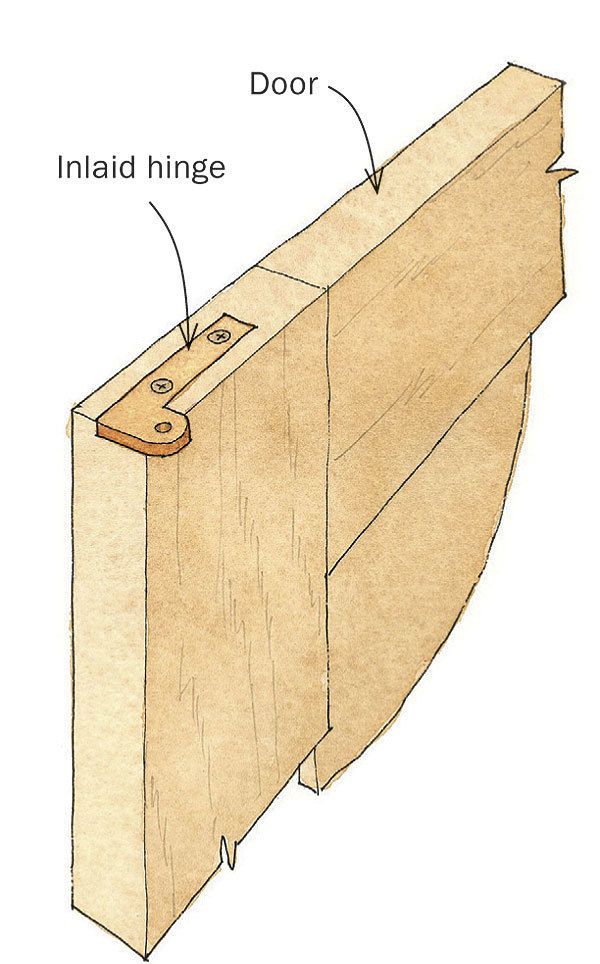
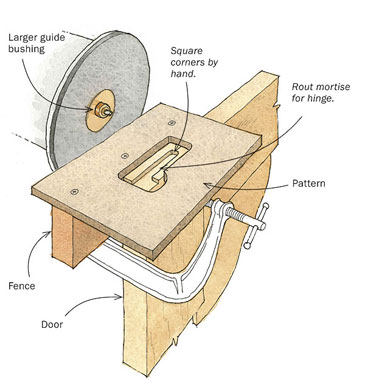
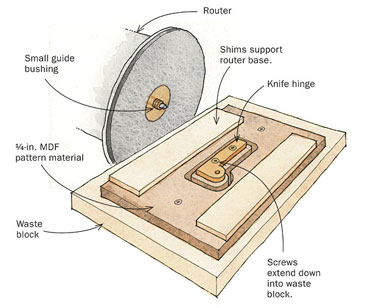
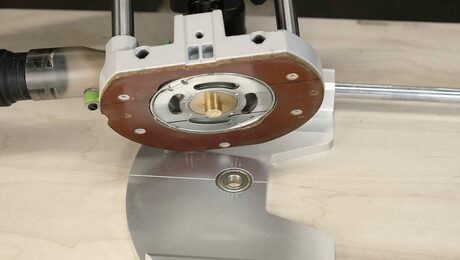
Router inlay sets are used to make precise inlays such as dovetail keys in a tabletop. But they also can be used for many other tasks, including precise mortises for a knife hinge. A router inlay set (woodcraft.com; No. 09I16) consists of a downcut spiral bit (0.125 in.), a small guide bushing (0.310 in. dia.), and a larger guide collar (0.560 in. dia.), which fit into an attachment ring on the base of the plunge router. You have two guide bushings—one that follows a pattern to cut the inlay and one that follows the pattern again to cut the recess. Start by making the pattern right from the knife hinge. Screw one hinge leaf to a piece of MDF or hardboard. Use doublestick tape to attach shims (the thickness of the hinge leaf) on both sides to support the router base. Install the small guide bushing on the inlay set on the router. Now plunge through the MDF with the small guide bushing riding around the perimeter of the hinge leaf. Remove the hinge leaf, discard the waste piece of MDF the hinge is fastened to, and you are left with a large pattern in the shape of a knife hinge. To complete the pattern, attach a fence to the bottom that locates the pattern on the workpiece and provides a clamping place.
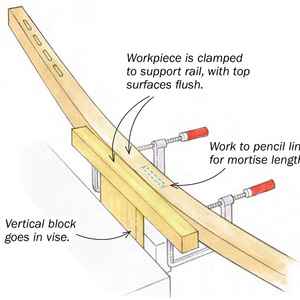
Now attach the larger collar to the inlay set, set the router bit to a depth equal to the thickness of the hinge leaf, clamp the pattern to the workpiece, and rout the hinge mortise. Square up the corners by hand. The resulting mortise will be a perfect press-fit for the hinge. For convenience, I made two patterns (the second is an upside-down version of the first) to cut mortises in the door and cabinet for both right-hand and left-hand hinges. You also could flip the same pattern over and reattach it to the fence.
 |
Fine Woodworking Recommended Products
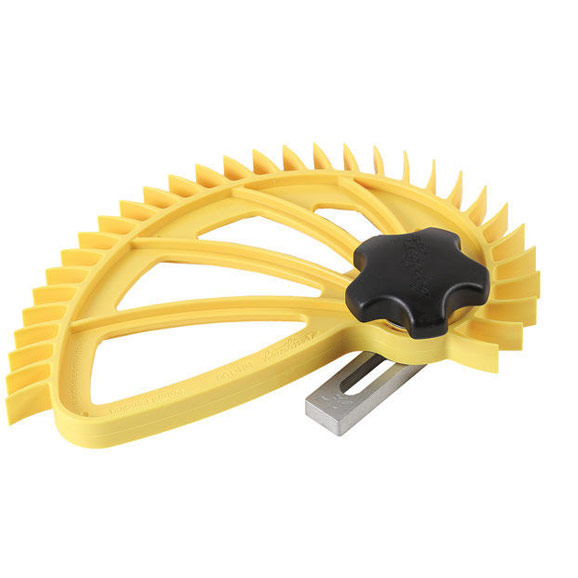
Hedgehog featherboards
Incra Miter 1000HD
Double Sided Tape






Log in or create an account to post a comment.
Sign up Log in