Build a Serpentine Sideboard, Part 1
Start with the curved front and you are halfway done with this Federal masterpiece
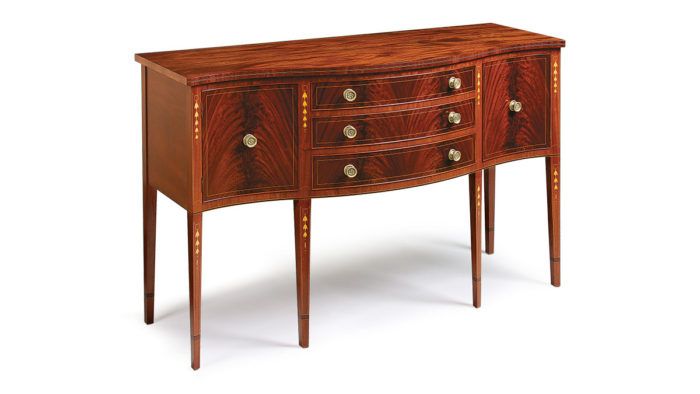
Synopsis: With its sweeping facade, this Federal sideboard is an ambitious project. The doors and drawers are curved and veneered with mahogany. The six legs—two rear corner, two front corner, and two front center—are all shaped to match the front so the serpentine curve is smooth and uninterrupted. The legs are adorned with one of the signature items of Federal-style furniture—bellflowers. Take the time to practice on each of these tricky parts and your final result will be well worth the effort.
I was inspired by a number of pieces from the Carolinas when designing this sinuous, Federal-style sideboard.
Serpentine sideboards are some of the most challenging, and consequently the most rewarding, pieces to build. The sweeping façade makes them graceful and elegant, but introduces some serious head-scratching, at least the first time around. I’ve done all the problem-solving for you, and to guide you through every key step, we are making this article a two-parter. In this half, I’ll take you through the twists and turns of making the front and show you how to add the optional Federal-style inlay, and then in Part 2 I’ll demonstrate a way to build the rest of the piece quickly and efficiently. Look for the second half in FWW #224 in two months, right after the annual Tools & Shops issue.
Everything starts with the doors

The sideboard’s two curved doors have a core of laminated bending plywood edged in solid mahogany and face-veneered with mahogany. Any time you are working with curved laminations, there may be a little variation in the sweep of the curve from one example to the next. If this happens, it is easy to tweak the curve of the front rails to match the doors, but it’s much harder to finetune the doors to fit an already-constructed carcase.
Draw a full-scale plan and build a couple of practice doors, without skipping a single step in the process. Even making one sample door might seem a waste of time and wood, but the effort is rewarded many times over because you’ll avoid serious mistakes and can use the practice doors as setup pieces down the road.
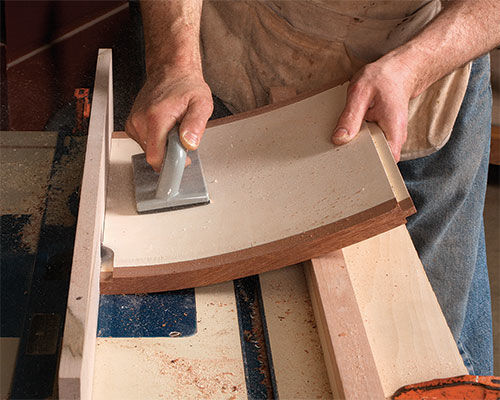
Build the core from six layers of 1/8-in.-thick bending plywood laminated with liquid hide glue. Unlike white and yellow glues, liquid hide glue leaves a rigid bond that won’t creep, which would allow this tight bend to relax and change shape. After pressing the plies against a curved form in a vacuum bag, trim the core and apply the solid mahogany edging.
The doors and drawer fronts on this piece are made from four book-matched mahogany veneer crotches. To make them easier to work and to resist splitting, mount them to a backer veneer using liquid hide glue and then apply them to the curved core. After you veneer both faces of the door, trim any overhang with a chisel. Place the finished doors on the plan and tweak the drawing to match the doors. Ideally, the change will be minimal.
For the full article, download the PDF below:
From Fine Woodworking #222


Log in or create an account to post a comment.
Sign up Log in