How to Sculpt a Contemporary Piece
Symmetry is the goal and smart layout is the solution
Synopsis: Learn how to shape curved chair parts that are attractive and comfortable. Danny Kamerath breaks his technique down to three steps: rough out the shape at the bandsaw, shape the concave and convex surfaces with an angle grinder, then refine and smooth the curves using a power sander. A grid layout helps him keep the sculpted seat symmetrical.
From Fine Woodworking #222
Many of the chairs I make have shaped parts, and I’ve learned that they should feel as good as they look. Over the years, I’ve tried many tools and techniques and the ones I use now are the most efficient way to make shaped chair parts that are attractive and comfortable.
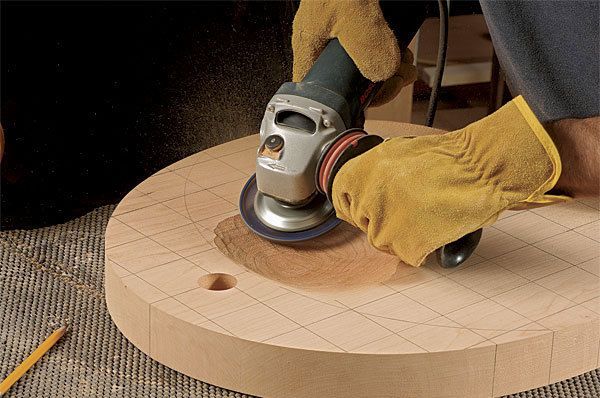
My layout tools are important, because they help me get a symmetrical shape. I use plastic vellum, a flexible ruler, a drafting triangle, a compass, and a pencil. The technique can be broken down into three steps: First, I rough out the shape at the bandsaw. Then I use an angle grinder equipped with a coarse disk called the Holey Galahad (katools.com, No. 47851 RCB) to shape the concave and convex surfaces. I follow that with a power sander and various grits of sandpaper, a coarse file, and sanding blocks to refine and smooth the curves.
I should note that this is a loud and messy process. I always wear safety glasses, a dust mask, and hearing protection. I also wear a pair of heavy leather gloves and tuck in my shirttails. Finally, I work outside when the weather permits. If I’m stuck inside, I set up a dust collector and large shroud to capture as much of the fine dust as possible.
Bandsaw defines the perimeter: Start by milling a piece of lumber for the chair seat flat and square. Next, draw a centerline along the grain on both faces and both ends to help keep the seat symmetrical.
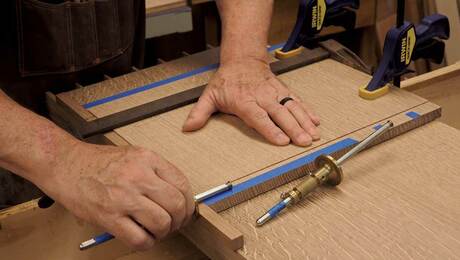
Now fold a large piece of vellum in half and draw the shape of half of the seat on it. Cut out the shape and unfold the vellum for a perfectly symmetrical pattern for the whole seat. Place it on the seat blank, lining up the fold in the paper with the centerline on the blank. Trace the shape onto the blank.
Cut just proud of the line at the bandsaw, then sand down to the layout lines, taking great care to keep the curve smooth and remove all of the flat spots. This is an important step, because all the grinding in the world won’t make up for a curve that starts out with flats. Here’s how I do it: I stop often and check my progress by holding the curve at eye level and looking for flats. I also quickly run my fingers along it. Their sensitivity makes it easy to find flats in the curve. Mark the flat spots and then continue to sand until they’re gone. Then drill holes for the back and legs at the drill press.
For the full article, download the PDF below:
Fine Woodworking Recommended Products

Blackwing Pencils

Stanley Powerlock 16-ft. tape measure


Log in or create an account to post a comment.
Sign up Log in