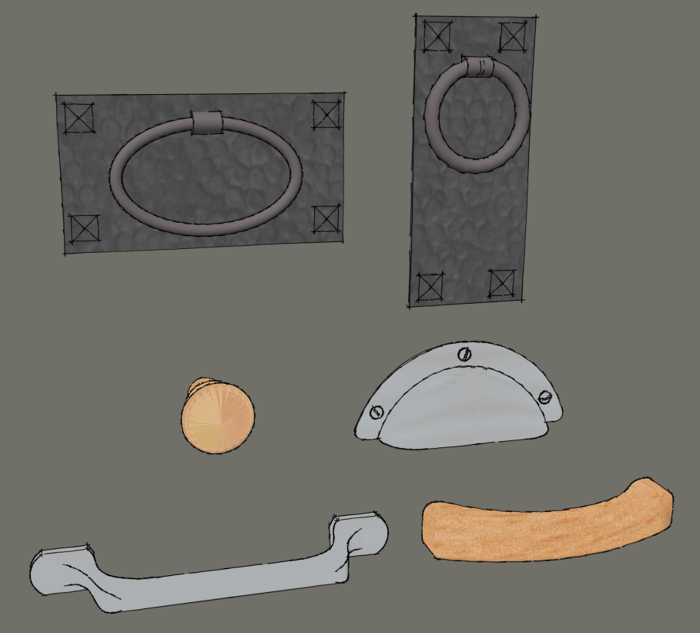
In my previous blog post I wrote about locating the insertion point of components to make it easier to place them. Doing that makes it possible to just drag and drop them into other models. They wind up in the right place with almost no effort or time investment.
One of the benefits of using components in your model is that all instances in the model can be quickly selected and replaced. To make this work correctlym, the insertion points on the components must be in the same relative positions.
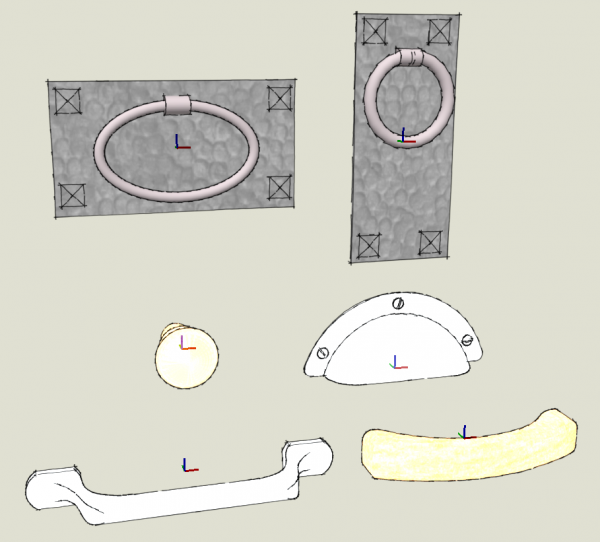
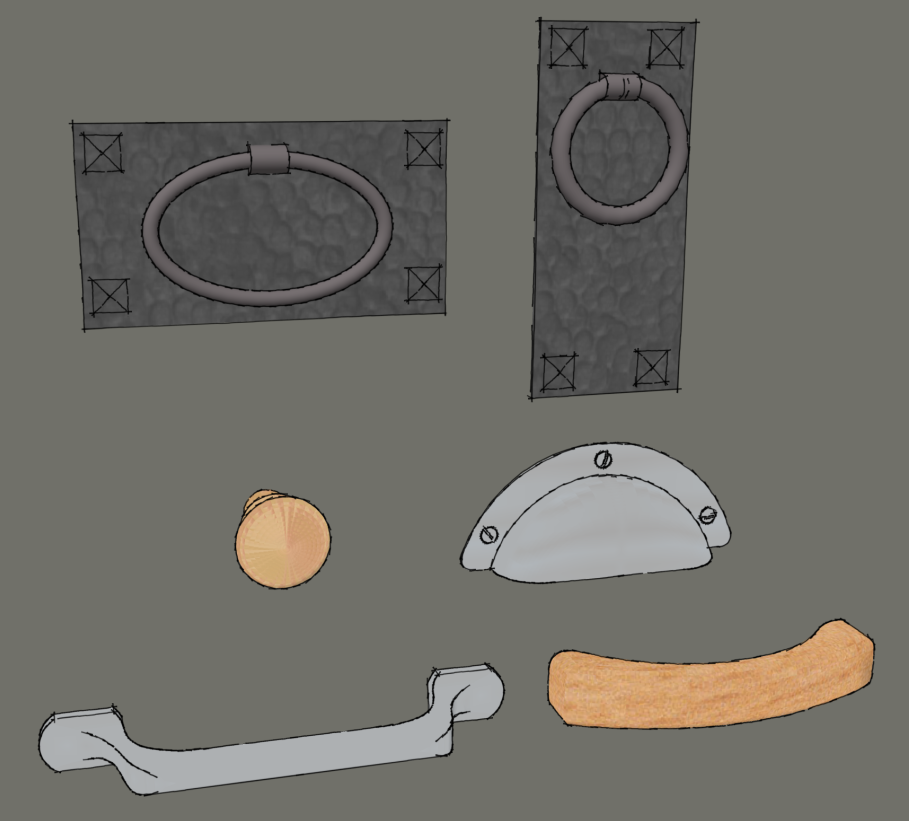
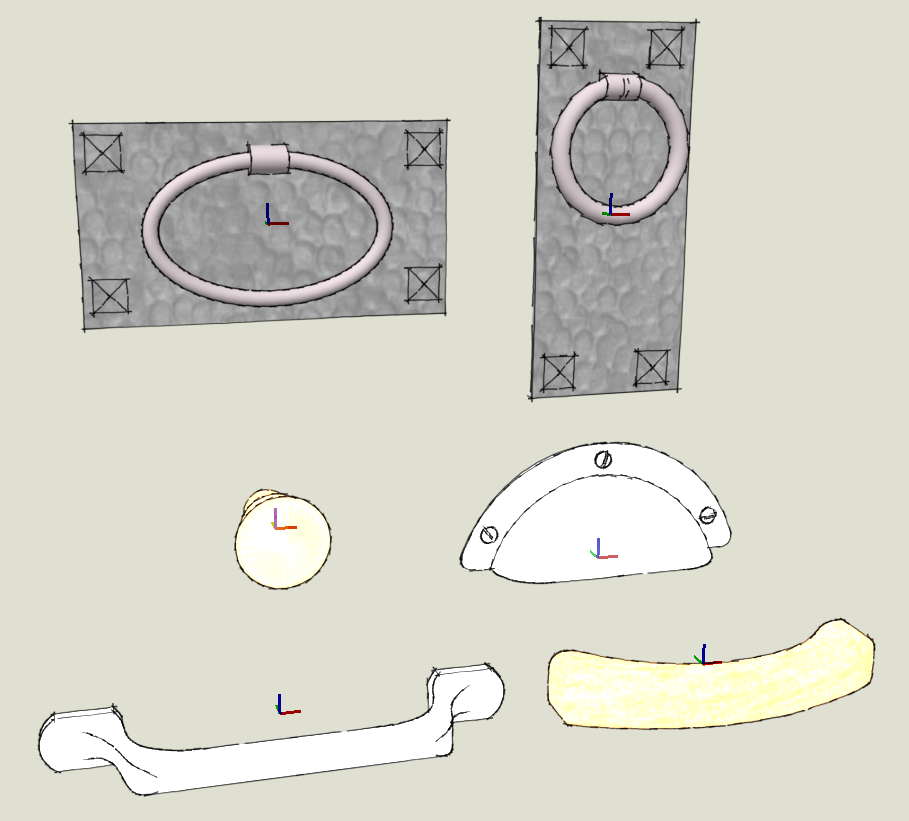
Here are six different drawer pulls I’ve drawn in the past few years. In each case, the component axes are located on the back plane at the center of the pull.
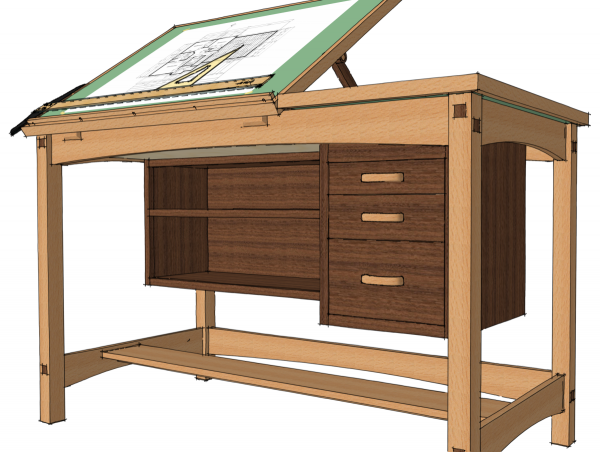
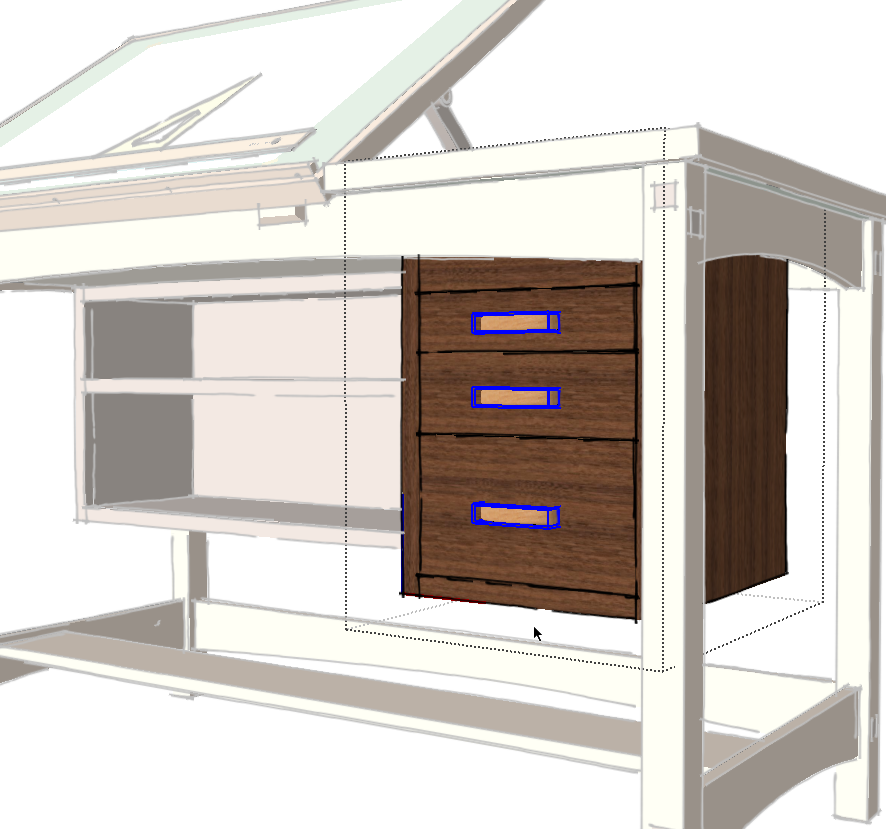
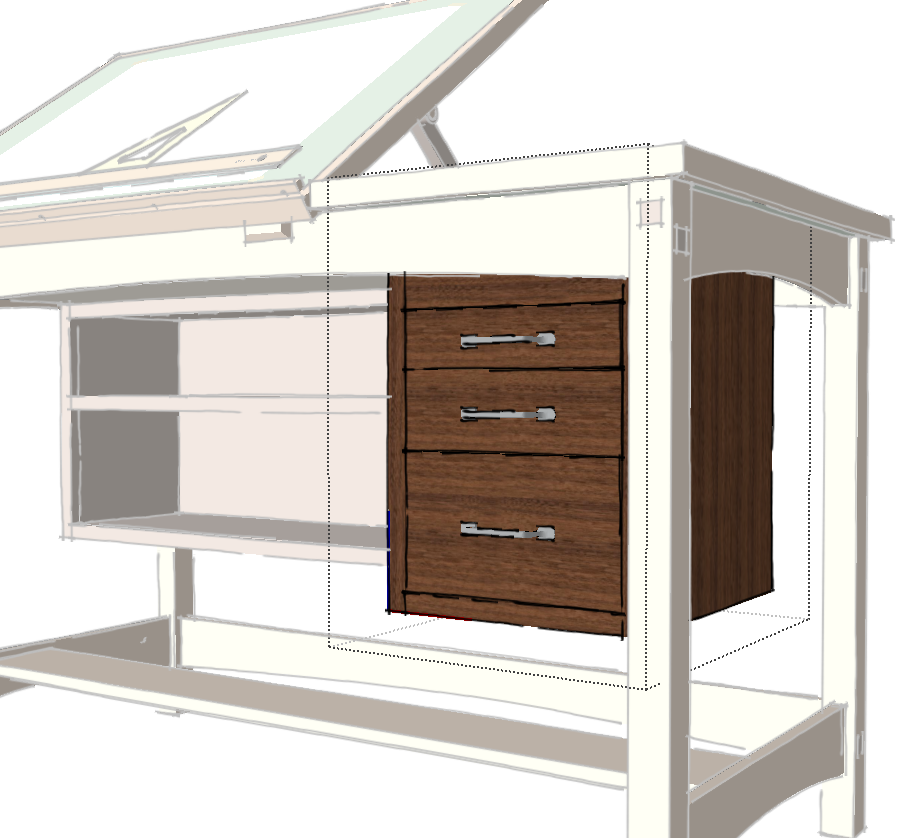
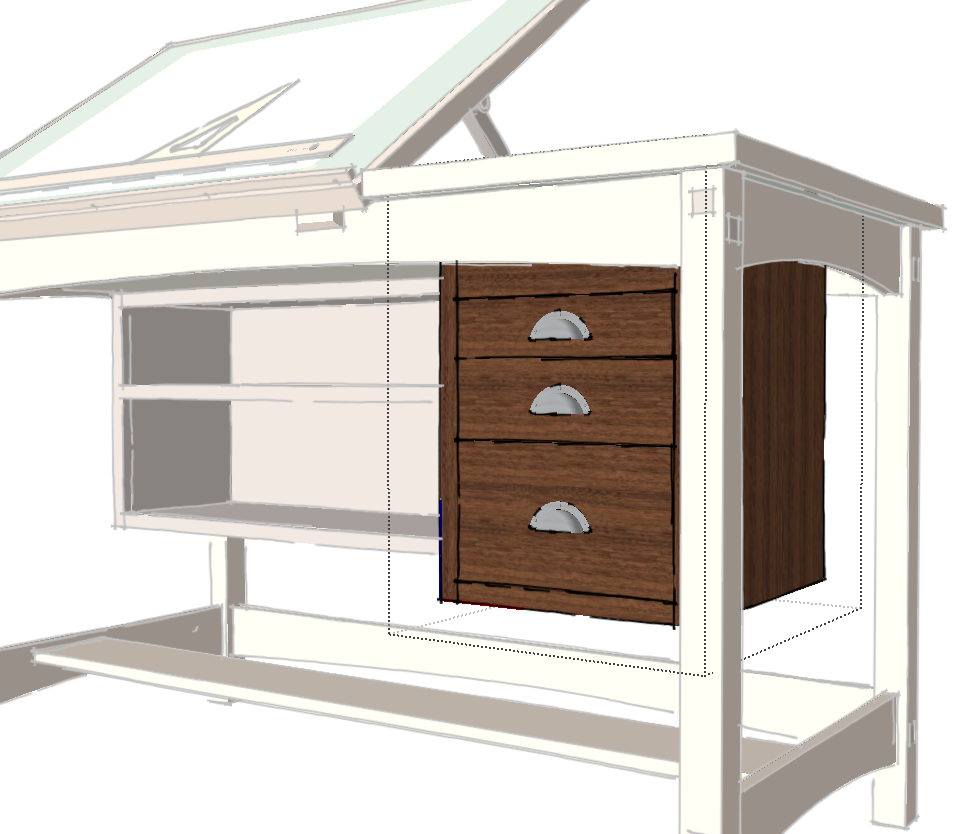
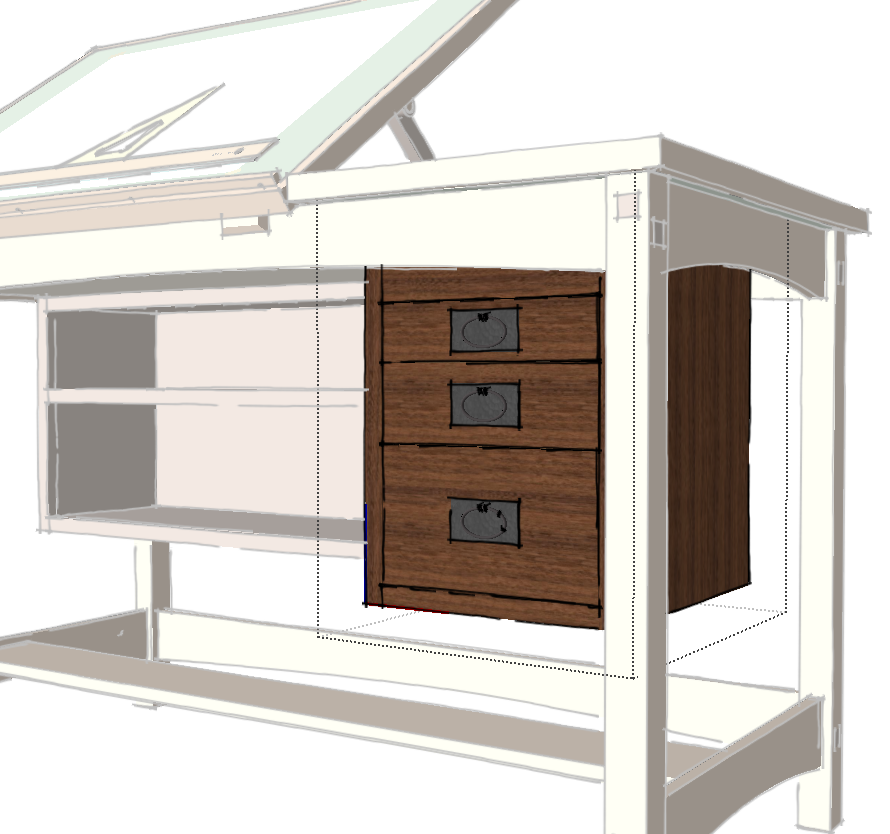
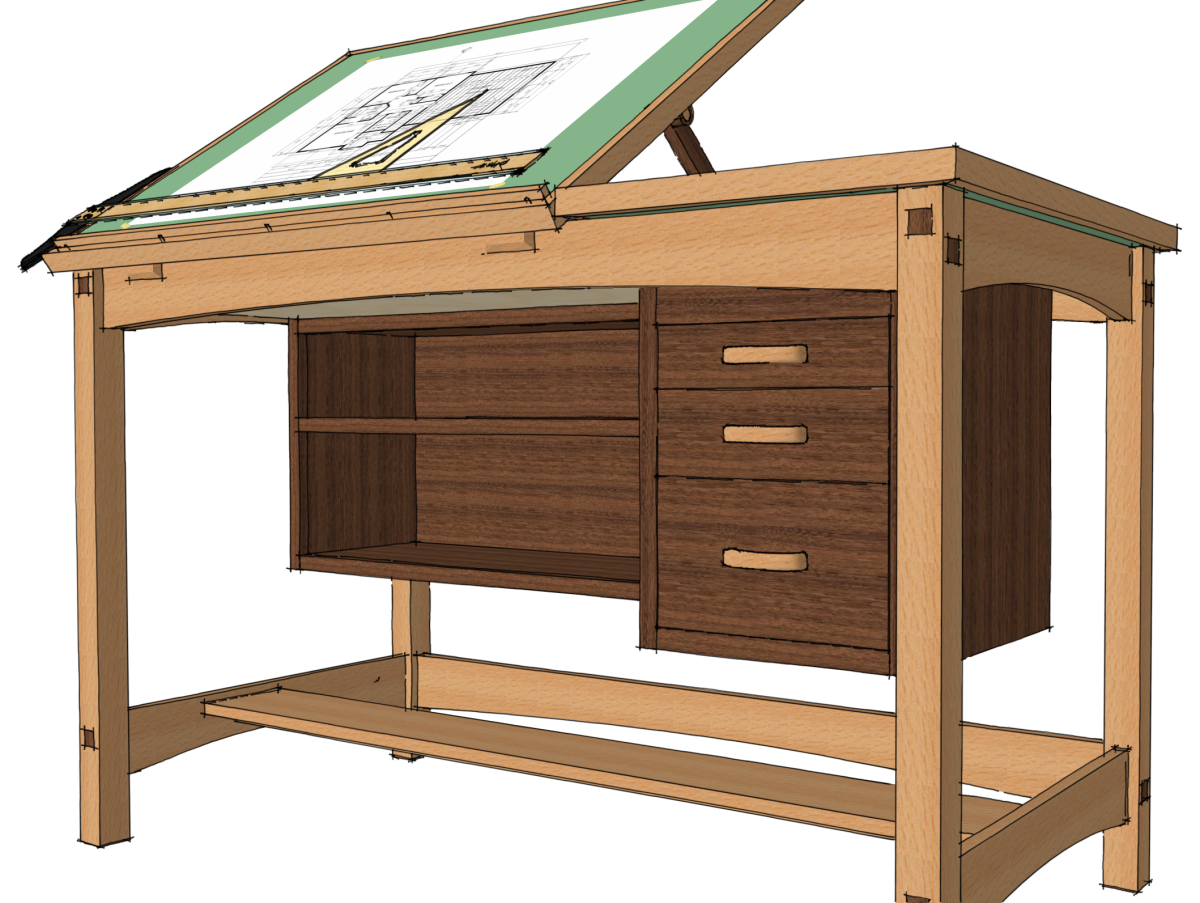
I can now easily change out the pulls on the drawers in this drafting table to see how they look.
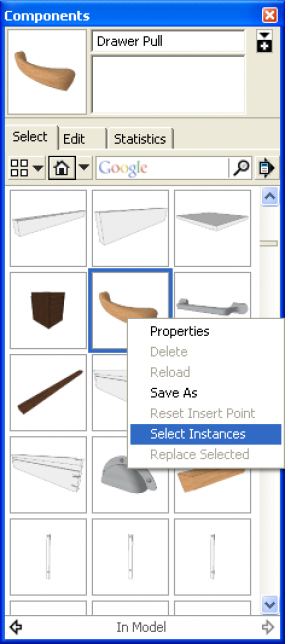
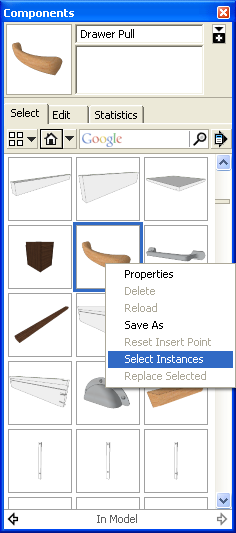
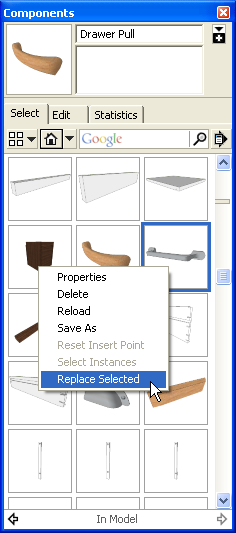
To swap the pull find the component in the In Model library in the Components browser. If, when you open the browser, it doesn’t show the In Model library, clickon the little house icon below the Select, Edit and Statistics tabs. Right click on the thumbnail for the component. Then click on Select Instances.
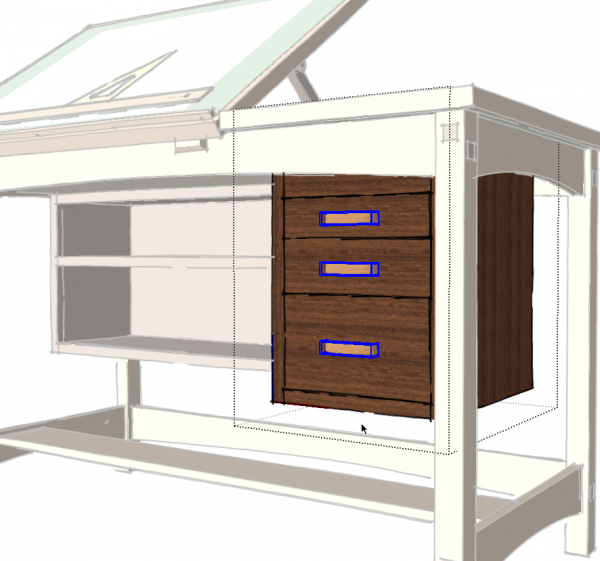
You’ll see all instances of the component are highlighted.
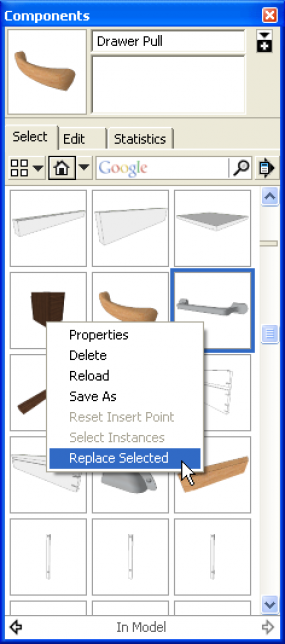
Navigate to the library containing the component you wish to insert. In my example, I already had the other pulls in the In Model library because I had inserted them previously and had not purged them from the library. Right click on the thumbnail and choose Replace Selected.
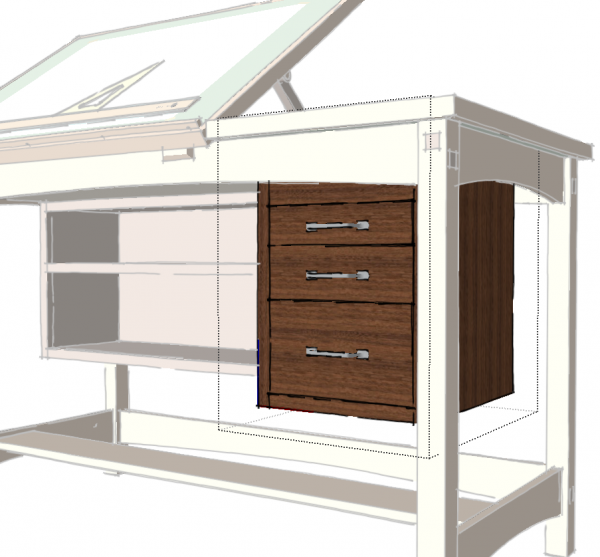
This process can be repeated as often as needed. The new components will rop into place exactly where the previous ones were located.
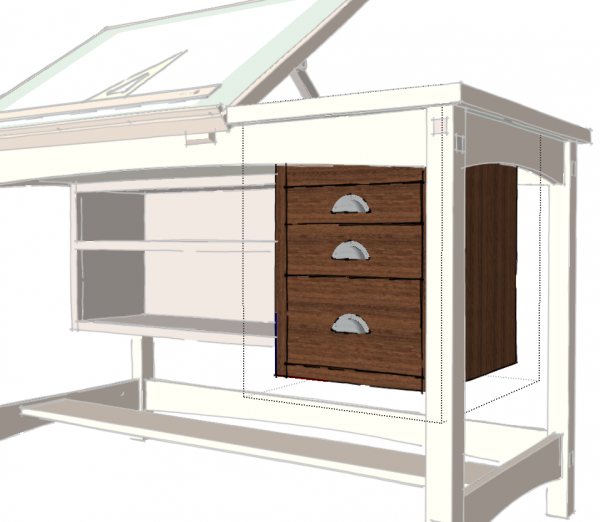

If you want to be able to show others these options, you might create and associate layers for each of the pull styles and create scenes to show each pull style in turn.
This same process could be used for cabinet door and drawer front styles or for different lights or any other elements for which you want to show different styles.
Another way to leverage this feature in SketchUp is to create proxy components for highly detailed elements in your model. The proxy components are extermely simplified and might be nothing more than a box or even a couple of lines. They are just intended as stand ins for the detailed components. Using the proxy helps to keep the performance of your computer up while you are modeling so you don’t spend a lot of time waiting for the screen to refresh every time you orbit or zoom. When you are ready to make the image exports, you can swap in the detailed components to replace the proxies. This could be handy if you have highly detailed turned table legs or appliances in a kitchen model or maybe trees surrounding your new dream shop building.
So if you are drawing components that you will use in other models, take a few minutes up front to make them faster to insert later and try to be consistent about how you do it.



Log in or create an account to post a comment.
Sign up Log in