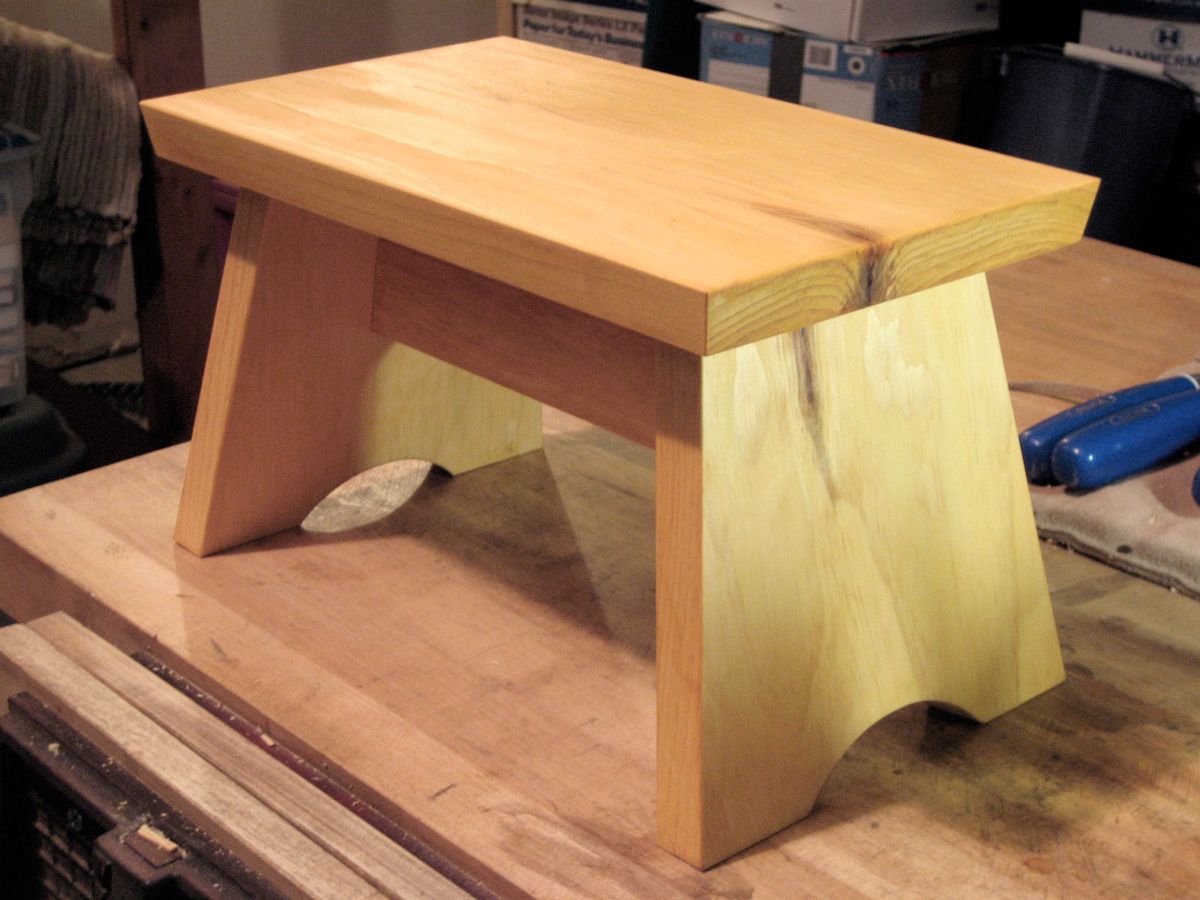
I built this small stool for my daughter over a weekend. She was continuously standing on a small decorative box that she would push to the window to look out. It seemed appropriate to build her a small stool as a replacement, and besides, I wanted to spend some time in the shop creating something. I certainly don’t have time for a highboy these days!. Or a lowboy for that matter.
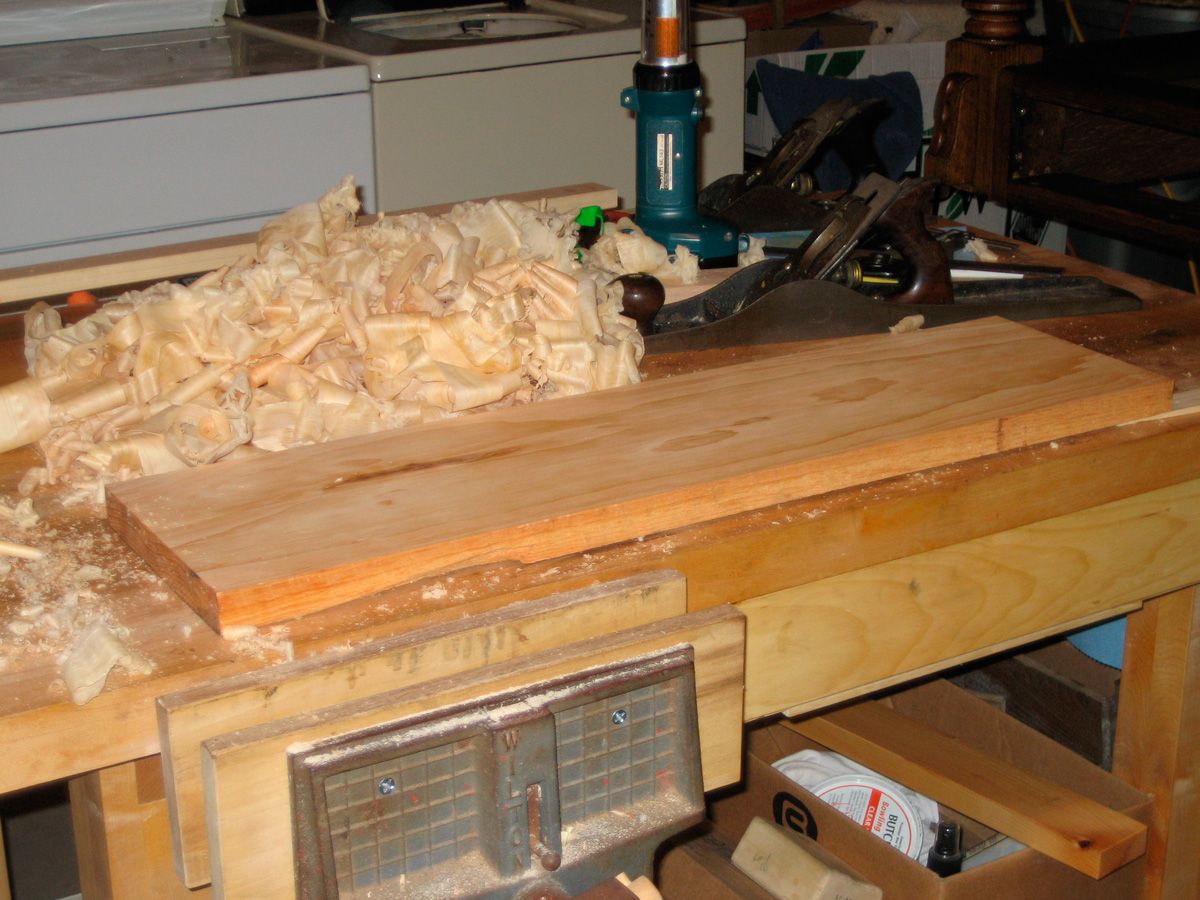
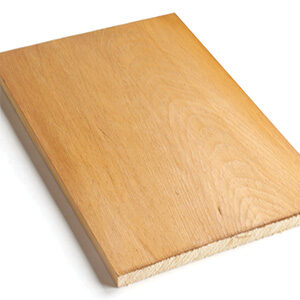
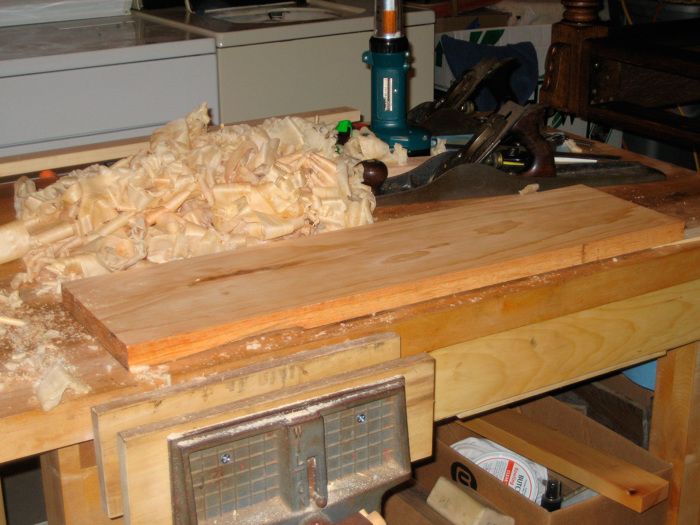
I had a small rough pine board that was about 3 feet long by 8 inches wide and 1 inch thick. Not having a mechanical jointer and planer at home, I made use of my antique handplanes and became my own apprentice flattening this one board. With the blades all honed sharp, I surfaced one face flat, and then the other. All in all it didn’t take as long as I had initially expected it to. About 5 minutes for the first face and maybe 10 to 15 on the reverse face.
I was designing this stool on the fly, with whatever tools I had at hand. I have a small arsenal of the typical hand tools most woodworkers own: a few hand planes, some chisels and one dovetail saw. My only machine at home is a tablesaw, and I utilized it as much as I could. I cut the three main parts from a single board. I cut the top from the middle of the board and the two legs came from each end. I used a second small board for a connecting stretcher between the legs and used mortise-and-tenon joinery throughout.
In a few hours I had all the parts milled flat and cut to size. I hammered the mortises out using two different sized chisels and cut the tenons with the dovetail saw. A bit of chisel work was used to clear out the waste between the tenons. It took about 5 hours to build this small stool and maybe another hour or two for a quick sanding and application of shellac.
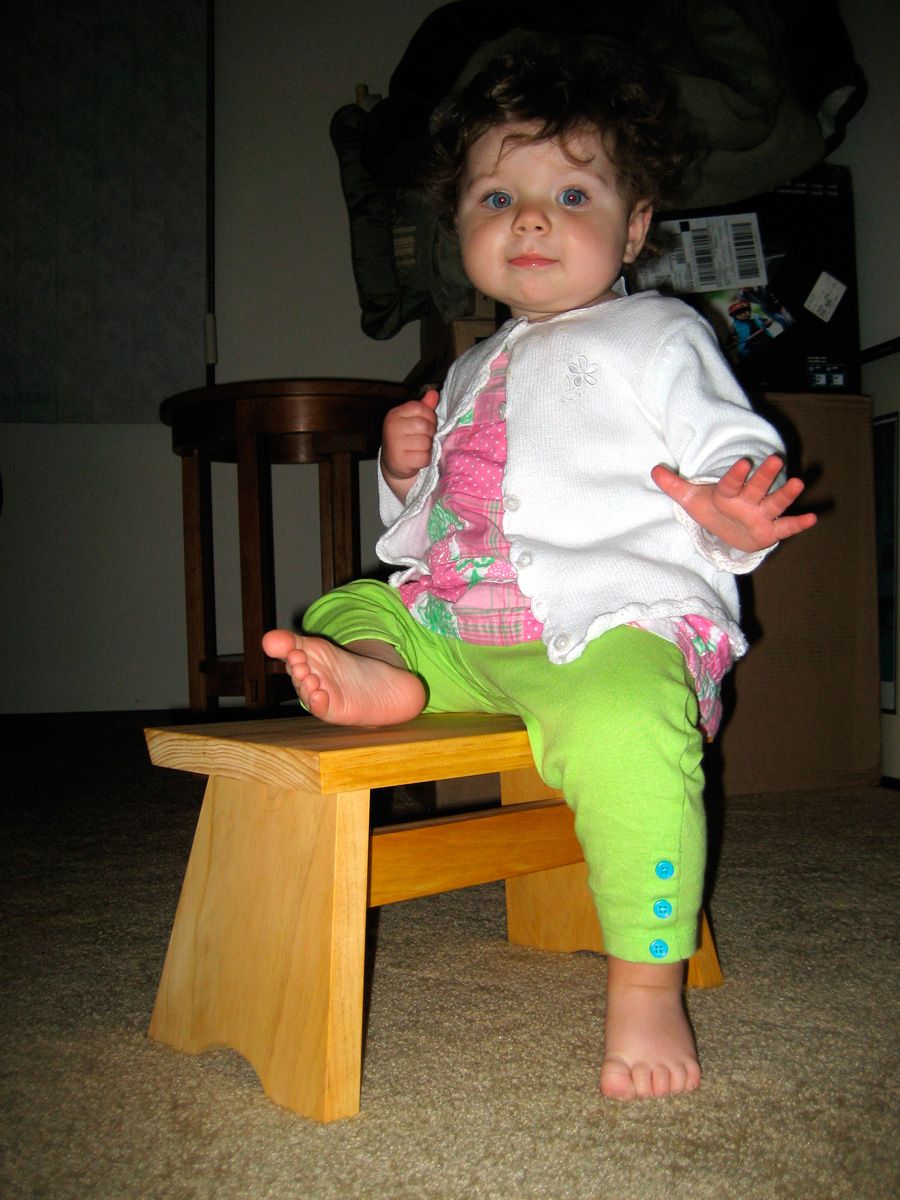
My daughter was quite happy with her new stool. When I presented it to her I expected her to either stand on it and look out the window or use it as a seat. But she proceeded to pick it up and carry it around the living room with her short pudgy arms wrapped around the top. Oh well. We all have our own ideas, even at this young of an age. She seems to like it and has had the opportunity to fall off it many times now. Nearly as many times as she trips over her own two little feet.
Sign up for eletters today and get the latest techniques and how-to from Fine Woodworking, plus special offers.
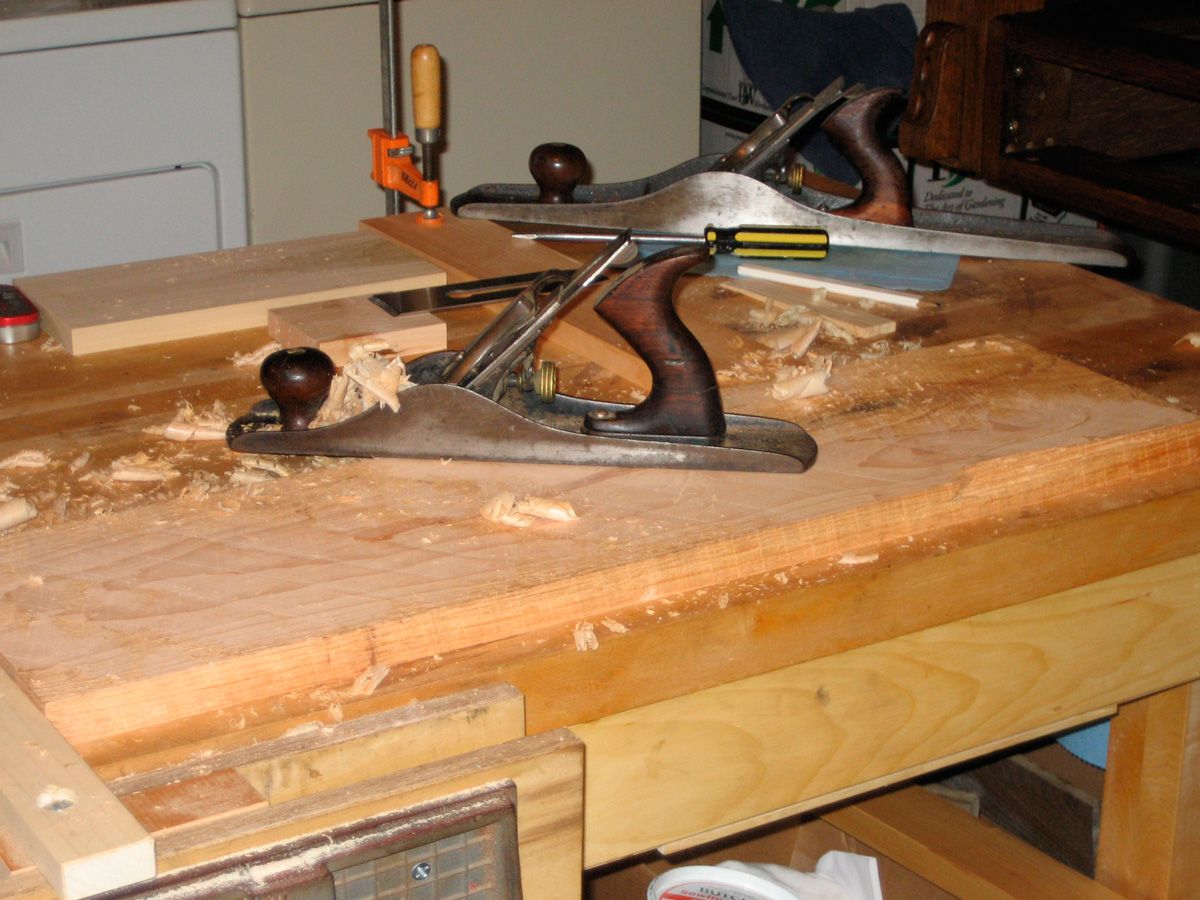
I surfaced the first side with a number 5 Stanely Bedrock hand plane and a number 7 jointer plane. It was quicker than I expected. That said, this is nothing more than a small pine board.
Starting the second face. I had marked a depth all around the edges with a marking knife to plane down to. I started working at an angle to the grain with the number 5. After about 5 minutes I decided that the board could be thicker than I first thought.
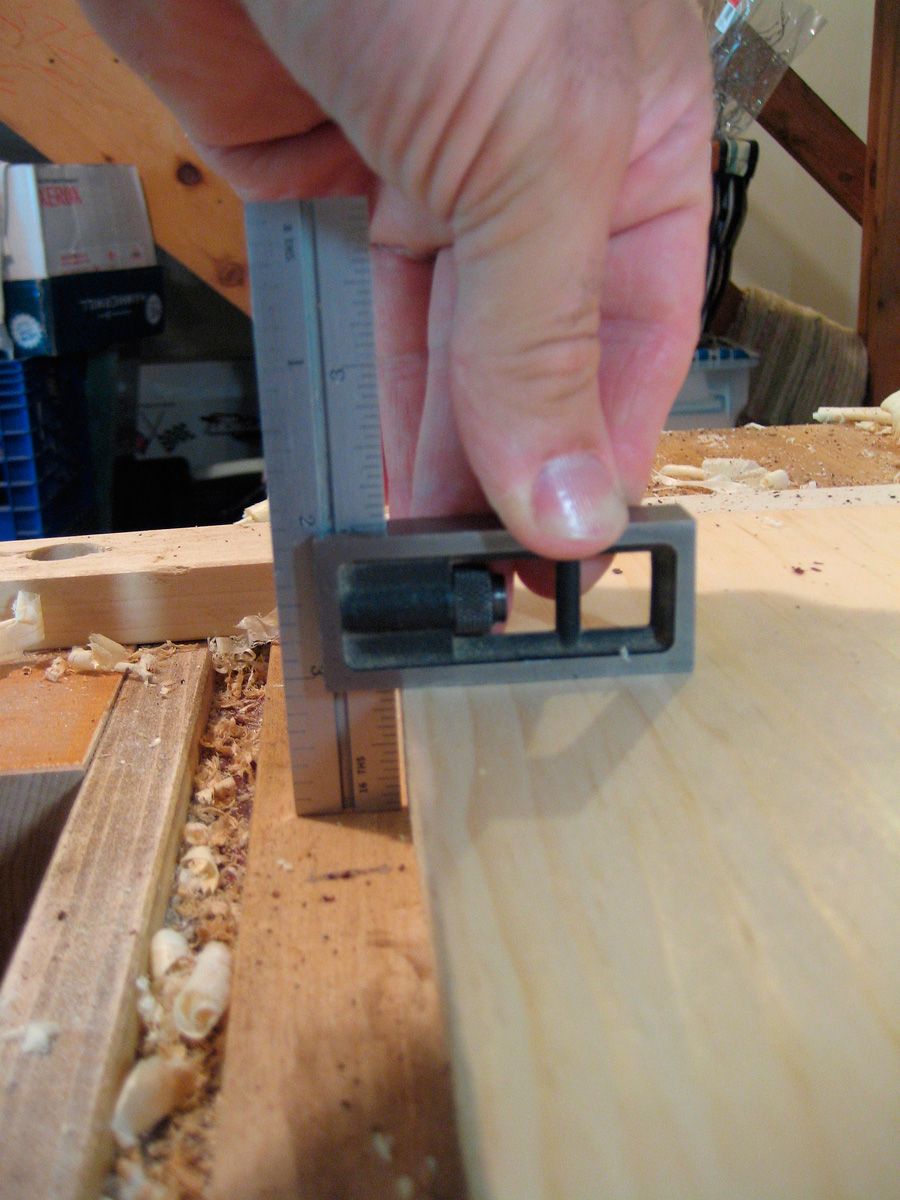
Here I'm using my square to check the thickness of the board around muliple locations on the board. This turned out to be much quicker than lifting the board and checking the mark on the sides.
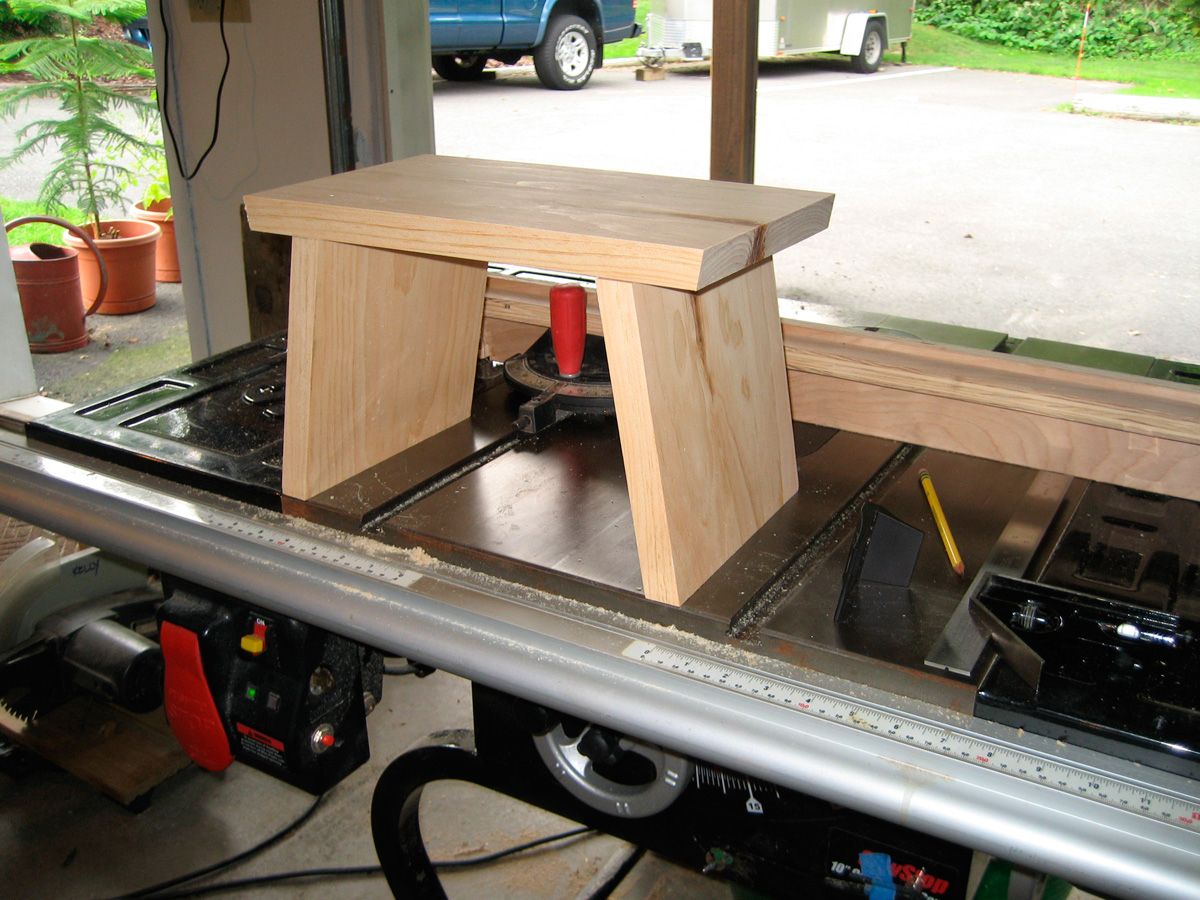
At the tablesaw I cut the top from the middle of the board and used the two ends for the legs. This planning has the grain of the board running continueously from the one side to the other on the stool. I made the cuts with a slight bevel to splay the legs. Using the same angle I edged the top too.
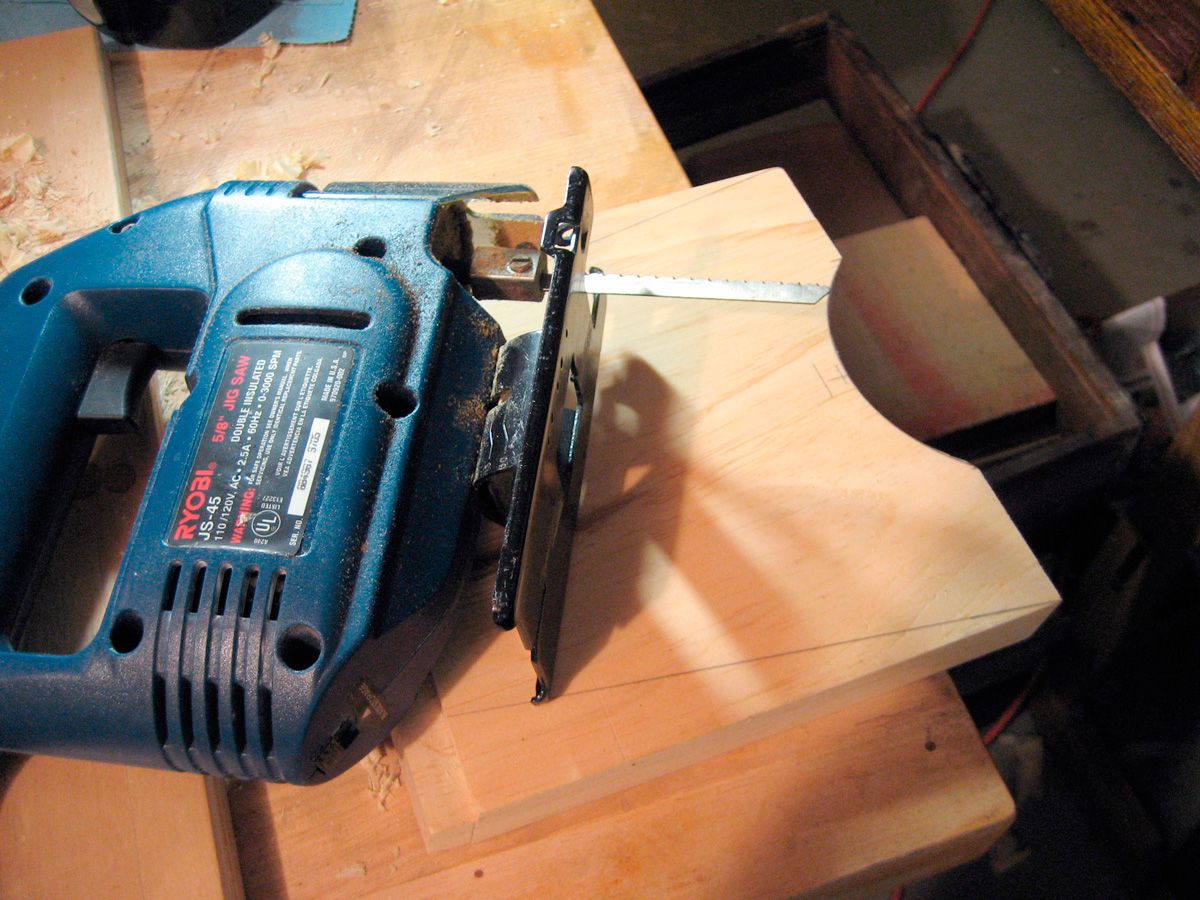
I wanted a shallow curve between the feet on each leg. I traced the curve from a drywall bucket that I had in the shop. Not having a bandsaw I grabed my cheap jigsaw for this cut. I hesitated at first to use it because normally it's difficult to cut straight with it. But again in the pine it work remarkably well.
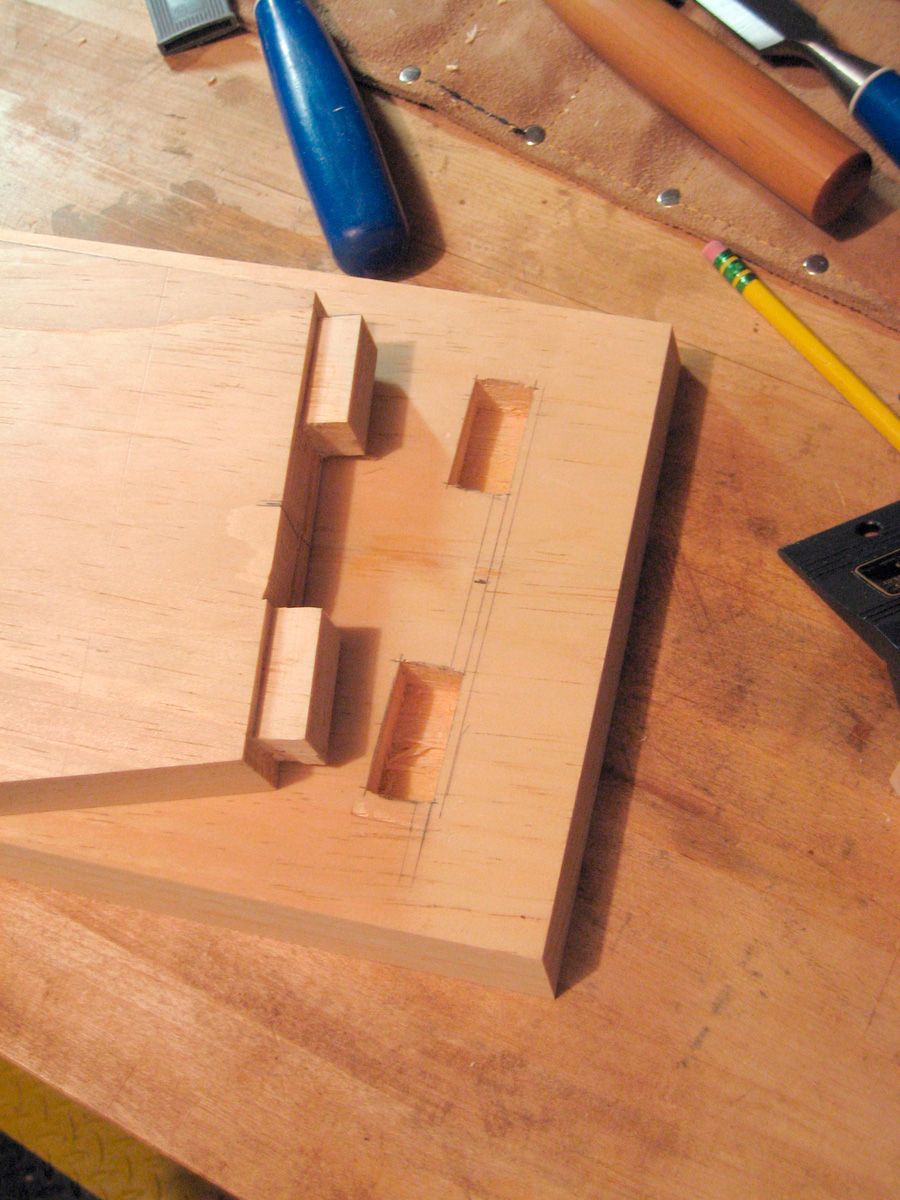
Normally I'd chop the mortises first and then cut tenons to fit but I did it backwards here. I wanted to cut straight mortises in the underside of the top. So I cut the tenons first using the tablesaw for the shoulders and then the dovetail saw for in between. Then I marked for the mortises from the tenons. Chop chop. Again the pine was a dream to work with here.
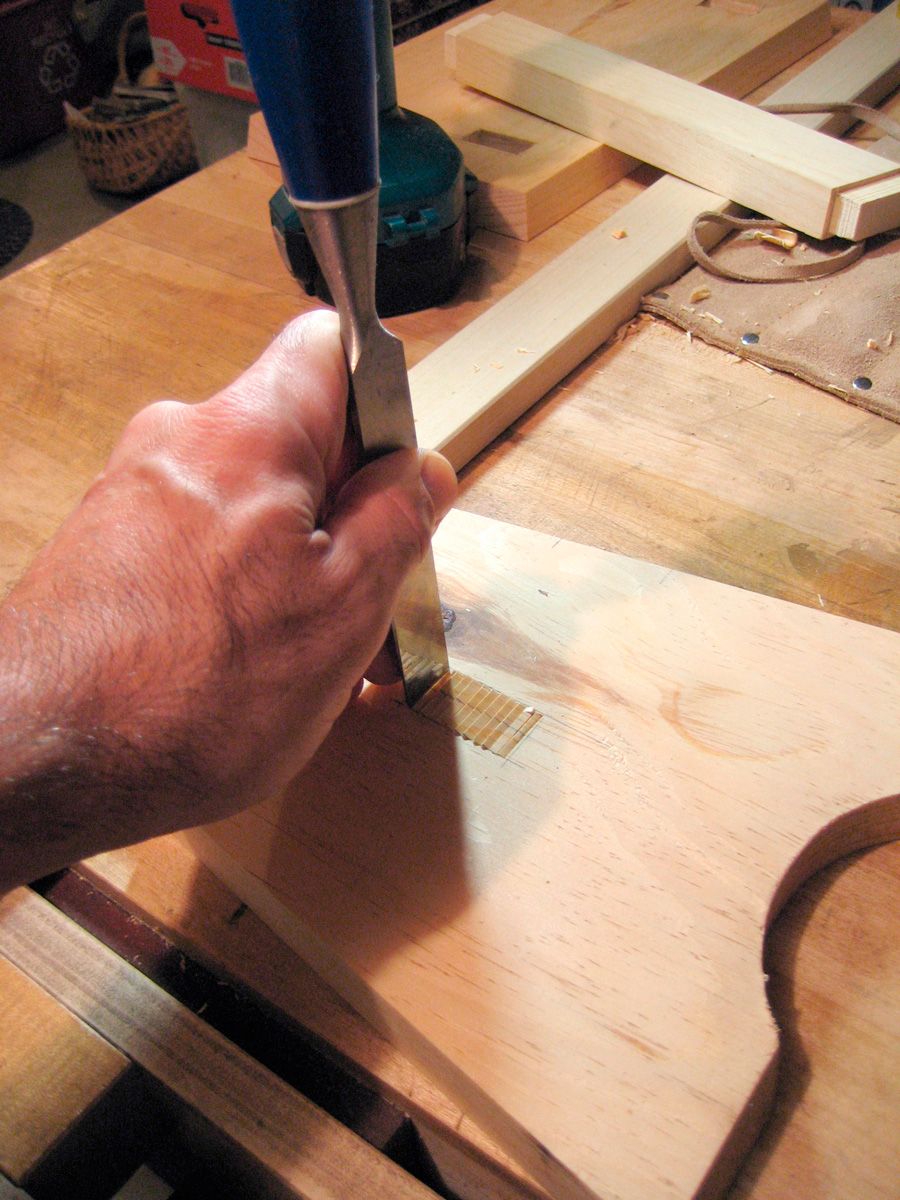
The cross stretcher also got mortise and tenons for the jointery. I just marked and chopped the mortise the old fasioned way. No fancy hollow mortise chisel machine needed. (Thou I would like to have one one day.)
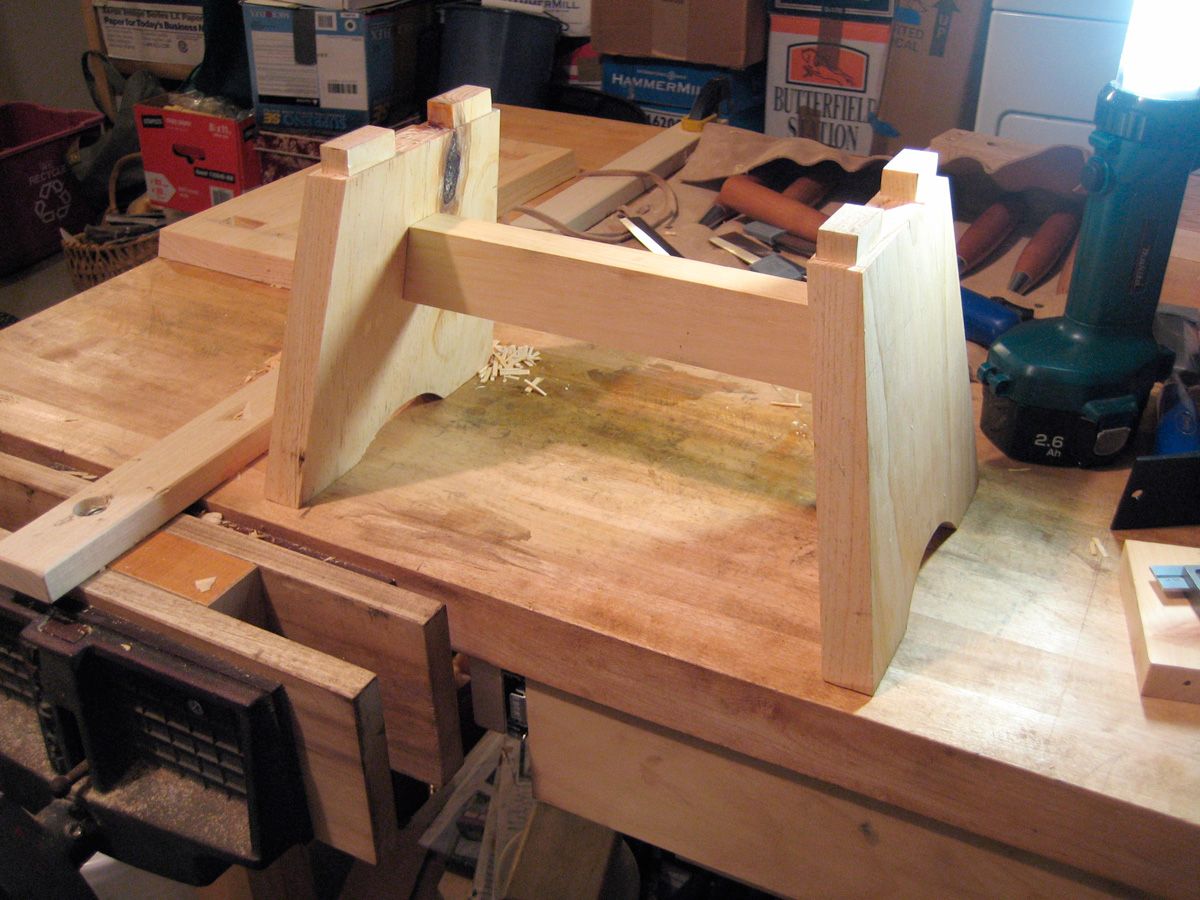
Fitting the stretcher between the legs. This took a few test fits to get the angles to fit well.
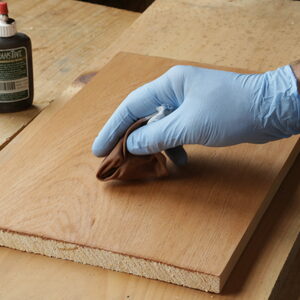
All glued up and the first coat of shellac applied.
Kid approved. My daughter finally takes a seat and enjoys her little stool. Hopefully she won't grow out of this as fast as she has grown out of her summer cloths. But I'll be glad to make her a new larger one when she graduates to needing to use the sink herself. Which will probably be next week with the way she is growing.
This reminds me of when I built something similar for my toddler. I built it out of plywood whivh I planned to cover with plastic laminate.
Before laminating I took the stool inside to "test" it. Becca loved it. She could wash her hands on her own!
When I took it back to the shop to finish it off there was a scene. I had to wait until she went to bed before I could take it back.
The next thing that little girl needs is a little table where she can crayon, build with bricks etc. 27 years later my eldest still appreciates the fact that I made her one.
I'm sure your family will enjoy that for years to come. My grandfather made me a wooden green truck when I was small. The durable toy survived my childhood and now it's in my son's toy chest.
Good job,I have a 1 year old sister(I'm 14)and she some likes to sit on my workbench or on the floor to watch me in my shop, seems like a great project for her
With its graceful curves, cabriole legs, and ornamental back splat, a Queen Anne side chair is a bucket list build for many woodworkers. Dan Faia had a very specific Queen…
Become an UNLIMITED member and get it all: searchable online archive of every issue, how-to videos, Complete Illustrated Guide to Woodworking digital series, print magazine, e-newsletter, and more.
Comments
This reminds me of when I built something similar for my toddler. I built it out of plywood whivh I planned to cover with plastic laminate.
Before laminating I took the stool inside to "test" it. Becca loved it. She could wash her hands on her own!
When I took it back to the shop to finish it off there was a scene. I had to wait until she went to bed before I could take it back.
The next thing that little girl needs is a little table where she can crayon, build with bricks etc. 27 years later my eldest still appreciates the fact that I made her one.
I'm sure your family will enjoy that for years to come. My grandfather made me a wooden green truck when I was small. The durable toy survived my childhood and now it's in my son's toy chest.
Good job,I have a 1 year old sister(I'm 14)and she some likes to sit on my workbench or on the floor to watch me in my shop, seems like a great project for her
Log in or create an account to post a comment.
Sign up Log in