Build Your First Workbench
A workbench with an end vise and front vise is easily the most important tool in your shop.
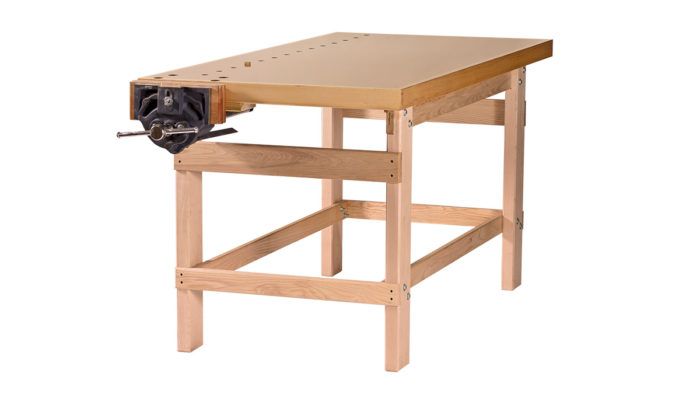
Synopsis: A workbench with an end vise and front vise is easily the most important tool in your shop, one that you use on every project. If you don’t already have one, or if yours is old and rickety, it’s time to upgrade. You could buy a bench—there are some good ones out there—or you could make one for around $300. Read on to learn how.
A workbench with an end vise and front vise is easily the most important tool in your shop, one that you use on every project. If you don’t already have one, or if yours is old and rickety, it’s time to upgrade.
You could just buy a bench—there are some good ones out there—but you could easily spend $1,000 and not improve on the bench I’ll show you how to build in this article for around $300.
This bench is everything a good workbench should be: It is heavy and strong, so it won’t skate or wobble. It has a flat surface big enough to support a medium case side or tabletop. And it’s capable of holding your work securely, with an end vise that can be used with benchdogs to hold work flat or like a front vise to clamp work upright. Best of all, you can make this bench in a weekend, to your own dimensions, and you don’t need a ton of tools.
If you’re wondering whether a bench like this can really do the job, I have more than 25 of these benches in my school and they are still going strong after 11 years and 3,500 students.
Simple joinery and fasteners make a sturdy base
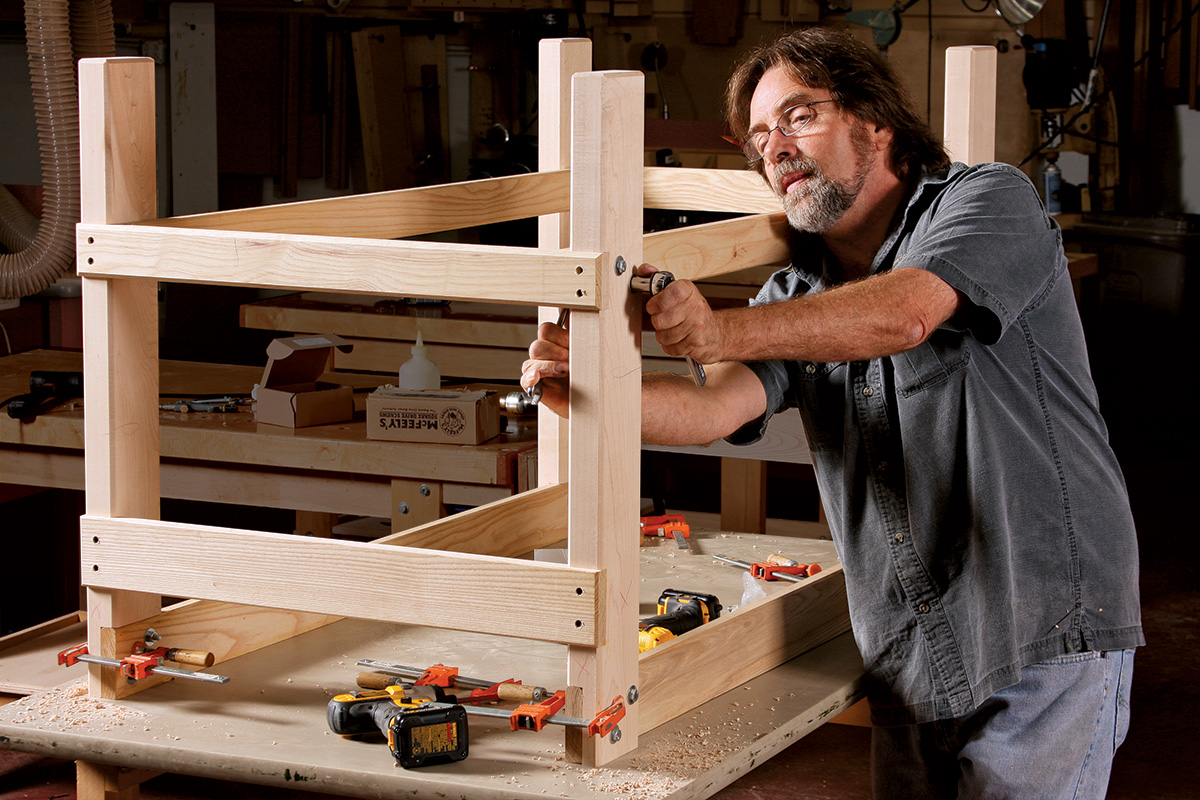
I like to make the base from ash, maple, poplar, or oak. The base consists of two end assemblies, each built from a pair of crosspieces dadoed into the legs. These end assemblies are connected by two long stretchers bolted in place on each side. The top long stretchers are rabbeted into the tops of the legs.
All of this joinery is best cut on the tablesaw with a dado set but it’s also possible, if more tedious, to do the work with a standard blade and a miter gauge. Either way, a single fence setting and a spacer block is used to cut each corresponding joint exactly the same width and in exactly the same place on each leg. If you leave the crosspieces and stretchers a bit wide, you can edge-plane them in the thickness planer for a precise fit in the dadoes and rabbets.
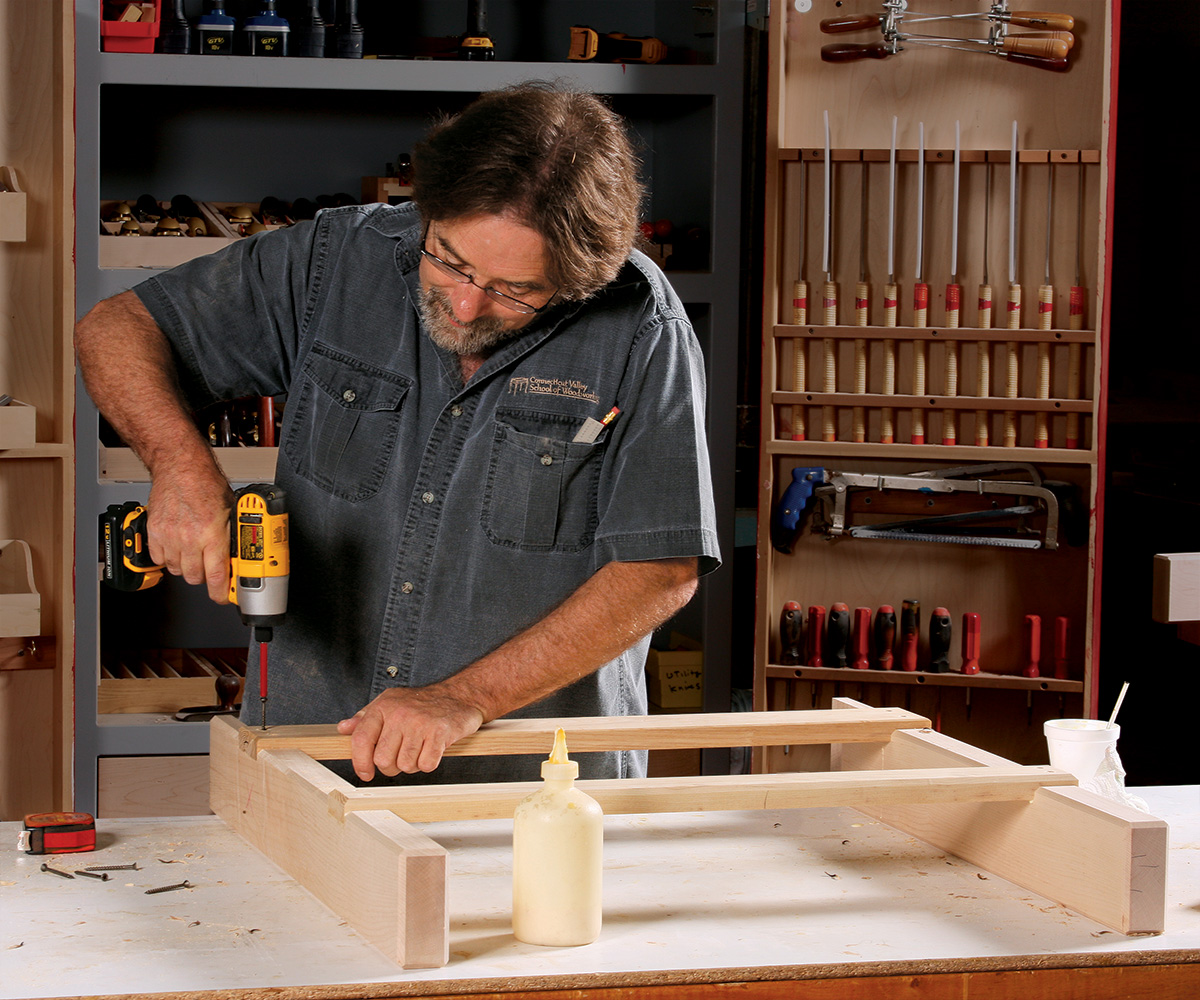
With the joinery cut, begin construction of the base with the two end assemblies. Before starting, break all the edges with a chamfer or roundover. Check for square during glue-up by measuring diagonally across the assembly in each direction. Adjust at the corners if needed until the measurements match.
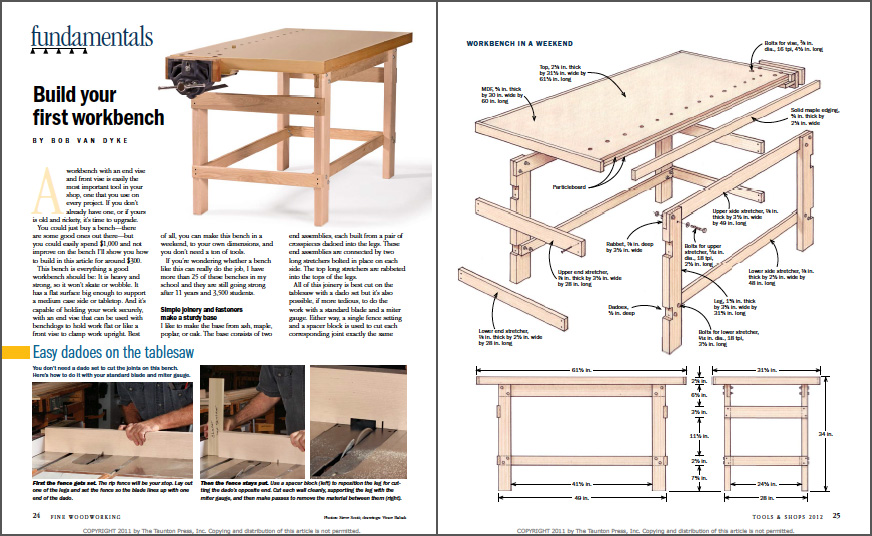
From Fine Woodworking #223
To view the entire article, please click the View PDF button below.



Comments
I built one of these a couple of years ago but modified it to fit a 32" x 80" solid core door for the top. It was very solid. I needed a larger router table to make 80" stiles for the raised panel doors I am making for my house so I put a layer of MDF on top and wrapped the edges with maple and put a JointTech fence and an Incra router lift in it. It is heavy and works great for a router table.
For a first workbench, this project feels a little complex. For one thing, it assumes we already have a table saw. I don't. My first bench uses bolted butt joints like in https://www.finewoodworking.com/1991/12/01/an-easy-to-build-workbench, but even simpler. The short stretchers are just OSB boards screwed and glued to the legs. The top is a solid core door.
Log in or create an account to post a comment.
Sign up Log in