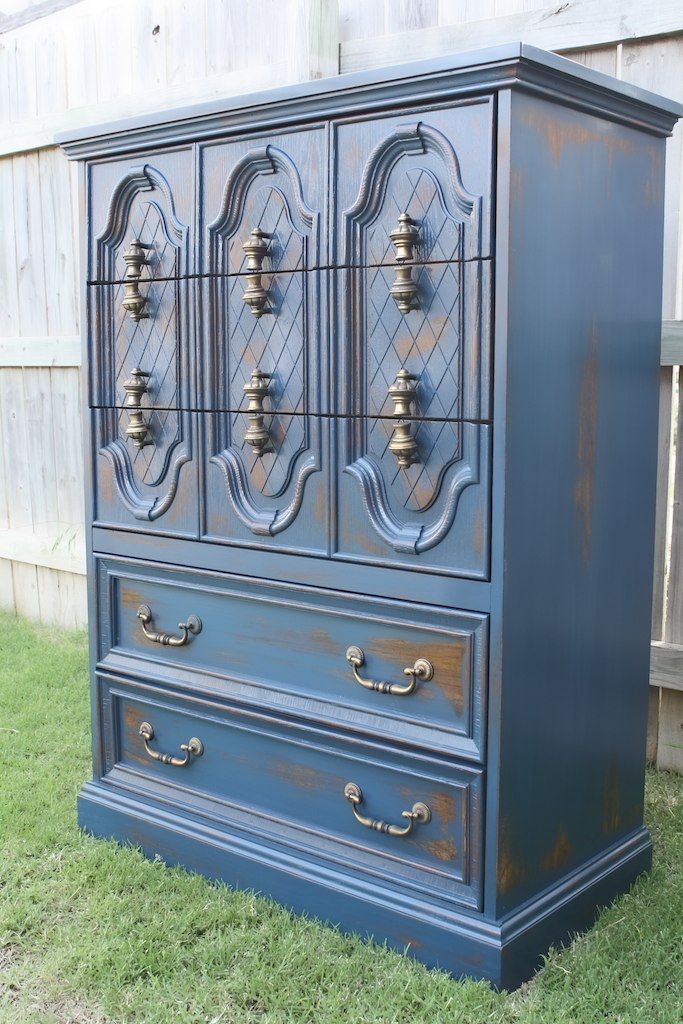
There’s a feature in SketchUp called Match Photo which allows the user to import a photograph and use it as a reference for drawing. It was originally intended to make it easy to draw buildings but it can also be used to draw furniture. Here’ s an example of that.
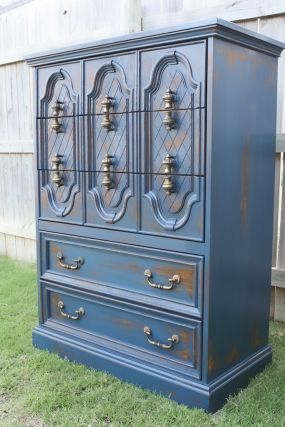
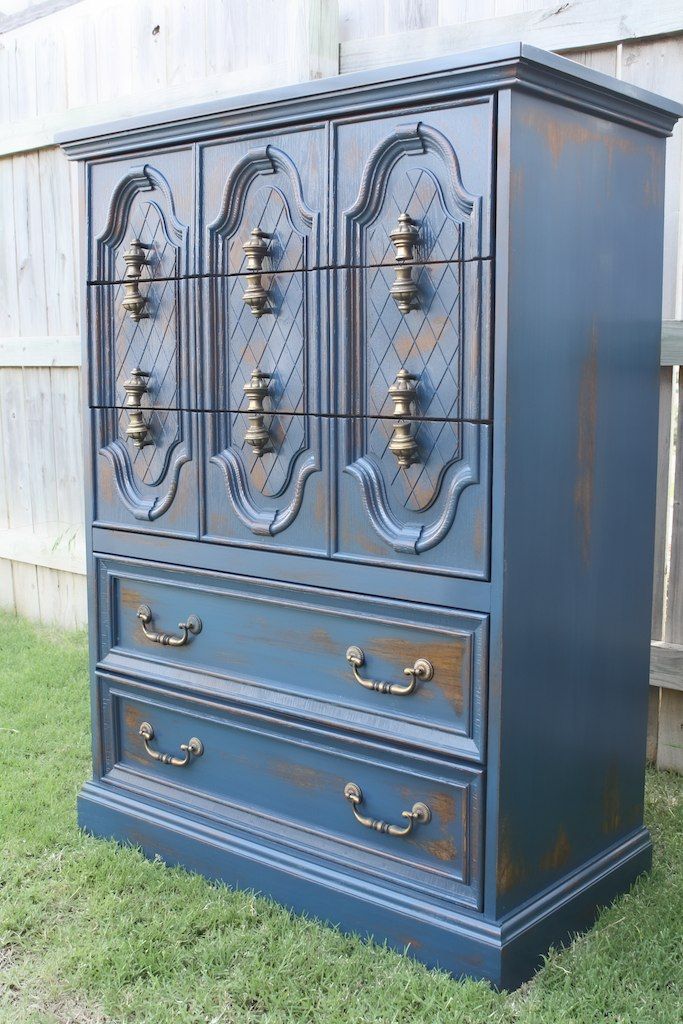
To start with you’ll need a good photo of the piece. It should be a 3/4 view and the image should be uncropped and if the photo has had its perspective manipulated in a photo editor, it won’t work well.
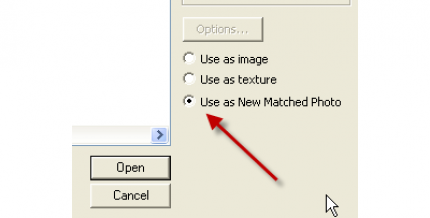
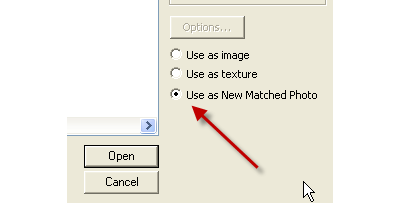
Open sketchUp and go to File>Import. choose the image file type of your photo and select “Use as New Matched Photo.” Then choose the image file and click on Open.
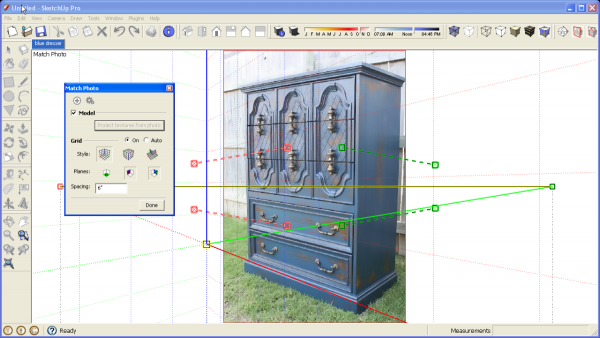
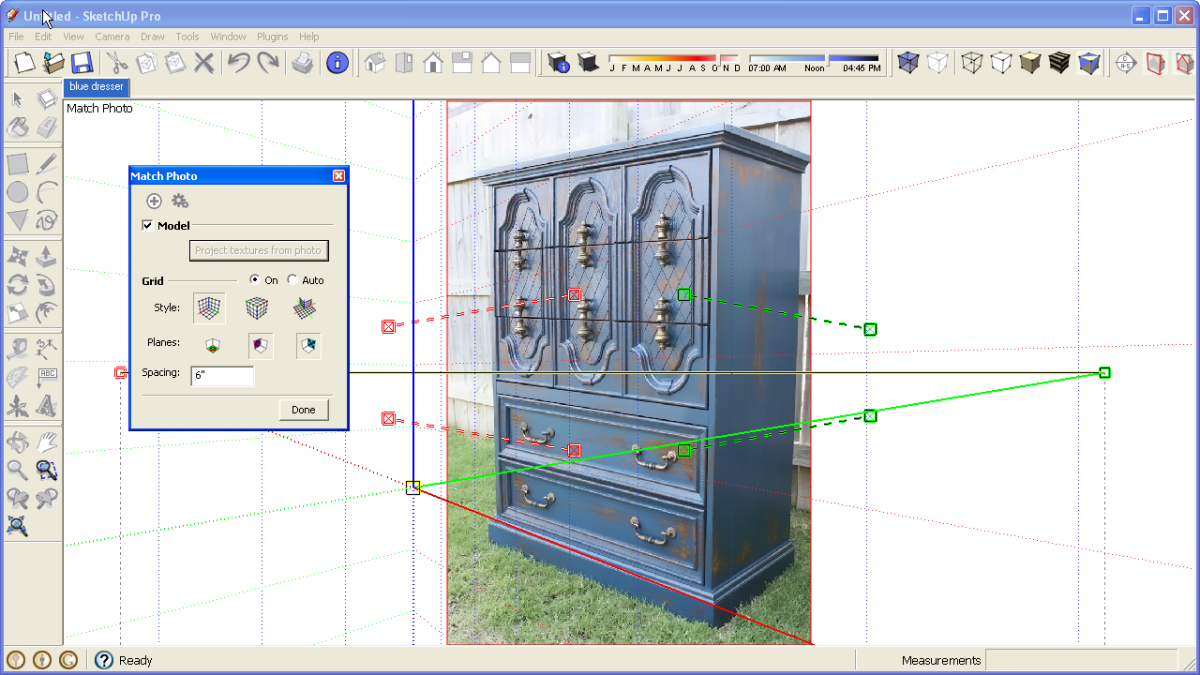
The image will be displayed in the drawing window. Notice at the top there is a scene tab for this scene. A dialog box also opens and we get a bunch of lines on the screen. There’s a yellow handle at the origin and pairs of red and green lines with handles at each end. There may also be a grid displayed depending on the Match Photo settings. The handles can be grabbed and moved around as needed.
Note that you can zoom and pan but if you orbit you’ll lose sight of the photo. If you inadvertantly do that, you can click the scene tab to return to the right camera position.
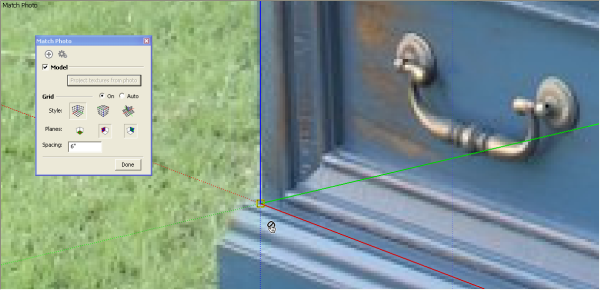
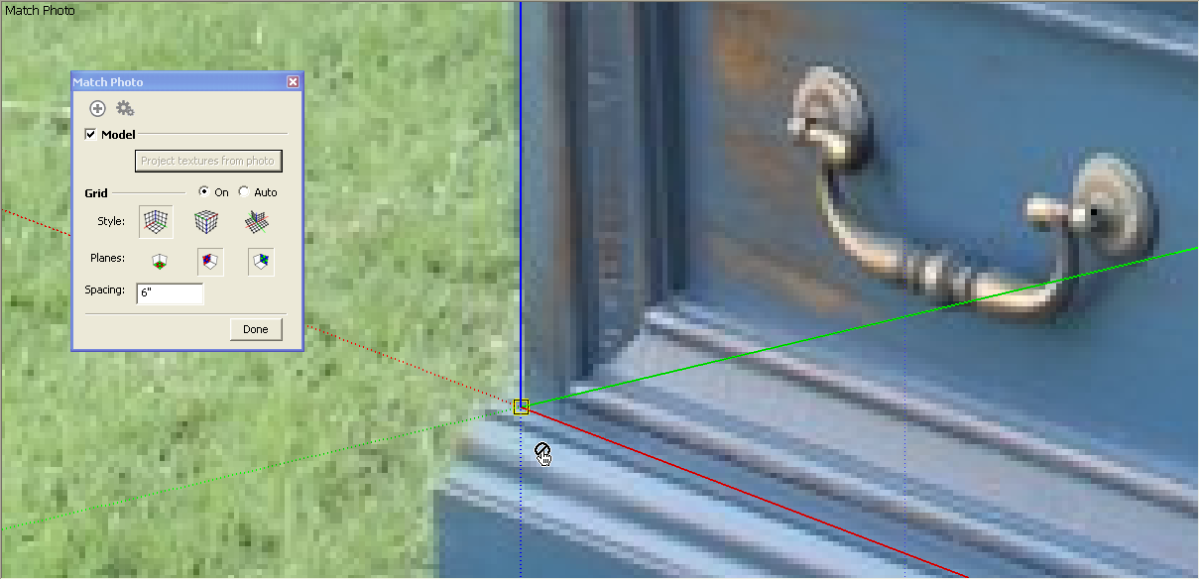
The next step involves setting SketchUp’s camera to match the camera used to make the photo. First find a good, obvious point for the origin. Since the bottom of this piece is hidden in the grass, I chose the bottom of the case at the top of the molding.
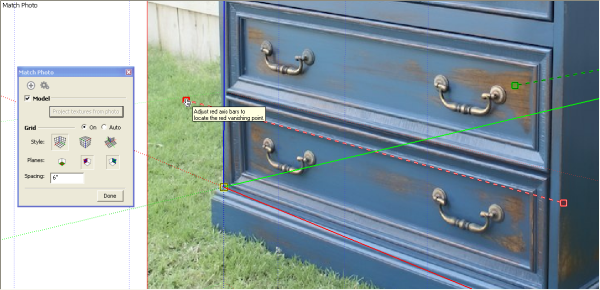
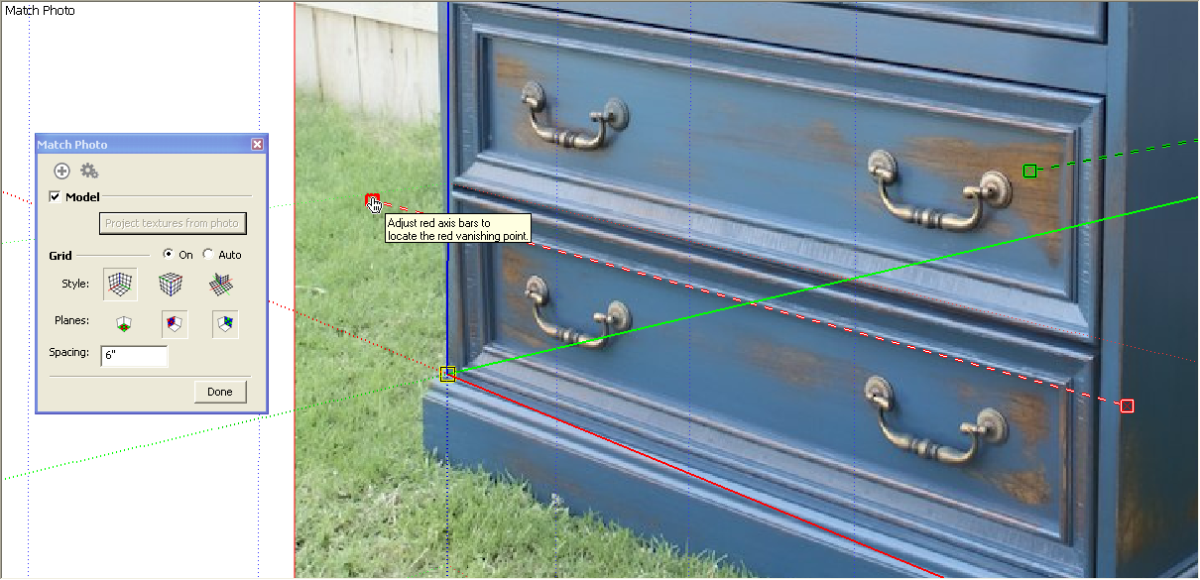
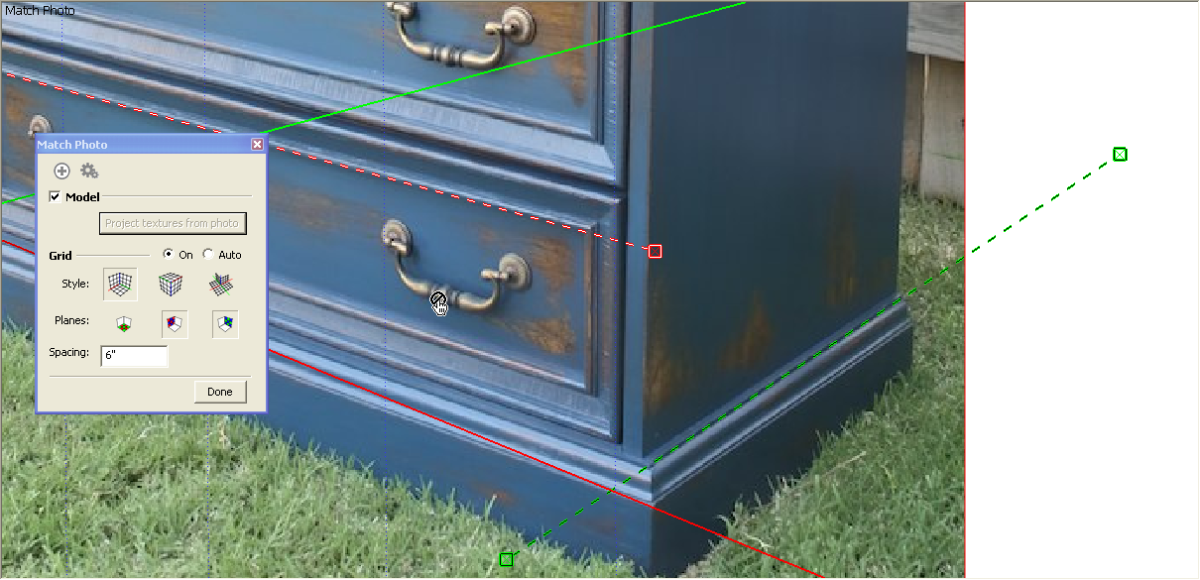
Next drag the red and green dashed lines so they run along lines in the photo. The lines you use in the photo need to be parallel to the axes in the model. I like to pull the handles out away from the ends of the lines in the photo so I can see the entire line. Making these dashed lines longer makes it easier to make fine adjustments to the angle of the lines.
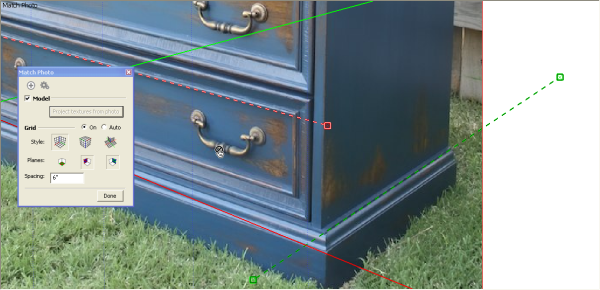
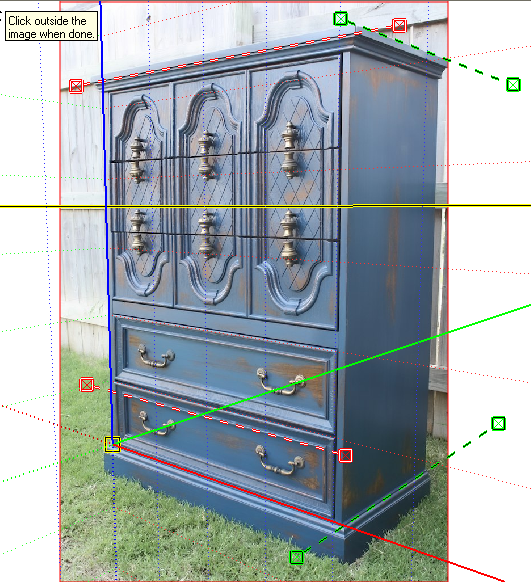
Continue setting the red and green lines to match the photo.
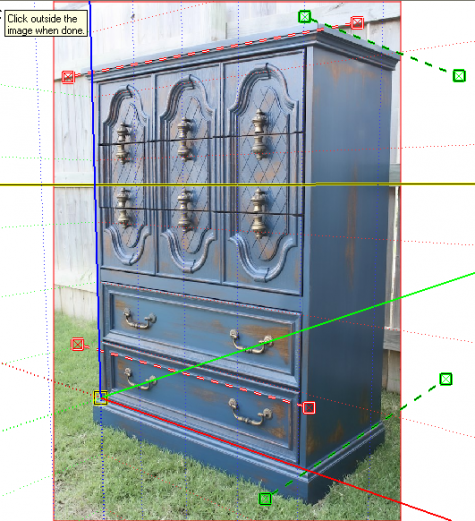
Pay attention to the blue axis as you’re dragging those lines. When you have things set correctly the axis will run up the corner and the red and green dashed lines will lie along edges in the photo. If you can’t get the dashed lines and the blue axis to line on lines in the photo at the same time, the photo has been manipulated. You might be able to use it as a reference but it won’t be as useful as it could be.
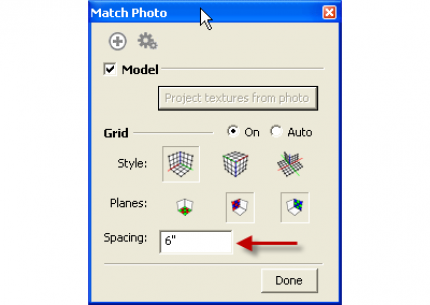
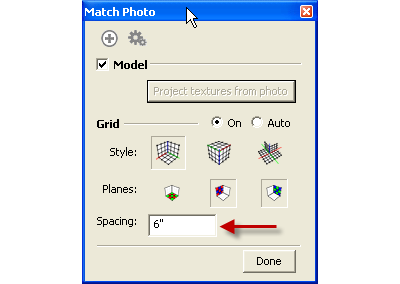
In the Match Photo dialog there’s a box marked Spacing for the grid. I’ve got it set to 6″ but you can set it to whatever makes sense. This is used to help adjust the size of the photo and model.
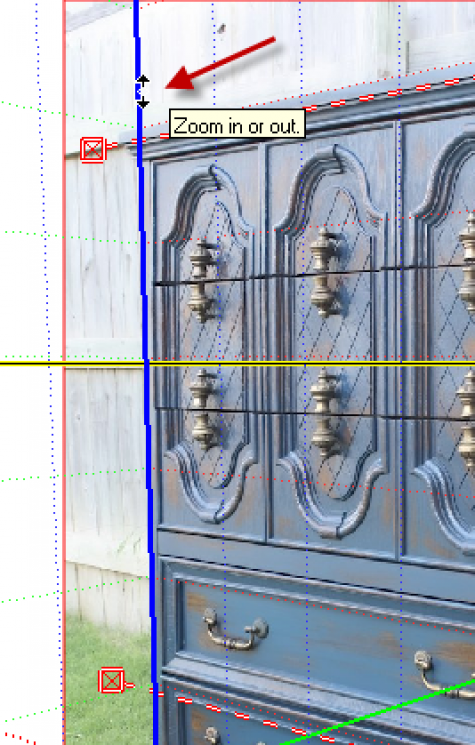
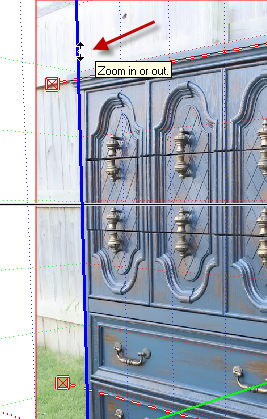
To adjust the size of the photo and thus the model, hover over the blue axis until the cursor turns into a double-headed arrow. Click and drag the mouse up or down as needed. In this application you don’t need to worry about being too accurate because we can more easily adjust the size after some geometry has been drawn.
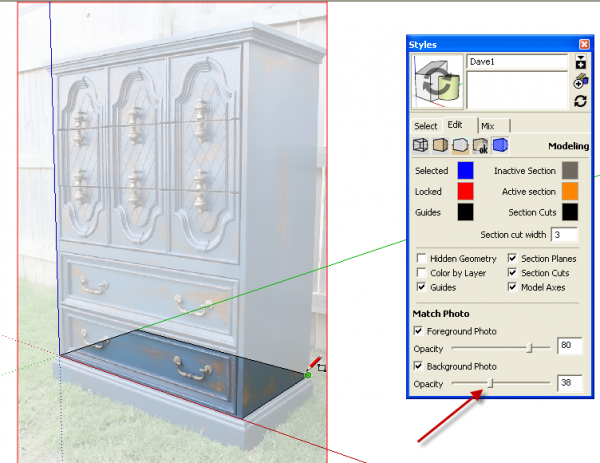
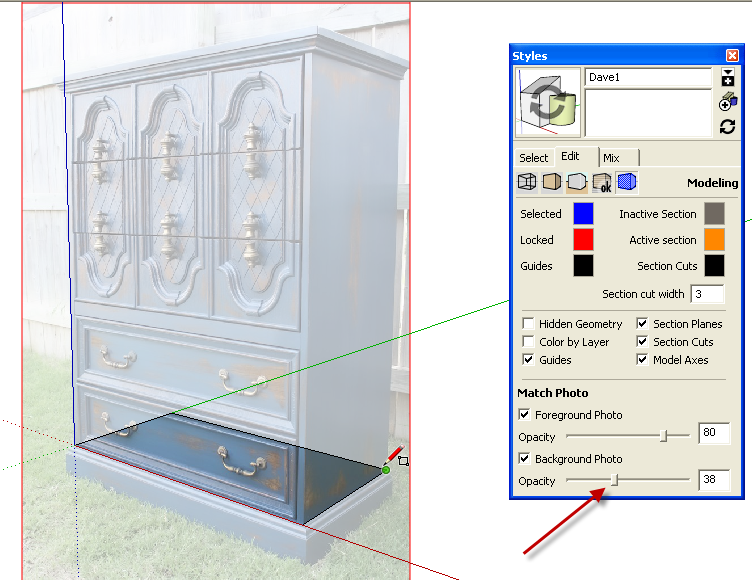
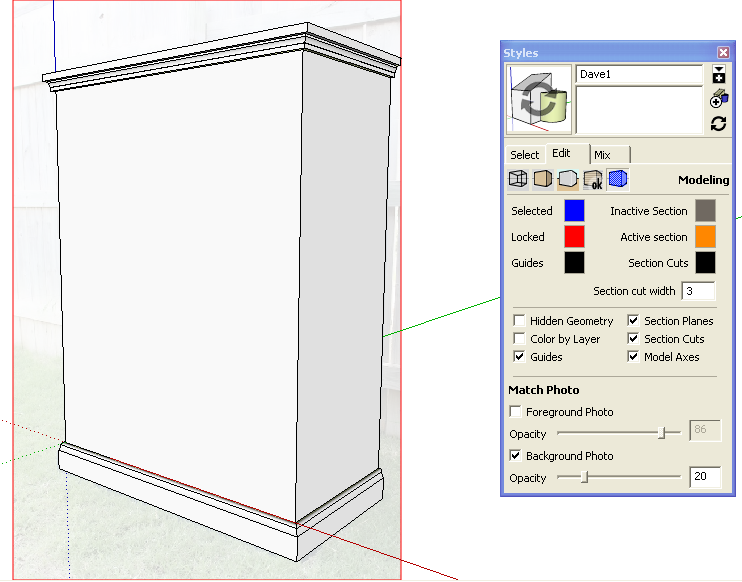
It’s almost time to start drawing. First, open the Styles dialog and click on the blue cube icon. There are two sliders and two tick boxes for Match Photo settings. Adjust the slider for Background Photo so that you’ll be able to see your model as you drawn. If you untick the box, the image will be hidden. The Foreground Photo is the smae image but it is sort of projected onto the model. If you turn that off you’ll be able to see the geometry over the background photo.
In the image above I’ve also started to draw the model beginning with a rectangle on the ground plane.
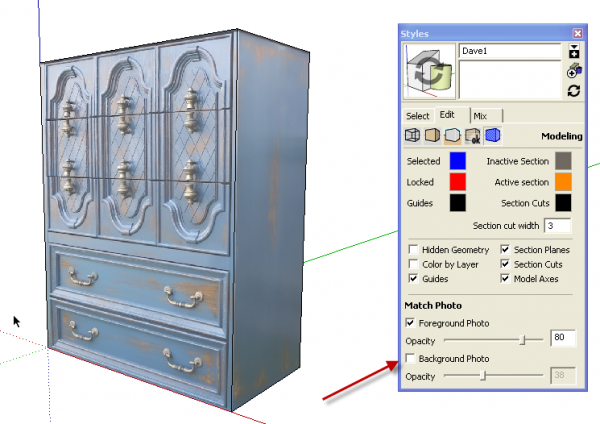
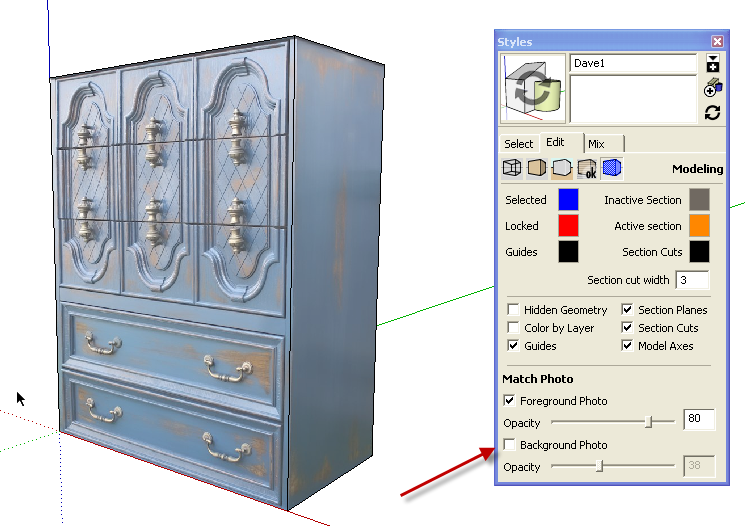
Push/Pull on the face creates the box. In this screen shot I’ve turned off the background photo but left the foreground photo turned on. At this point I would get the Tape Measure tool and use it to resize the model. Measure between two corners making sure to click on both of them. then type in the correct dimension and let SketchUp resize the model.
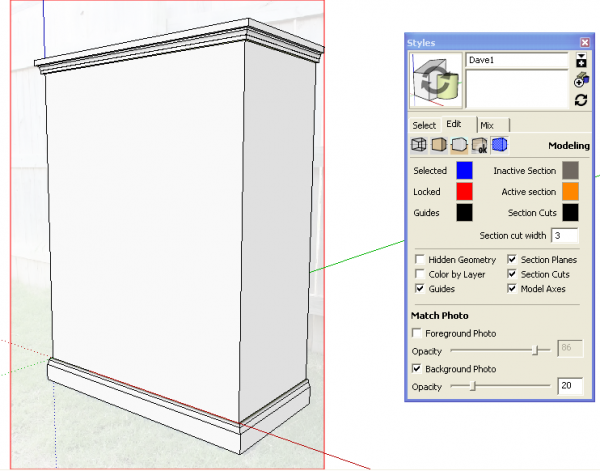
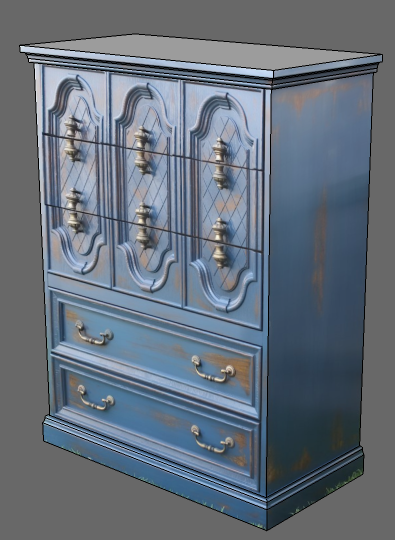
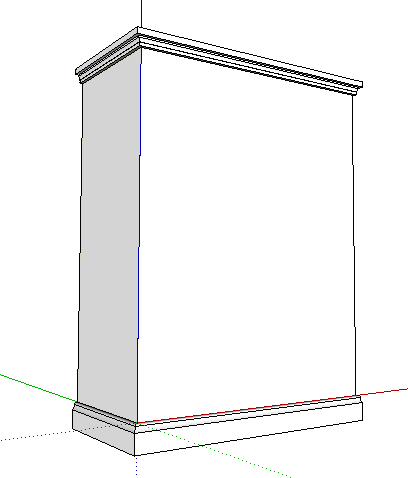
With the foreground photo turned off we can more easily see the geometry we’ve drawn. I’ve roughed in the molding at the top and bottom here.
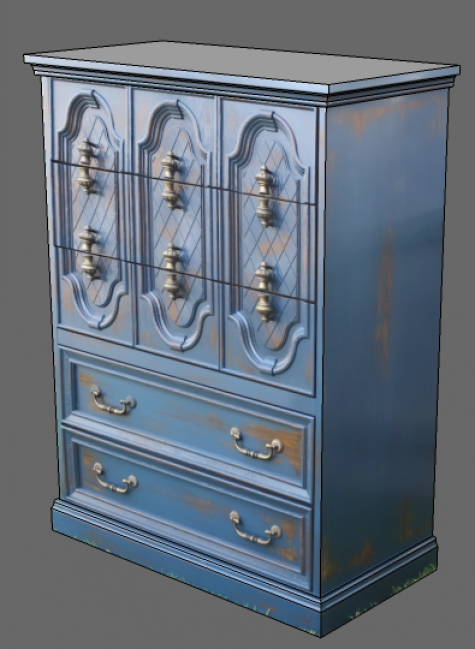
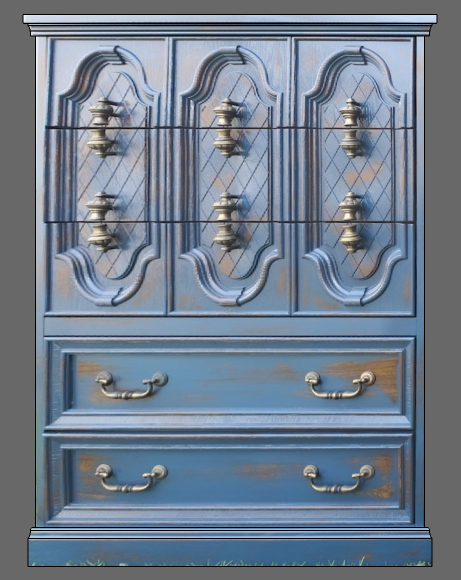
In the Match Photo dialog box there’s a button labeled, “Project Textures From Photo.” Clicking on that will do what it says and apply the material to the faces in the model. Doing this will make it easier to add details to the model because you’ll be able to see the photo from any angle.
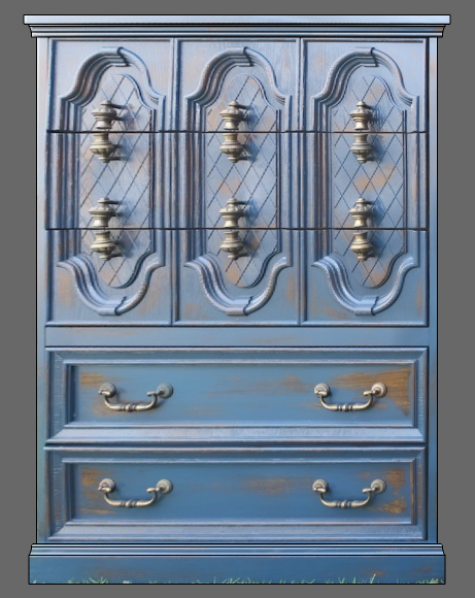
Of course materials won’t be applied to the parts of the model not visible from the photo’s camera position.
At this point you could continue to rough out the model or you could start to draw parts as individual components. You’ll be able to work out details by measuring off the existing model and making educated guess where dimensions aren’t available
Thanks to Charlie Ward for the use of his photograph.



Log in or create an account to post a comment.
Sign up Log in