Toning, Staining and Spraying a Polyurethane Finish
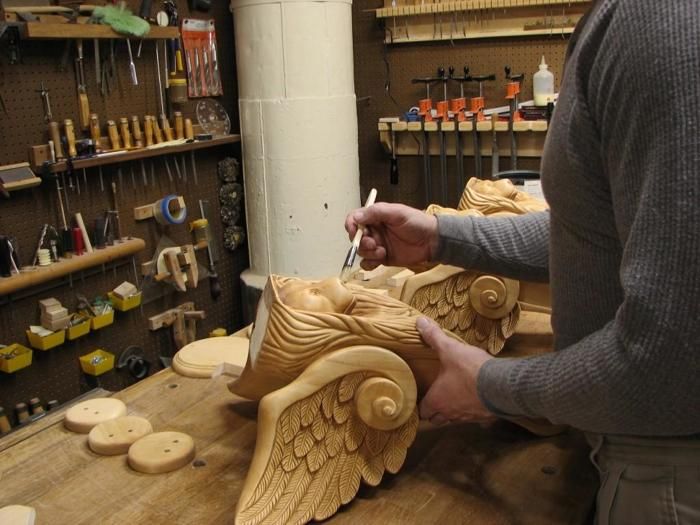
Bushing on a wood conditioner,
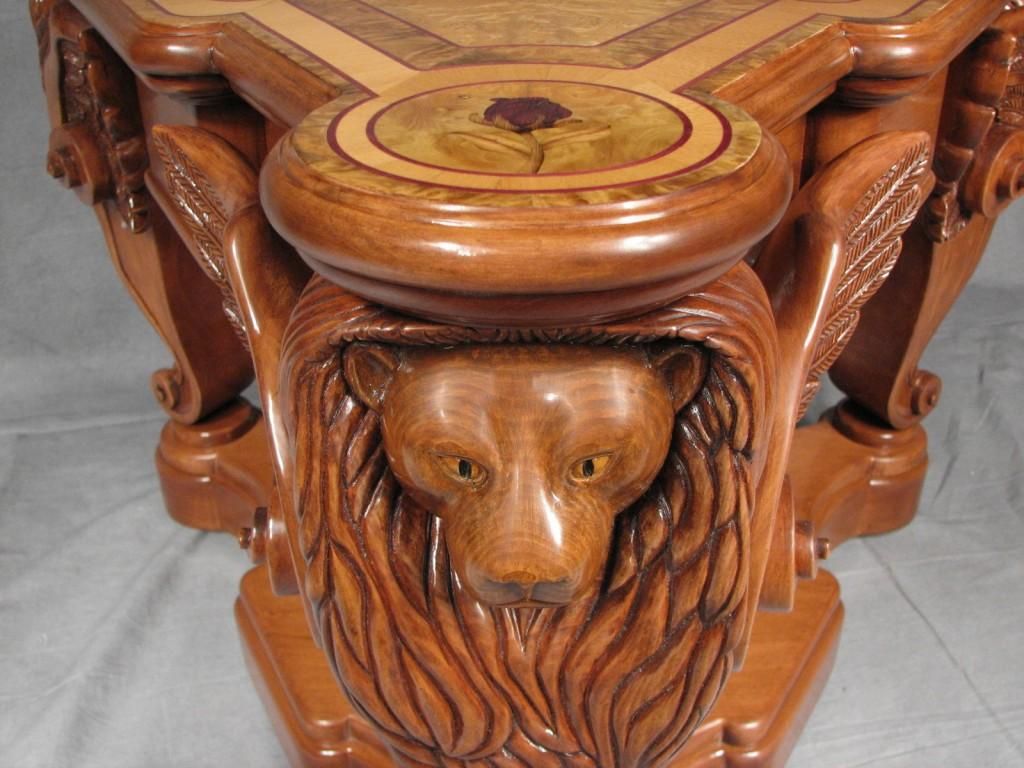
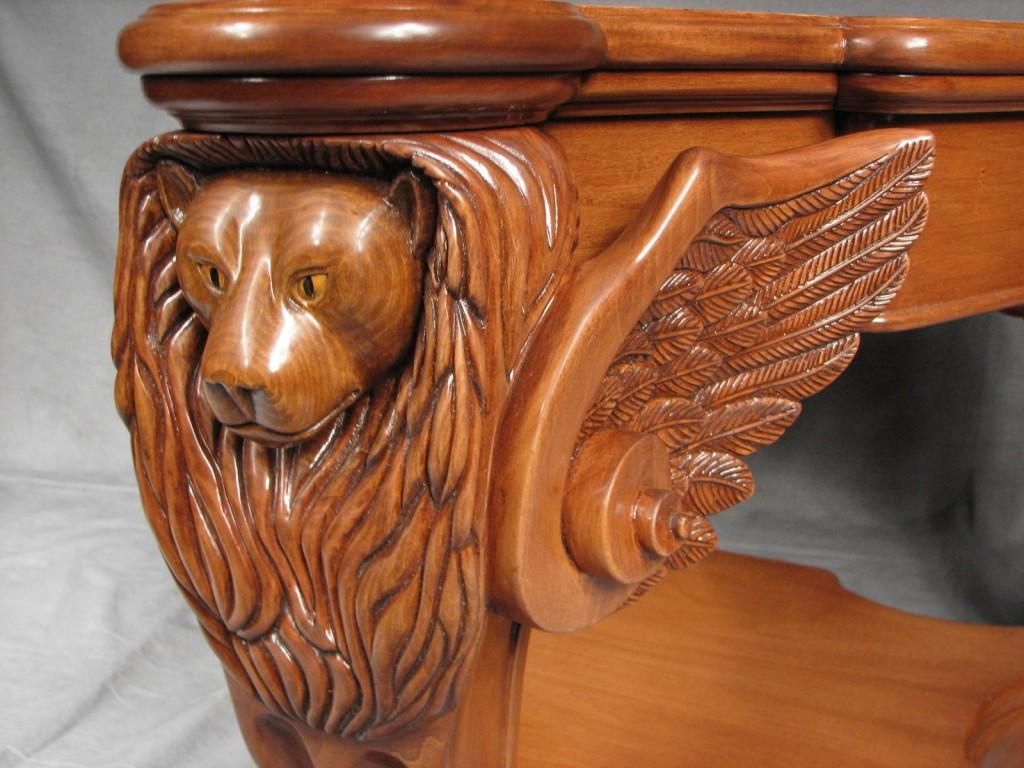
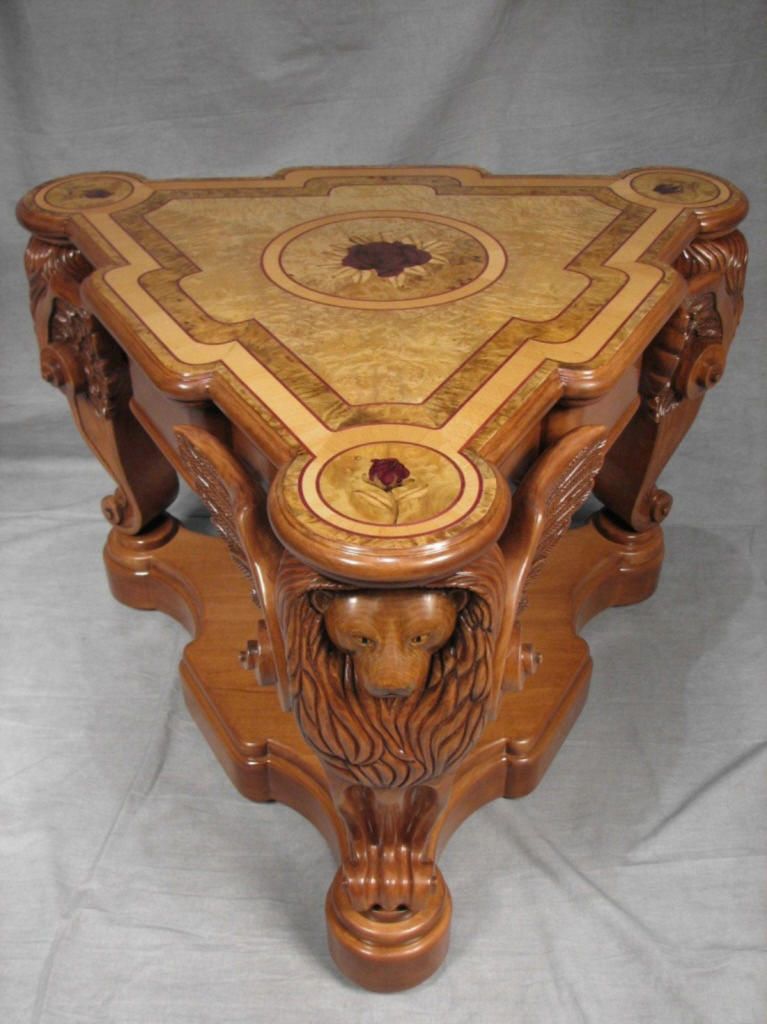
Polyurethane is a clear finish topcoat for wood that offers long-lasting protection and also moves with the wood. Polyurethane finishes are much more resistant to moisture and spills and moderate heat than traditional finishes. Most manufactured furniture is notpolyurethane coated, because it requires much more work. Finishing a piece of furniture is just as important as making it. The Griffin table took me around two years to make, in my spare time and approximately 90 hours to apply the finish on this table.
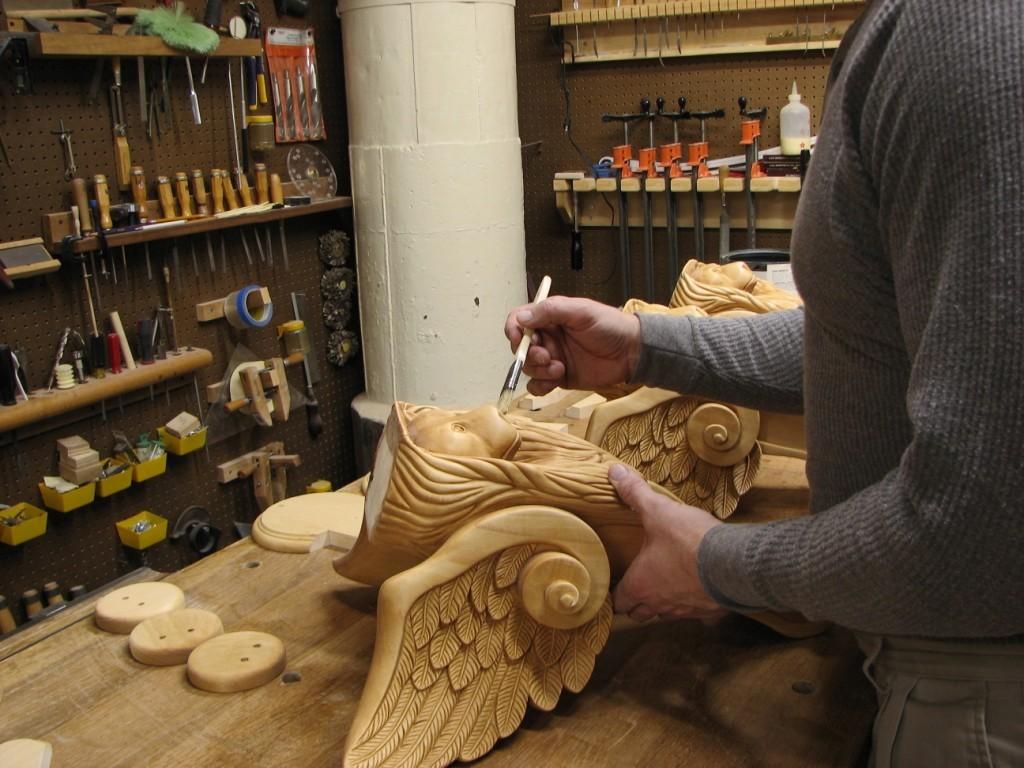
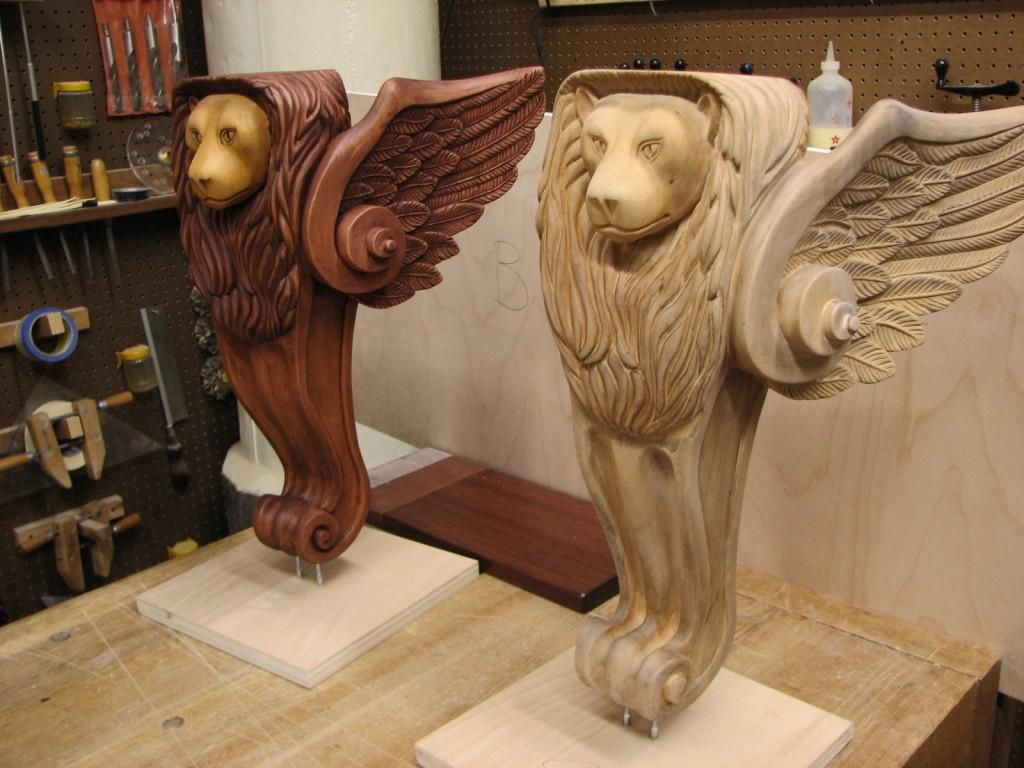
First by bushing on a wood conditioner, on everything but the top veneer, this is similar to a seal coat. The conditioner soaks into the pores of the wood filling the bigger pores in the wood grain. It is basically like a wood filler that helps the wood to not be blotchy when applying the stain. I let the conditioner dry overnight before staining.
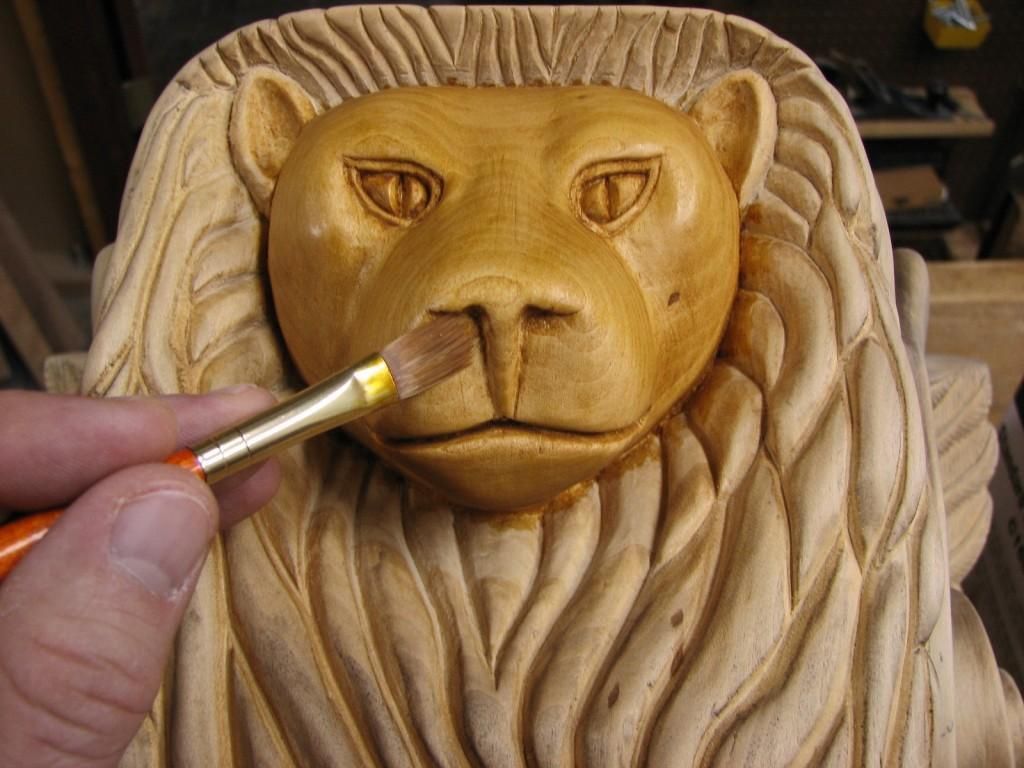
Second step is brushing a yellow dye on just the face. This is so that when I stain the face it will give a light yellow hue to the face only. I also brush black dye into the eyes.
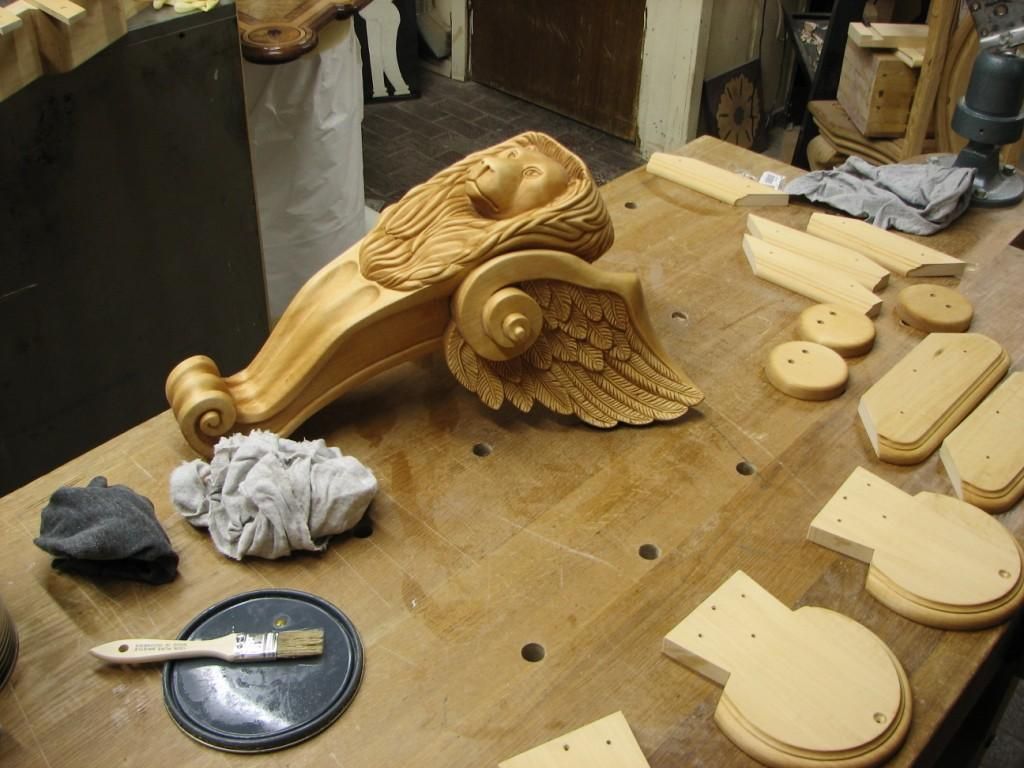
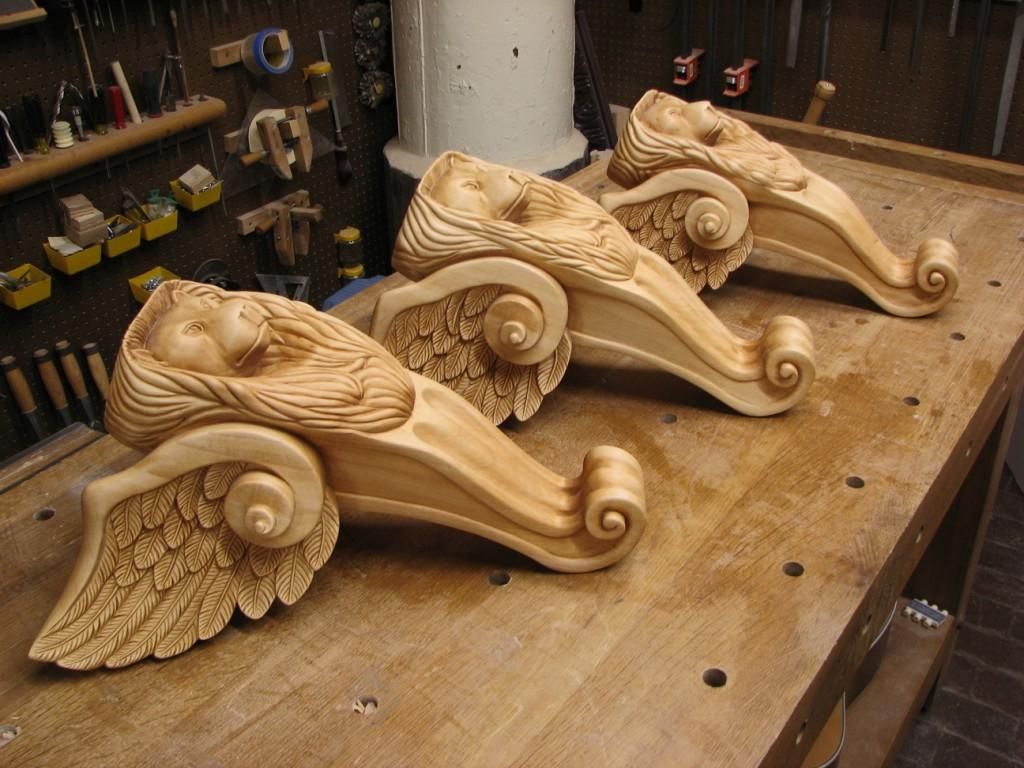
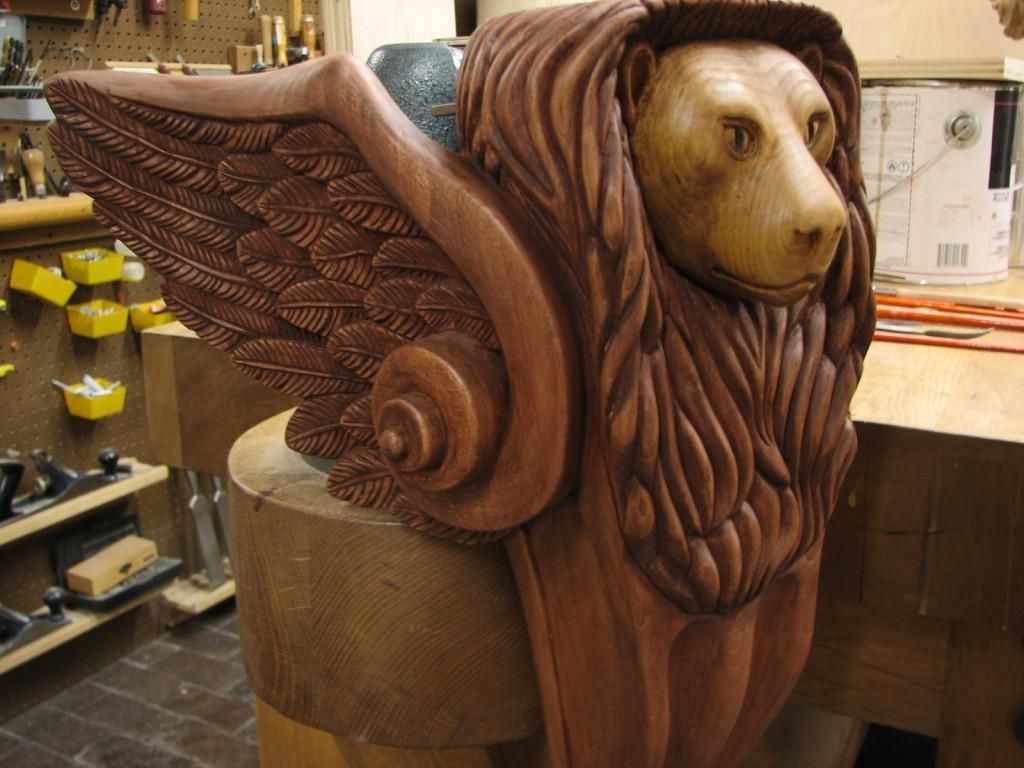
Third I stain the whole Griffin table base and carving except for the lion face. For the face I stain it last so I am careful not to put too much stain over the yellow toner. Then I let the stain dry for 24 hours before spraying the sealer coat of satin polyurethane.
After the sealer coat I lightly sand with a finish scratch pad then air and wipe off all the dust. Next, I spray 3 more light coats approximately 3 mils wet. I like to let each coat dry 24 hours this insures that every coat is completely dry before applying the next finish coat. After the table is completely dry I assemble the table.
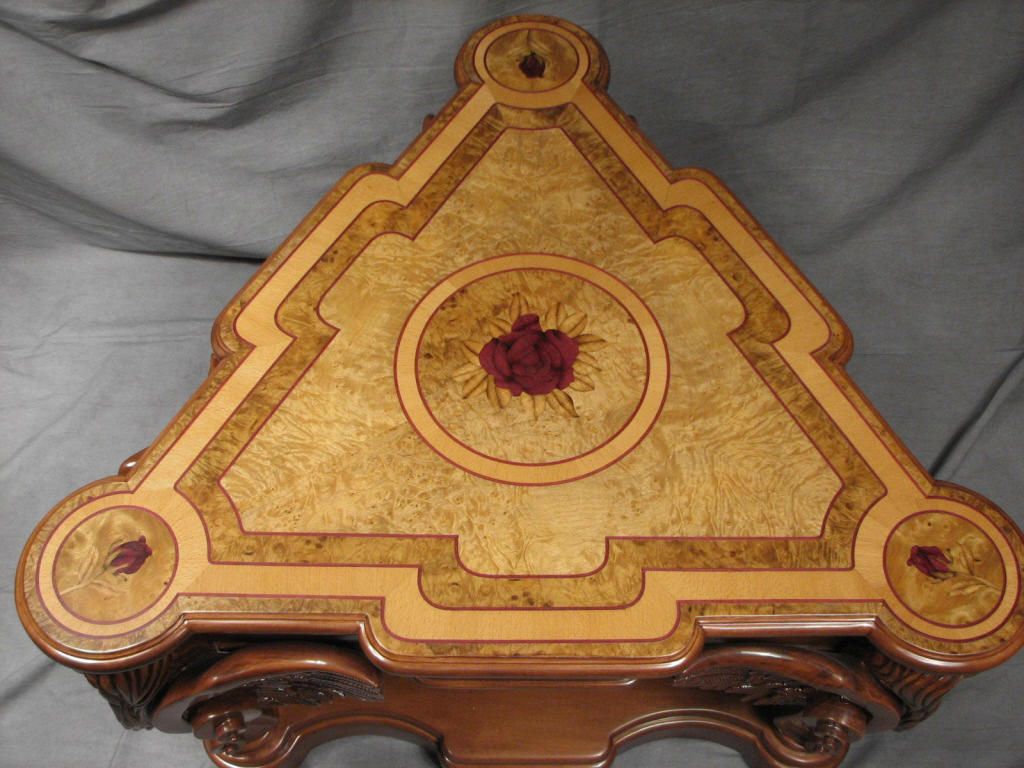
The top of the Griffin table has marquetry and inlays which I wanted the natural beauty of the wood to stand out. Also, by having the top finish as flat as possible without having the finish build up too thick which affects the longevity of the finish.
The first coat I spray very thin for the sealer coat. After the finish is dry I sand lightly and wipe off all the dust. Then I spray the next nine coats with a medium build approximately 5 mills wet and sand in between each coat with 320 grit sandpaper. Then after all 10 coats have been applied I wet sand with 800 grit sand paper. I use an air sander this helps cut though the layers of finish faster. Once the finish is flat then I spray the last coat and let it dry overnight.
Then wet sand with 1200, 2000 and 4000 grit sand paper. Be careful not to sand through the last layer of polyurethane because this will leave layer rings in the finished top. Sand with each grit just enough to get the cuts into the finish and any imperfections out, like dust particles. By stopping with 4000 grit this will leave a medium sheen and not a glossy one. If you want the top any shiner then you would need to use a car buffer and compounds.





Comments
That table is crazy beautiful. The carving and inlays are really nice. Great Work.
I agree... it is amazing what some people are capable of doing.
I have been working with wood dyes alot, and I have recently found a site that offers an excellent option for those of us
that do not have a fortune to spend on large bulk orders; along with the expensive shipping and handling charges. It has
five colors in the kit (red, blue, yellow, black, and golden brown) for $9.99 with free shipping and handling. I am pretty
sure this is a new product. I have used it several times now, and I really like it. It is an excellent idea, and this kit
will help keep your concentrates well supplied, since it can make 8 oz. of each color easily (40 fl oz for $9.99). One draw
back though is that the kit does not come with bottles, but I just use one of the several I already have laying around.
Just another resource to try and add my part to the woodworking community, if interested check them out at "Wood dyes","Wood dye" or kedadyeinc.com
Log in or create an account to post a comment.
Sign up Log in