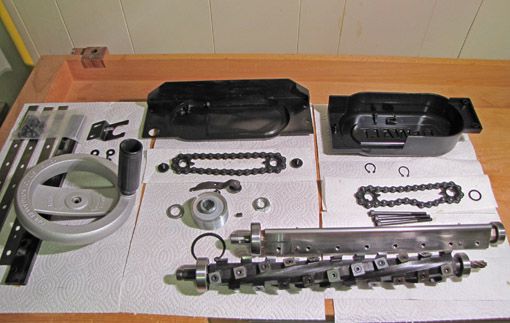
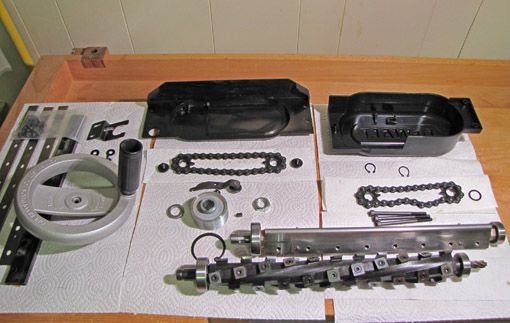
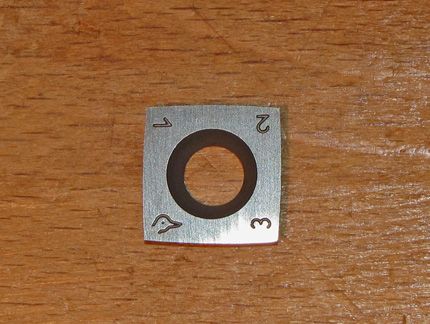
When installing the new cutterhead, it pays to be orderly.
Note: What follows is a detailed account of one woodworker’s experience with the Byrd Shelix Cutterhead
After having read Roland Johnson’s article on segmented cutterheads in this year’s Tools and Shops issue (FWW #223), I thought some folks might find my experiences using a Byrd Shelix cutterhead of interest.
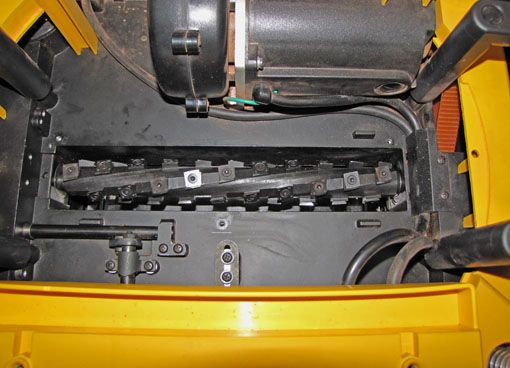
The Byrd Shelix cutterhead for the DW735 thickness planer has three helical rows of 11 carbide cutters, each indexed in its place with four available edges. The edge of each cutter is slightly cambered and set to meet the wood in a shearing cut similar to skewing a handplane. This is very different from the 13 inches of a conventional cutterhead blade meeting the wood all at once.
For me, the DW735 had proven its reliability enough to make it worthwhile to invest $447 in a Shelix upgrade. Details of the installation process and additional information can be found on my blog, Heartwood.
How did the Shelix perform?
The first thing I tested was the consistency of thicknessing across the 13″ width. I passed two 3/4″ wide wood strips simultaneously through the planer at each side of the bed. They came out less than 0.001″ different from each other in thickness.
Vibration seems slightly more with the Shelix but this does not seem to get translated to the bed or the wood. Noise is reduced – still loud enough for hearing protection, but not the scream produced with the OEM blades. Planing wide stock demonstrated that the Shelix gives the DW735 significantly more functional power. Dust collection improved, with fewer shavings sticking to the rubber rollers.
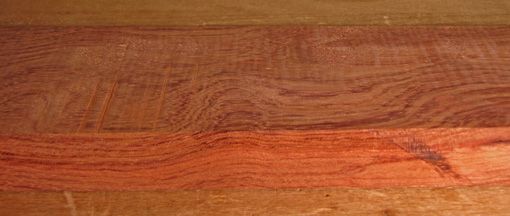
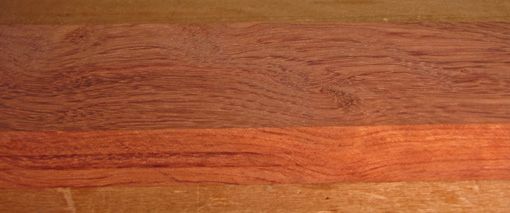
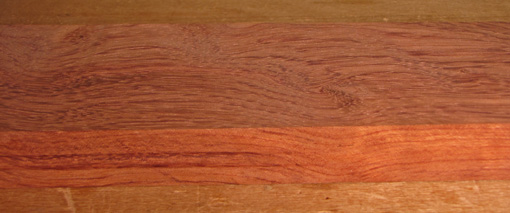 Tearout-free bubinga. click to enlarge |
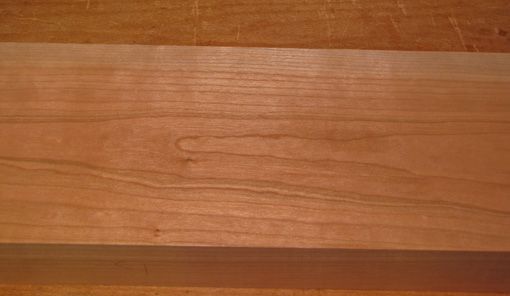
I fed the beast some nasty woods, including waterfall bubinga, curly and quilted maple, rowed mahogany, and brittle curly pear. I took passes that I expected to be too deep and fed some wood in the wrong grain direction. The results: no tearout! The only exception was minimal tearout on lacewood (which hates machine blade surfacing), though much less than with OEM blades. It laughed at docile, straight-grained cherry.
So, what’s the caveat?
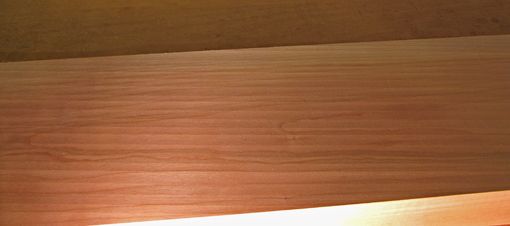
Look at the cherry board photographed in a low, raking light. Notice the scalloped rows produced by the cambered cutters. The depth of the scallops is about 0.002″. This is different from what we are used to with machined surfaces.
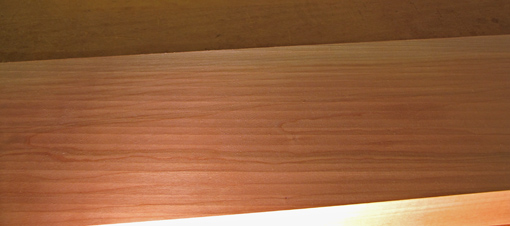 Subtle scallops in a cherry board. click to enlarge |
I thought at first that the scalloped surface would be a disadvantage. I wondered if referencing off such a surface would be compromised. Obviously, any machined surface is not the final one for furniture, but I wondered how this surface would clean up, and at what point in a project I would start to do so. More intriguing, could the scalloped surface have any advantages? All of these questions must be addressed to be able to integrate this new tool into the process of a building a woodworking project.[[[PAGE]]]
How Does the Byrd Shelix Fit Into My Building Process?
First, assessing this surface for flat and square is not a problem. As you would expect, if you hold a straightedge across the wood and back light it, you can see tiny gaps created by the valleys of the scallops. However, the straightedge (or square, or winding stick) sits on the peaks of the scallops and permits a sufficiently accurate evaluation.
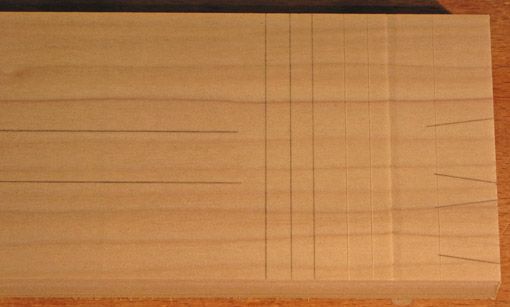
For marking out, I wondered if lines would look squiggly. Again, no problem, as seen in the photo. I marked with a fine pencil point across and along the grain, laid out dovetails, and knifed lines across the grain. I also made a “V” shoulder on one of them.
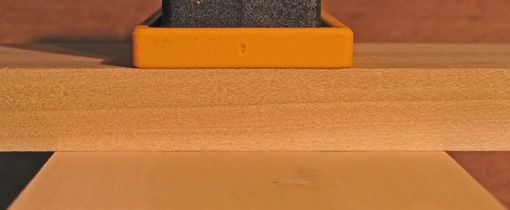
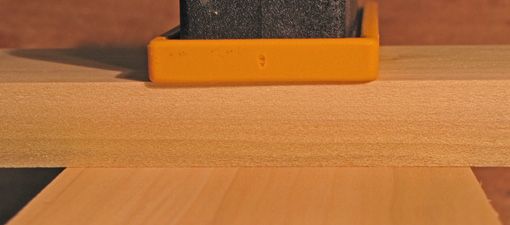
How about glue lines? The meeting of two scalloped surfaces does create minute gaps. These are barely noticeable in the photo which shows the meeting of two crossgrain Shelix surfaces. For comparison, see the other photo that shows the gap-free meeting of two handplaned surfaces.
However, just as with a conventional cutterhead, I would not use a Shelix surface for edge gluing. (Anyway, the Shelix is on my planer, not my jointer.) I always hand plane the machined surface to increase the accuracy and quality of the glue surface. No machine can remove a thousandth of an inch in a controlled manner and leave behind a pristine, unbattered surface the way a handplane can.
For bent laminations I want to glue directly from the machined surface, and I do not own a thickness sander. I have not yet tried this with the Shelix but urea formaldehyde glue such as Unibond 800 or URAC 185 should easily fill the tiny voids created by the scallops. Perhaps readers could contribute their experiences with this.
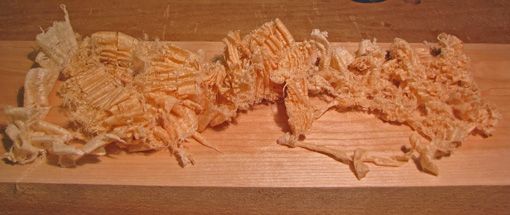
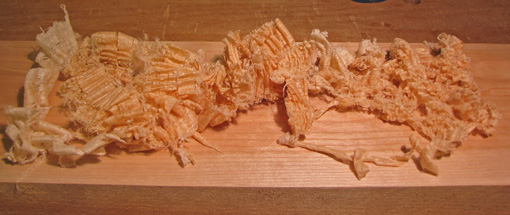 From right to left, you can clearly see the progression of the shavings–going from “angel hair to lasagna.” click to enlarge |
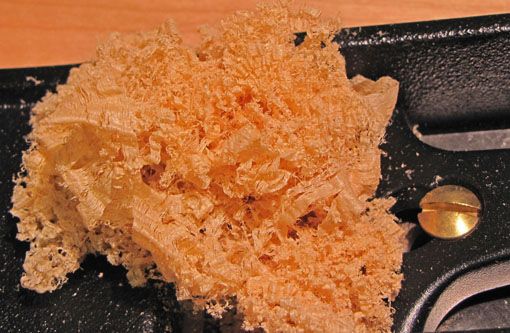
Now, here is an unexpected advantage of the Shelix that comes when it is time to clean up the scalloped surface. When hand planing, the peaks of the scallops register the sole of the plane and stringy shavings are first created. The shavings widen as the valleys are approached and finally planed away. The shavings progress from angel hair spaghetti, to linguine, to lasagna. So, for figured species it is actually easier to avoid tearout when handplaning (or scraping) the Shelix surface compared to a conventionally machined surface.
Furthermore, the gradual removal of the peaks makes it easy to evenly plane the width and length of a board because the shavings indicate your incremental progress and tell you when you are done. It is somewhat like cleaning up a toothed plane surface.
For most projects, the scalloped surface can be cleaned up at the same point in building as with a conventional machined surface and the clean up will go very well. For example, to dovetail a box, I would clean up the inside surfaces, mark and cut the dovetails, glue up, then plane the outside surfaces.





Comments
I have been bryrd tool for 3 years now. 16” planer and 8” jointer. I have never been bothered by the scalops. A very light sanding or planing removes them complely. No different from removing any tool marks.
1 thing you did not consider yet is how much longer the cutter heads last. No more goofing around with setting straight blades ever again.
Iif you try and take 1 very light pass as your final surface you can minimize the scallops. This is no different than straight blades. If your final pass is very light you get a nicer surface. At least I find this 2 be true.
Last year I ran close to 4 thousand board feet of lumber. I find I get about 1,500 – 2,500 BF per side on each cutter. Depends on how much reclaimed material I ran. I think it’s far more time efficent to run segmented heads.
How is it that this one blog post seems to attract so much spam? It's uncanny.
-Steve
Log in or create an account to post a comment.
Sign up Log in