Build a Greene-and-Greene Picture Frame
Learn some basic carving while building a frame that features classic cloud-lift curves.

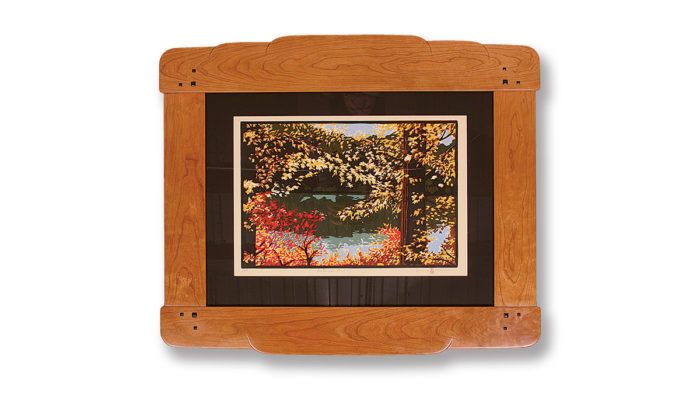
Synopsis: This frame has all the hallmarks of the Greene-and-Greene style that inspired it: rounded edges, stepped sides, square pegs, and cloud-lift patterns. But it also has some modern touches, such as the carving around the edges of the cloud lifts, and the choice of cherry as the wood instead of mahogany. The frame is held together with sturdy mortise-and-tenon joinery, while the framed materials sit inside a rabbet. By leaving the pieces square while cutting the joints, construction is simplified. The curves, carving, and pegs come later. In addition to step-by-step instructions on making this frame, this article also has an ingenious method for making pillowed pegs that can be used on any project.
A picture frame is an ideal project for a woodworker, regardless of skill level. It requires very little material, so it’s inexpensive to build. Plus, it can be built quickly, offering a nice change of pace from complicated furniture projects that can take weeks or even months to complete.
With its rounded edges, stepped sides, square pegs, and distinctive cloud-lift patterns, this Greene-and-Greene-inspired frame resembles a piece of heirloom furniture. But I added a twist to the design by carving around the edges of the cloud lifts, and by using cherry instead of mahogany, which the Greenes favored.
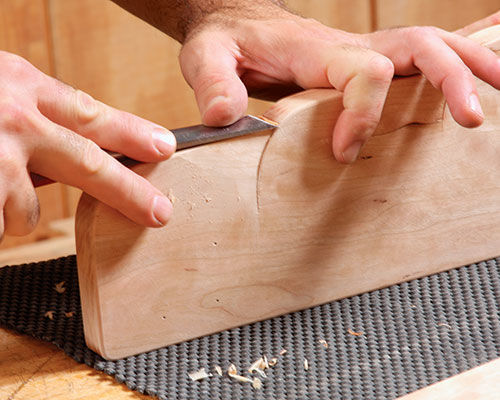
Sturdy mortise-and-tenon joints hold the frame together, while the framed materials sit inside a rabbet. The profiles are cut with a jigsaw or bandsaw and cleaned up with a router and a simple half-template. And the carving, done with a marking knife and chisel, is a good introduction to some basic carving techniques.
Joinery first
The frame fits a standard mat that is 18 in. tall by 24 in. wide. The dimensions can be adjusted for different frame sizes, but check that the framed materials will fit the rabbet. If possible, build the frame from a single board—it will be easier to match the grain patterns and tones of the wood.

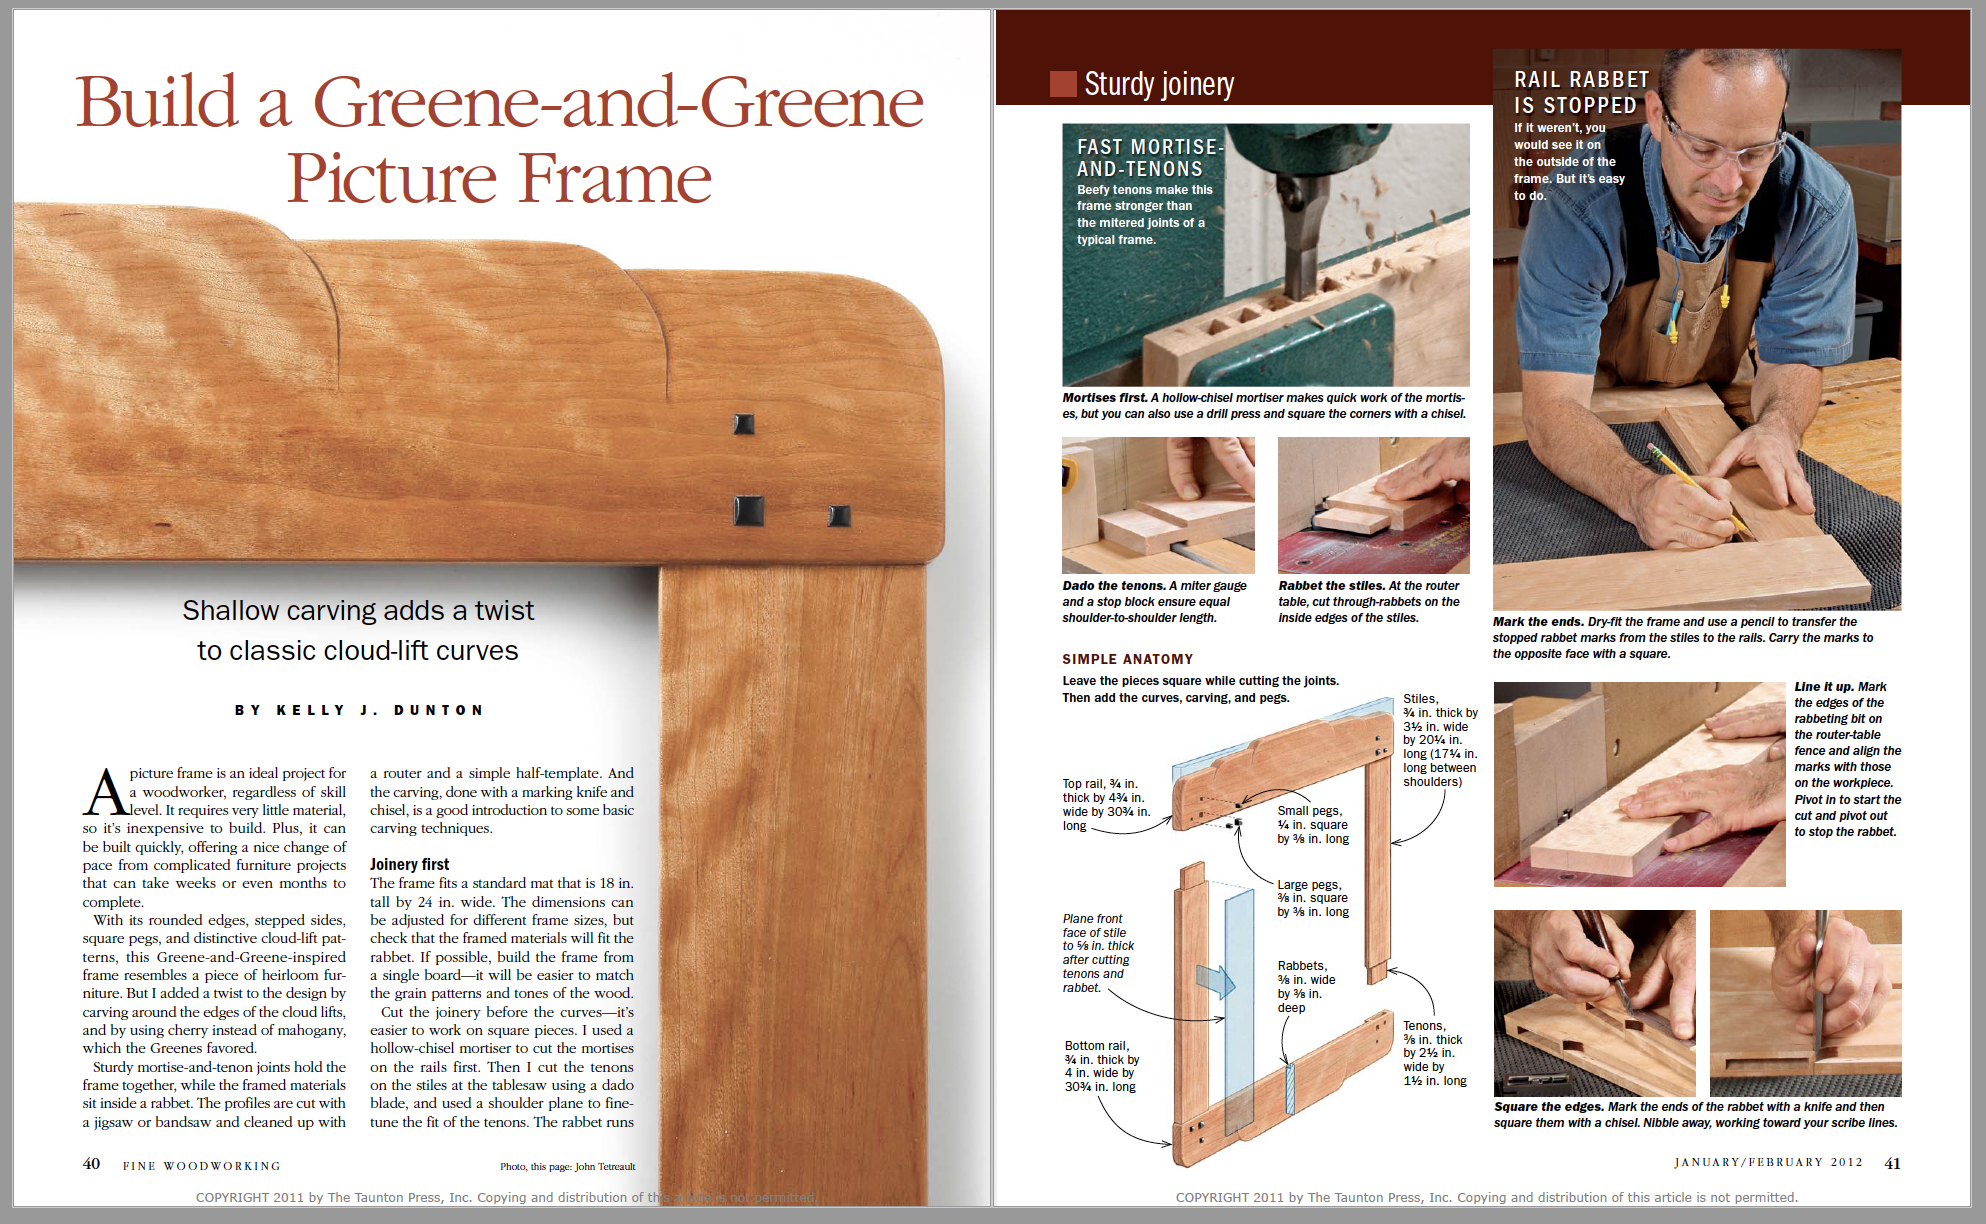
Cut the joinery before the curves—it’s easier to work on square pieces. I used a hollow-chisel mortiser to cut the mortises on the rails first. Then I cut the tenons on the stiles at the tablesaw using a dado blade, and used a shoulder plane to finetune the fit of the tenons. The rabbet runs the entire length of the stiles, but stops short of the ends on the rails. It’s easiest to cut the rabbets at a router table with a 3/8-in. rabbeting bit.
Rabbet the stiles first. Then dry-fit the frame to mark the stopped ends. Disassemble the frame, rabbet the rails, and use a chisel to square the rabbeted corners. After rabbeting, plane 1⁄8 in. of material from the top faces of the stiles. The planing gives the frame a layered look—a key Greene and Greene design element.
Half-templates ease curves
The cloud-lift patterns on the rails are another design element of the Greenes. Cut them using half-templates for each rail. The templates ensure both sides of the profile will be symmetrical, and they also locate the holes for the peg mortises. Make the templates from a piece of 1⁄2-in.-thick MDF that is the same width as the rail, and a few inches more than half the length. The extra length will help guide the router bit into the cut.
 From Fine Woodworking #224
For the full article, download the PDF below:
Fine Woodworking Recommended Products

Suizan Japanese Pull Saw


Log in or create an account to post a comment.
Sign up Log in