Build a Serpentine Sideboard, Part 2
Traditional interior is redesigned for longer life, smoother action, and an easier build
Synopsis: The finicky joints, painstaking inlay, and multi-step door construction are behind you. In Part Two of this Federal sideboard project, you’ll learn how to finish the serpentine pieces, build the interior, assemble the piece, and add the finishing touches.
Tall buildings seem to take forever to rise above ground level, and then shoot up to their finished height almost overnight. Likewise, the four legs, four rails, and two door blanks you’ve completed on this project (see “Build a Serpentine Sideboard, Part 1,” in FWW #222) may not seem like much progress after all the hours you’ve invested, but believe me, you are well over halfway there. The finicky joints, painstaking inlay, and multi-step door construction are behind you. What lies ahead are the fun parts: finishing off the serpentine pieces, building the straightforward interior, and final assembly.
Antique sideboards had little allowance for wood movement; consequently sides cracked and drawers jammed. By building a kind of internal skeleton and making extensive use of frame-and-panel construction, I’ve done my best to ensure that my sideboard will age more gracefully.

In Part 1, we’d reached the point of dryfitting the front of the sideboard, without sawing curves into the pieces yet. Before disassembling them, lay a straightedge across the face of each leg and mark where the rails and the dividers meet the leg.
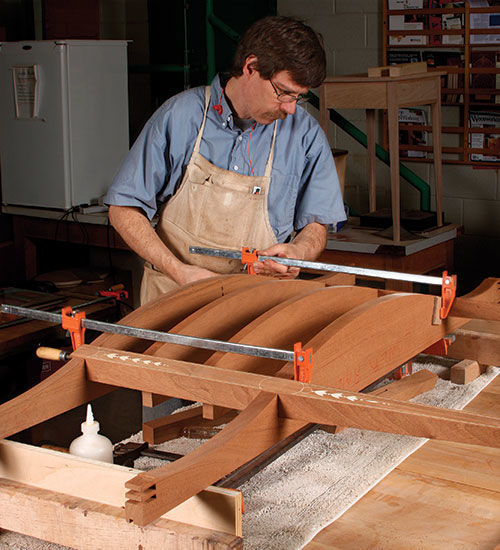
Working from the full-size drawing that you’ve tweaked to fit the actual doors, make a template from 1⁄2-in.-thick MDF for half the front profile, allowing the ends to run a few inches long. Transfer the pattern to the top rail, flipping the template to cover both ends. Cut close to the line on the bandsaw and save the offcuts for later use as cauls.
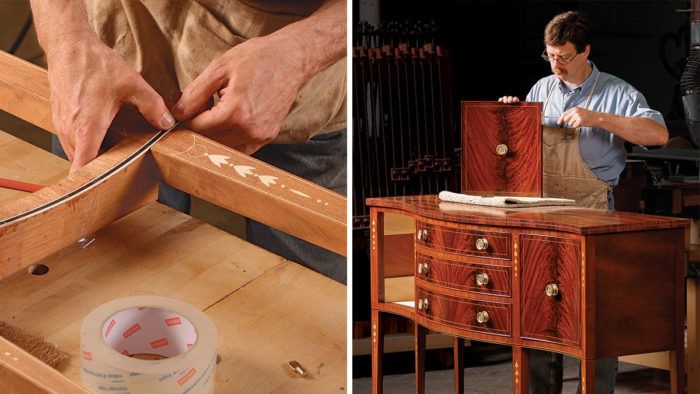
Federal pieces often used face veneer on rails and drawer dividers, and I’m going to stick with tradition. Resaw a piece of mahogany to generate the vertically grained veneer about 1⁄16 in. thick, and then slice strips of the veneer about 1⁄8 in. wider than the thickness of the upper rail and the dividers.
Place the template back on the upper rail and attach it with double-sided tape. Place it on the pencil line if you are not using veneer, or back from the line by the thickness of the veneer if you are. Use a bearing-guided, spiral flushcutting bit to bring the upper rail flush with the template. Once the upper rail is shaped, it becomes the template for the lower rail and the drawer dividers.
For the full article, download the PDF below.
From Fine Woodworking #224
Fine Woodworking Recommended Products

Blum Drawer Front Adjuster Marking Template


Log in or create an account to post a comment.
Sign up Log in