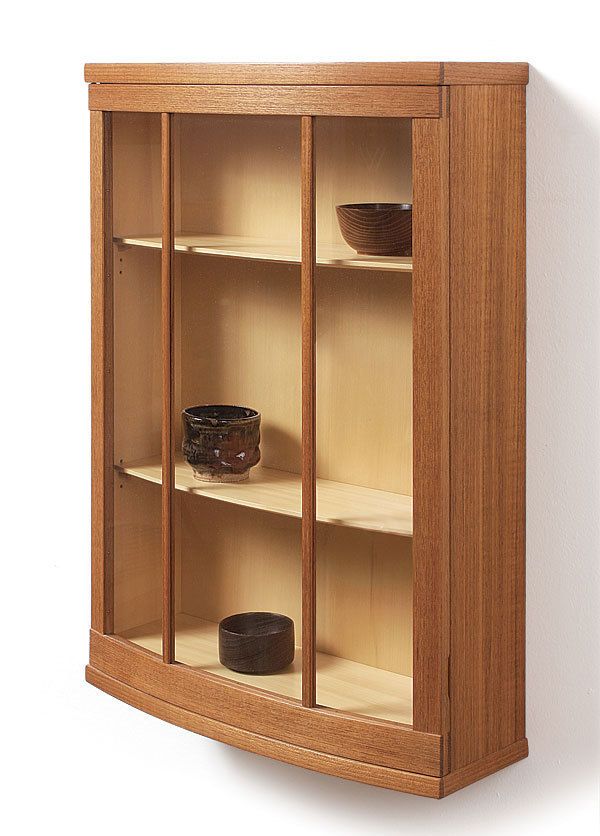
Curved door with flat glass planes
A straightforward technique for setting straight panes into curved rails
Synopsis: A curved or bow-front feature gives a sophisticated look to a cabinet, but curved glass is expensive. A good compromise is to set straight panes of glass into curved rails. The trick is to use multiple panes and set them into straight rabbets routed into the back of the laminated, curved rails. The mullions are grooved and angled, too. Clark Kellogg shows you how.
A curved or bow-front feature gives a sophisticated look to any piece of furniture. The downside of adding glass is the high price of curved panes. I learned a good compromise at the College of the Redwoods, where founder James Krenov developed a straightforward technique for setting straight panes into curved rails. And I have continued to use it.
This technique isn’t difficult. The curved door rails are laminated over a bending form. Then, a rabbet with three facets is routed into the back of the rails and the glass panes are set into them.
As with any curved door, it is far easier to fit the cabinet to the door than the other way around, so start with the curved rails. I make mine by laminating 1⁄8-in.-thick plies over a bending curve.
After the rails have been laminated, joint one edge and then rip them to width. Next, use one of the rails to make a full-size, top-view drawing of the door. Lay out the precise locations of the bridle joints, mullions, glass panes, and stops. Use the drawing to mark the final length of the rails and then cut them.
Now you can cut the slots for the bridle joints in the rails. I use a tenoning jig and my tablesaw. Because the rail is curved, I make a cradle for the jig to hold it so that the slot is cut parallel to its sides. Then I head over to the bandsaw and rip off a 1⁄8-in.-thick strip from the top edge of the bottom rail and from the bottom edge of the top rail. These strips are used later to make stops to hold the glass in the door.
The stiles are next. Make them slightly wider and thicker than their final dimensions. The extra thickness lets you plane them to match the curve of the rails, and the extra width helps with the clamping when you’re gluing the door together. After they are cut, dry-fit the frame and plane the stiles to match the rails’ curve.
The glass panes fit into the door using rabbets, but because the glass is flat, the rabbets must be faceted. I use a jig to rout them. Start by making a template of the faceted rabbet. And then use that template to make the jig. After the jig is made, rout the rabbets and then hold the rails against one another to check that they are mirror images of one another. If there are any differences between the rabbets, shim one of the registration blocks with tape and rerout the rabbets.
For the full article, download the PDF below.
From Fine Woodworking #224
Fine Woodworking Recommended Products

Starrett 12-in. combination square

Estwing Dead-Blow Mallet

Dubuque Clamp Works Bar Clamps - 4 pack


Log in or create an account to post a comment.
Sign up Log in