Pine blanket chest part 2
 Jan 05, 2012

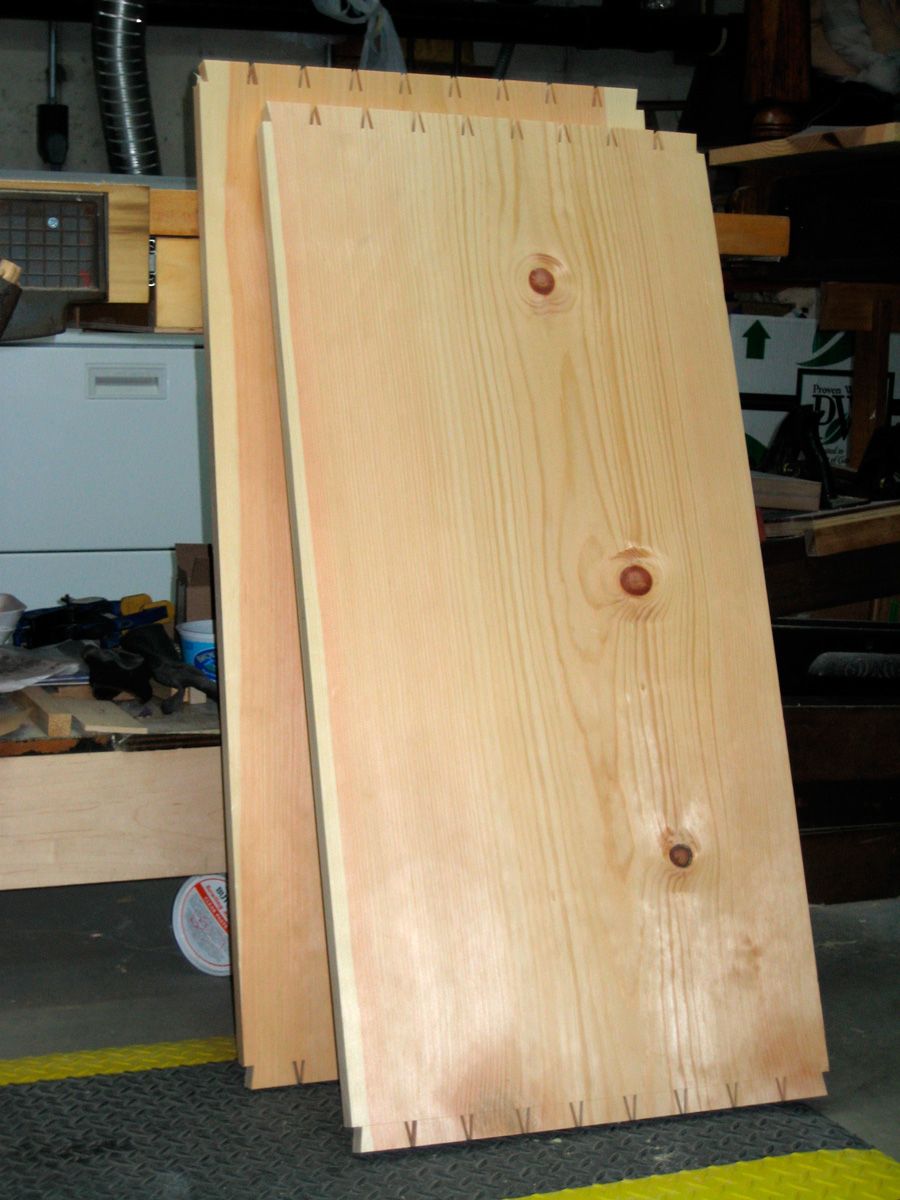
The front and back of the chest have the tablesawn dovetails cut and ready to be cleaned up.
-
The front and back of the chest have the tablesawn dovetails cut and ready to be cleaned up.
-
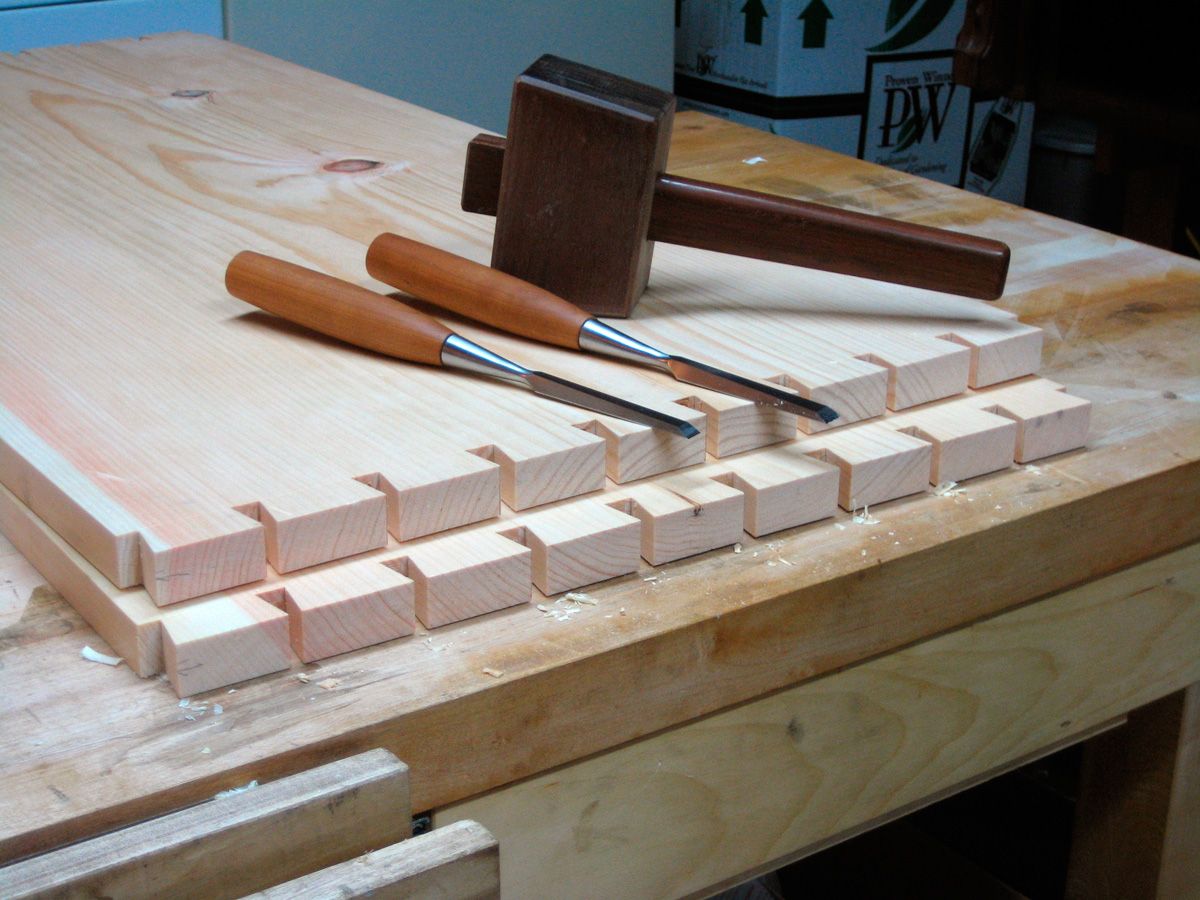
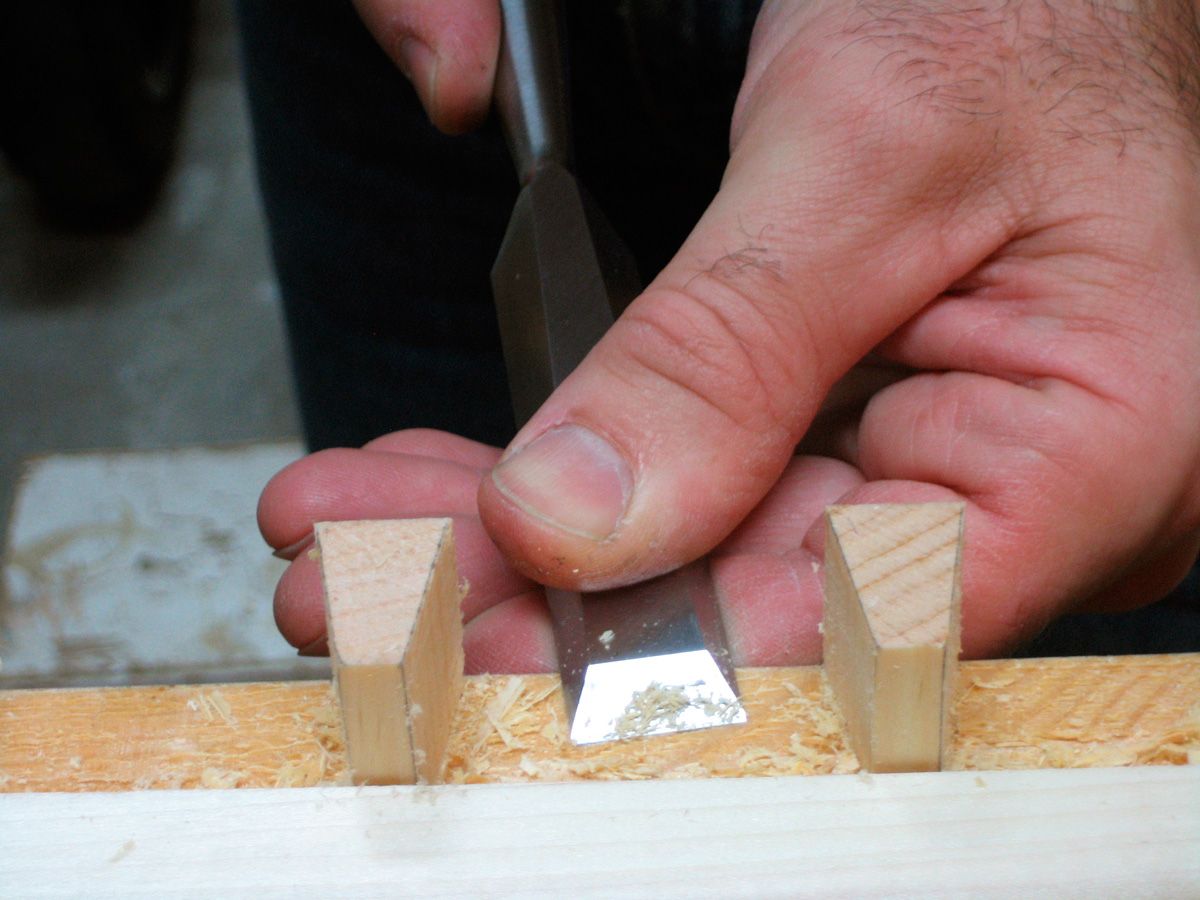
Clean up is simple with a chisel and mallet.
-
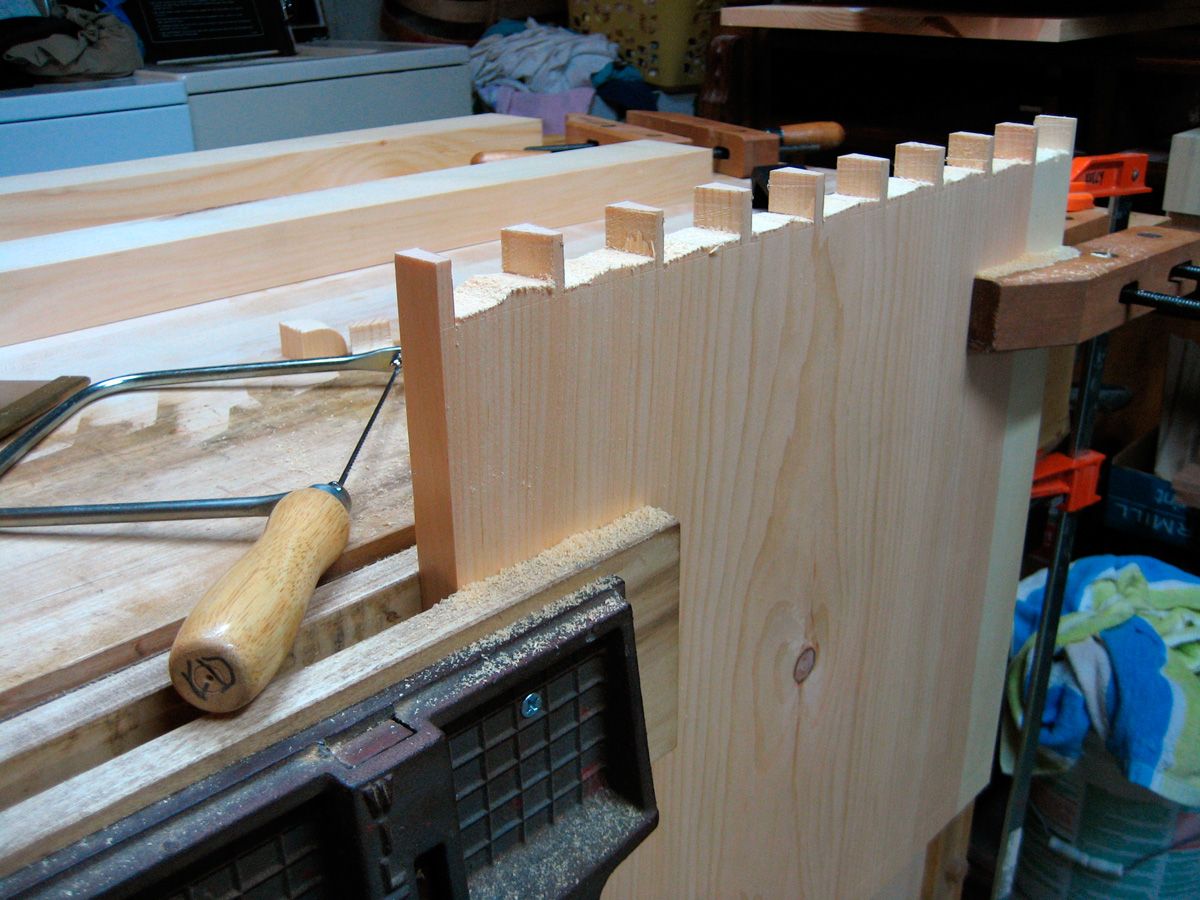
The sides get marked and cut for the pins. I often use a coping saw to remove a large amount of the waste to aid in chopping the pins quicker.
-
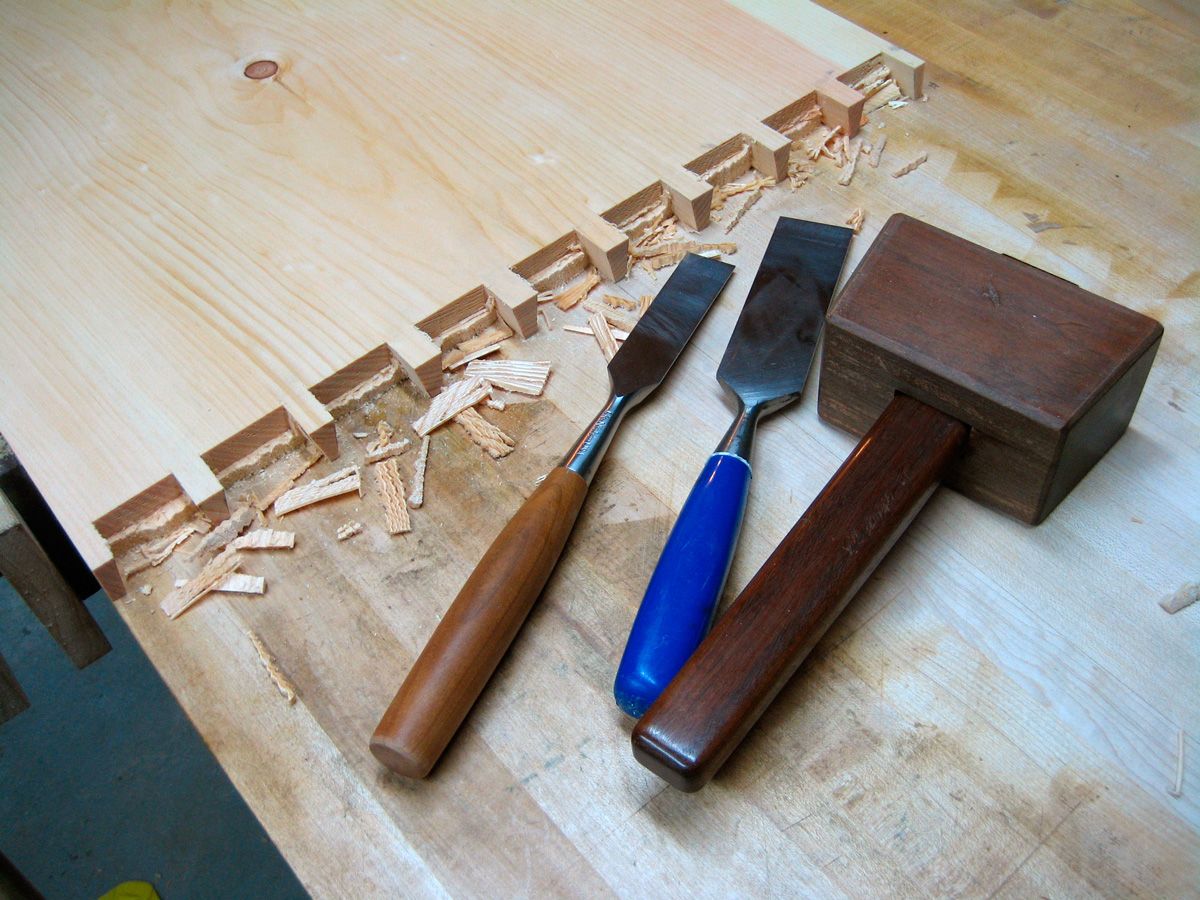
Ok, there's still a lot of chopping to do with these dovetails.
-
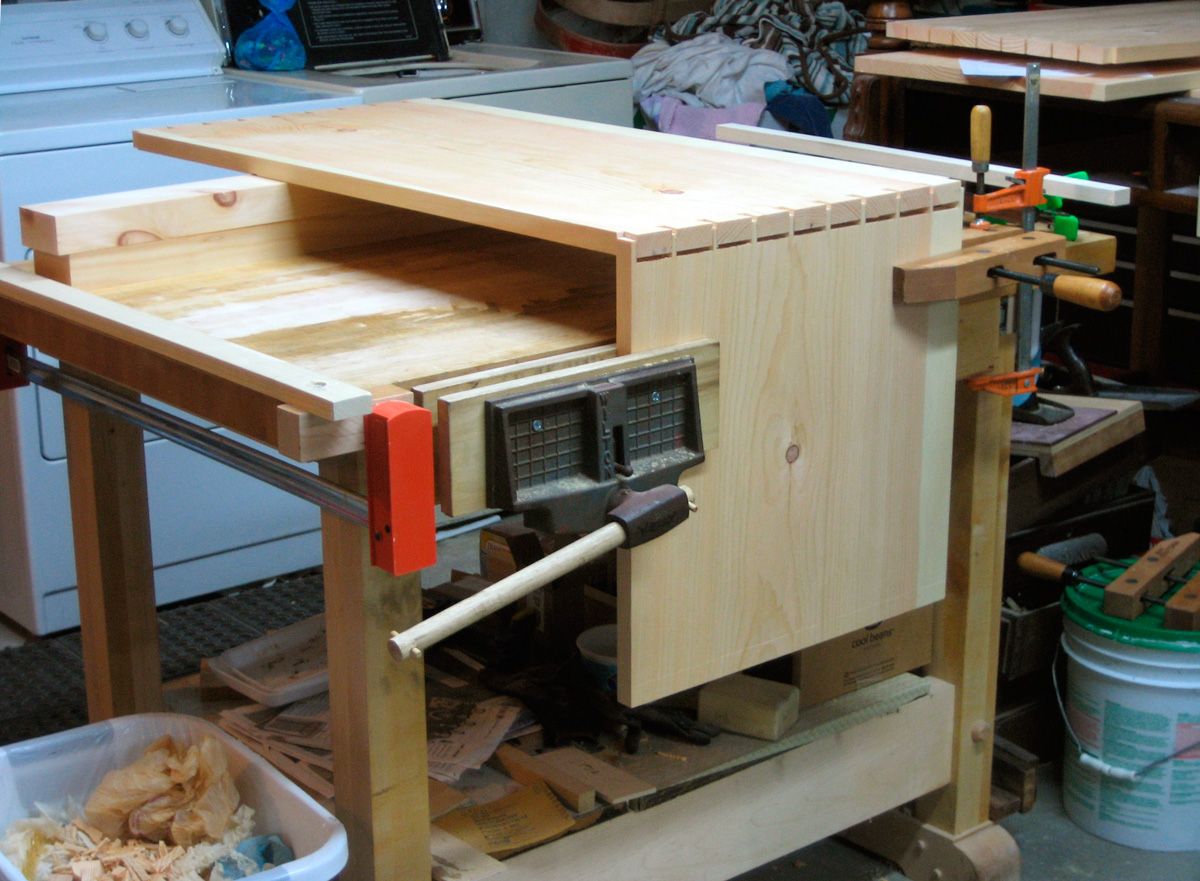
Test fit. You can see that working on a small bench takes some creative ingenuity to hold these large boards. A hand-screw clamped to the work piece and then the bench holds the end opposite the vise.
-
A little more cleaning up gets the pieces together. Here I've clamped a waste board to keep the grain from blowing out if I should slip across the far side of the joint.
-
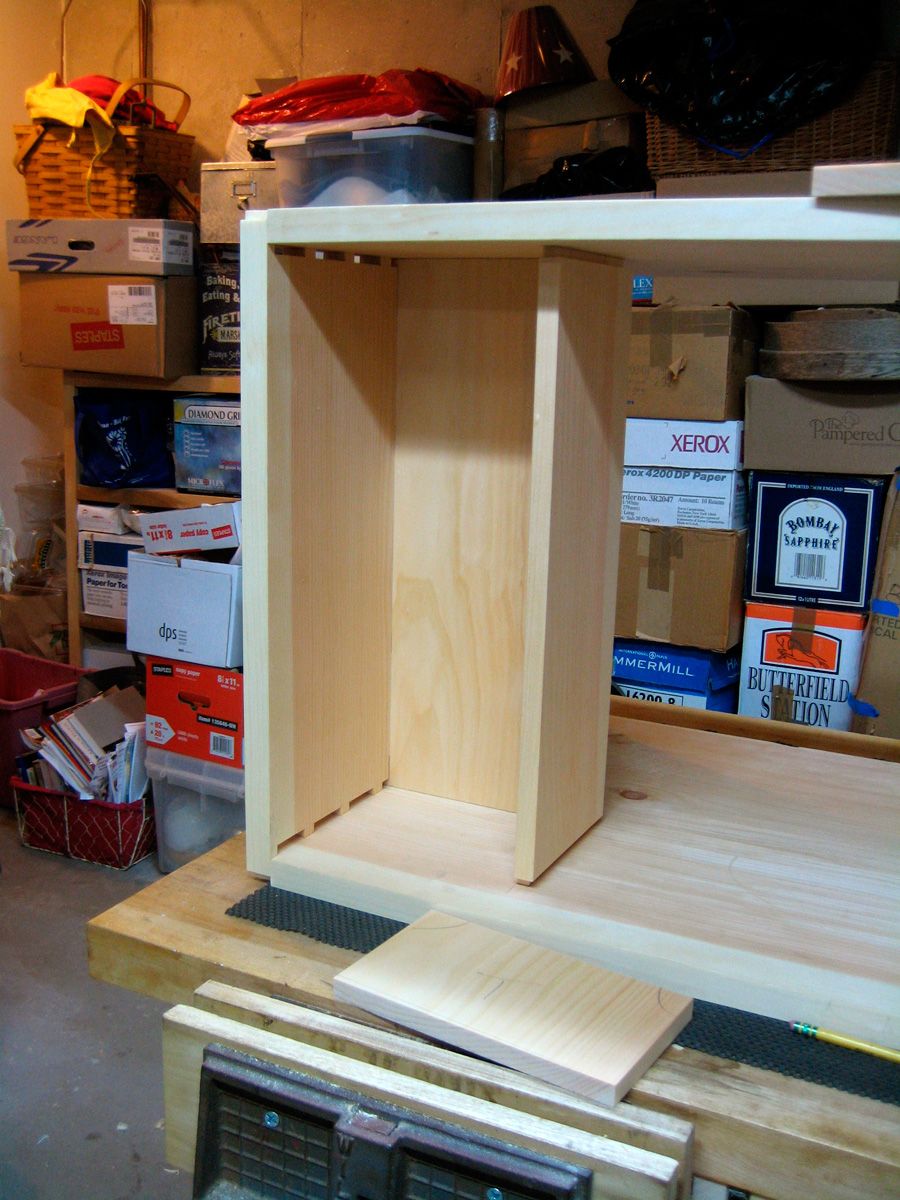
Adding a till to the inside top left of the blanket chest took a little configuring between the dovetails. I cut the tenons first and marked for the mortise with the case partially assembled.
-
A chisel worked out to be the simplest method for cutting the mortises. Each mortise is a stopped mortise and a router would have needed a special jig of some sort. A couple passes with a 1/2 wide bench chisel and I cut the mortise 1/2 deep quite simply and quickly this way. I used an adjustable square to check the that I had the correct depth.
-
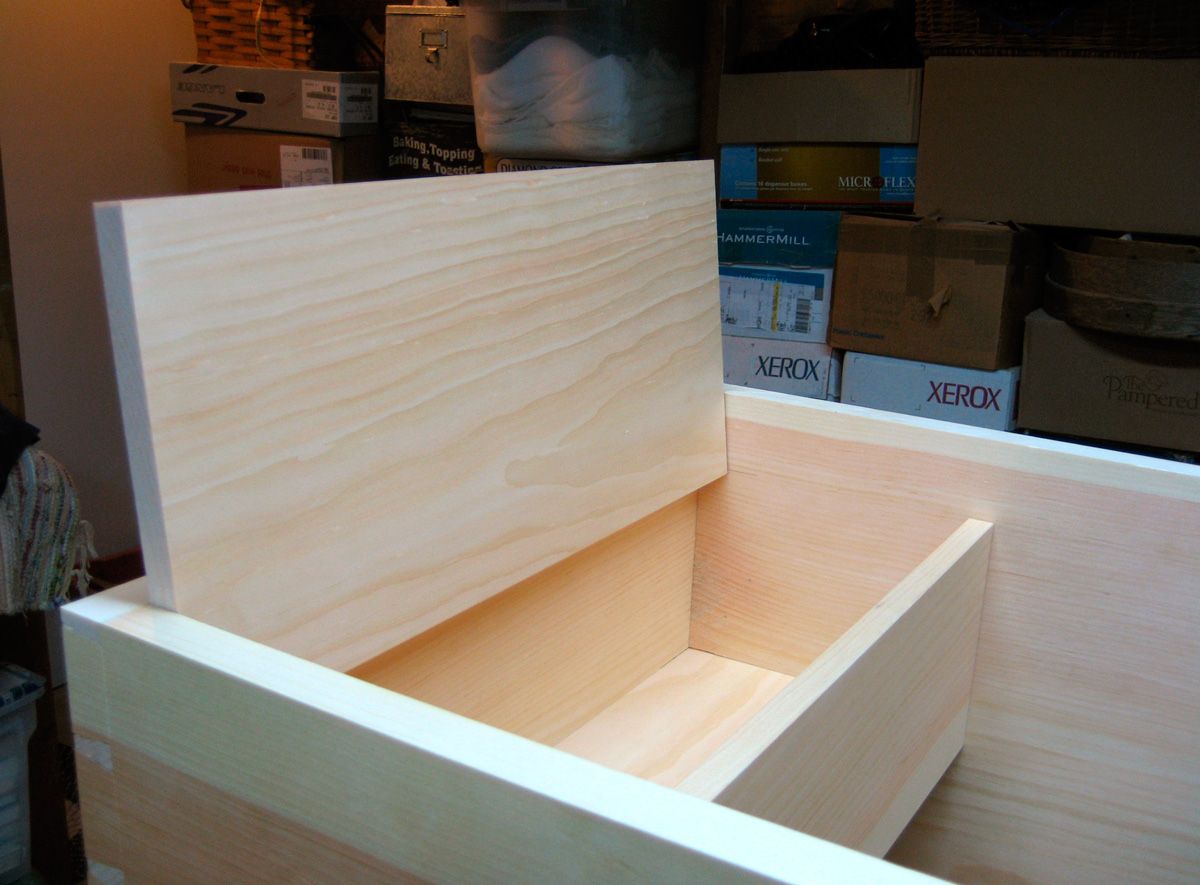
Here I test fitted all the parts before glue up. The lid needed to be adjusted a couple of times to get it to open smoothly. I had to plane the inside top edge round for the lid to clear the side of the case. I also made sure to keep the length a good bit short to keep it from binding between the front and back.
-
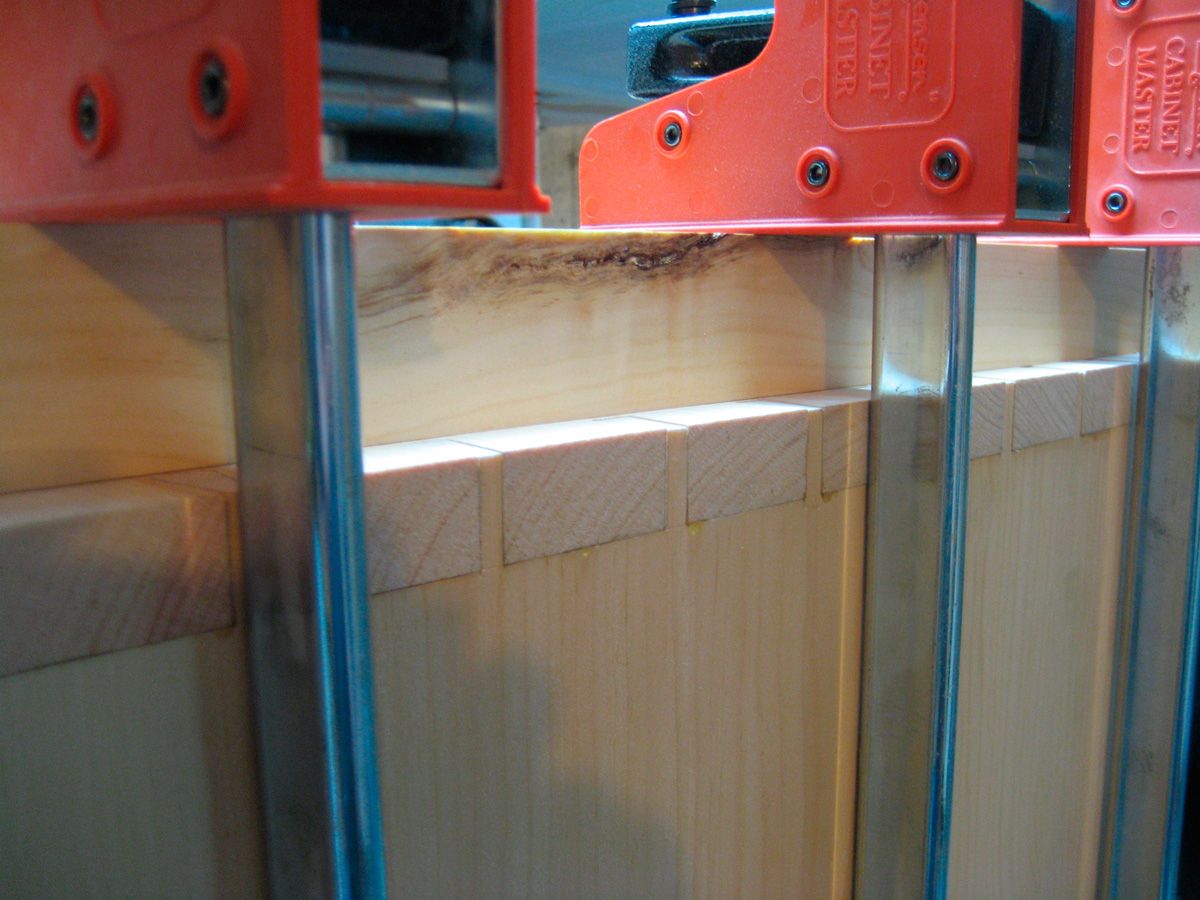
Finally the glue up. Again, is there such thing as to many clamps? I really could have used about another 6 to 12 inches of length on my pipe clamps here. Luckly the case was pretty square and only needed a little pressure to elign it.
-
Not to shabby if I do say so myself? All clamped up and ready for a break.


Log in or create an account to post a comment.
Sign up Log in