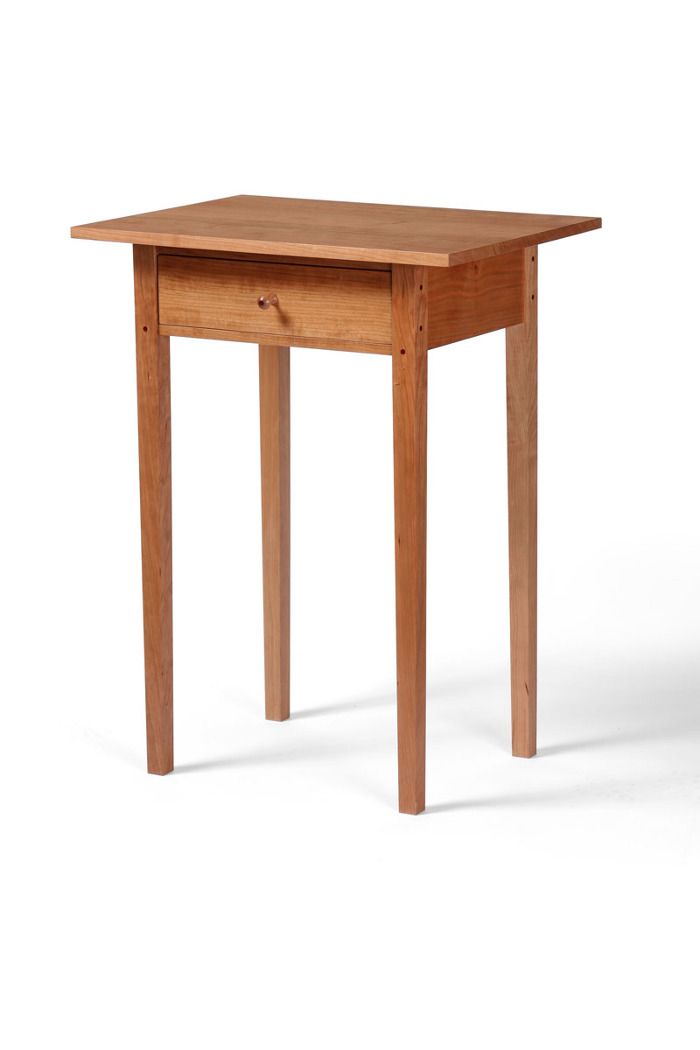
Fine Woodworking staffers seem constantly to be working on “lunch-time projects,” furniture that we build piecemeal a few afternoons or evenings during the week. This tapered-leg Shaker Table, which ran as a cover story project in FWW 210, is the first lunch-time project I’ve finished since joining FWW back in August.
I followed the plans pretty closely for this build, although I strayed a little on some of the finer details. The noteworthy items…
Material
Most of the lumber came from a few large slabs of cherry I bought from an arborist last year. The slabs were quite wide, which allowed me to chop out a lot of straight-grained pieces for the top and the aprons. The tree came from a town near my house in Central Connecticut, which is a nice backstory now that it’s in my living room.
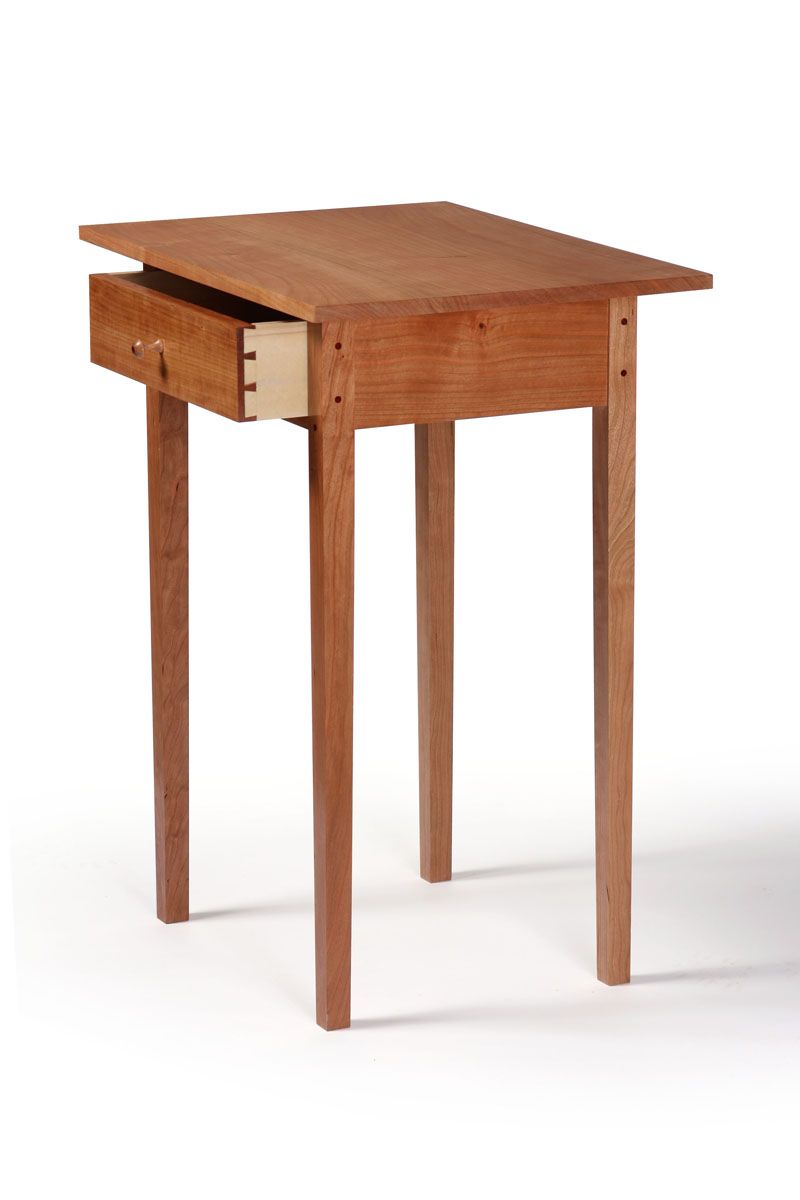
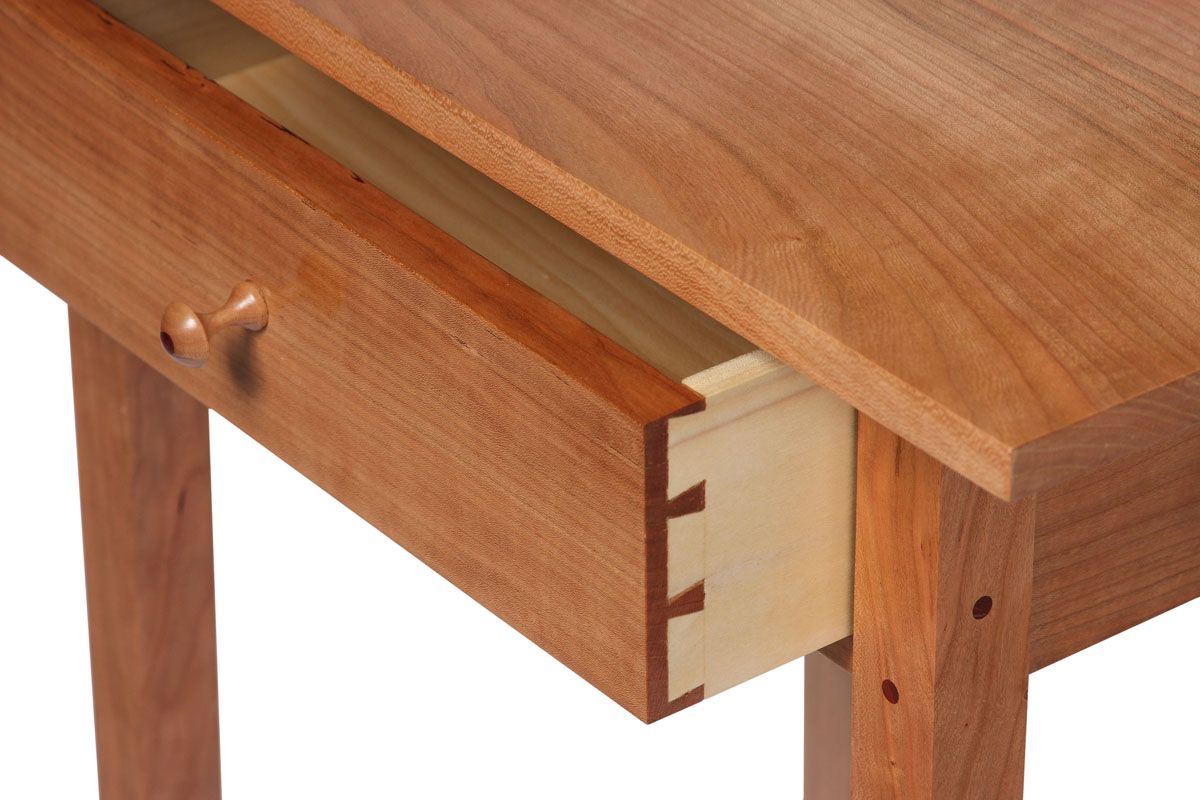
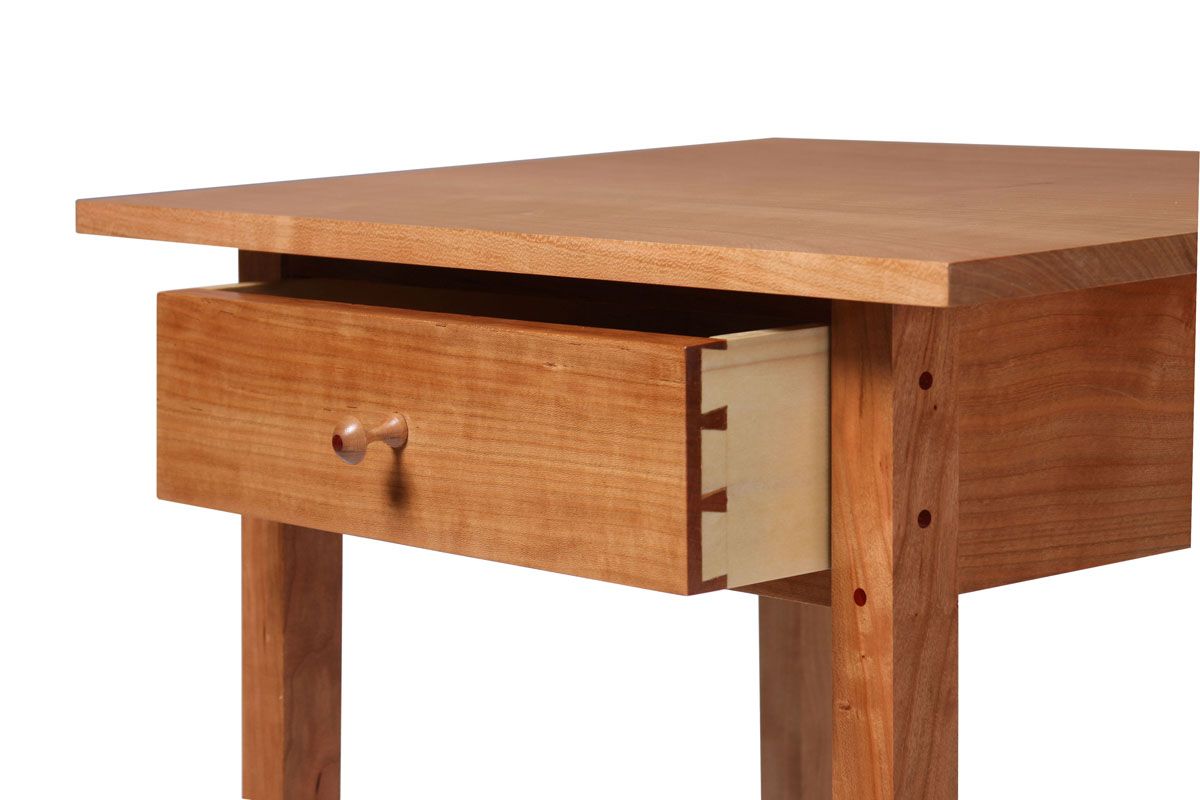
The drawer sides are poplar and the drawer back is soft maple, a curious combination. Why did I do that? Well, I started with soft maple sides, but I miscut the dovetails. I didn’t have any maple left, so I had to substitute poplar. It looks nice, but I would have preferred maple.
The solid wood drawer bottom is pine that came from a tree near the yard of one of my colleagues. That pine is really making the rounds here at FWW. Some of the same lumber also recently became a blanket chest.
Design
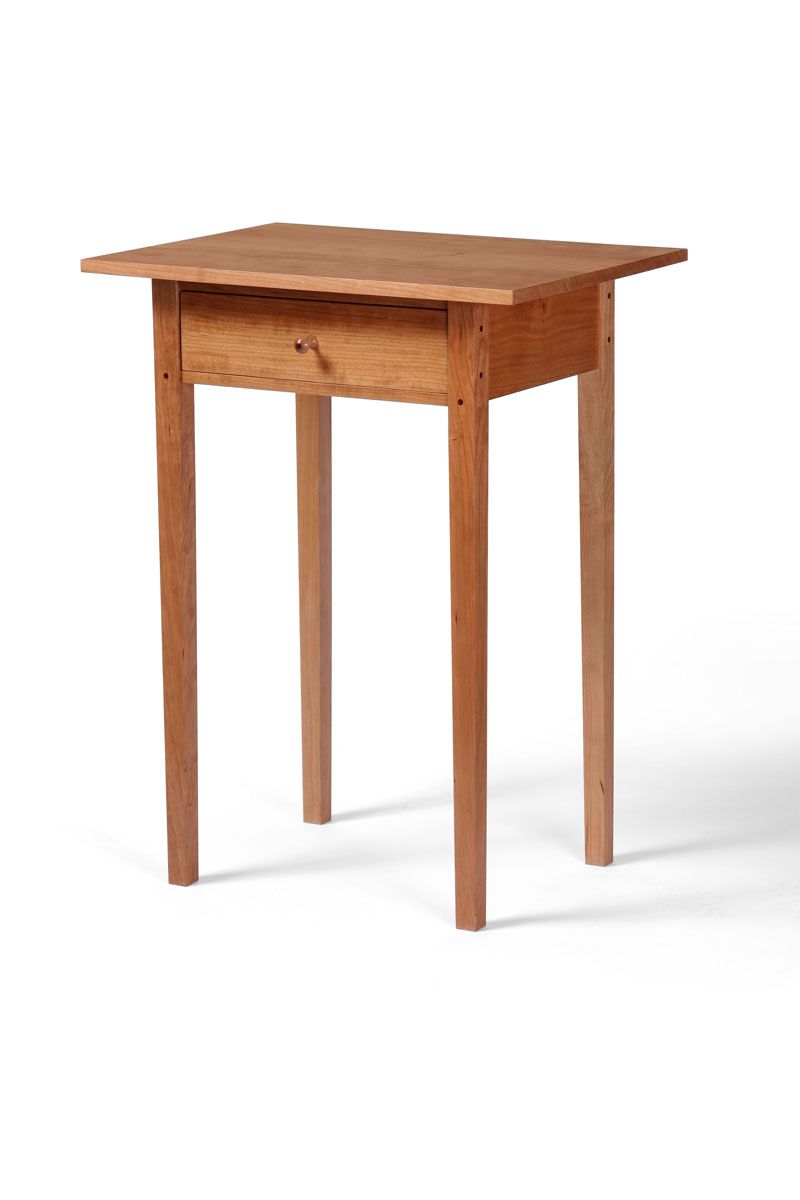
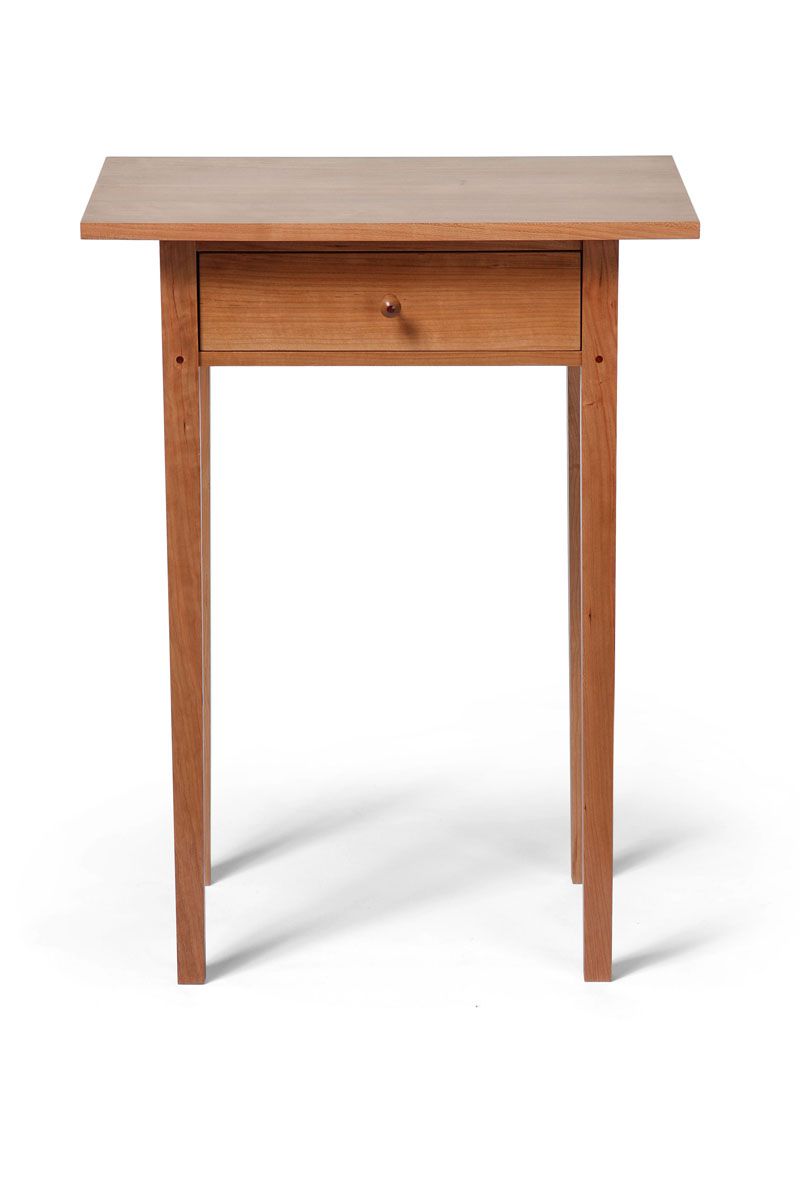
There were two very small changes to the design, but they stand out. First is that I trimmed the length and width of the table top, albeit not by much. The plans call for a top that is 16 in. wide by 24 in. long, but mine finished at 15 1/2 in. wide by 22 in. long.
I picked padauk for the pegs, rather than cherry. I don’t have a dowel maker, so I cut them with a 1/4 in. plug cutter. I added pegs to the front rails, too, although I wish the pegs were a slightly smaller diameter. I also added a peg to the knob, which was a little trickier. I drilled out the hole for the peg while the blank was on the lathe by chucking a 1/4 in. forstner bit in the tail. I glued the peg in place before turning it.
There’s also a hidden detail I changed. I used figure 8 clips to attach the top, rather than drilling screws through the kicker and into the top. This was due to an oversight on my part: My kickers were slightly narrower than those in the plans, I didn’t pre-drill the countersunk holes, and I didn’t have a right angle drill that would allow me to drill the hole. But the clips worked great.
Finish
In the plans, Christian Becksvoort used an oil finish on the table, but I ended up using just four coats of shellac and a coat of paste wax on the top and drawer front.




Comments
Bravo, Ken!
Best,
-Ed
Log in or create an account to post a comment.
Sign up Log in