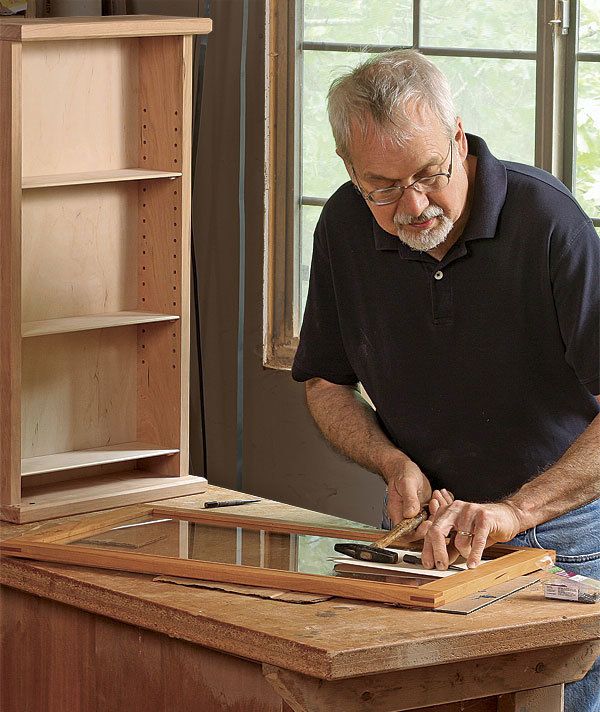
Synopsis: Glass doors are great for kitchen cabinets, display cabinets, enclosed bookshelves, and any other project where you want the objects inside to be seen. But conventional construction methods are tedious: Make a regular mortise-and-tenon door, rout stopped rabbets to hold the glass, square the corners, etc. Doug Stowe has a better way. He makes his glass doors with a bridle joint and a tenoning jig at the tablesaw, and his trick for shortening the tenon cheek on the back face of the rails allows him to cut through-rabbets for the glass at the same time. It saves steps and makes everything come together squarely and perfectly every time.
I live in Eureka Springs, a small town in northwest Arkansas that’s home to many artisans and art collectors. And so I’ve made several cabinets with glass doors to house art collections.
Glass doors are also great for kitchen cabinets, allowing you to display decorative dishes while protecting them, and for enclosed bookshelves. But many people build them in a tedious way, by making a normal mortise-and-tenoned door and then rabbeting the pieces for the glass in a separate series of steps.
I’ve learned that the best way to make those doors is with a bridle joint. Not only is the joint easy to make—I do it with a tenoning jig at the tablesaw—but by shortening the length of the tenon cheek on the back face of the rails, I can cut through-rabbets for the glass at the same time. That saves you the hassle of routing stopped rabbets and squaring their corners after the door is glued up.
As simple as this joint is to make, it is one of those assemblies—like the dovetail—that can be hard to wrap your mind around, at least at first. That’s because it can be difficult to imagine how the offset tenon shoulder on the back of the rail fills the rabbet on the stile. But don’t worry, it does. And the steps are easy.
There are two parts to the joint. A slot is cut into the end of the stile, and a tenon onto the end of the rail. On a door with a wood panel, both of the tenon’s shoulders are the same distance in from the end of the rail. However, in order to cut through-rabbets on the back of the parts, the cheek is shorter on the back than it is on the front so that the shoulder on the back fills the rabbet on the stile after the door is glued up. That means there are no unsightly gaps in the door frame from the through-rabbets.
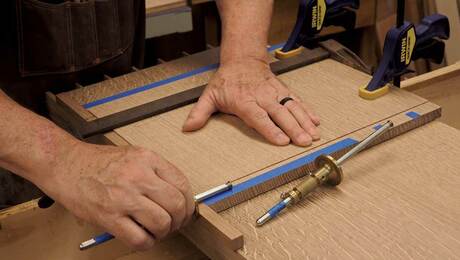
Before you make the joint, lay the parts on the bench and mark their faces and inside edges to help keep them properly oriented as you cut the joints and rabbets. Also, I start with rails and stiles that are about 1⁄8 in. longer than final size. I cut the joints so that the ends of the tenons and slots are 1⁄16 in. proud after assembly and then trim them. Start with the slots on the stiles. I use a tenoning jig to hold the stile on end as I run it through the tablesaw blade. Use a blade with a flat-top grind, like a ripping blade. Some combination and crosscut blades leave a V-shaped notch in the bottom of the kerf that would be visible after assembly Put the back face of the stile against the jig and clamp the stile in place.
For the full article, download the PDF below.
From Fine Woodworking #225
Fine Woodworking Recommended Products

Bessey K-Body Parallel-Jaw Clamp

Starrett 12-in. combination square

Veritas Precision Square


Log in or create an account to post a comment.
Sign up Log in