A Violin is Born at Fine Woodworking
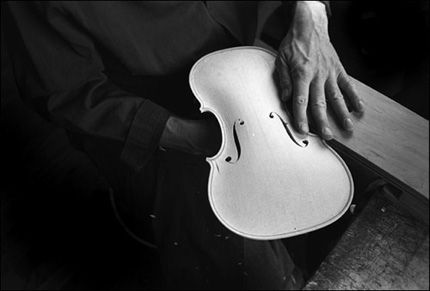
Despite the fact that I don’t play one, the violin-as an object-is a beautiful sight to behold. A few years ago, I had the pleasure of following New York City-based luthier Guy Rabut through a few of the steps involved in construction. As I snapped roll after roll of black and white film (I’m old school), I became even more smitten by not only the beauty of the object, but the processes involved in producing it. The figured wood, the tiny handplanes, the piles of shavings, the stinky hyde glue, the warm workshop environment-this was definitely a project I was going to have to tackle someday.
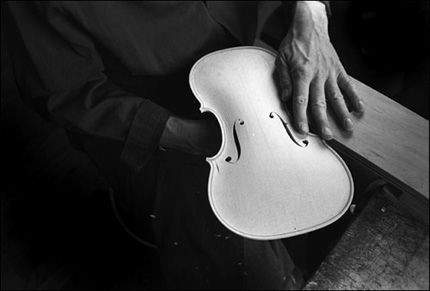
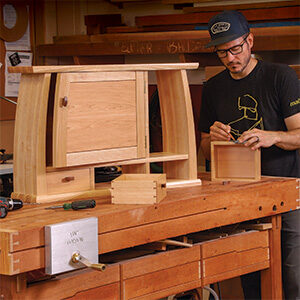
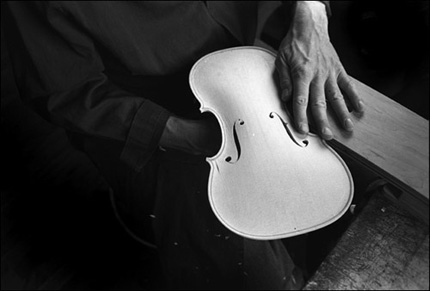 Luthier Guy Rabut at work in his shop. |
And so the time has come. I’ve been toying with the idea of constructing a violin for nearly three years now, and I’m tired of dreaming about it. Armed with a copy of Bruce Ossman’s book, Violin Making, I’ve set off into the unknown, here at Fine Woodworking’s dream shop in Newtown, CT. I’ll be documenting the process from start-to-finish over the course of several blog posts.
The final step will be to find a musician capable of playing the darn thing. Did I mention the fact that I’ve never put a bow to a violin string in my life?
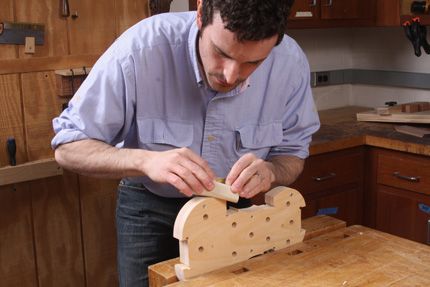
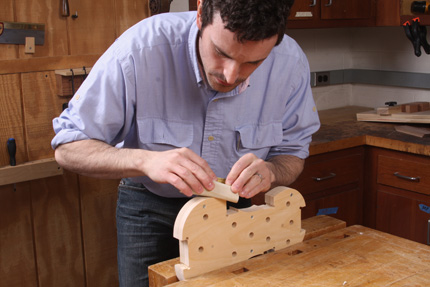 Fairing the violin’s rib form after bandsawing. click to enlarge |
Building the Form
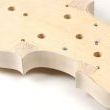
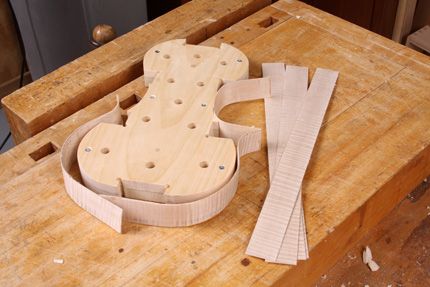
The first step in the process is form construction. The ribs, or sides, of a violin are bent into some rather tight-radiused arcs surrounding the form. Small blocks are temporarily tacked into notches in the form (seen at left), and the ribs are joined together at these key points. Later on in the process, the entire rib and block assembly will be removed from the form. It is at that point that the top (known as the belly) and bottom can be attached to the ribs.
Notice all those 1/2-in. holes? They’ll become very important when it comes time to glue the rib assembly together. Dowels will be slid in so that they protrude from either side of the form and rubber-banded to dowels positioned on the opposite side (the outside perimeter) of the ribs-a rudimentary clamping system.
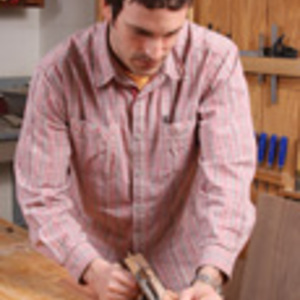
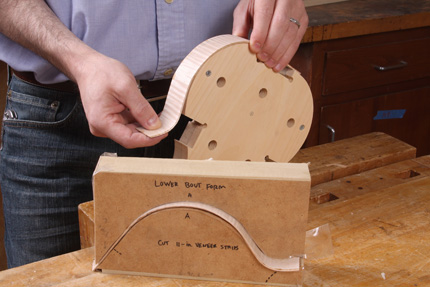 Fitting the 1/32-in.-thick rib pieces around the form. click to enlarge |
Steam-Bending the Ribs
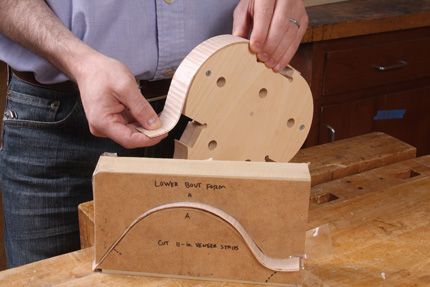
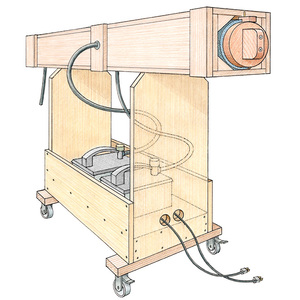
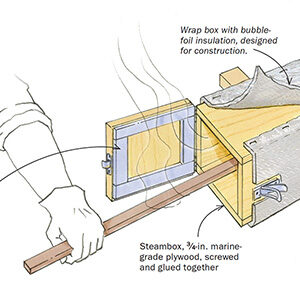
After steaming my figured maple ribs in a double boiler, I left them clamped in the forms seen at right. This set the general shape of the curve and “broke” the wood grain’s memory. After they dried, I re-steamed them, applied glue, and clamped the lamination again, leaving me with the curved pieces you see me applying to the rib form at right.
These are some pretty tight curves, so the material used in the rib lamination process measured in at only 1/32-in. in thickness. And even though I thoroughly steamed that thin material before bending and glue-up, I still broke a few!
With all my rib laminations steamed, bent, and glued-up, I’m ready to begin joining them together into one curvacious violin body. Be sure to check back soon for more updates! And in the meantime, don’t miss this 2008 New York Times piece on violin maker Guy Rabut




Comments
For those interested in this sort of thing... check out this book.
"The Violin Maker"
' Finding a Centuries Old Tradition in a Brooklyn Workshop'
by John Marchese
Is there any particular reason why you don't bend the ribs on a bending iron?
My father also could not play violins, but he repaired and built violins for 20 years. Along the way he had two students who he taught to build violins. He also wrote two books on building violins and a Viola De Gamba. I was always amazed at all of the special jigs and tools needed to build them.
John LaBarre
This is an awesome article. Takes lots of skill to make a violin. But does it sound good?
BENJAMIN RAUCHER
Just wondering how the project is going these days?
Log in or create an account to post a comment.
Sign up Log in