Building a Cherry TV Cabinet – Part III
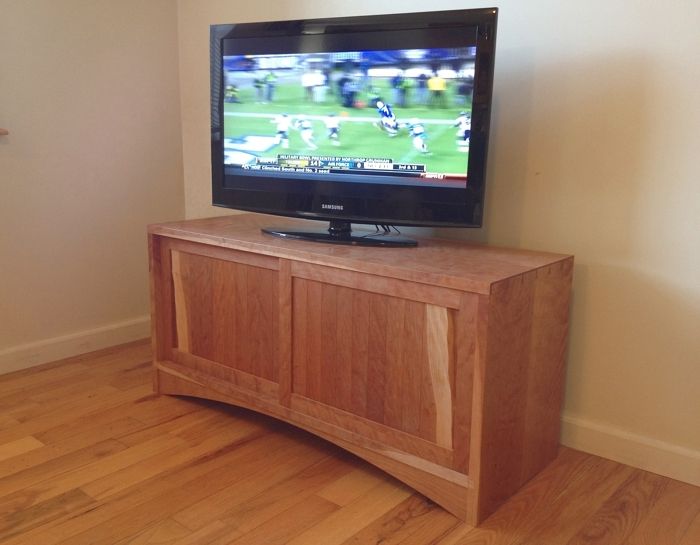
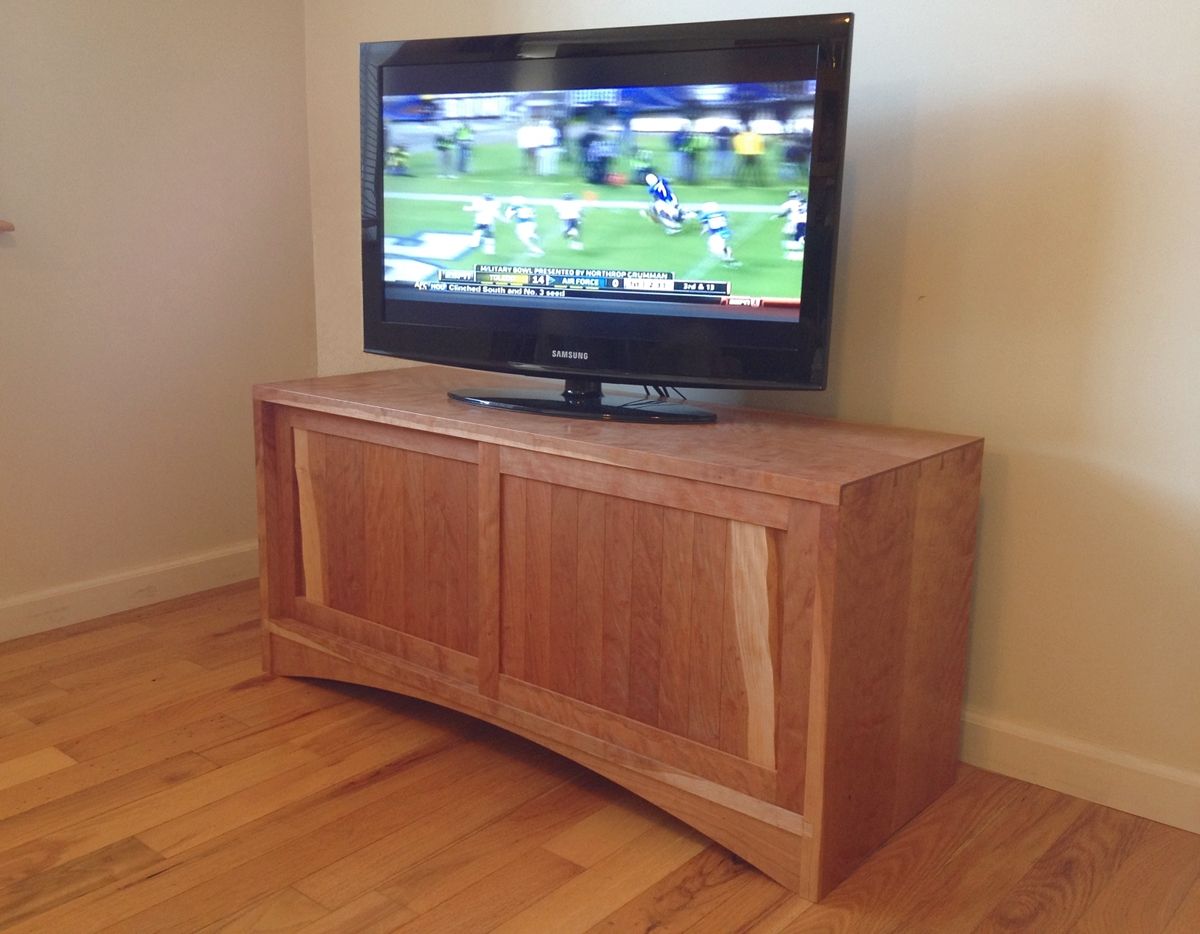
The cabinet installed in its new home.
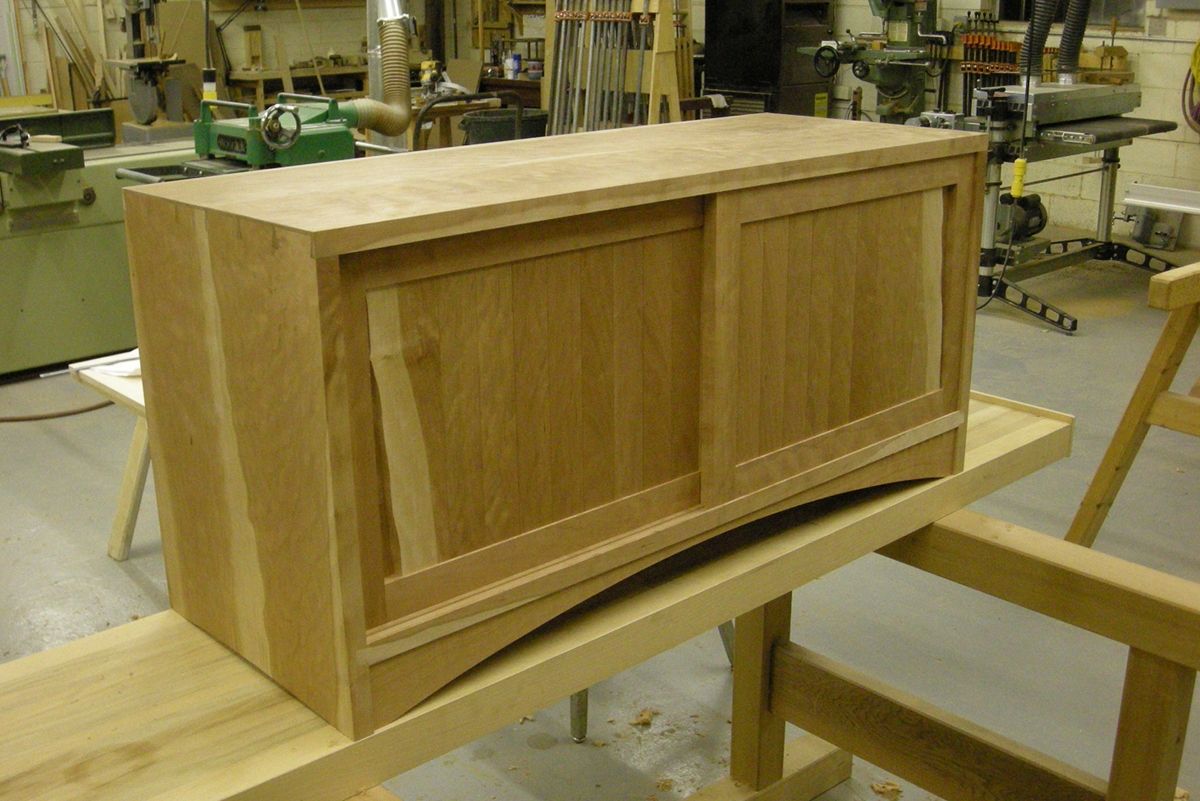
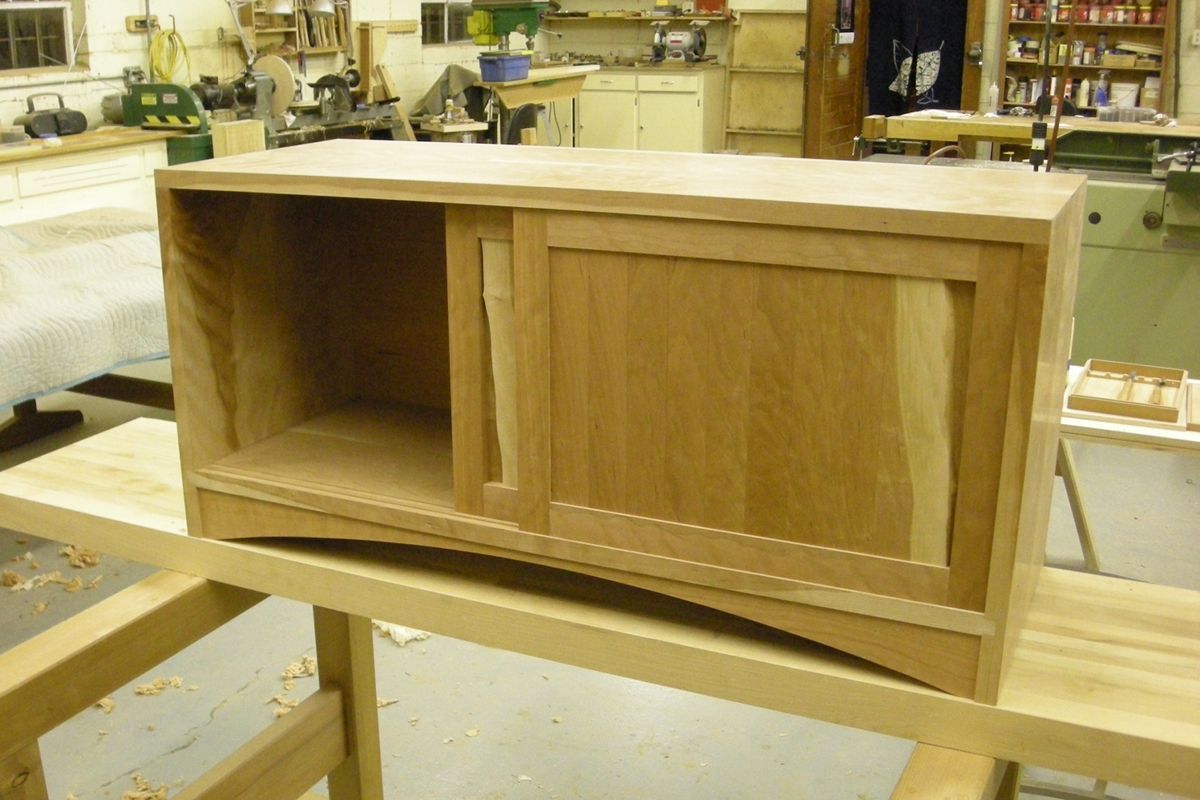
This 43 inch wide cabinet was designed for a 32″ LCD screen. Satellite and disk components inhabit the right hand compartment which has an open back to provide ventilation and easy access for wiring. The compartments are concealed with sliding panel doors, which feature the use of live edge door pulls.
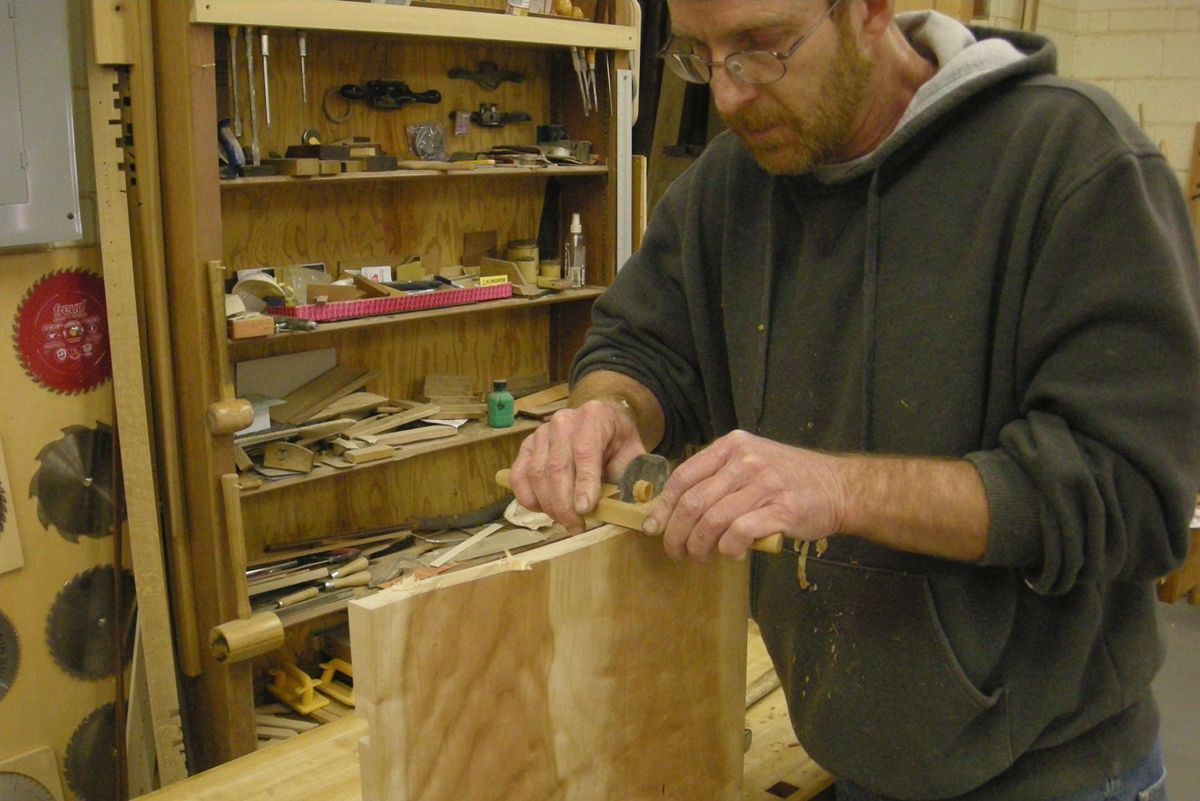
Nankin Kanna
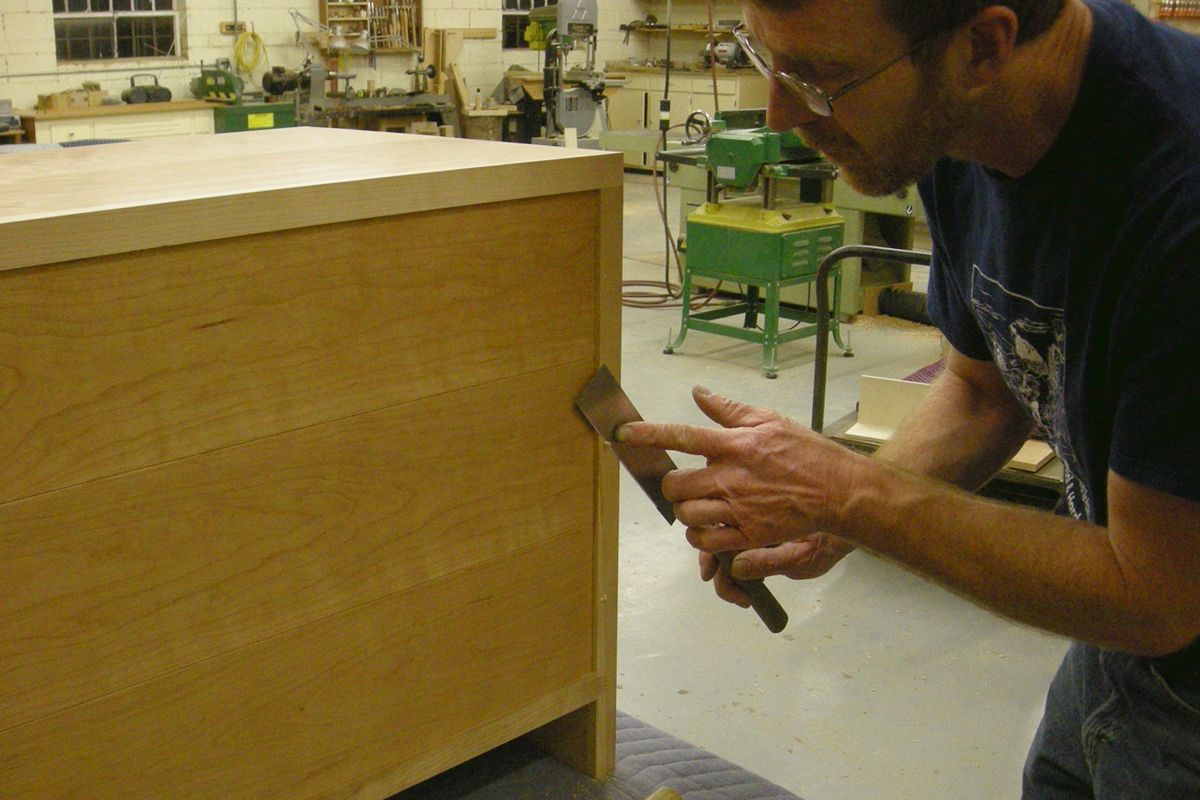
The bottom edge of each side is arched at the same radius as the toe board. The curve was cut on a bandsaw and cleaned up with a few passes of a nankin kanna, a spoke shave, named for its Chinese origin.
Plan and Prepare for Assembly
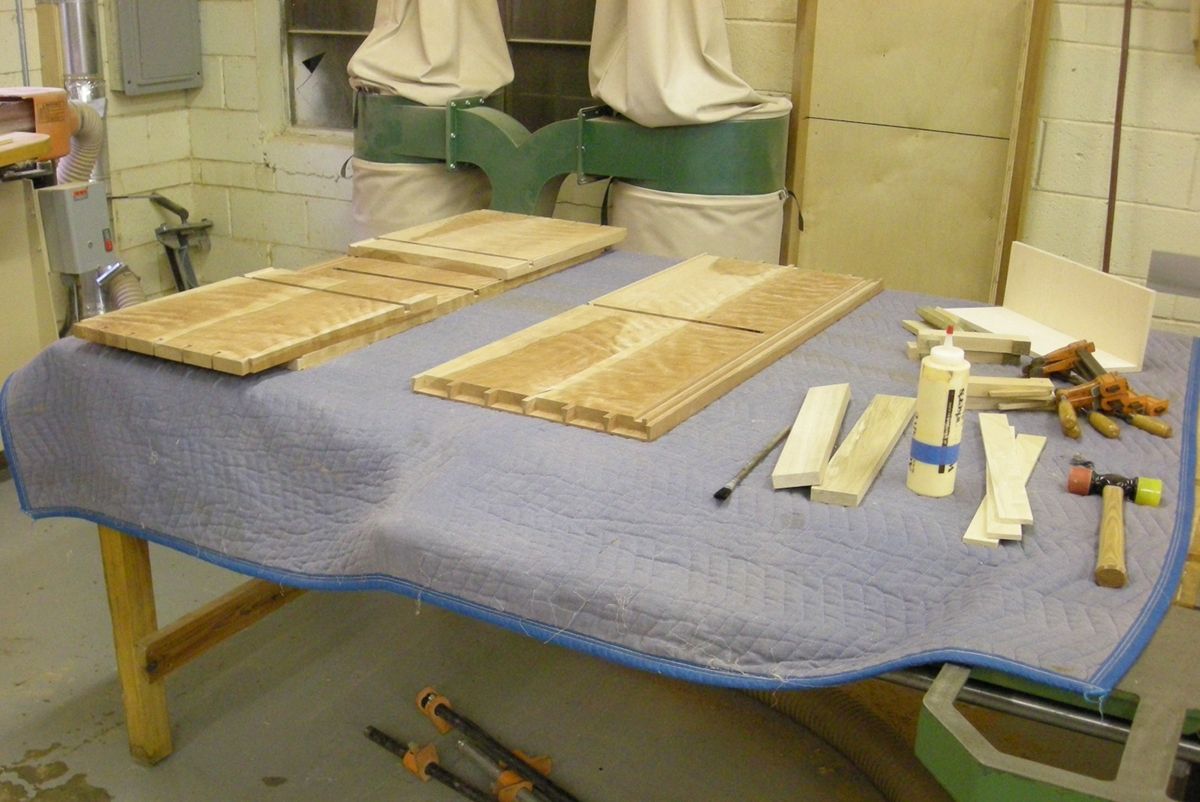
The fate of the quality of a cabinet is made or broken during glue up. Thinking about order of assembly begins during the design of the structure and joinery but needs to be worked out and prepared for in detail before proceeding. Breaking up the assembly in stages reduces the numbers of conflicting clamps, provides more time to spread glue and align individual joints. Make clamping cauls, gather clamps, brushes and any other supplies before spreading glue. Few assemblies go exactly as planned, but good preparation reduces the chances of a catastrophic screw up.
Glue Up Half Blind Dovetails
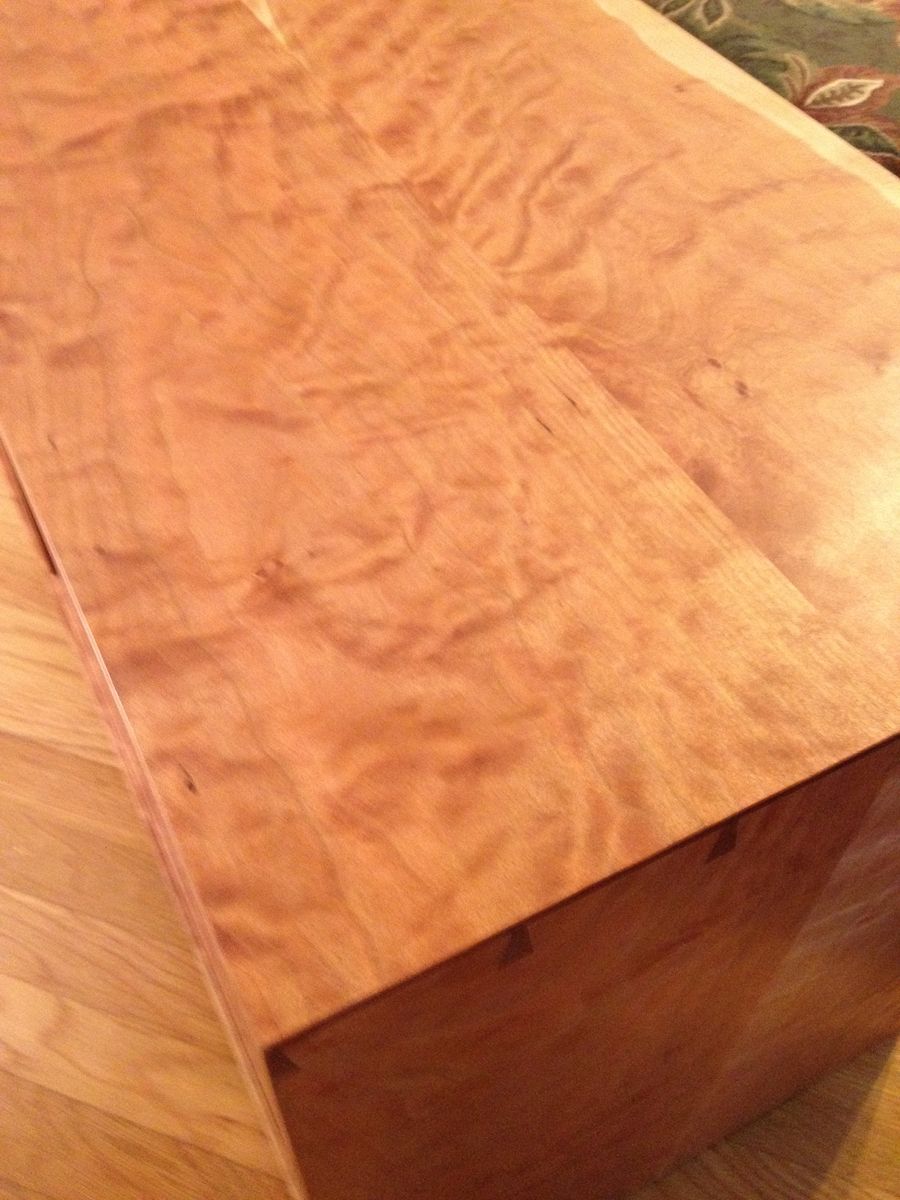
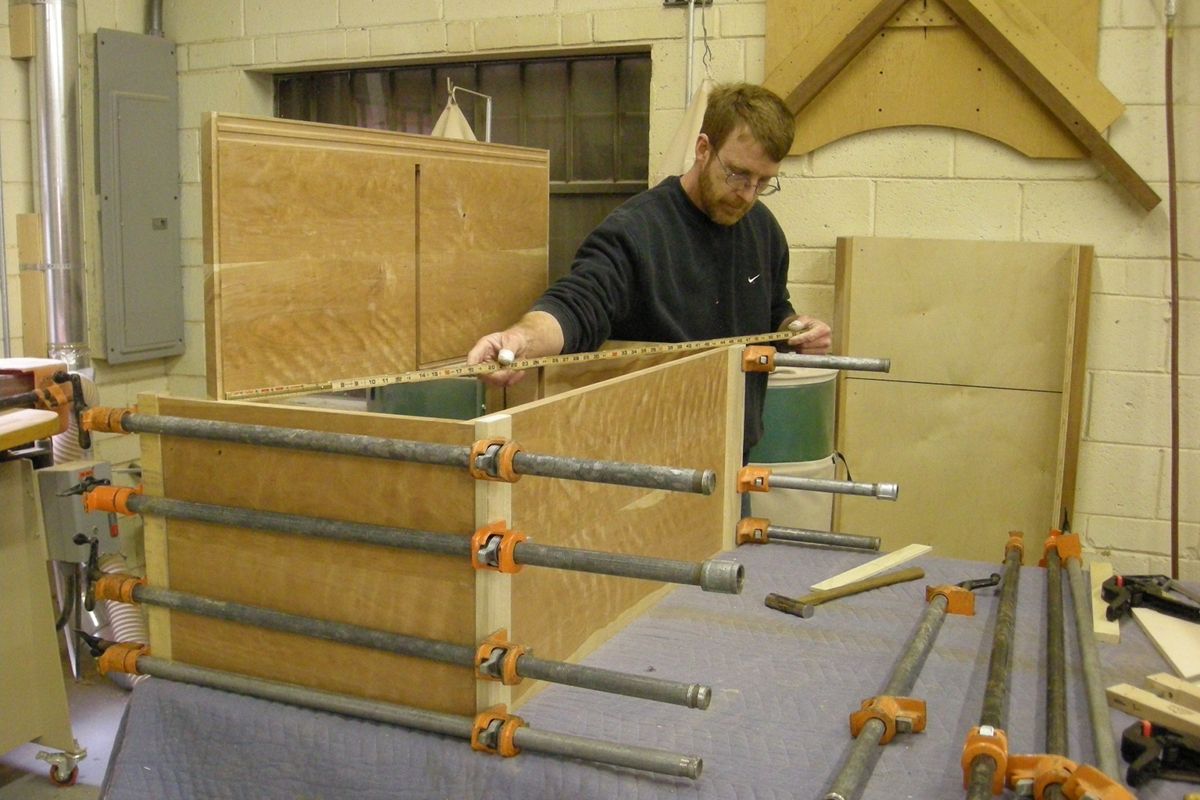
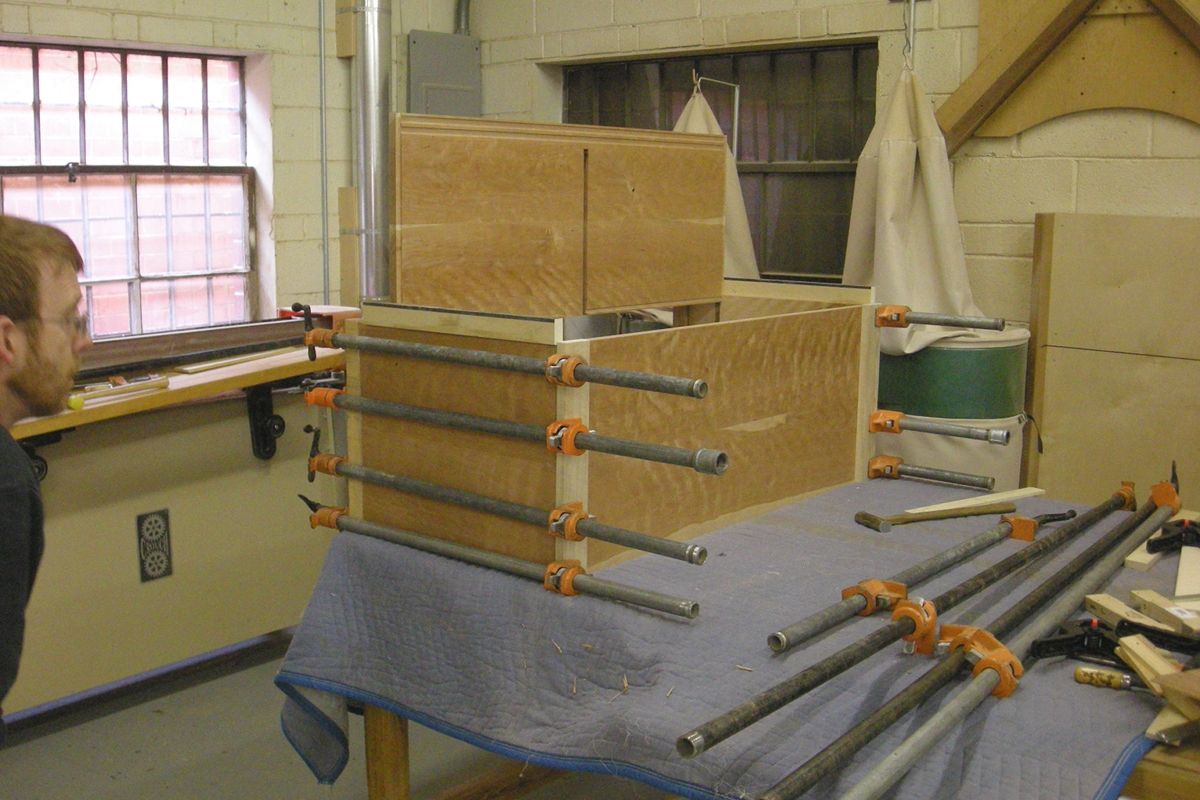
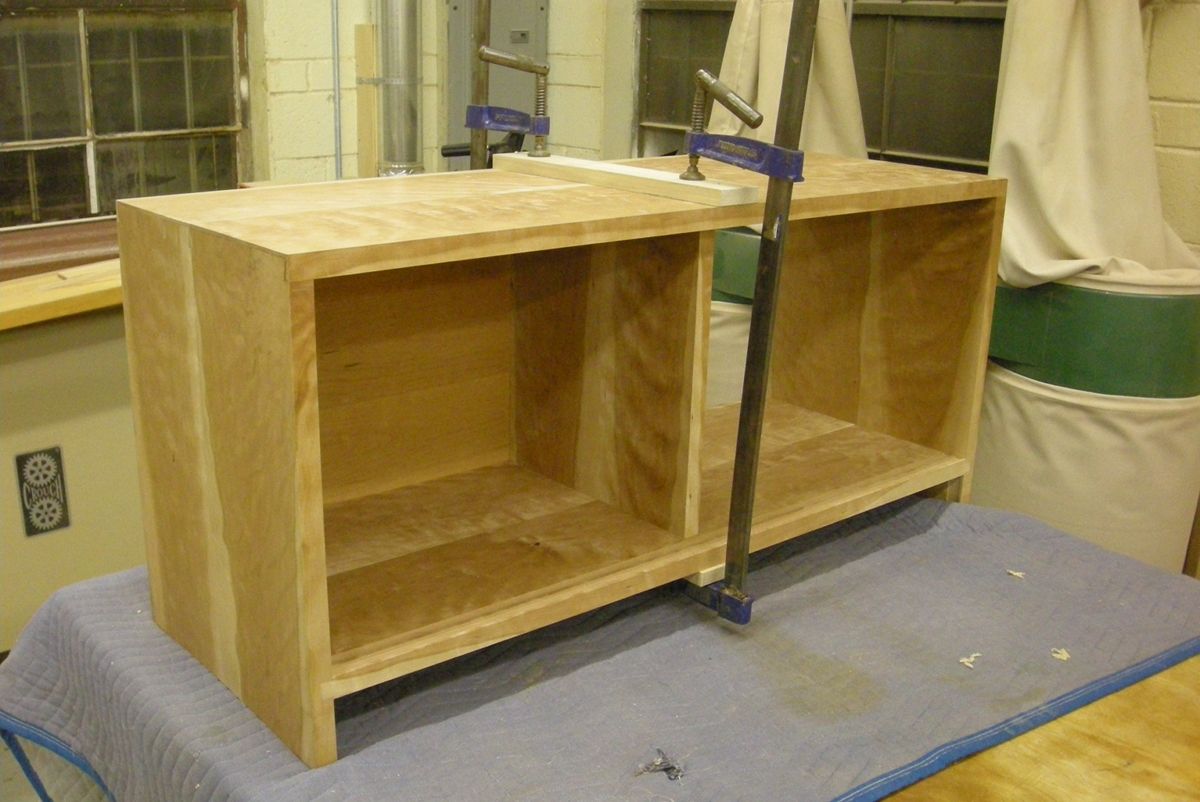
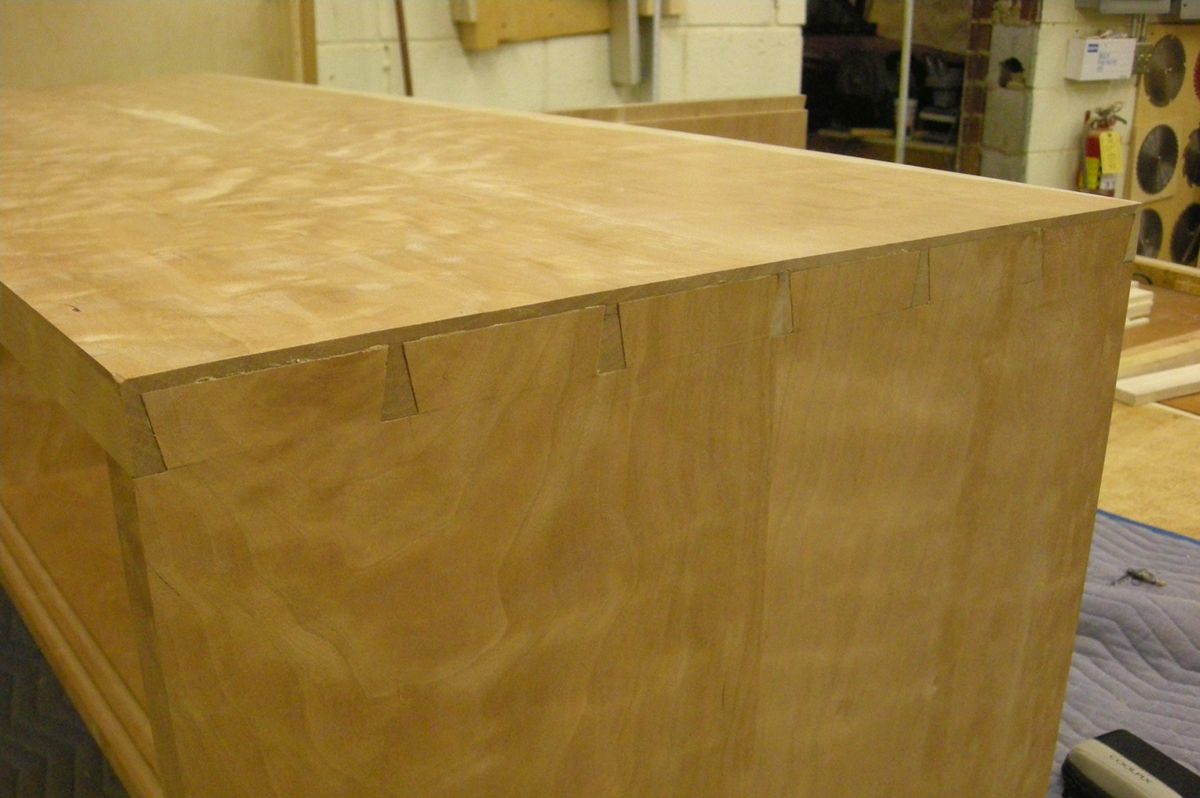
I spread a modest amount of type II yellow glue in the tail sockets and along the inside face of the tails spreading some with a firm artists brush around the side of the tails. The sides were tapped in place with hammer and a poplar block. Cauls and clamps were first applied across the width of the cabinet using the bottom panel partially slid in into place to hold the sides parallel. Once the tails were fully seated the cauls and clamps were rotated 90° and the diagonals were measured to check for square. Finally the front edge of the cabinet was sighted to check for twist.
Fit Sliding Tails
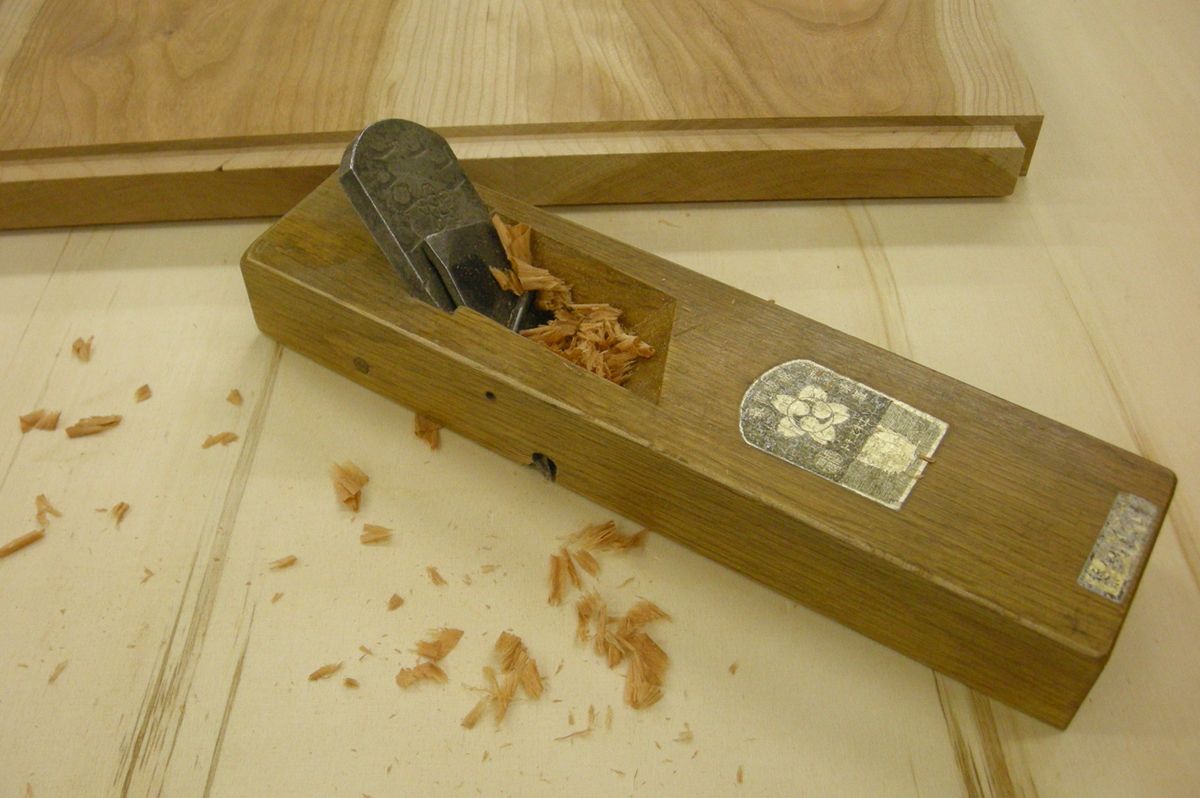
Sliding dovetails can be difficult to get right. There is a fine line between the perfect fit and too loose. And when water based glue is used they almost always seem too tight during assembly. It is crucial to have a clean and consistent dovetail dado. I aim to machine the male part of the joint snug and loosen it with a few passes of a kiwaganna. I will usually have to slide the panel into its groove several time to test the fit and determine where to remove material.
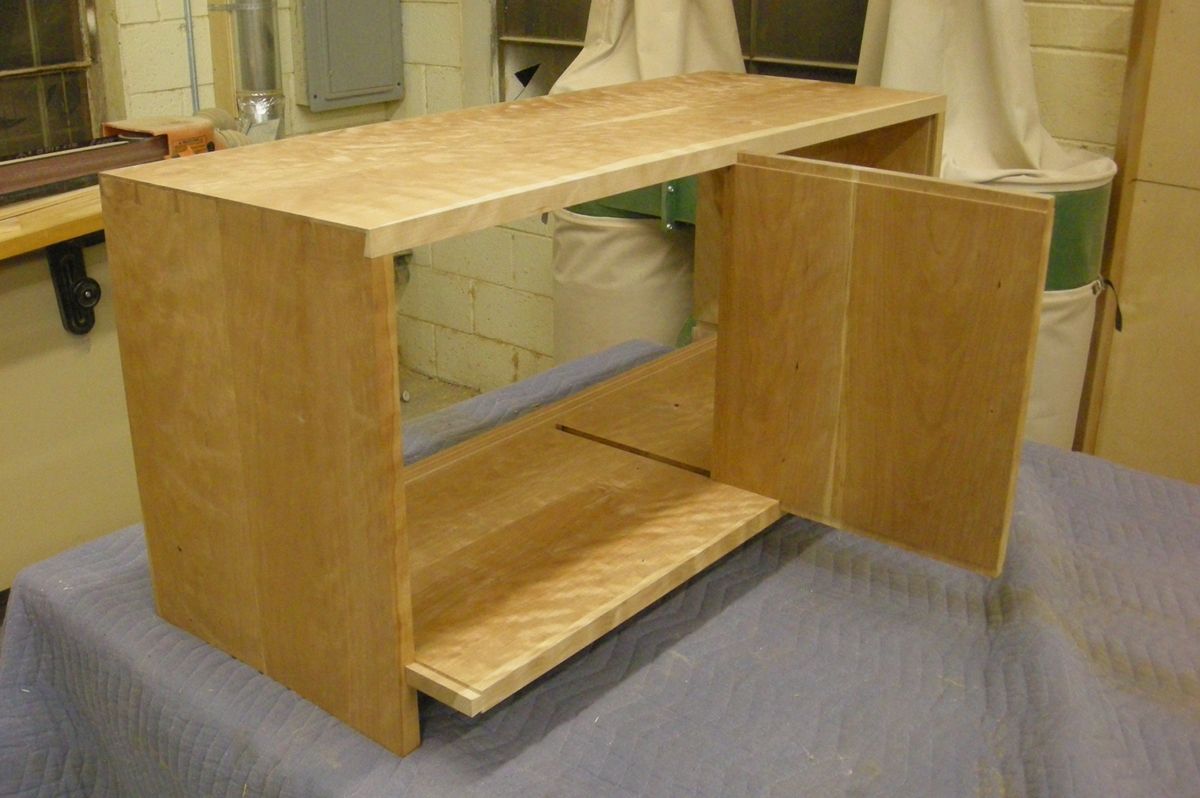
A modest amount of glue was spread in the grooves and along the sides of the tails. The bottom panel was slid approximately three quarters of the way in by hand and gentle tapping with a hammer and block. From there clamps were used to pull the panel home. Care should be used to make sure that the tails and grooves stay lined up and properly seated while they are being assembled. The bottom panel was clamped from the sides using poplar cauls to distribute pressure and protect surfaces. Again I checked the cabinet for square and twist. After the glue was dry the center partition was added in similar fashion.
The Back and Nails
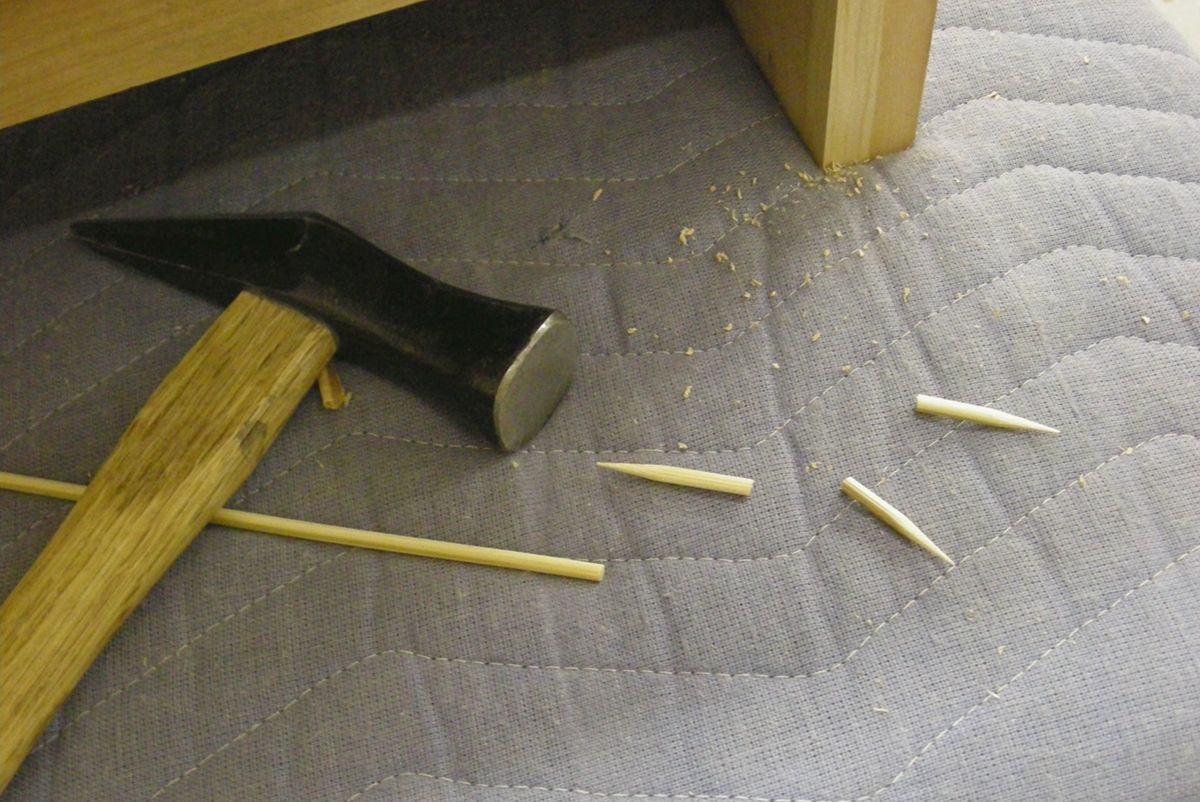
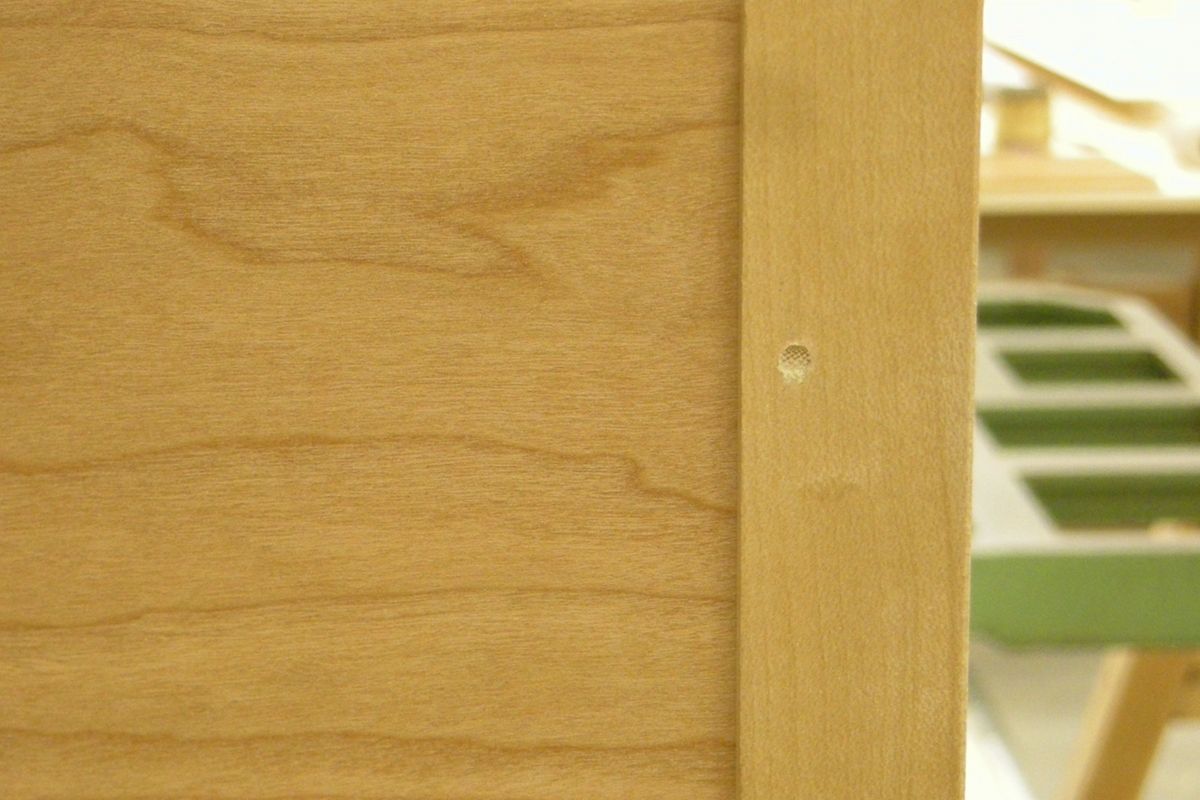
The cabinet back is made of three 3/8″ thick tongue and groove panels set into grooves milled into the top, bottom, one side and the center partition. The grooves were run deep on the side and top. The extra depth at the top will allow for the panels to expand. The extra depth of the groove on the side allowed for the center partition to be slid into place. Once the center partition was set I worked the back panels into the grooves of the partition and locked them into place with a few bamboo nails made from bamboo skewers.
Fit Sliding Doors
The doors for this cabinet are simply constructed from 3/4″ thick frames with mortise and tenon joints. The panels are made from matched slats that are 5/16″ thick and fit to each other with tongue and grooves. The panels are set forward of the center of the styles and rails to incorporate the use of live edge material for the door pulls. Other than surfacing of the stock most of the door fabrication was done with machines.
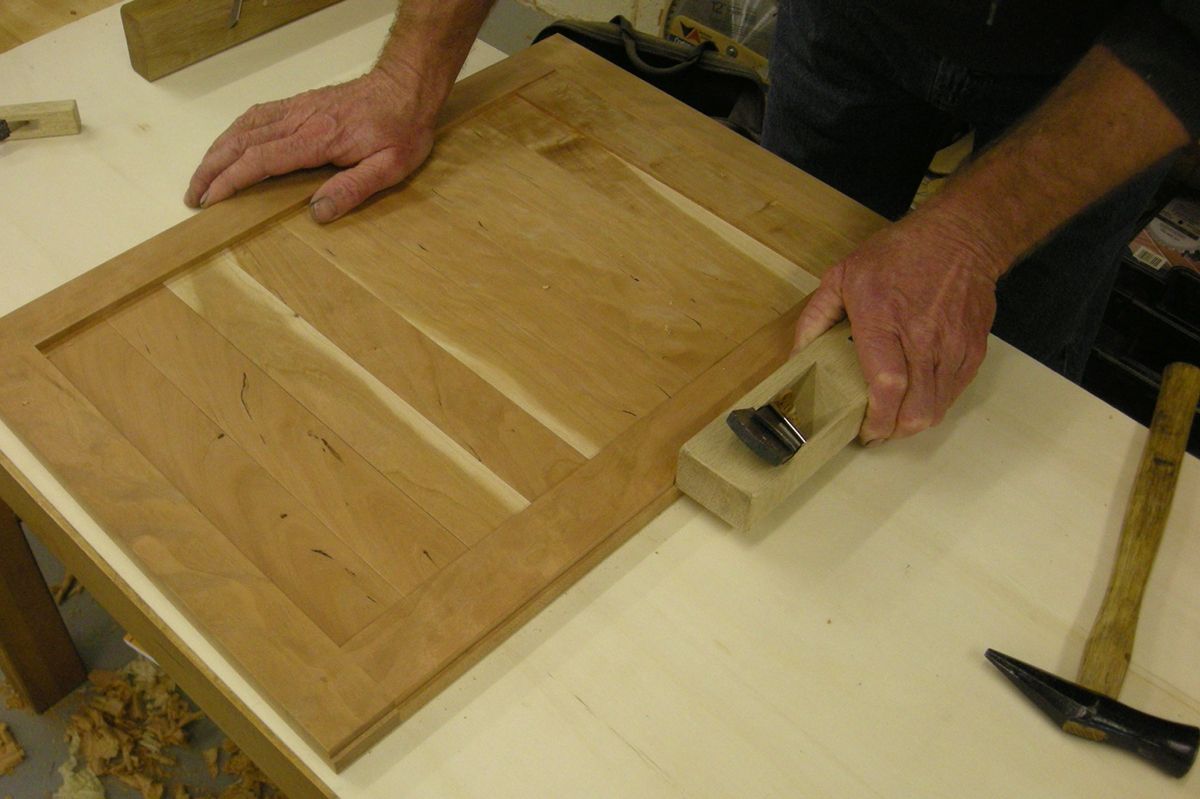
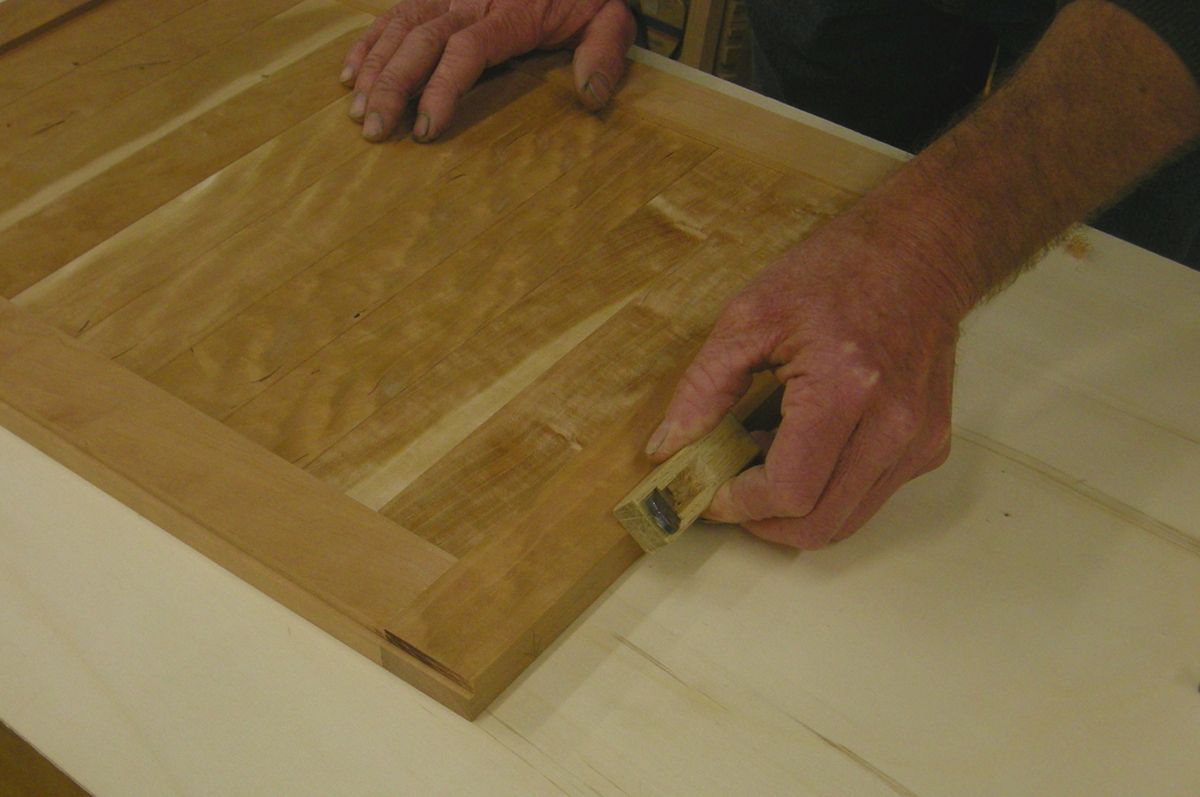
Once the doors were glued up I milled a rabbet on the back side of the top and bottom of each door so that the remaining thickness was just a hair over the 1/2″ width of the door tracks. The tracks are 5/32″ deep on the bottom and 5/16″ on the top. The rabbets on the doors are made accordingly. This allows the door to be slid up into the top track so that It can drop into the bottom one. With a kiwaganna I removed a little material at a time until the doors fit the grooves and slid smoothly the length of the track. Once the piece was finished I rubbed the top and bottom of the doors with paraffin.
Oil Varnish
The cabinet was finished with a thin oil varnish applied liberally with a brush for the first coat. Once the wood was saturated I wiped all surfaces dry. The exterior received three additional thin wiped on coats. The finish was rubbed out with a grey abrasive pad and a small amount of Murphy’s oil soap. Finally I cleaned and polished all surfaces with lemon oil.
Summary
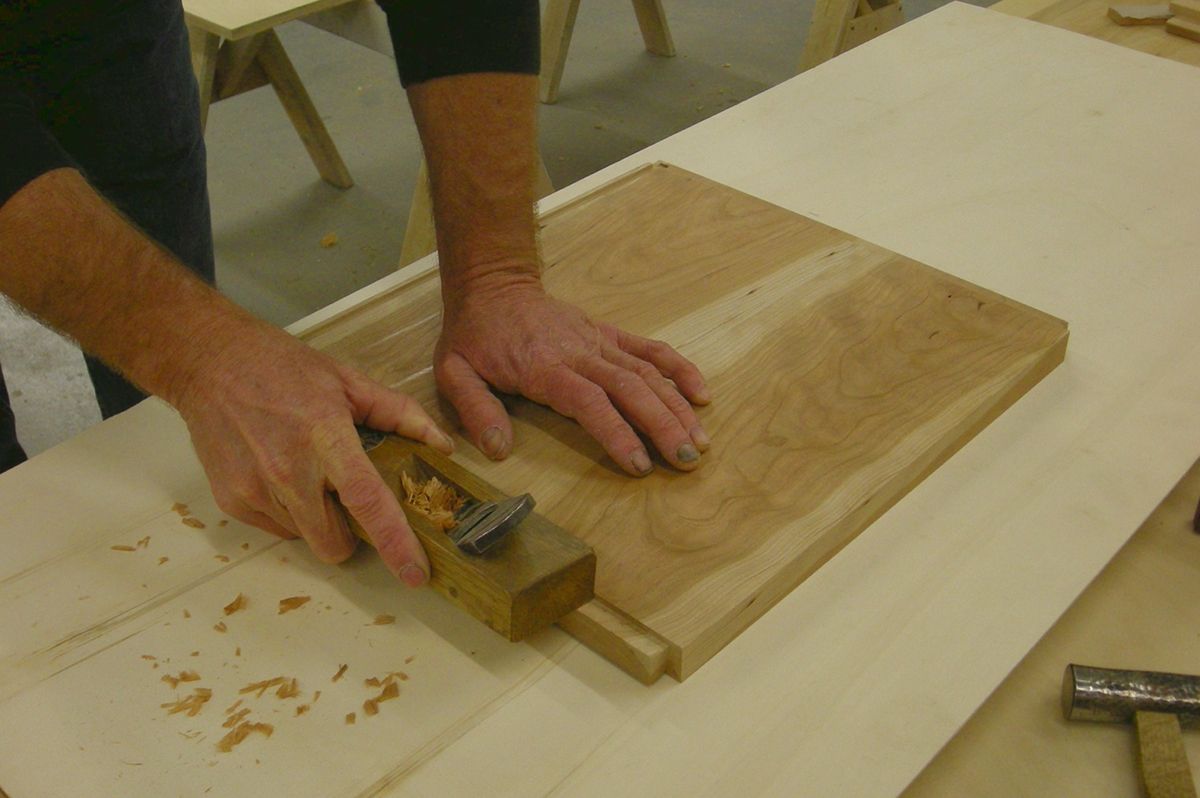
From the hand planed surfaces to the half blind dovetail case construction this little project offered plenty of opportunities to use hand tools to do jobs that machines and power tools just can’t do in the same way. Some hand tool techniques, such as planing, may take some time and practice to develop sufficient skill to to be proficient but are quite efficient in the long run. While others like finely cut dovetails posses a subtle character that convey a true sense of dignity.
 Jay Speetjens’ Two Pines Trading Co. specializes in Japanese hand tool instructional videos, classes and more.



Log in or create an account to post a comment.
Sign up Log in