How to Speed Up Your Work with Spacer Blocks
Little blocks simplify all kinds of joinery
Synopsis: Many woodworkers use stop blocks and fences to make repeat cuts accurately. Alan Turner’s spacer-block techniques take that concept a step further. He shows you lots of ways to use them to move a workpiece exact distances for cutting, boring, mortising, and other tasks. Using spacer blocks, you can move a workpiece closer to, or farther away from, the blade or bit, locking in a final setting on the fence and then taking multiple passes as you remove spacer blocks. Try them, and your mortise-and-tenon joints will be more accurate, your bridle joints will fit their slots perfectly, and your other joinery will fit without fail.
From Fine Woodworking #226
The old saying “measure twice, cut once” is certainly sound advice, but if you need 10 parts of identical length for a project, your accuracy—and your speed—will go out the door. To make these repeat cuts quickly and accurately, most woodworkers rely on fences and stop blocks.
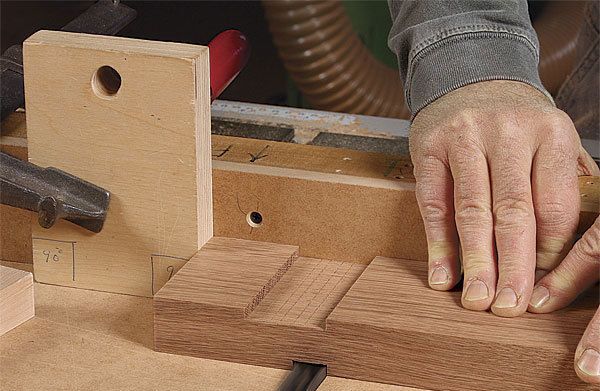
But what if you could change the position of a stop block for other cuts on the same piece, without having to unclamp, remeasure, and reclamp? Enter spacer blocks. Used with fences and stop blocks, spacer blocks provide a quick way to move the workpiece exact distances for cutting, boring, mortising, and other tasks.
You can use them to move your work closer to, or farther away from, the blade or bit. So you can lock in a final setting on the fence and then take multiple passes as you remove spacer blocks, rather than readjusting the fence.
I’ve developed lots of ways to use spacers to speed up my machine setups. Once you try a few, you’ll find even more great uses for these righteous rectangles.
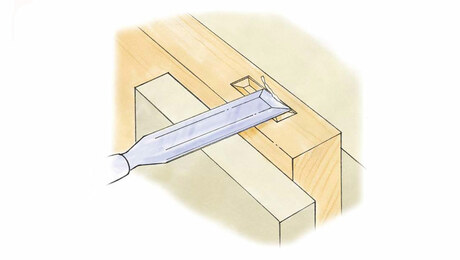
Most woodworkers who own a hollow-chisel mortiser will lay out every mortise in pencil and cut to the line. This is not only tedious but also increases the chances for inaccuracy, especially at the ends of the mortise. However, it is easy to cut identical mortises using a spacer block and a stop block—and you’ll only have to lay out the joint once.
Clamp a stop block to the fence to position the chisel at one end of the mortise. Then cut a spacer block equal to the full length of the mortise, less the size of the mortise chisel. Now you can quickly make the end holes and then nibble out the middle. You will not have to cut to a pencil line again, and all of your mortises will be identical in length and position.
For the full article, download the PDF below.
Fine Woodworking Recommended Products

Suizan Japanese Pull Saw

Freud Super Dado Saw Blade Set 8" x 5/8" Bore

Starrett 4" Double Square


Log in or create an account to post a comment.
Sign up Log in