Turn Your Shoulder Plane into a Star Performer
A bit of work on the blade makes a big difference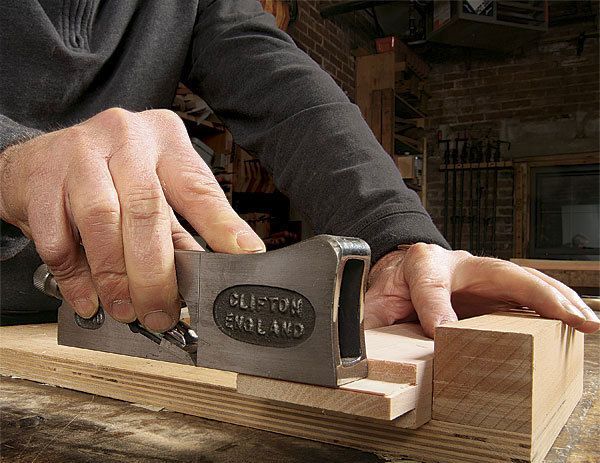
Synopsis: Despite its name, Phil Lowe generally doesn’t use his shoulder plane to trim tenon shoulders (they are too short and narrow), but it is his go-to tool for trimming tenon cheeks. The low-angle, bevel-up blade works great against the grain. And because the blade is as wide as the plane’s body, it can cut all the way into the corner. There are a few things you need to do to ensure your shoulder plane becomes a shop star: Make sure it has a flat sole and square sides, and make sure the blade is as wide as the body. A few tweaks here and there, and you will be in business.
From Fine Woodworking #226
In my shop, the shoulder plane is the go-to tool for trimming tenon cheeks. The low-angle, bevel-up blade works great across the grain. And because the blade is as wide as the plane body, it can cut all the way into the corner where the cheek meets the shoulder. This ability is also essential when I use my plane on rabbets.
However, despite its name, I typically don’t use a shoulder plane on tenon shoulders. That’s because most tenon shoulders are shorter than the plane is long—not to mention narrow. It’s hard to balance the plane on the shoulder and get a good cut. Instead, I use a chisel. To see how I do it, take a look at “4 Chisel Tricks”.
For best results on tenon cheeks, a shoulder plane needs a flat sole and sides that are square to it. Also, the width of the blade should match the width of the body. You might think they come that way from the manufacturer, but it’s actually common for the blade to be a bit wider. So, I’ll show you how adjust the blade’s width, and give you some tips for setting it up for square cuts.
If you don’t already own a shoulder plane, get one that’s at least 1 in. wide. Most tenons are between 1 in. and 1-1⁄2 in. long, and a narrower plane is more likely to taper the tenon.
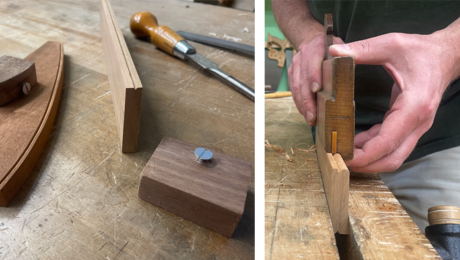
A shoulder plane won’t cut a square corner unless it has a dead-flat sole and sides that are exactly 90° to it. So, the first time you pick up the plane, check the sole with a straightedge and use a combination square to check that the sides are square to the sole. If the sole isn’t flat or the sides aren’t square to it, return the plane. Correcting those problems is not worth the hassle.
After checking the body of the plane, turn your focus to the blade. Take it out of the plane, then lay the plane on its side on a flat surface. Hold the flat side of the blade against the plane’s sole and look to make sure the blade is wider than the body. If it’s not, send the plane back. If the blade is too narrow, one side won’t cut into the corner, creating a wider step and pushing the plane farther away from the shoulder with each pass. However, a blade that’s too wide is also a problem, because it can dig into the shoulder. Ideally, the blade should be the same width as the body, but if it’s 0.001 in. to 0.002 in. wider, that’s OK.
Mark one edge of the flat side of the blade with a permanent marker. Then, with the plane on its side and the blade pressed against the sole, scribe the body’s width on the blade.
For the full article, download the PDF below.
Fine Woodworking Recommended Products
Veritas Micro-Adjust Wheel Marking Gauge
Lie-Nielsen No. 102 Low Angle Block Plane

Starrett 12-in. combination square




Log in or create an account to post a comment.
Sign up Log in