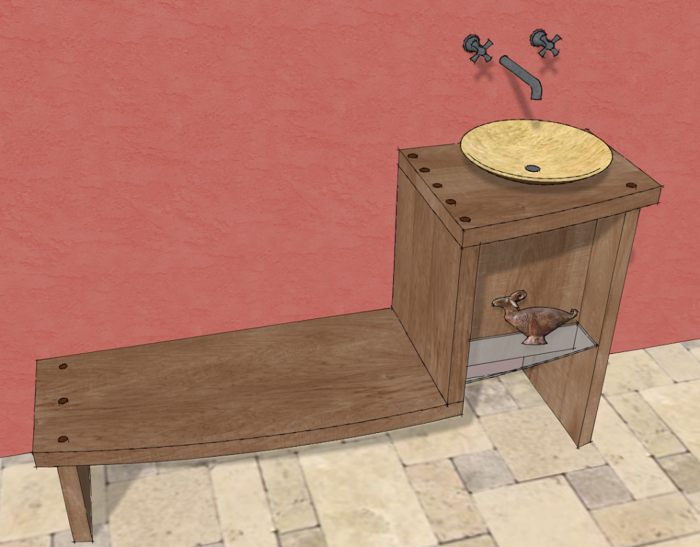
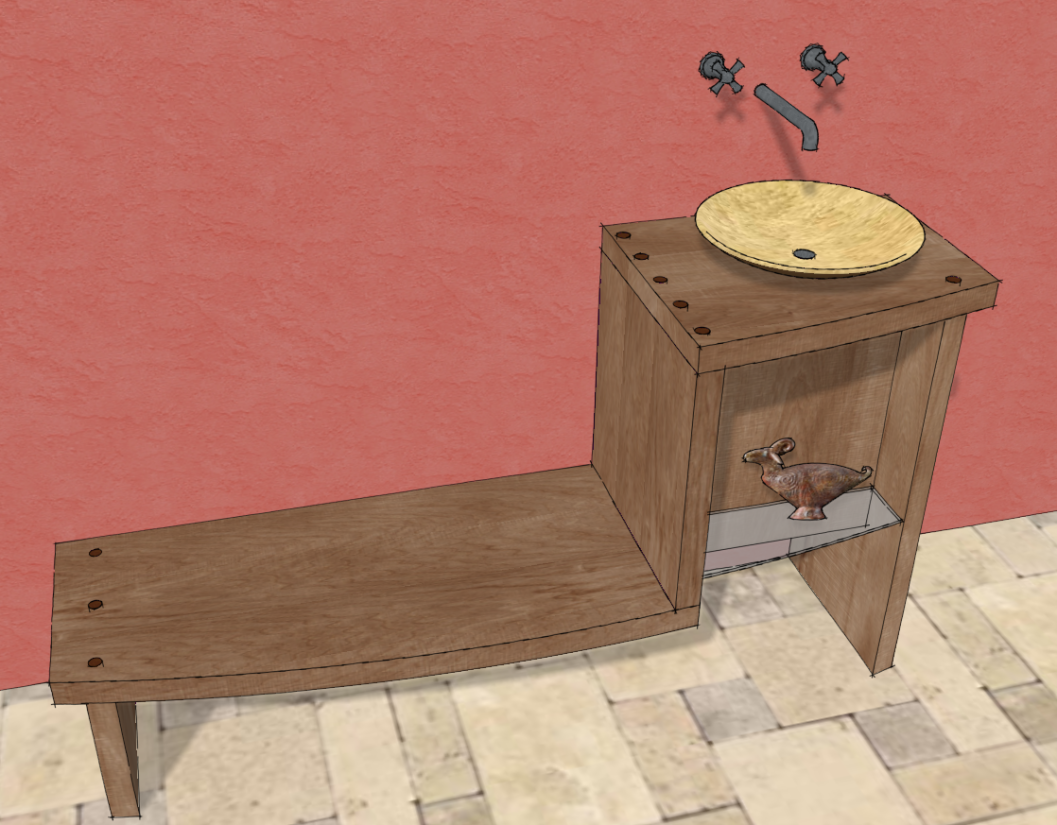
When I am designing projects for clients I often try to find things I can add to the images that make the piece a little more personal to the client. A while back I designed this combination wash stand and bench for a client who is a potter. He does sculptural pieces as well as wash basins. He was building a new house and wanted to feature one of his basins on a wash stand in an entry way. He also wanted a bench for his guests to use for putting on their shoes. This was only one of the designs I did for him. This is the one that got built.
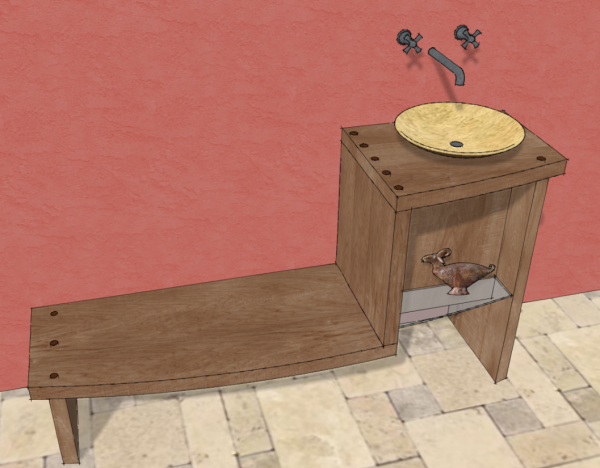
Part of the design criteria was to make hide the plumbing under the sink while making it readily accessible if the need arises. I came up with the idea of a removable panel with a glass shelf in front on which he could display another piece of his art work. To show this, I used a photogrpah of one of his pieces to make a component that could sit on the shelf.
This component would have been very time consuming to make in 3D and I only had a single photograph of it to work from. To save some time I just made a flat component that always faces the camera.
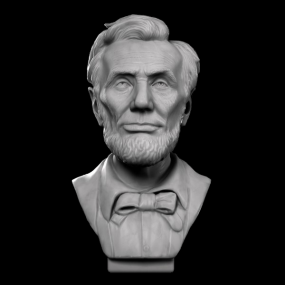
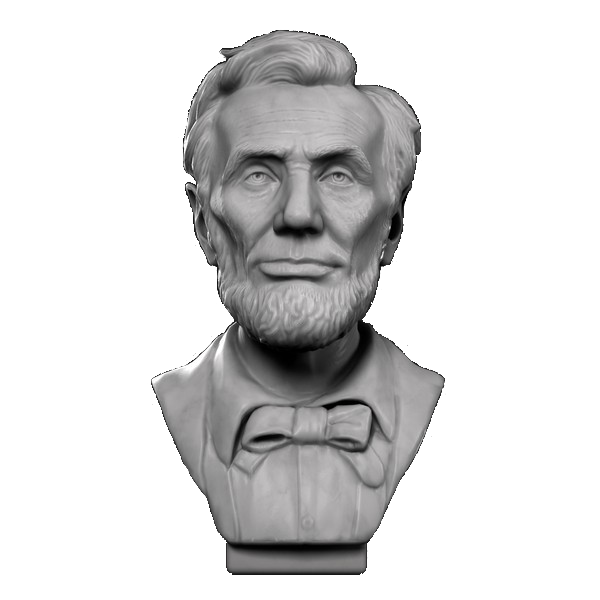
Here’s how I made the component. For this example I found a royalty-free image of a bust of Abraham Lincoln. The image was a JPG file of the bust on a black background but for the process I used, I needed a PNG file with a transparent background. I opened the image in an image editor, selected the background and made it transparent. Then I saved the file as a PNG.
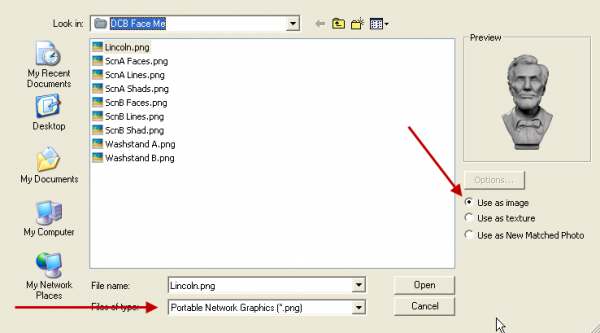
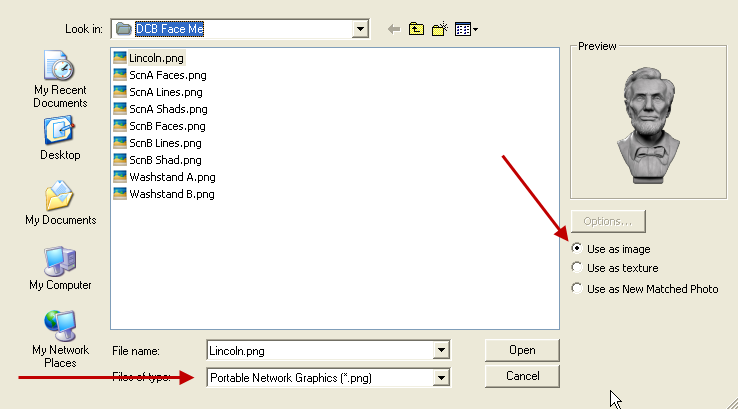
Now we’re off to SketchUp. Under the File menu I went to Import. I chose PNG for the file type and on the right selected Use as image.
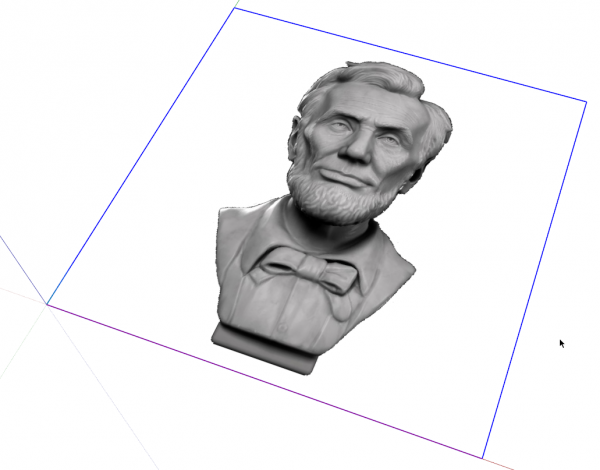
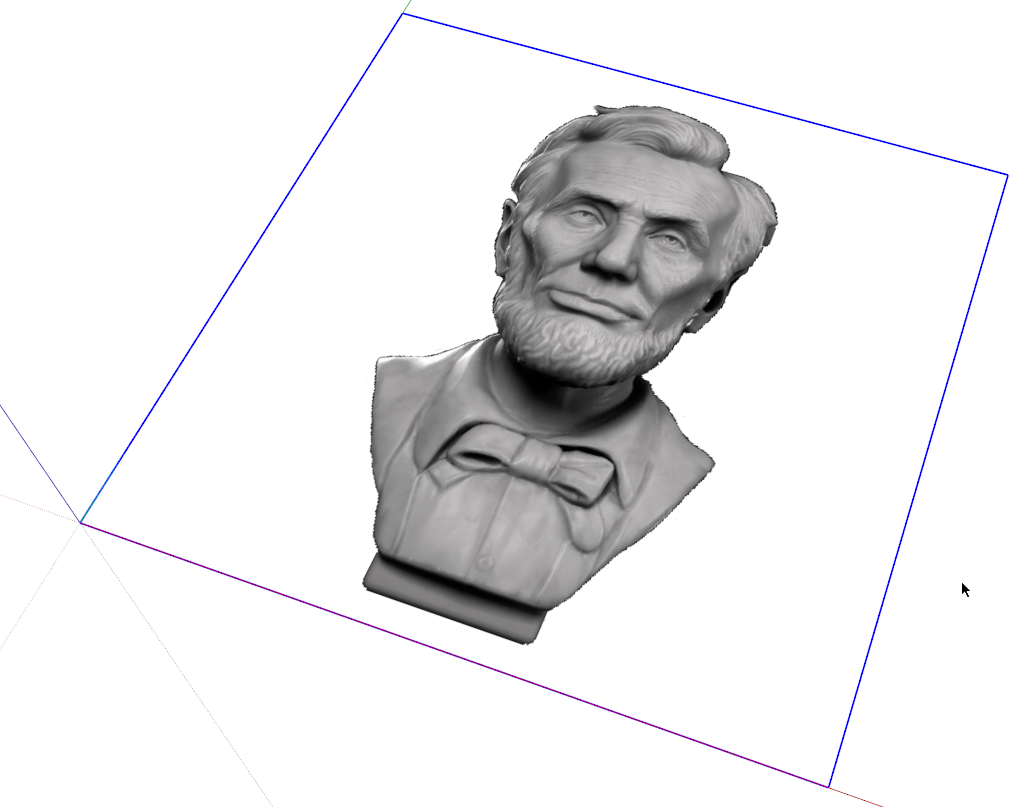
After selecting the image, I clicked at the origin and dragged out the image on the ground plane. The dimensions aren’t all that important at this stage but big is good. Before moving on to the next steps I saved the SketchUp file.
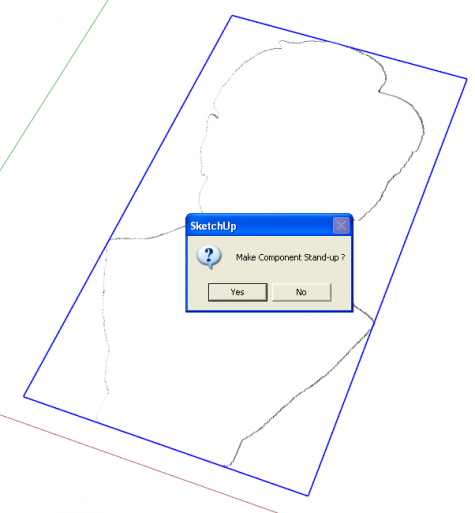
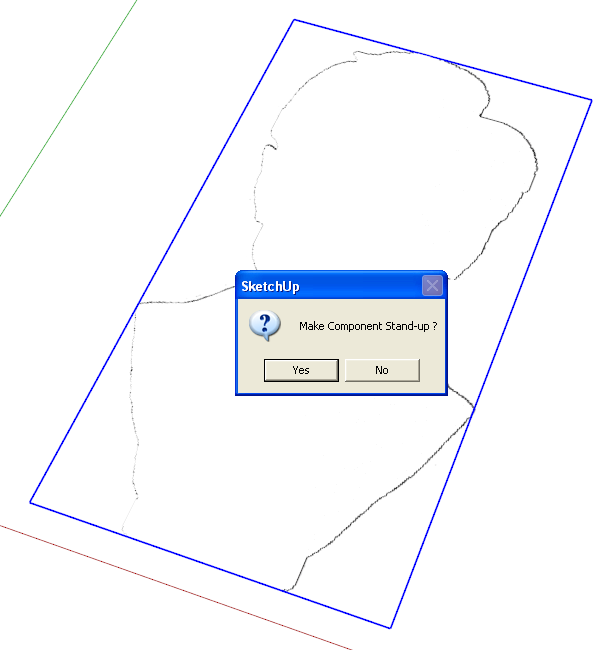
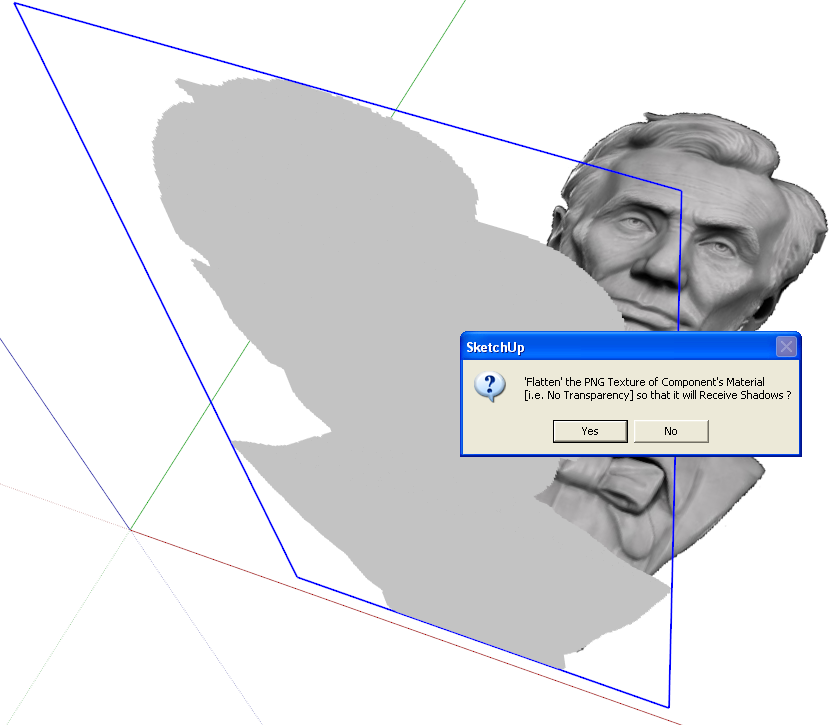
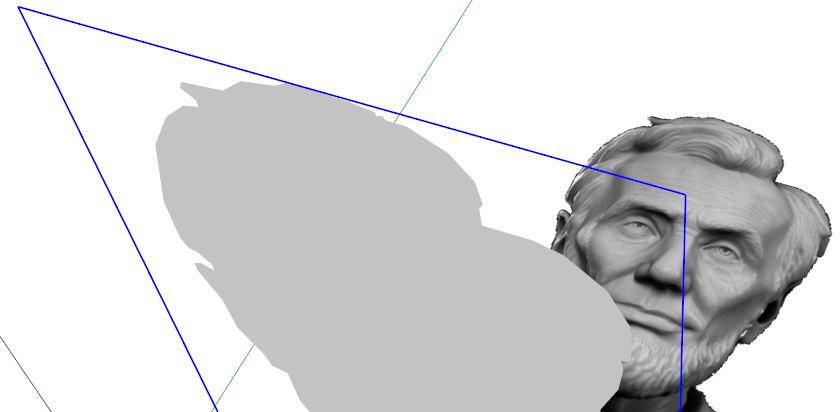
With the image selected, I started a plugin called Image Trimmer*. It runs for a few moments doing its magic and then things look like the above image. I chose ‘Yes’ to make the image stand up. Note that the plugin would have run even faster if I had cropped the image more tightly.
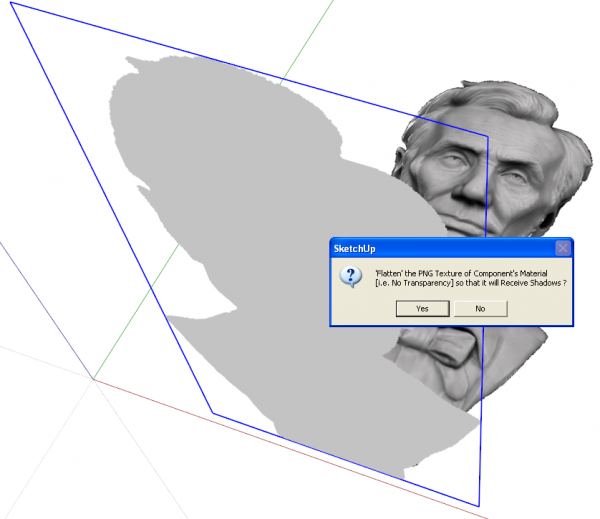
The component is shown standing up and there are more questions to answer. I chose ‘Yes’ to “Flatten” the texture so it will receive shadows…
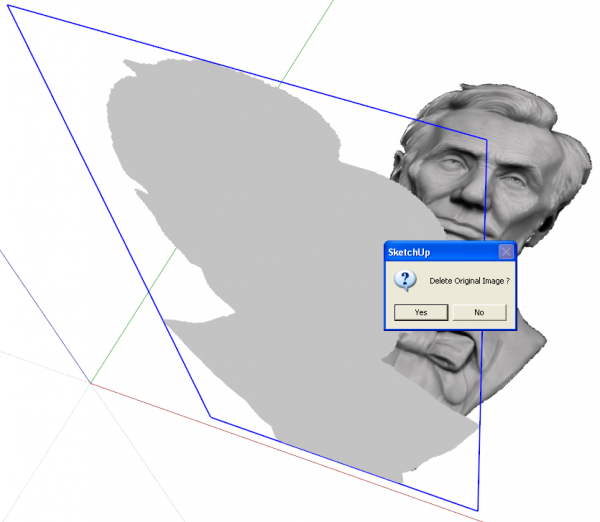
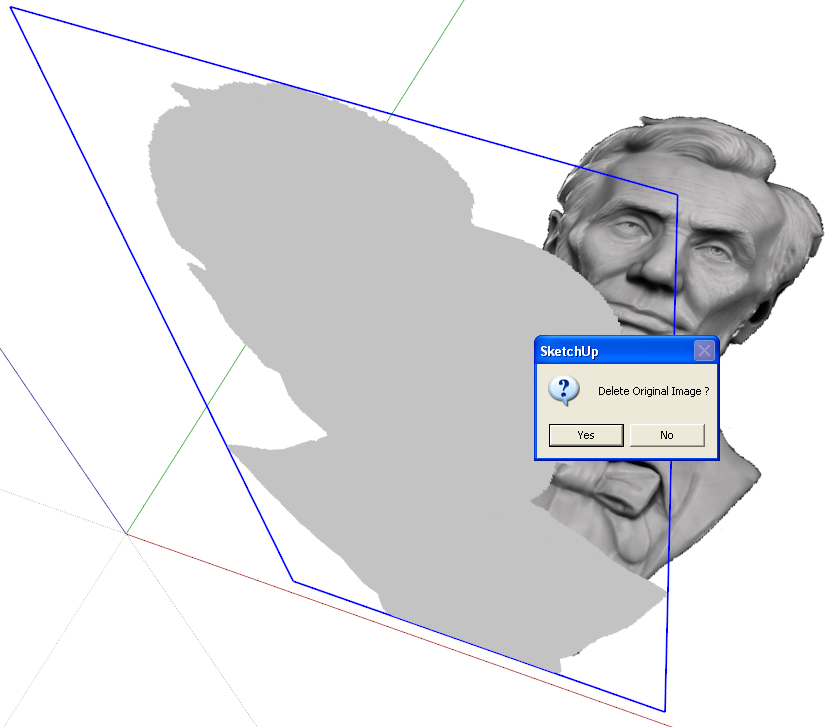
…’No’ to deleting the original image because I still need it…
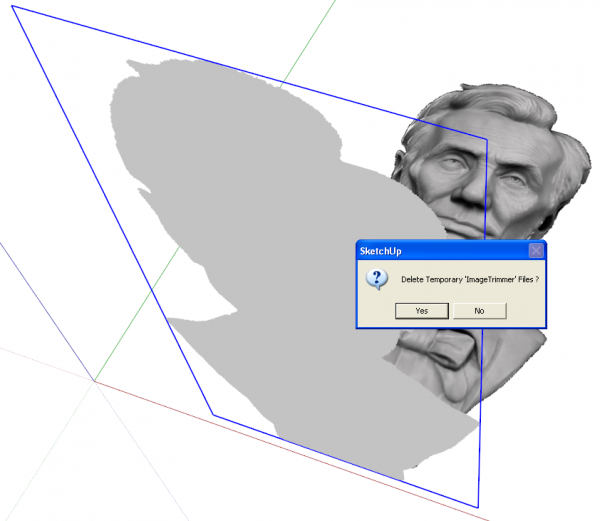
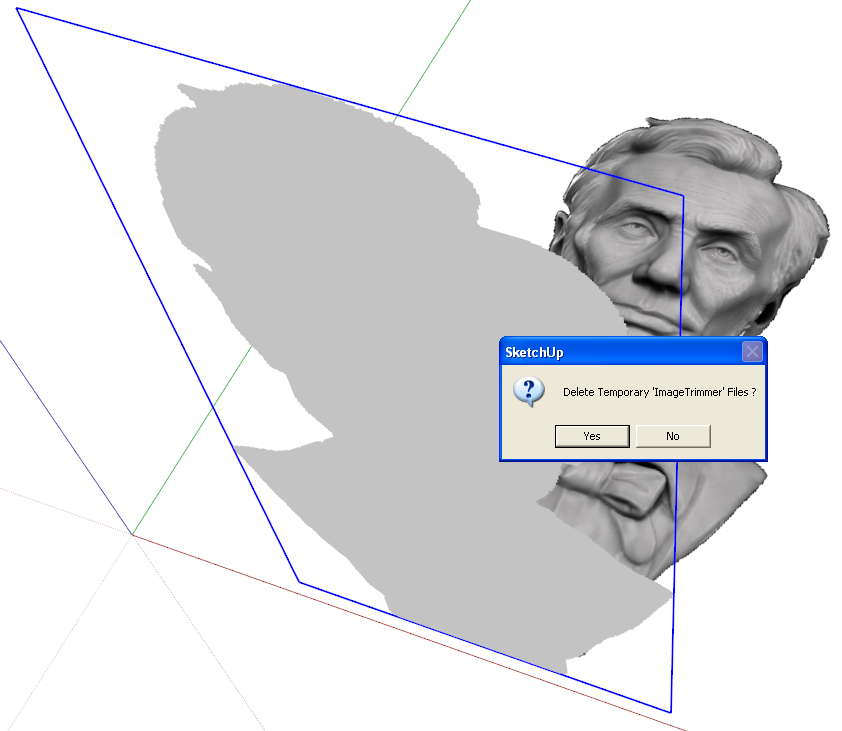
…’Yes’ to delete the temporary files the plugin generates…
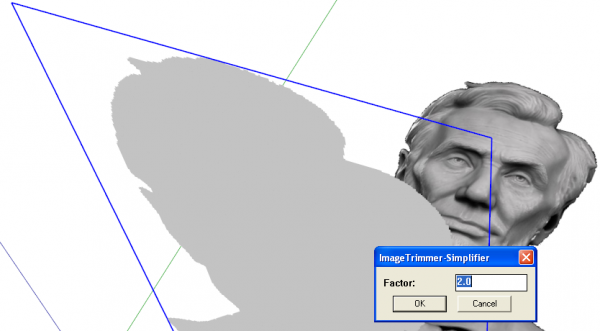
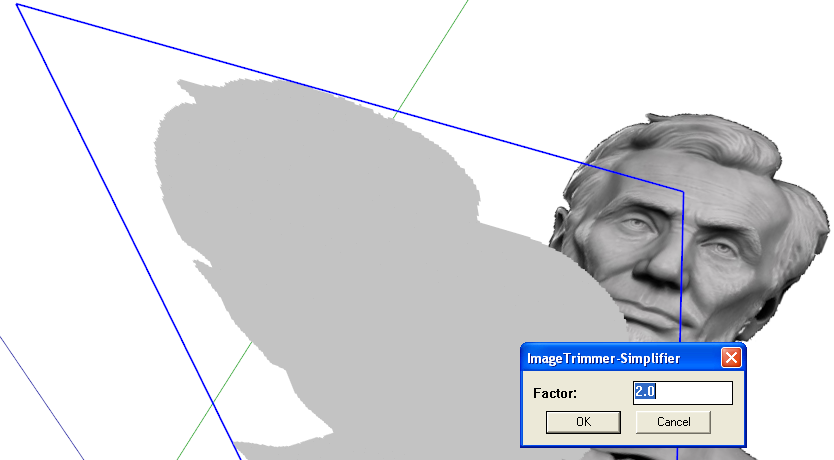
…and ‘OK’ to simplifying the trimmed image. A factor of 2.0 is almost always good. Notice how ragged the edges are in the image above.
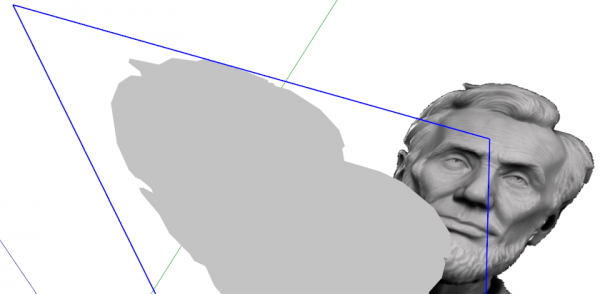
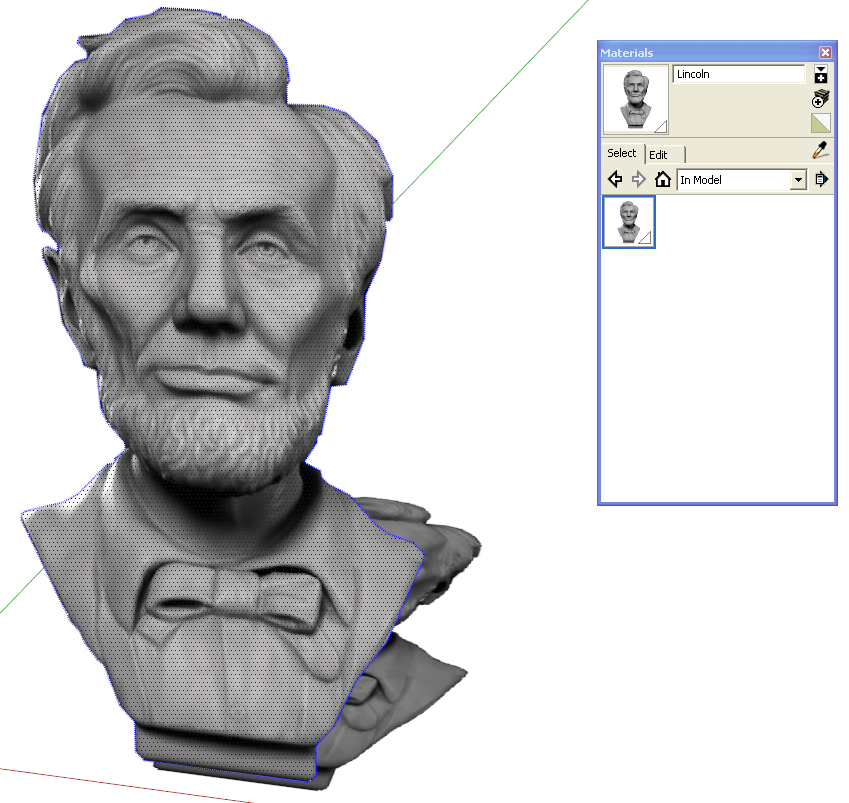
After simplifying the edges are smoothed out considerably. The component looks like a silhouette in the above images because I was working in the Monochrome face style. The material is applied to the face in the component, however. The component is also too large at this stage.
I exploded the component and scaled the model down to the desired height.
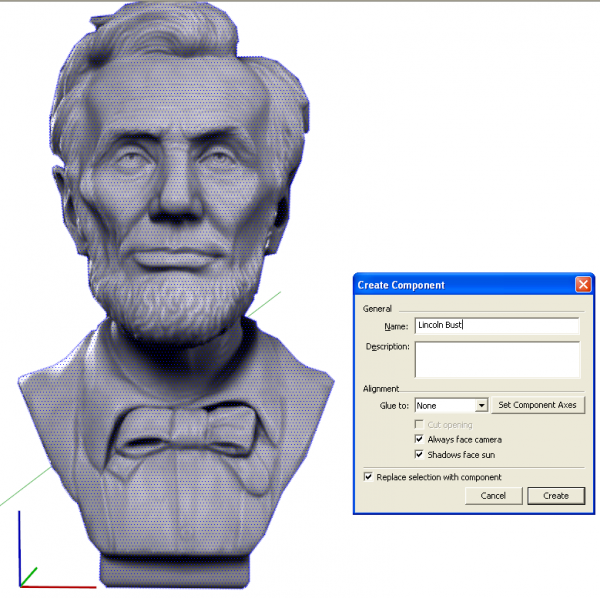
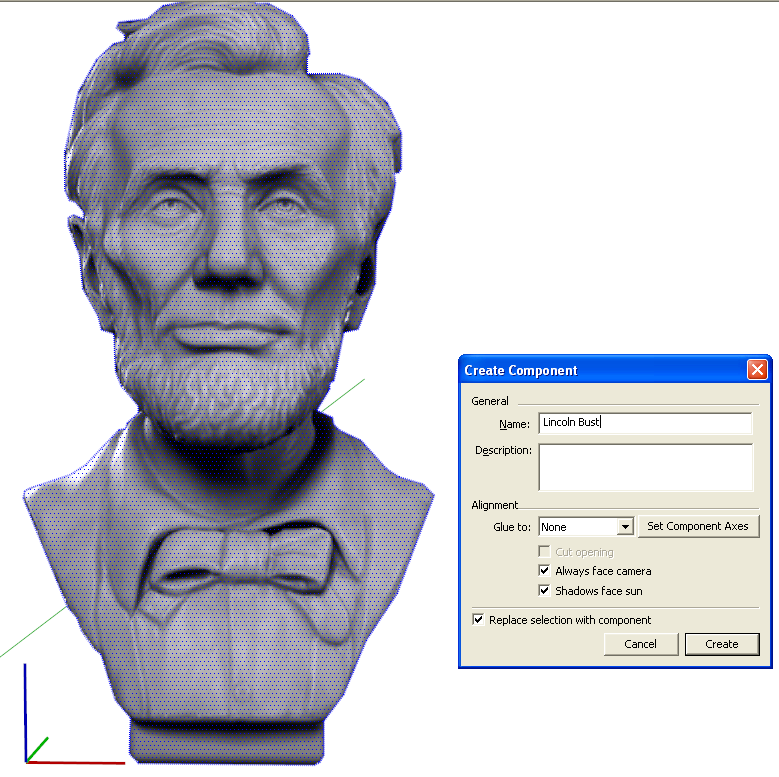
With it all selected I hit the ‘G’ key to Create Component. I gave it a name and then ticked the box for “Always face camera” and made sure “Shadows face sun” was also ticked. Then I hit the Enter key to finish creating the component.
I saved the component out to another local component library, see Save Components for Future Use for details on that. Now it is available to use in other models.
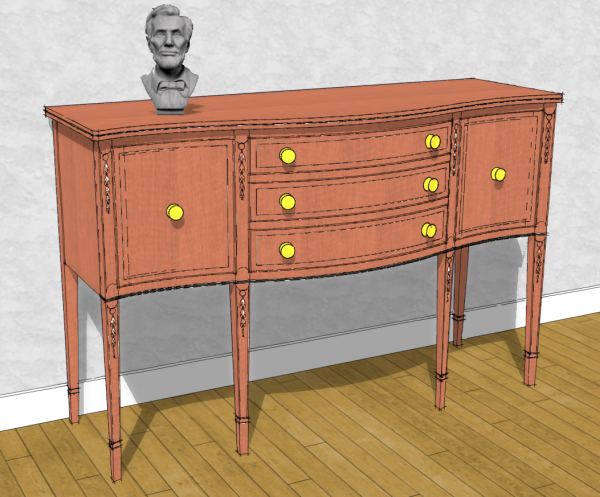
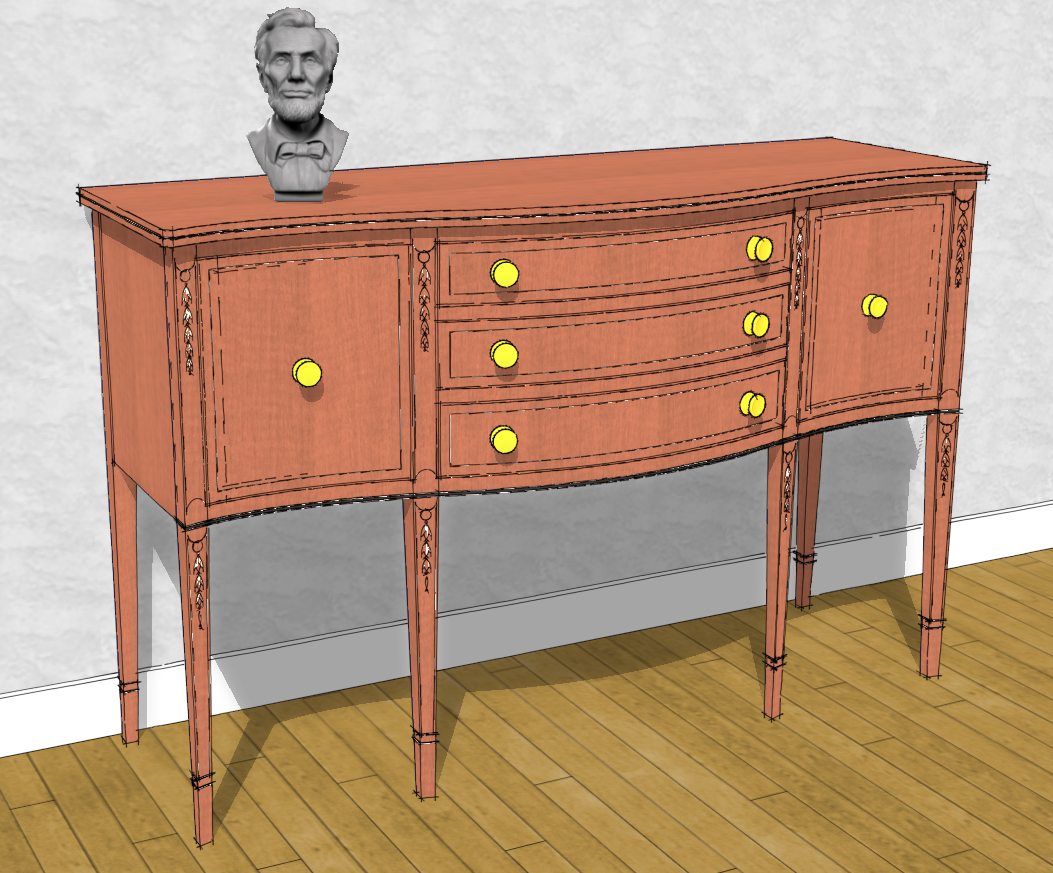
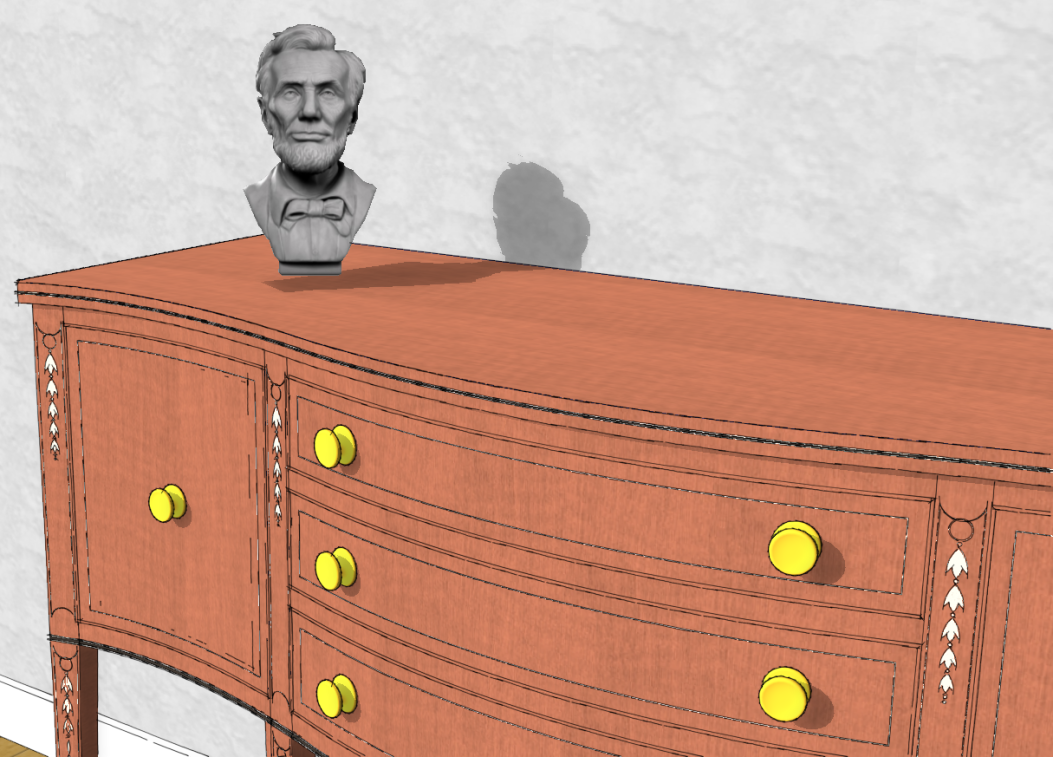
Here it is on Steve Latta’s Serpentine Sideboard. No matter where the camera is positioned, the bust will always face it.
Now, you can do this sort of thing without using a plugin although the plugin is generally faster. To do it the manual way, import the image as I did, above, using it as an image. Then use the various drawing tools, Line, Arc and Freehand to trace around the object. Don’t try to get every last detail. It’ll make the file size larger and make the component harder to handle. After you you’ve completed the tracing and formed a loop you will have a face inside. You can select that face and delete it.
Next, select the image, right click and choose Explode. The image and the traced edges will now be combined. You can delete the outer edges leaving just the traced shape. Stand it up if it isn’t already upright, scale it as needed and the create the component as above.
*If you choose to use the plugin for this sort of thing, please read all of the instructions for use at the link where the plugin is available for download.




Comments
Cool. Also cool that the plug-in is free.
My company does a lot of custom work which it makes it not only hard to visualize for the client, but from a design and construction standpoint not having something to look at on the shop floor makes it difficult for my staff.
Sketchup has been a godsend when it comes to doing something that we haven't done before.
Here's a perfect example of one of a wooden dock that needed to be converted into a two story swim platform: http://rollingbarge.com/dock-designs-for-a-two-story-swim-platform/
Log in or create an account to post a comment.
Sign up Log in