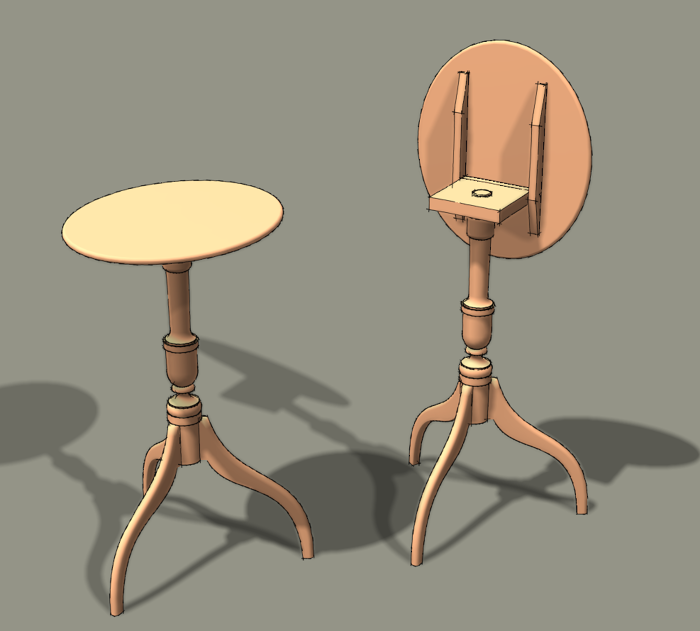
Every so often I field questions about how to print full size patterns from SketchUp models. If the user is using the pro version, I suggest that the create a scene in SketchUp and send it to LayOut. they they can set the scale to 1:1, make a PDF export and print that. It’s exteremly easy and you have the ability to do a whole lot more with it than just print that pattern.
For the users of the free version of SketchUp, it is a little more involved and not all that user-friendly. It can be done and I’ve shown a couple of methods in a previous blog post. Those methods work quite well but they can be tedious. Now, there’s a better way. Note:As of June 4, 2012 this plugin is available for both PC and Mac.
A friend of mine in the UK, Geoff Kime, wrote a plugin called gk_Postscript_Plot to generate Postscript (PS) files from the SketchUp view of a face. These files are set up to print at 1:1 so after creating the export, you open the file(s) and print them. If the pattern won’t fit on a single sheet of paper, registration marks are created in the PS files so you can accurately overlap the sheets after printing.
You can get the plugin here and if you haven’t got anything to deal with the Postscript files you can use some freeware. You’ll can download and install freeware called Ghostscript and Ghostview. These will allow you to handle the PS files. I haven’t tried it but I’ve been told that Adobe Acrobat and PhotoShop will handle them just fine as well. See the end of this post for installing the plugin into SketchUp.
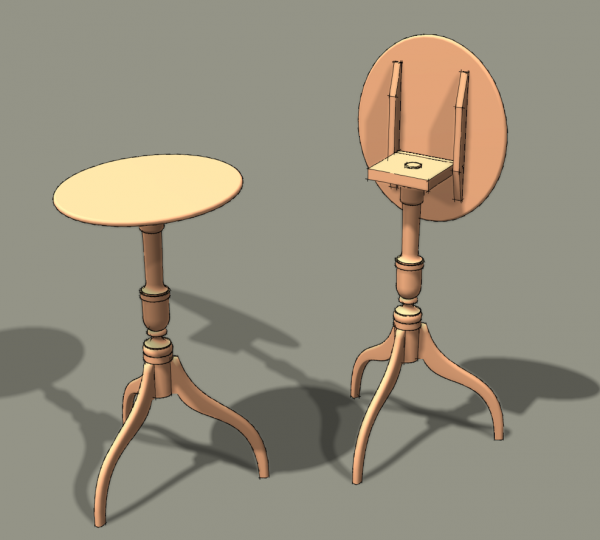
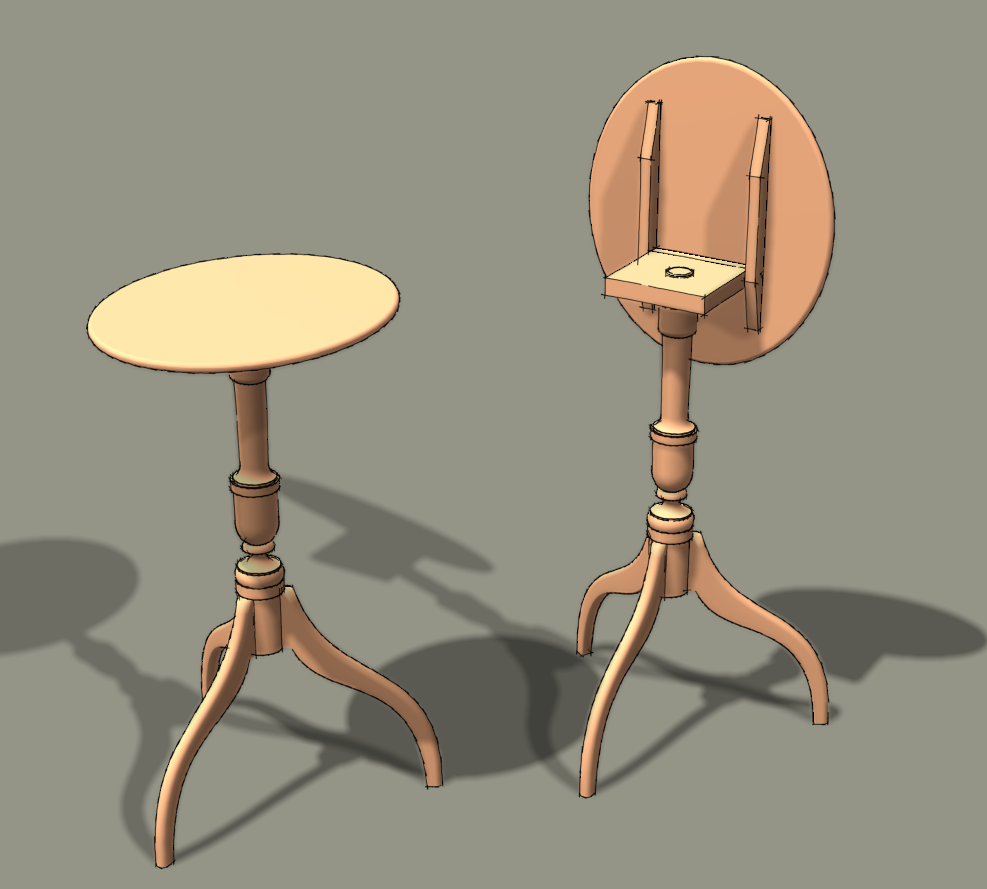
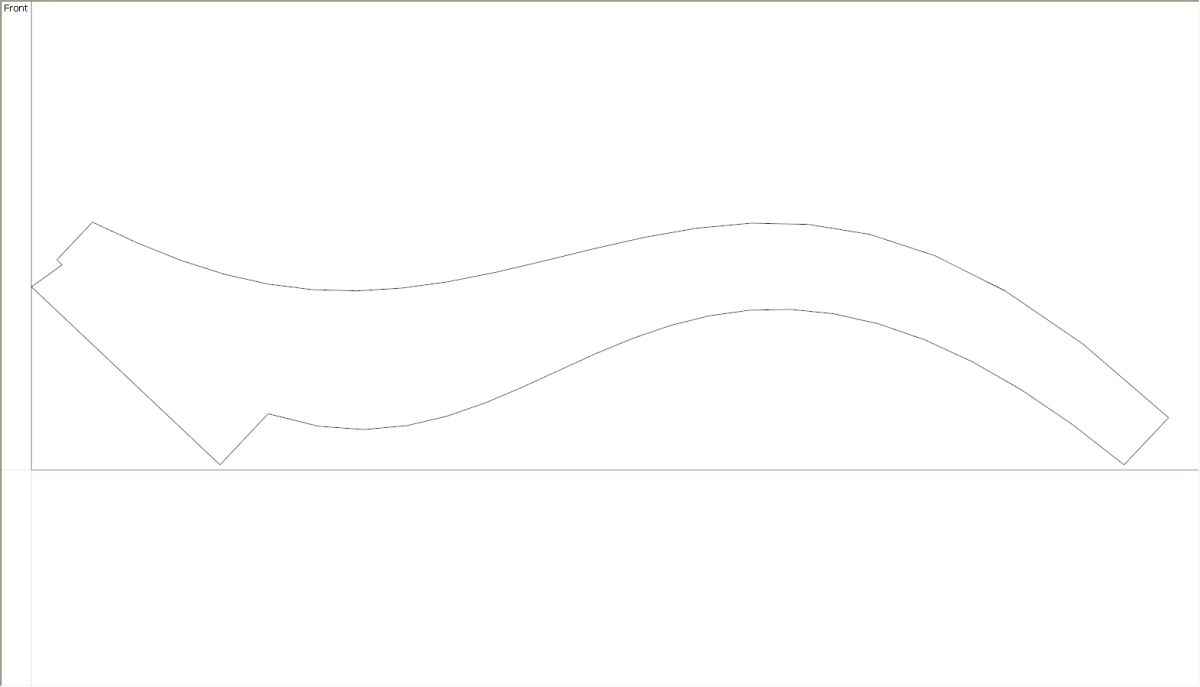
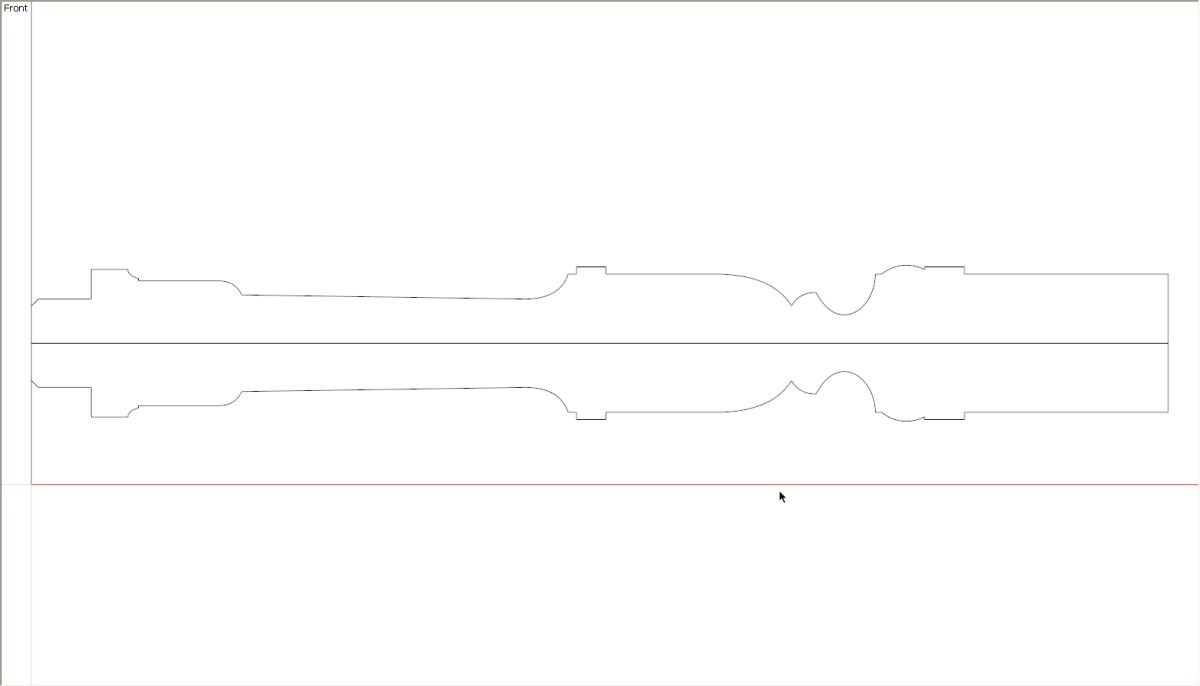
So let’s look at how this works. I made patterns from the leg and column for this little tilt-top tea table. I made the patterns by placing recctangles so they would intersect through the midline of the parts I was interested in. I selected the rectangle and chose Intersect faces>With model. The resulting face and edges are left as raw geometry. the plugin won’t see edges that are inside groups or components.
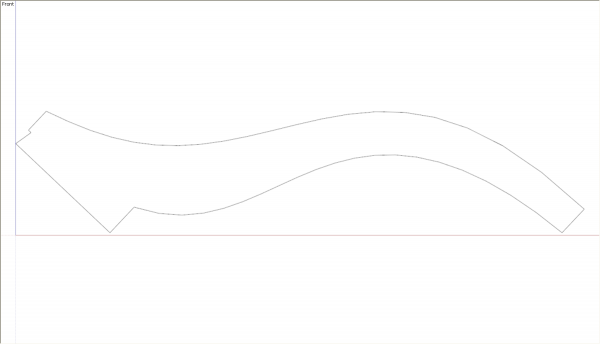
For the leg I set up the pattern on the red/blue axis so that with a front view in Parallel Projection, I was looking right at the face. Then from the Tools menu I chose “gk Postscript Plot”. Note: the pattern must be aligned on the red/blue plane.
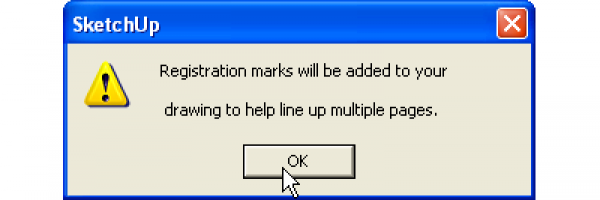
An informational dialog box pops up telling you that registration marks will be added to the drawing. This is sort of an indication that the plot will run onto more than one sheet. This box doesn’t pop up when the plot fits on a single sheet.
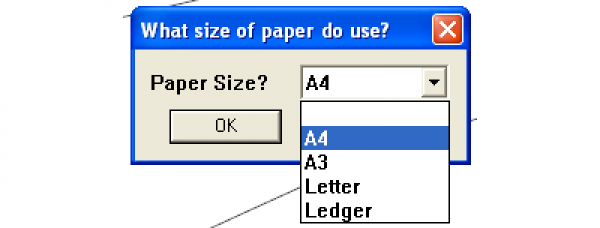
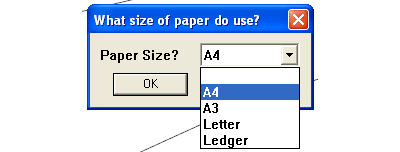
Then you get to choose your paper size.
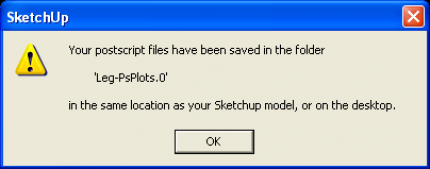
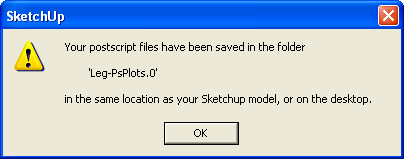
And then you get a message telling you where the file has been saved. If your SketchUp file hasn’t been saved the PS files end up on the desktop. I’d save the file first.
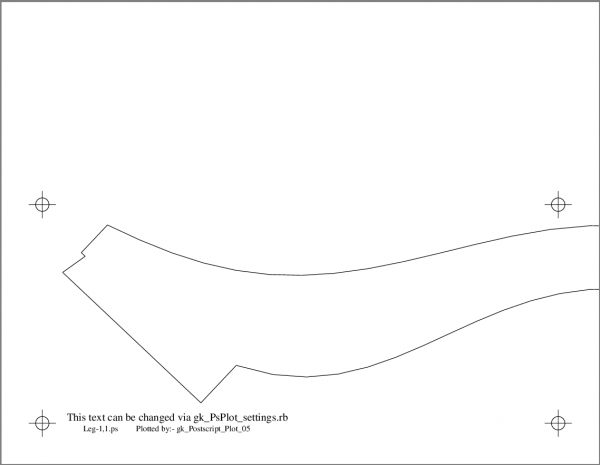
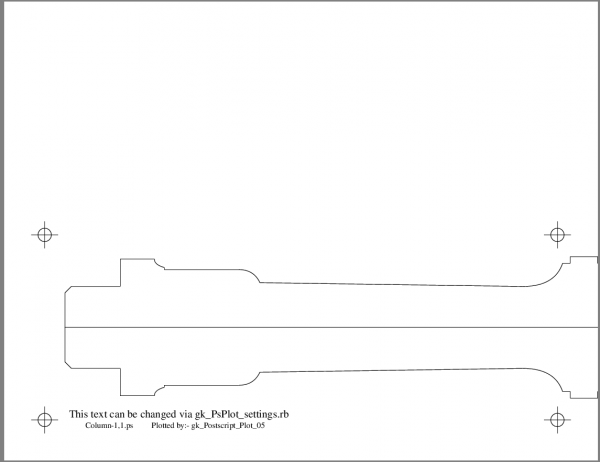
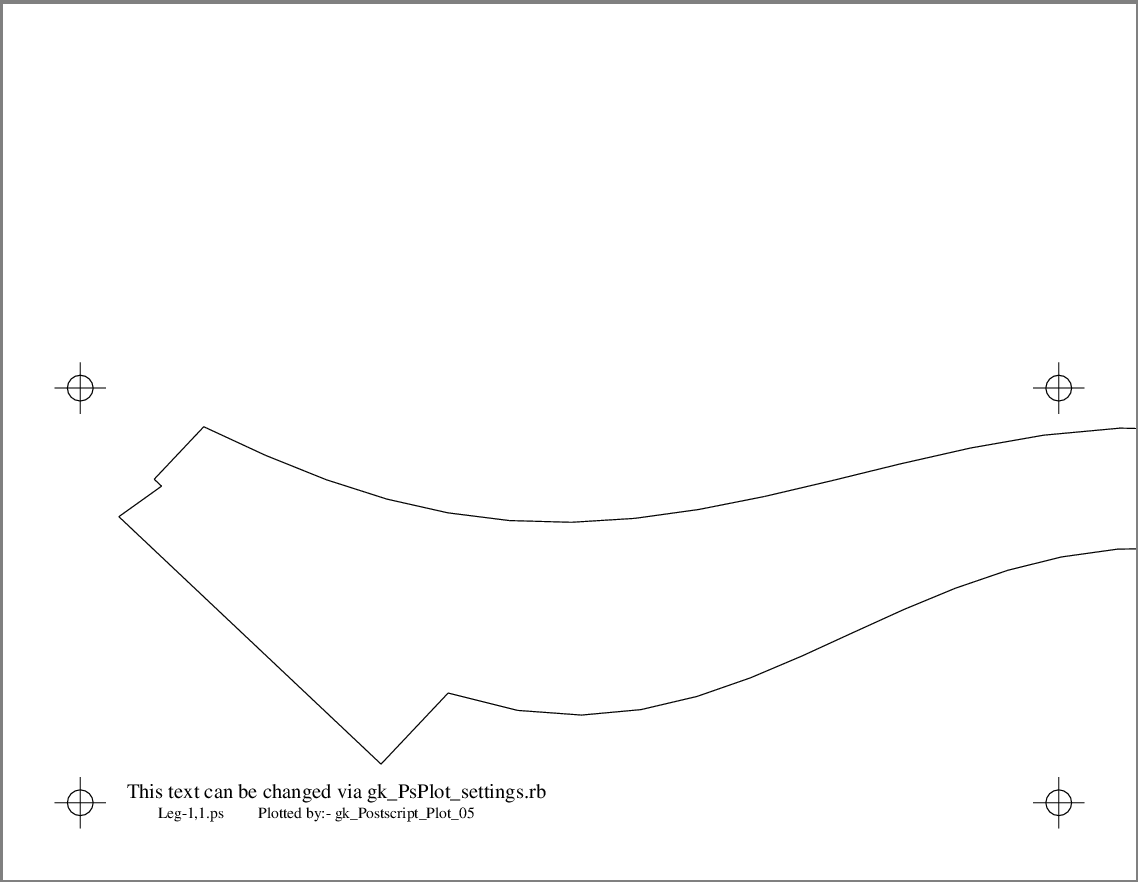
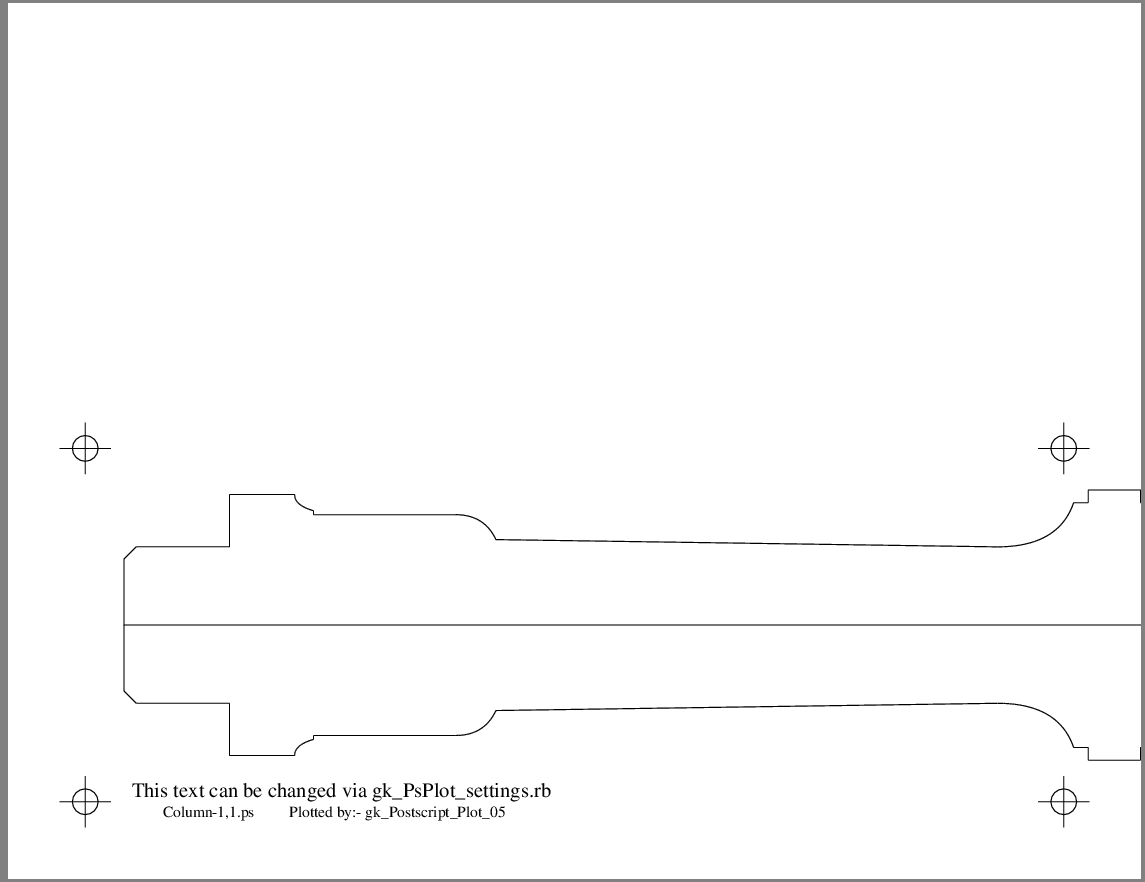
Next, open the PS files one at a time and print them. Above you can see the first of the two pages generated by the plugin. The registration marks can be seen toward the corners. There’s also some footer text that includes the name of the plot file as well as some text that can be changed by editing the file called gk_PSPlot_settings.rb. this file can be opened in WordPad or NotePad and edited like a text file. Be careful to change only the right stuff lest you break the file.
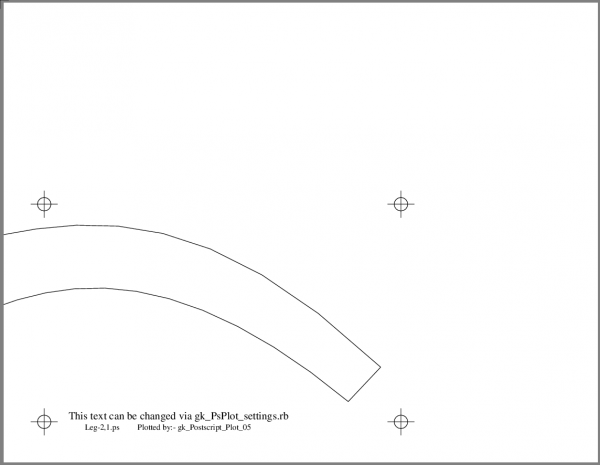
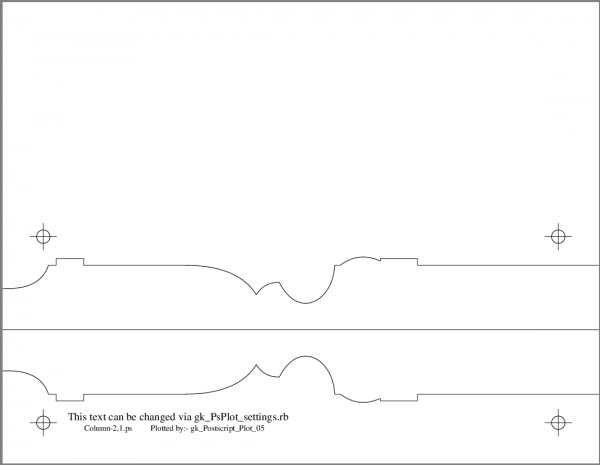
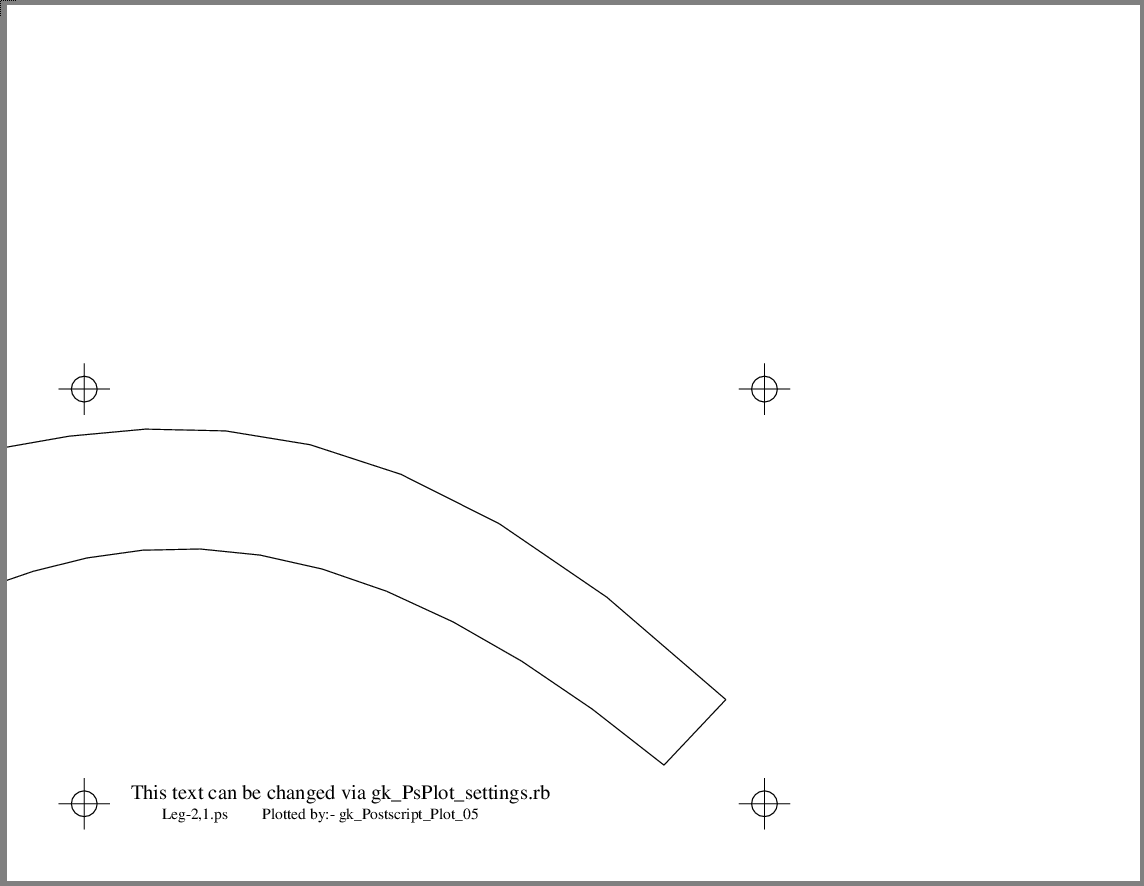
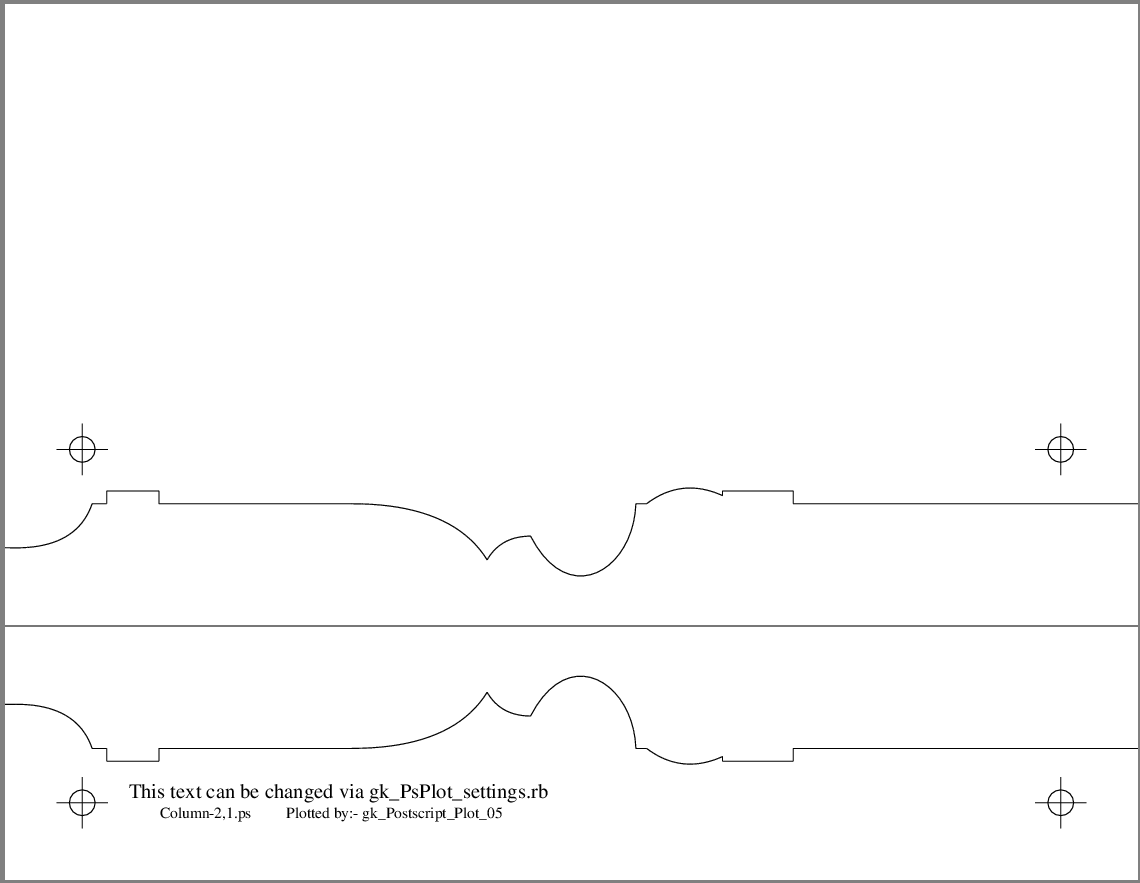
Above is the second sheet for the leg pattern.
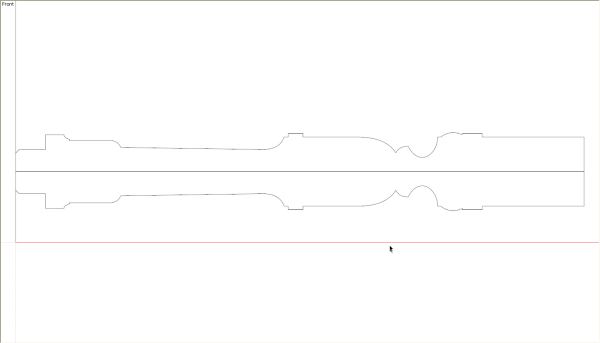
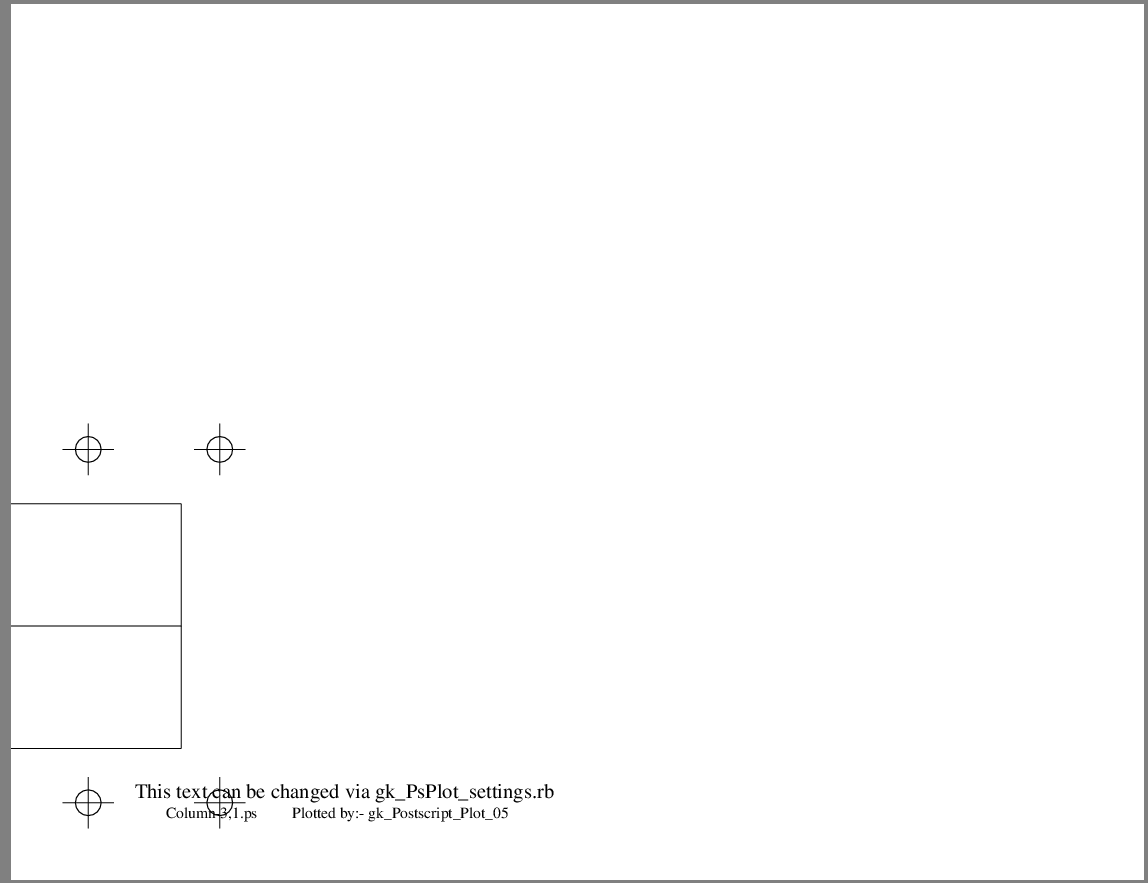
I did the same process for the column. I drew a line down the center before generating the plot files and I got the following after running the plugin.
The plugin downloads with .rbz as the extension. For those using SketchUp 8 M2, save the file somewhere–I like the Plugins directory under SketchUp 8 in the Program Files but anywhere else works, too.
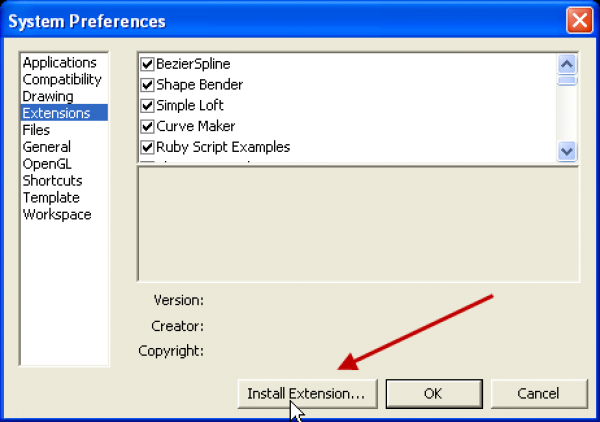
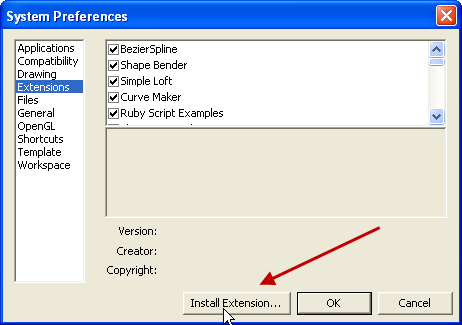
Then go to Window>Preferences>Extensions and click on Install Extension… Navigate to the location in which you saved the plugin and select it. Hit Open and then OK. The file should be ready to go but check in the extension list and make sure the box for gk Postscript Plot is ticked. The menu entry will appear in the Tools menu. Usually, when plugins are installed this way, they appear immediately after clicking OK to close the Preferences box. If you don’t see it, though, close SketchUp and reopen it.

If you are using an earlier version of SketchUp, you won’t have that install option but you’re not sunk, yet. Rename the plugin file from .rbz to .zip. then open the file with 7Zip or your favorite unzip utility. Extract the files to the Plugins folder. Be aware that the file structure must be exactly as it is when you open the zip file, see above.
If you have the need to generate full size templates from SketchUp now you’re all set. This makes it easy and painless. Give it a go.




Comments
Dave
This looked simple however I can't get the plug in to work..
When I follow the instructions I get the following error the next time I open Sketchup..
Error Loading File gk_loadPsPlot.rb
(eval):26:in `load': no such file to load -- gk_pluginsgk_PsPlot_settings.rb
And sure enough that file isn't there..
Ideas?
Garry, the author modified the ZIP file and inadvertently omitted the missing file. I've just had an e-mail from him and he's in the process of repairing it.
And now it is fixed.
Dave
You are right it now works great...
Thanks
Garry
Hi Dave
I followed the instructions and everything seemed to install properly. When I execute the plot routine from the tools menu, the PS file is created but does not contain the my plot. I get the registration marks but no image is shown. Any ideas as to what I could try would be appreciated. Thanks
George Pfeil
George,
Did you set up your pattern so you are looking at it from the Standard Front View? That's required in order to get the pattern to show.
-Dave
Dave,
As you suggested earlier in this post, I'm trying to use Layout to set my scale to 1:1 and output actual-size patterns from my model. Where in Layout do you adjust the output scale? Under Preferences? I tried that but it doesn't to appear to work when exporting a PDF file. The resulting PDF file is still printing what's on the screen, and not a life-size pattern.
Am I missing something?
-Greg
Greg, in LayOut you'll set the scale in the SketchUp Model inspector box. See the screen shot here: http://www.flickr.com/photos/8294157@N08/7159668304/ This does require the camera in SketchUp be set to Parallel Projection.
When you print the PDF you'll need to make sure scaling is set to "None" so that it comes out at the full size rather than scaled to fit the page.
Thanks Dave. After doing so, I can see in my LayOut file that it was re-scaled, but it doesn't seem to take the dimensions along for the ride. I'm guessing I should set the scale prior to dimensioning? Or is there a toggle that will scale the dimensions along with the drawing?
-Greg
Greg, the dimensions don't follow along with changing the scale of the model viewport. So you have the right idea to scale first dimension second. In my work flow with SketchUp and LayOut, I create all the scenes in SU first. Then I send to LayOut. I set up all the viewports and adjust their scale and so on. Then I go through and put in dimensions or other text last.
-Dave
Dave,
Thanks for the continued help. I send my simple top view to Layout, and I see it in the Layout window. But when I change the scale to Full 1:1, my top view completely disappears. Huh?
I'm sure I'm doing or not doing something really dumb, but I haven't a clue. I've used SketchUp daily for years, but Layout I have yet to grasp.
-Greg
Greg, it doesn't actually disappear. It's just that the edges are beyond the borders of the viewport. You can drag the edges of the viewport out until you can see the perimeter of the template. Generally, I will enlarge the viewport before scaling.
Dear Dave,
as for jaywalker the plugin creates the PS file but it remains blank.
Even if the object size is greater than the A4 format it never splits into many sheets.
Questions:
Does this tool also work for Sketchup Pro version ?
Do I have to use imperial units instead of metric ?
Any help would be appreciated. Thanks.
Jean-Franco
Hello, Jean-Franco, it's been a long time since we talked.
The plugin does work with the pro version of SketchUp. That's what I use. Did you set up your pattern on the red/blue plane? Is the pattern a component or group? If so, explode it. The Plugin is looking for raw edges and won't get them if they are in a component or group.
Give those things a try and let me know what you get.
-Dave
Great advise Dave !
effectively I tried to print paterns within groups, sorry !
Was this mentioned somewhere ? I probably missed it.
Now it works perfectly !
Really easier to use than all former methods.
Big thanks to you friend Geoff.
I don't use LayOut. Never got a grip on it.
Even if we don't talk so much, I always read your posts here or at Sketchucation. Always something to learn from you ;-)
Thanks for that. I'll never forget your help at the beginning.
-Jean-Franco
Thanks Dave. I figured that out last night after adjusting my paper size in LayOut. I started with a standard sheet of paper, than realized that the 47" long template was just dwarfing the paper size. Duh. I need more sleep!
-Greg
Greg, that would do it. If this causes you more difficulty, you could temporarily apply a material to the template face in SketchUp so it is still visible when you can't see the edges. Remove the texture when you're finished with it.
By the way, if you aren't doing it already, switch to Vector rendering in LO when you have finished editing the template. That will give you cleaner-looking lines in the PDF export.
Update: This plugin now works on both PC and Mac There has also been some revisions to the code to improve the way the plugin works. If you already have the plugin, you might want to update it.
The links don't semto be working. I tried Google, but couldn't find this plugin. Any ideas?
Thanks,
Tony
Tony, I just checked the links and they worked for me. If you can't get them to work send me an e-mail and I'll send you the files.
-Dave
Hi David,
that is a great plugin!
i just installed it because i need to print a pattern for a thing i am going to create, but something strange seems to happen.
I chose A3 as paper size, but it seem the plugin still creates A4 files, with A3 spacing.
In conclusion, it seems to print a sort of grid of A4 sheets wit parts of my pattern (correctly printed), positioned at A3 distances, so i have empty blank spaces among the sheets.
I hope i've explained clearly ( i'm afraid i didn't :-) ).
Am i doin' something wrong?
Bye,
Simone
Hello Simone. I think I understood your remarks well enough. I'll have to forward your question on to the author to see if he can make any suggestions.
-Dave
Thank you very much Dave,
i really appreciated your quick reply.
Have a nice day,
Simone
Hi again, Simone, I'm glad I was able to get to your question in a timely fashion. Here's the response I got back from Geoff. I hope it helps. --Dave
"Hi Dave,
I have just created a large Sketchup drawing and used PostScript Plot. With a page size selecetd as A3, the postscript files viewed in GhostView display correctly.
From Simones description of the problem it seems that the plugin is not accepting the page size instruction. If I read correctly that the A4 page registration marks are being added. There would appear to be some form of corruption in the plugin. An un-install/re-install, from a fresh download, should clear the problem.
If life would be easier for you, that is not in the middle, then please encourage Simone to contact me directly through [email protected].
Regards,
Geoff"
Thanks Dave for letting me get in touch with Geoff.
Currently i am trying to print on A4 .PS files to see if i am still getting the error (since for me it was the same to have A4 or A3 files..).
Process is in progress, so due to the size of the stage i am printing i guess it will take few hours to export.
Tomorrow i'll try to uninstall/reinstall the plugin to see if problem is solved, then i'll tell Geoff.
Thanks again
Simone
Dave,
I installed the extension gk_Postscript_plot into the free version of Sketchup 8 and it appears to run without error. However when I look at the .ps files with Ghostview all that is in them is the text. There are no figures or alignment marks. For a test, my part is just a flat sheet 7/8 inch thick, 64 inches long and 36 inches wide. The 7/8 inch and 36 inch dimensions are along the blue and red axes respectively in Front view and Parallel Projection. Can you suggest what I might do to diagnose the problem?
Also, it apears to me that gk_Postscript_plot converts the entire .skp file to a .ps version. Is there a way to copy a single part, such as a table leg, from a single scene in an .skp with many scenes into a separate .skp file to create the .ps file for just the template?
@riffler, is it possible there's something else in the drawing that is causing the part to not show up?
You can copy the part you want to make the pattern from and paste it into a new SKP file. Simply select the component, hit Edit>Copy (or the appropriate keyboard shortcut for your OS), switch to the new file and hit Edit>Paste or the keyboard shortcut and it should be there.
Maybe try that and see if it works correctly for you then.
Dave:
I tried your suggestion but the result did not change the outcome. However, your suggestion answered my second question about how to get a scene from a large .skp file into a template.
I just noticed that the notice:
Registration marks will be added to your drawing..." does not appear even though the part size is larger than a letter size sheet. Is there some way that the program is not interpreting my dimensions correctly? Or, that it is not "seeing" the object?
Steve
I wonder if there's an error in installing the plugin. How about if you e-mail me with a screen shot of the Plugins folder showing this plugin' Click on my name at the end of the blog post, above, to e-mail me.
In case someone else comes along with the same question that riffler had, the solution was that the geometry was inside a component and the plugin won't read the geometry inside a component or group.
"The resulting face and edges are left as raw geometry. the plugin won't see edges that are inside groups or components."
-Dave
Hi, David
Im about to use the psplot script in a setting that the creator should be aware of.
If you could point me to how to connect with him i would really appreciate it.
Thanks
Jay.
I believe his e-mail address is in the header of the script for the plugin. You should be able to contact him that way.
Log in or create an account to post a comment.
Sign up Log in