See it in Motion: Three-Way Miter Joint
![]() Use the See it in Motion QR codes in Fine Woodworking magazine to access a variety of short video clips that will help you better understand the jigs, tips, and techniques our authors use in every issue. Just download a QR Reader app on your smart phone and use it to scan the See it in Motion code icons found in the magazine.
Use the See it in Motion QR codes in Fine Woodworking magazine to access a variety of short video clips that will help you better understand the jigs, tips, and techniques our authors use in every issue. Just download a QR Reader app on your smart phone and use it to scan the See it in Motion code icons found in the magazine.
The Most Complex Woodworking Joint You May Ever Cut
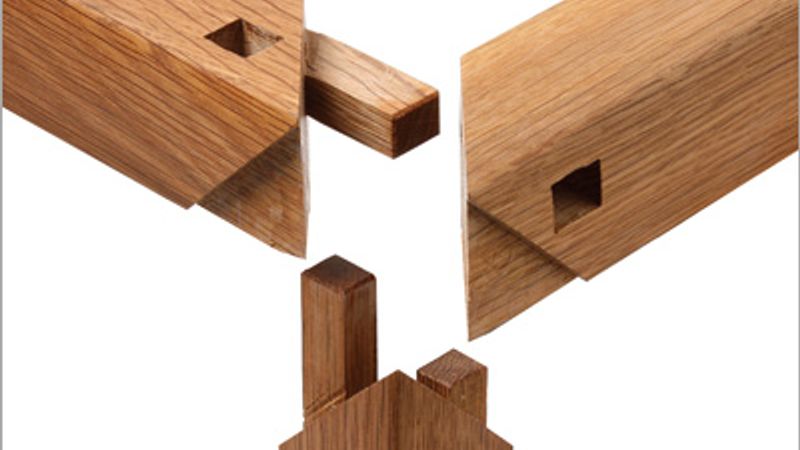
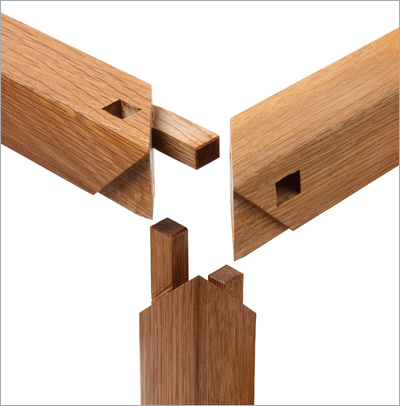
In Fine Woodworking #227, furniture maker Andrew Hunter highlights his technique for producing a mind-blowing 3-way miter joint. At first glance, it might leave your head spinning. But with the help of a few modern conveniences like a router, drill press, and chopsaw, this intricate joint can be made quickly and precisely.
There are three keys to successfuly executing this joint. It might seem obvious, but the first is to start with perfectly straight, square stock. This allows for an exact layout, the second and most important step. Hunter has no problem with spending a day laying out a joint if need-be. Once he’s confident with the layout, he can breathe easy, because there remains only the task of removing material up to the layout lines. Carefuly excavating to precisely laid out lines, the final step, should leave you with little or no fitting. You can see the joint in the video above, and learn how to cut and fit the joint in Hunter’s article, Super-Strong 3-Way Miter.






Comments
I'm really proud of myself for making this joint. Firstly. I made it roughly, so I could actually see for myself how it actually worked, and the parts of the joint that had no tolerence.
The finished joint is incredibly strong.
I used 50 x 50mm (2 x 2) wood - what is the smallest size that this joint has been made with.
Thanks to Andrew Hunter and Fine Woodworking for sharing this amazing joint with us all.
Marcus Horrell, Peterborough, England
I managed to do it from 35mm pieces, but it's pretty much the limit. The tenons become so thin they could be broken on insertion. Also that required some non-standard narrow chisels to get in between the tenons for cleanup.
There's also a German version of the three way miter, which incorporates a glass rabbet on all three parts (originally used for display cases). That version could be done even on smaller pieces, I think 1/2" (~12 mm) pieces wouldn't be a problem. But while conceptually simpler, German version requires way more care in executing since it might go together with inner glue surfaces being loose or not touching at all.
Nope, I don't think I'm there yet.
Log in or create an account to post a comment.
Sign up Log in