Super-Strong 3-Way Miter
Combination of hand and power tools makes it surprisingly straightforward
Synopsis: This miter joint has been in use since the Ming dynasty, and it may seem daunting at first. But Andrew Hunter lays out all the steps to create the three-way miter, starting with accurate layout, moving on to some slick hand-tool and machine tips will get rid of the unwanted material and leave you with perfect tenons and miters, and moving on to shaping.
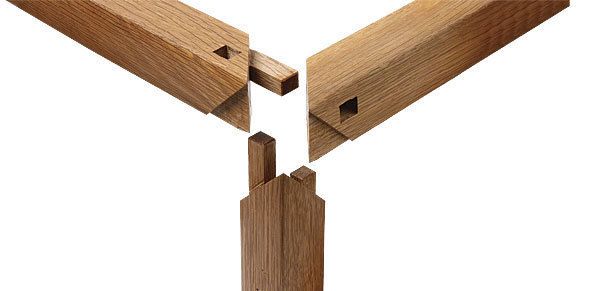
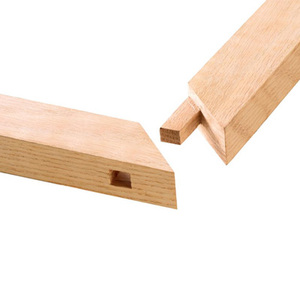
At first glance, this double-tenoned lapping miter joint might seem as complicated as its name. I am sure some of the Chinese craftsmen using the joint more than 500 years ago puzzled over it, too. But once you have taken the time to create an accurate layout, this intricate joint can be made quickly and precisely. In China it is known as the rice dumpling joint, after the three-way mitered fold of a dumpling, and has been in use since the Ming dynasty (1368–1644). Since its early history, Chinese furniture has been constructed predominantly with miter joints. In addition to its strength, mitered joinery lets shaped profiles meet seamlessly. Curves can flow into curves without the need for a more difficult cope.
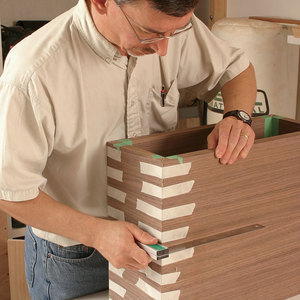
This oak cabinet has 16 separate corners all with this mitered joint. For this article, I’m demonstrating one joint made from start to finish. However, it’s worth mentioning that because the three parts of each joint are so different, in an actual project I lay out all the like pieces, move on to the next set of like pieces, and then lay out the last set. I do the same with the construction. I cut all the stiles first, then I cut all the mortiseonly rails, and then the rails with one tenon and one mortise.
Whether the tenons are through- or concealed is a matter of personal preference. I use through-tenons. Also, because there is so much mechanical strength to this joint, I am able to leave it unglued, which allows for any repairs in years to come. But feel free to lock your joints with glue.
The key to a successful three-way miter joint is an accurate layout. It is important to begin with straight, square stock and to really take the time to draw out every line accurately. Once you are confident your layout is perfect, you can breathe easy. Carefully excavating to these lines should leave you with little or no fitting.
From Fine Woodworking #227
Online Extra: SIM: Three-Way Miter Joint
For the full article, download the PDF below:
Fine Woodworking Recommended Products

Marking knife: Hock Double-Bevel Violin Knife, 3/4 in.

Festool DF 500 Q-Set Domino Joiner

Leigh D4R Pro


Comments
Very impressive and very stimulating. Still, the greatest mystery for me remains how the chinese managed to create this kind of joint without a router or drill press. As I don't have these either I would be greatly interested how to approach this with hand tools only. Any suggestions on this ?
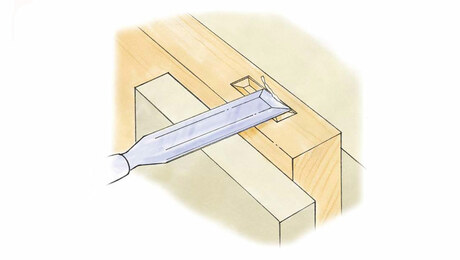
Well, I built a single 3-way miter joint and I can tell you that the router table really helps. Sharp, very sharp chisels are extremely important as there is a lot of end-grain to cut. You could try using a series of carefully made fences and a router plane, but even a small trim router and a shop-built router table would go miles toward getting the initial 4 tenons cut in the style. If you made an accurate say 1.5 inch thick drilling guide, you would not need a drill press. Other than that, you might contact Andrew Hunter for suggestions. Good luck if you decide to attempt one. It was a life-changing experience for me!
Thanks for the tips. Good advice. I'll definitely give that drilling guide a try, to start with. And I believe you about the life-changing experience - Cheers!
Log in or create an account to post a comment.
Sign up Log in