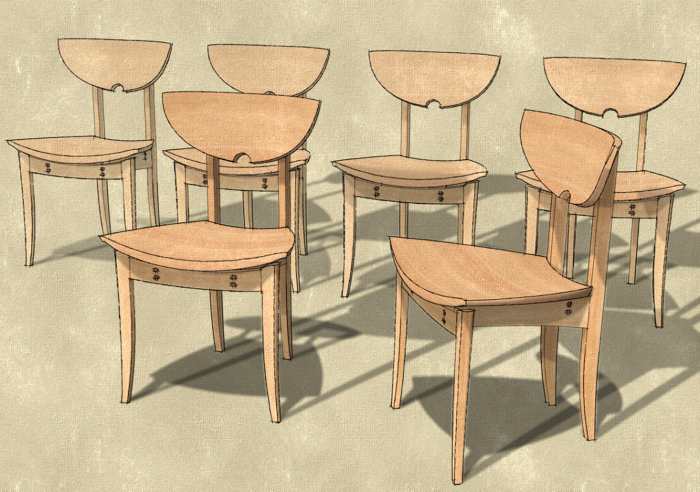
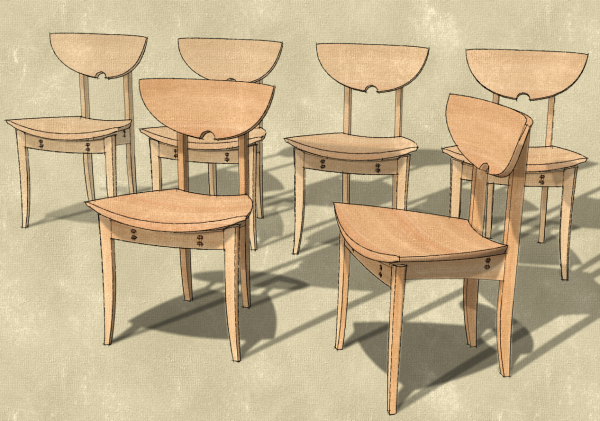
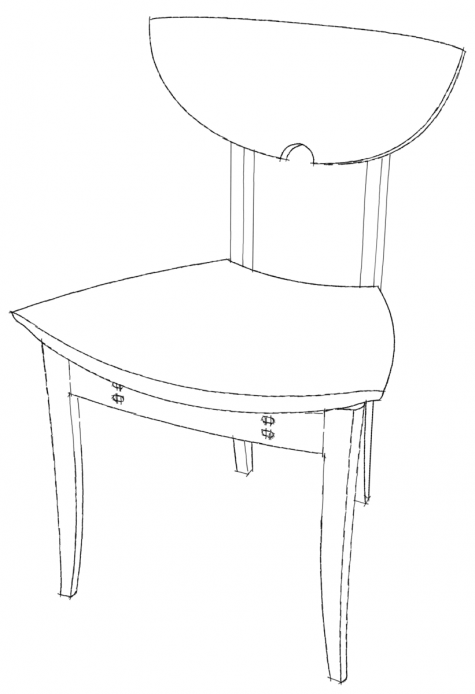
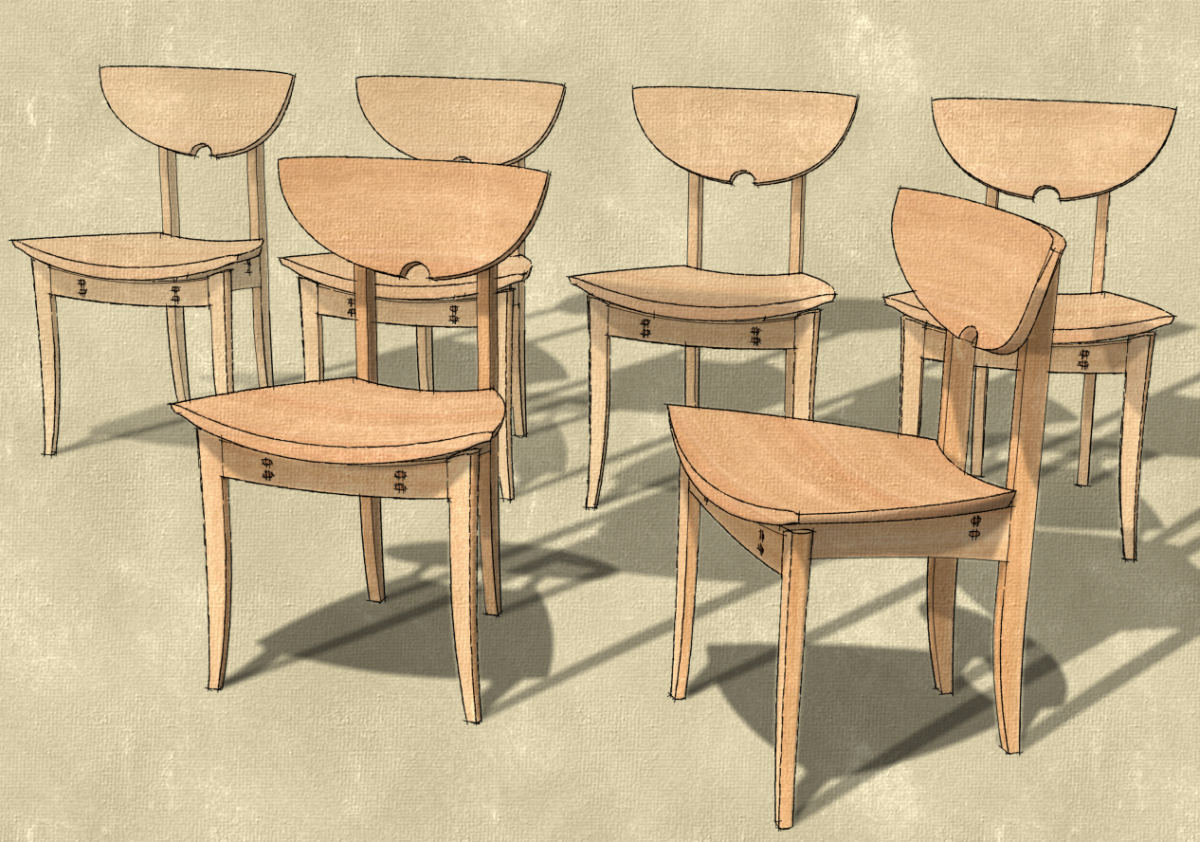
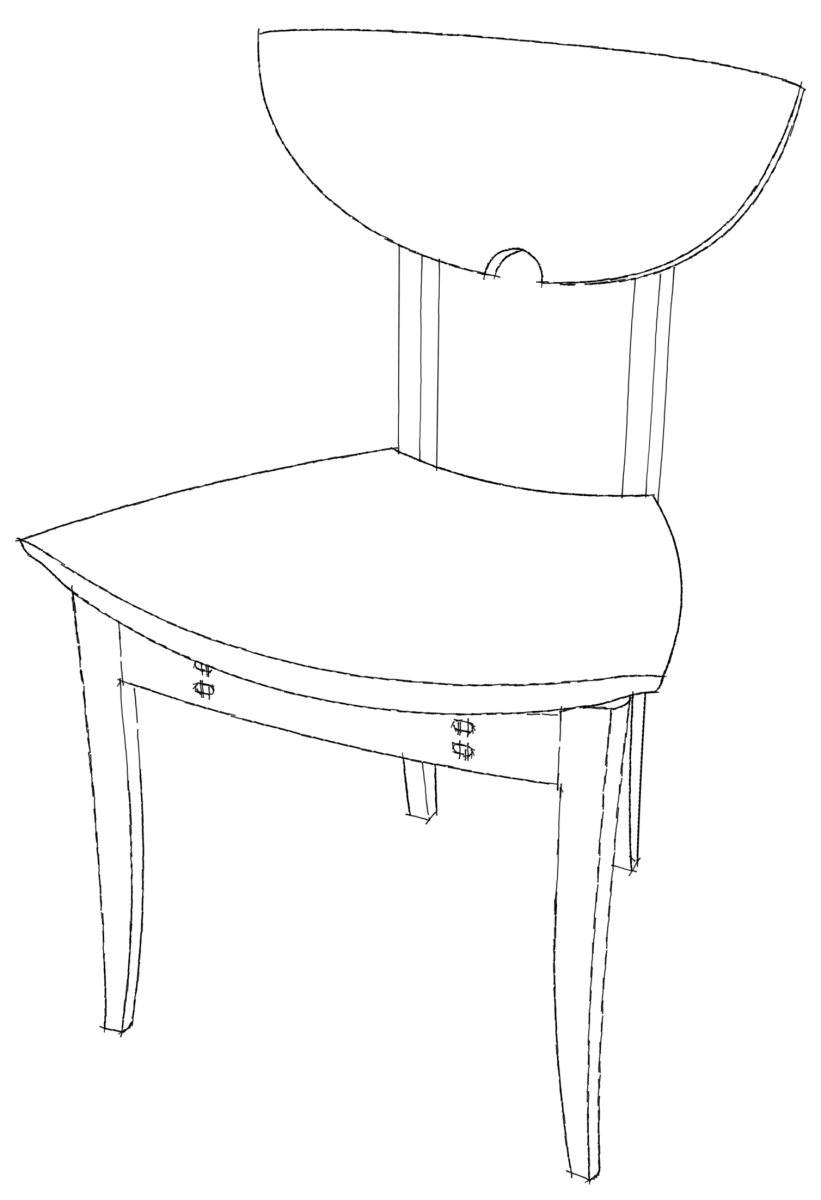
It’s a whole lot easier to eat a watermelon if you divide it into pieces first. In SketchUp it is often easier to draw complex shapes using the same approach. Work on a little bit at a time and combine the results to get to the whole. I used this idea when I drew the seat and back rest for Michael Fortune’s Contemporary Dining Chair from FWW#227.
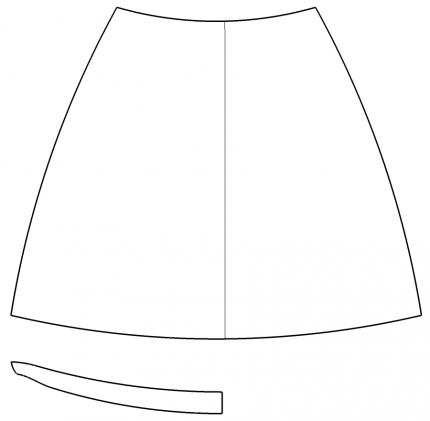
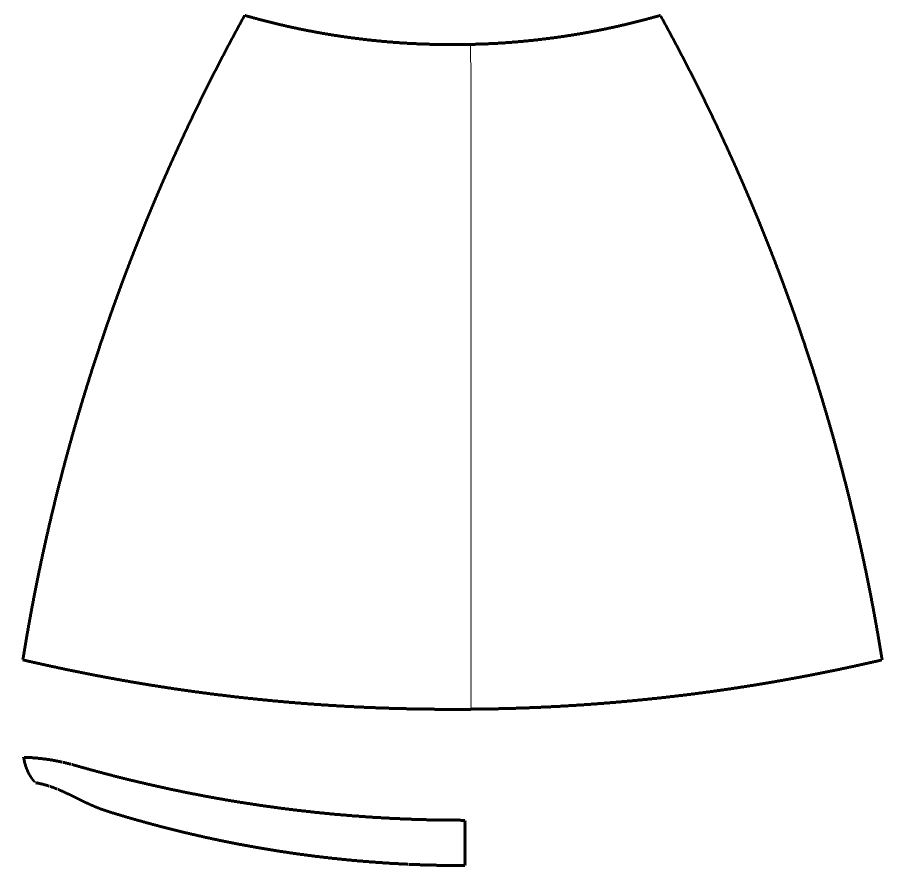
I started out drawing the plan and elevations of the seat. The seat is symmetrical so I only need to draw half of it but I drew the whole seat plan view to make it easier to get fair curves on the front and back edges.
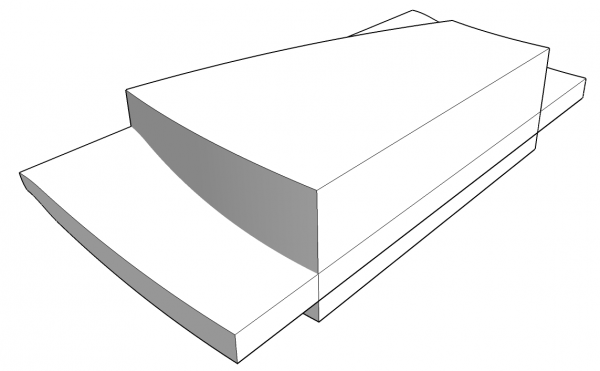
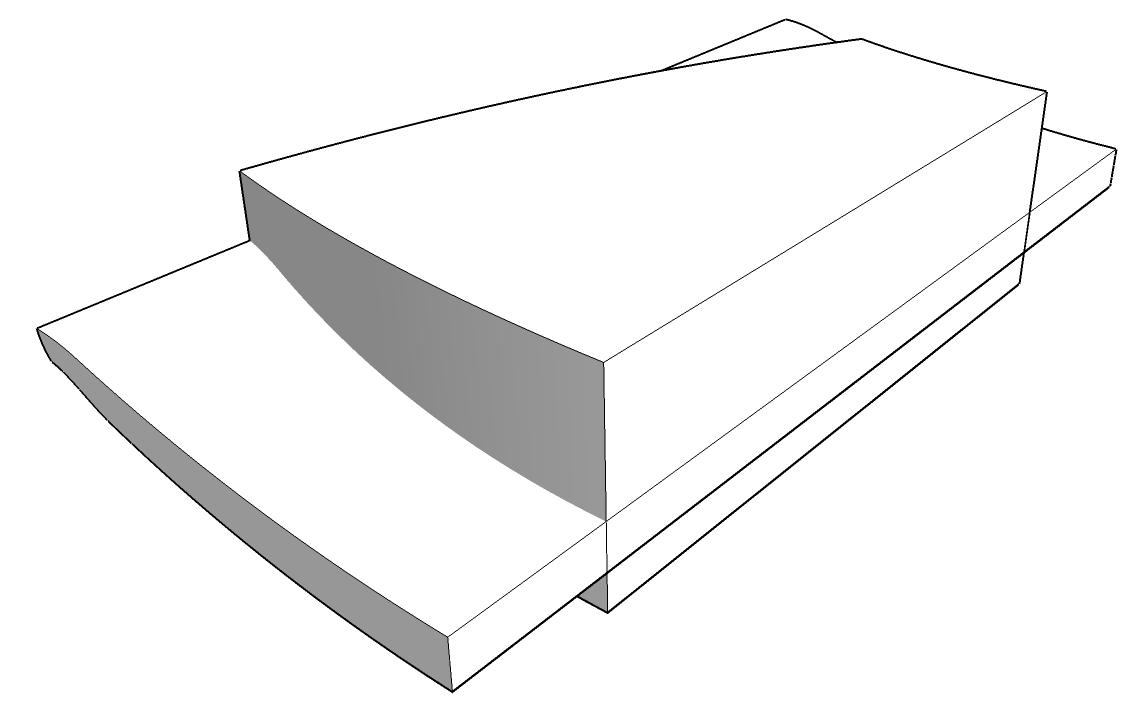
Next I used Push/Pull to extrude the plan and elevation through each other. After that I ran Intersect Faces and then deleted everything but the outline I was after.
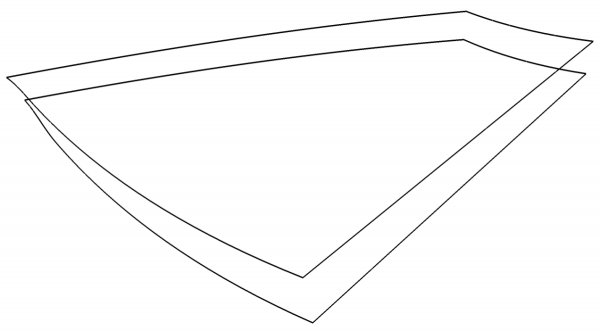
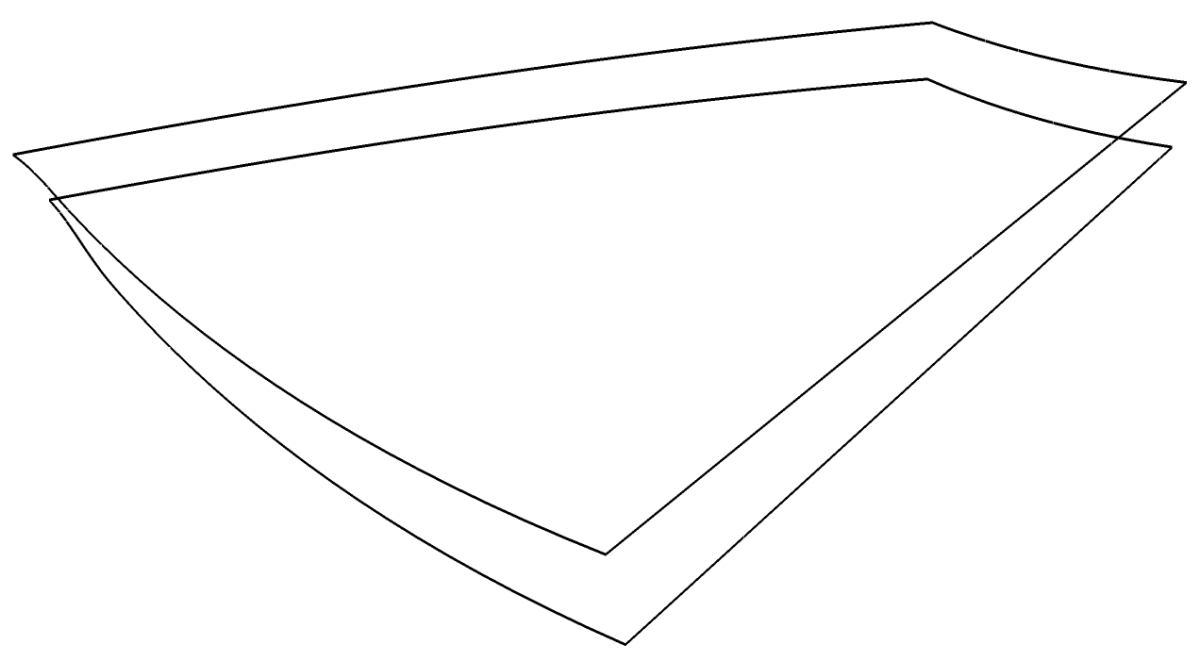
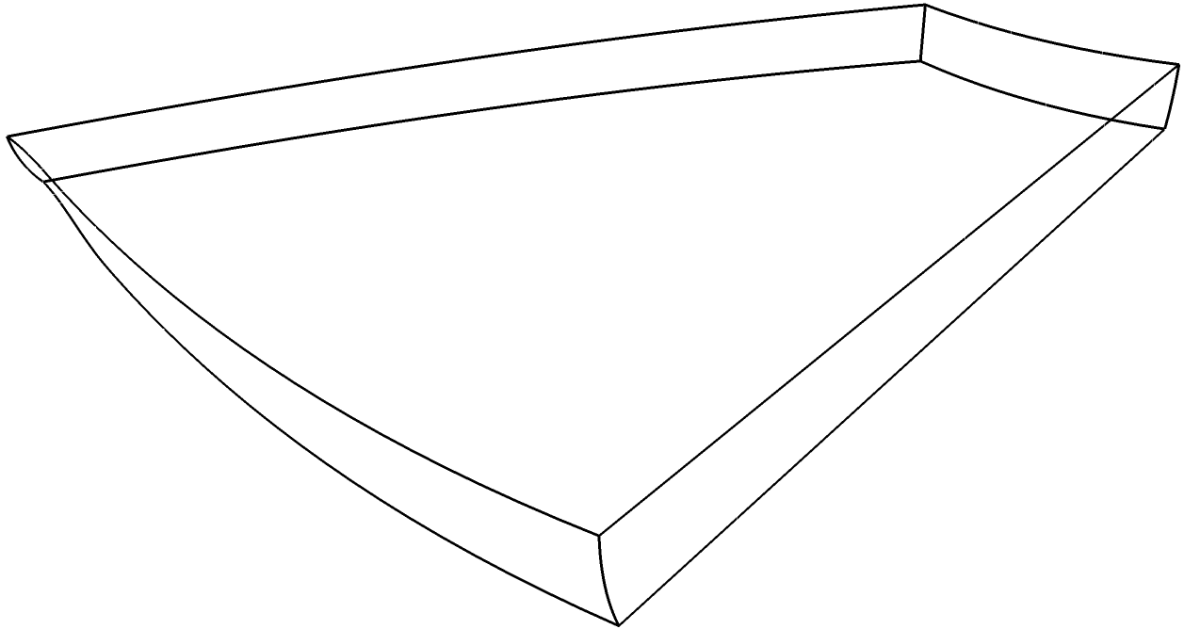
I was left with the edges for the top and bottom of the seat.
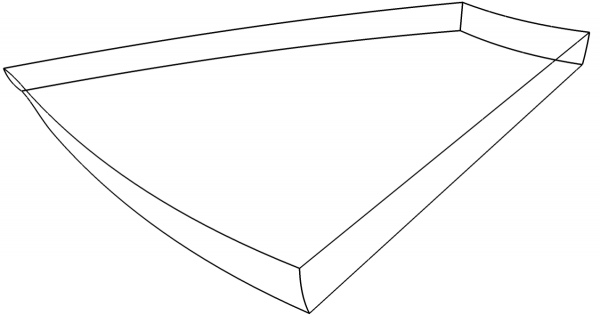
I connected the top and bottom with shallow arcs to get the rounded edges. There are no faces at this stage because I haven’t got any coplanar edges. Creating the skins comes next.
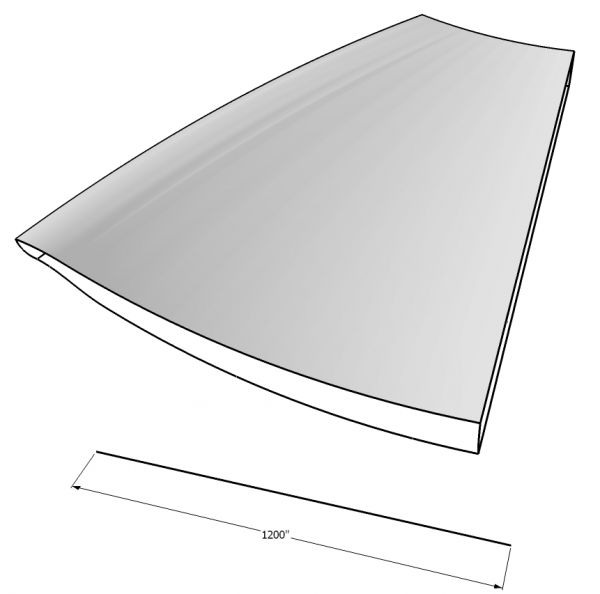
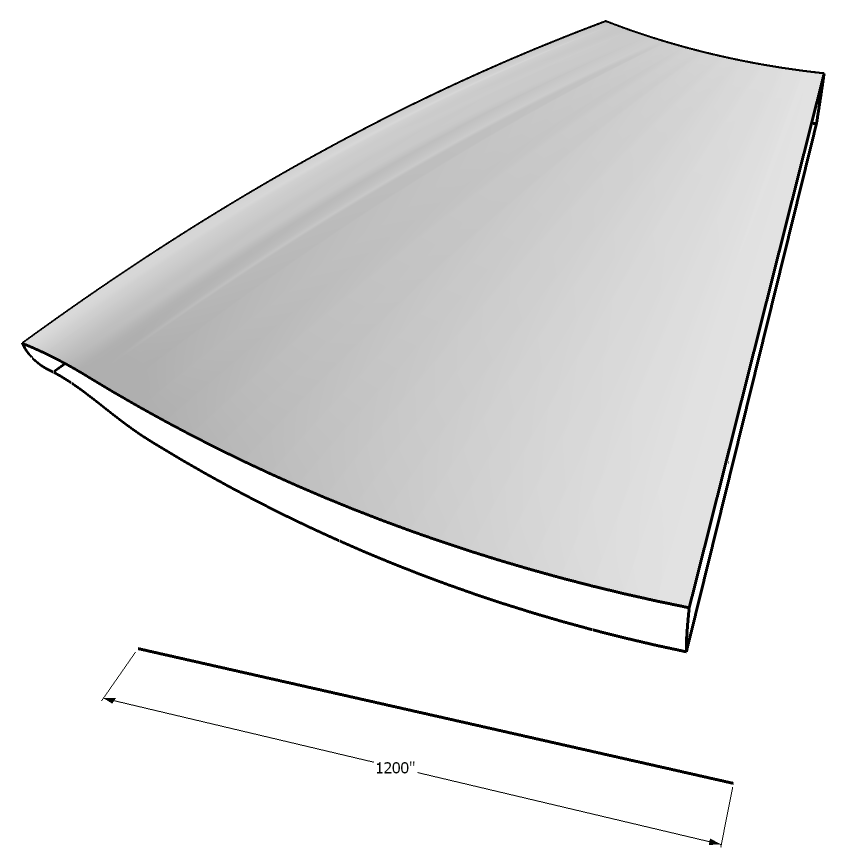
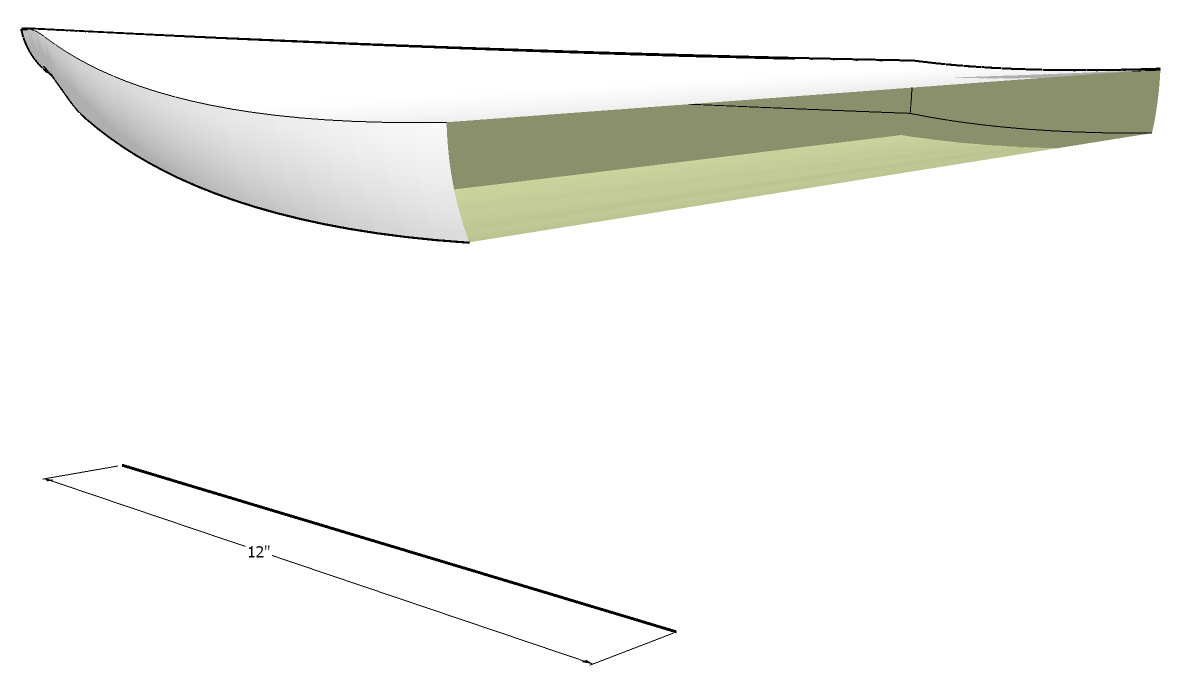
Due to the needs of the final model, I used a large number of segments to create the curves. Those little short line segments have the potential to cause voids in the skins when they are created. To avoid that,I scaled the model up by a factor of 100. You can use the Scale tool but for something like this I prefer the Tape Measure tool. I drew a temporary line 12 inches long. then I measure it with the Tape Measure tool making sure to click at both ends. I typed 1200 and hit Enter. After responding to SketchUp’s prompt about resizing the model, I hit Zoom Extents. Inpractice I don’t dimension the line. I just did that so you can see the model is scaled up.
Next I used Extrude Edges by Rails from the Extrude Tools plugin. This plugin creates the skin inside a loop of curves and creates a group of that skin. For this seat the plugin gets run 5 times; one for each surface of the seat. The first one is done above. If you do this, the last prompt asks if you want to delete the original edges. Don’t delete them because you need them for the other surfaces.
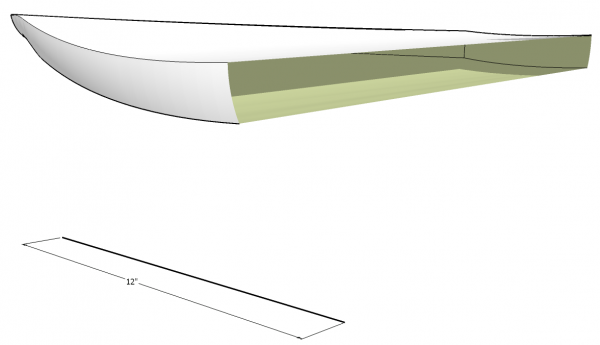
After working though all the surfaces, I scaled the model back down by repeating the process with the Tape Measure tool. Notice there’s no surface on the centerline of the seat. That surface isn’t needed nor is it wanted. I converted the groups to components and then hid the edges at the center line of the seat. I also made a nested component of the five surface components.
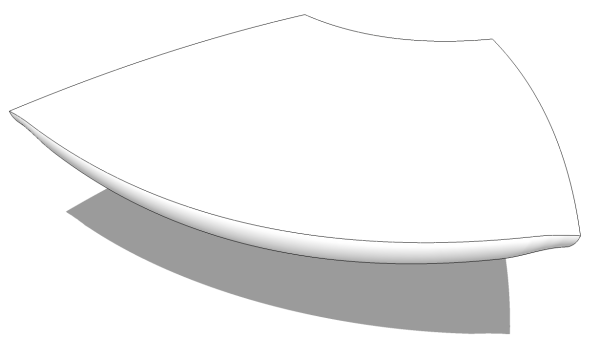
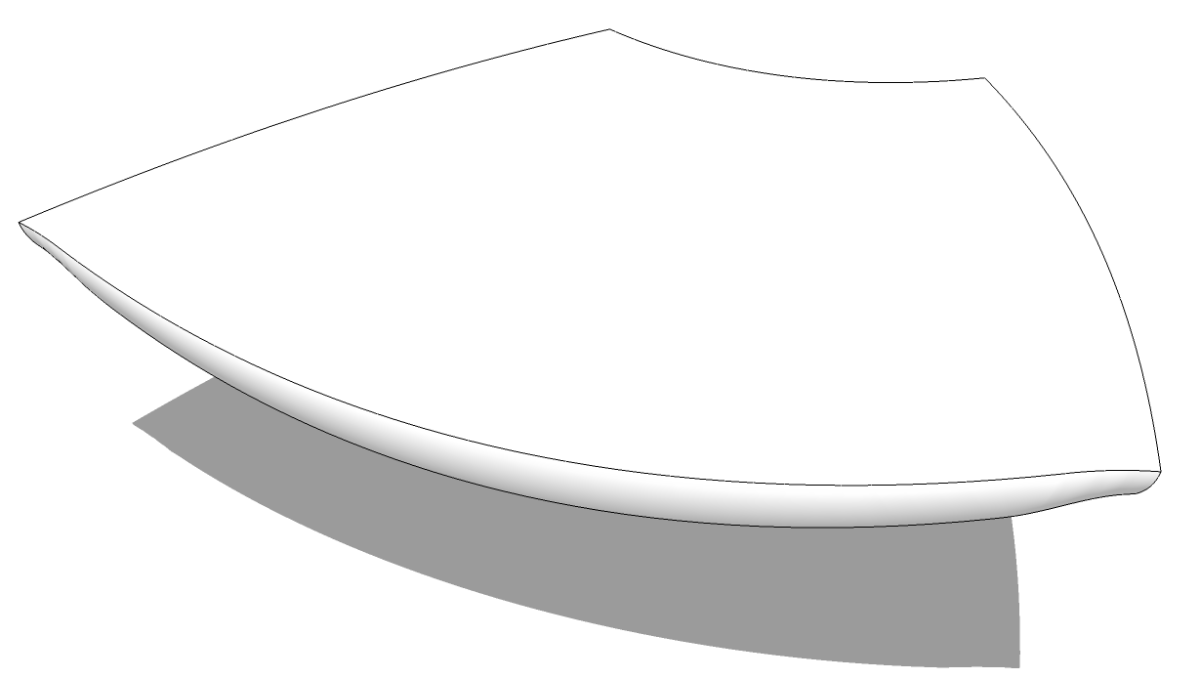
To complete the seat I simply copied the seat half component using Move/Copy. I flipped the copy along the red axis and moved it into place creating the whole seat. I then used the same process to create the back rest.
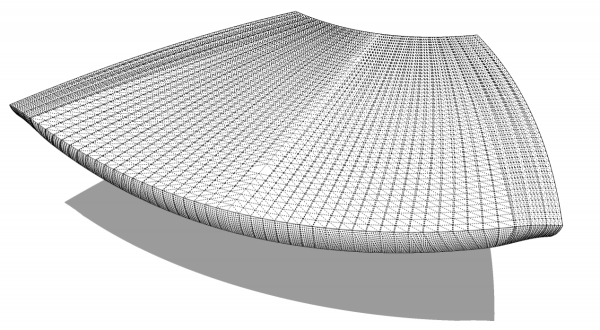
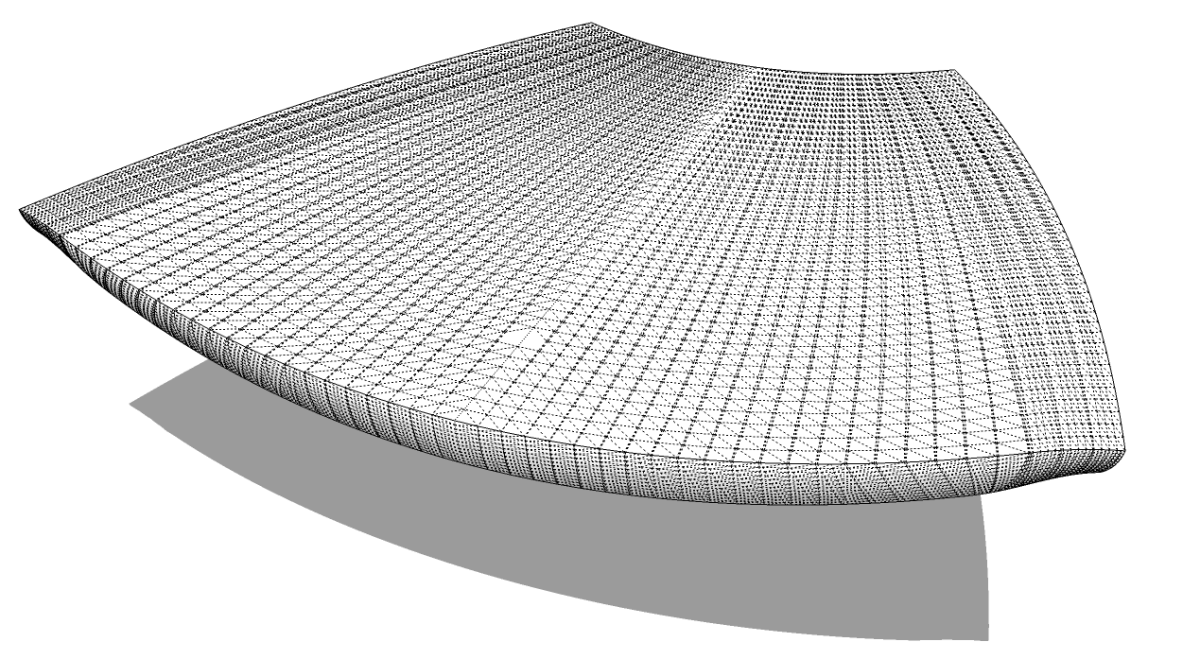
Here’s a view of the seat with hidden geometry displayed. You can see there is a large number of faces and edges. In fact, in just one half there is 37,016 entities. This one makes for a huge file. You probably don’t need to use as many segments as I did for this one. It’s a best practices sort of thing to keep the segment count down as much as possible.
There are probably other ways to create this seat shape but by dividing it up and working on one surface at a time, it’s easy to manage. If something isn’t right with one surface, it is a lot easier to fix and I think it is easier to keep things straight in my head.



Log in or create an account to post a comment.
Sign up Log in