How to Carve a Shell
Learn how to lay out and carve an 18th-century-style fan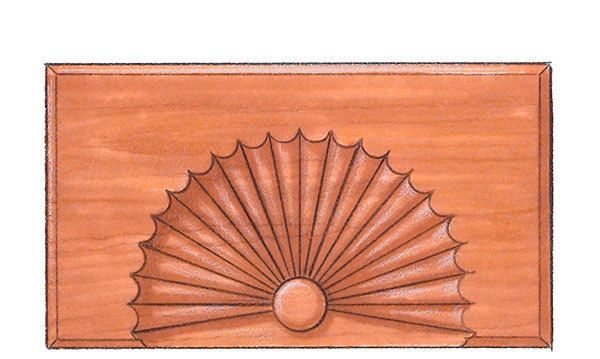
In issues 117-199 of FWW, Randall O’Donnell covered the construction of a curly cherry highboy. One of the pieces signature elements is the period fan (or shell) carving that appears on the drawers. Here’s how to carve that signature detail.
Lay out the fans with a compass and coins
To lay out a fan, I start by drawing a vertical centerline on the drawer front and then marking the horizontal baseline by eye. The intersection of these two lines forms the center point of the fan. From this point, I scribe the outer radius, inner radius and hub diameter with a compass. These lines establish the overall size of the fan.
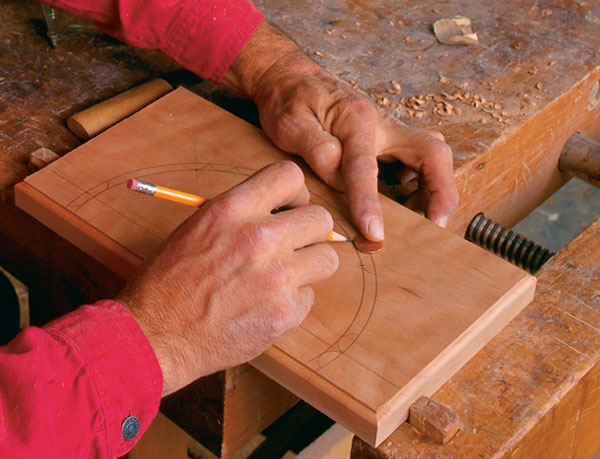
The fans are sized in proportion to drawer height, and each of these drawer fans has 20 rays. I found that the edge of a coin works well for laying out the ray spacing and scalloped edge. Starting at the center, I lay the coin on one side of the vertical centerline so that the coin just touches the inner radius. I trace a semicircle around the coin, stopping at the outer radius.
I continue scribing the semicircles along the length of the arc and then repeat the procedure on the other half of the fan. I use a penny for the upper drawer fan and a nickel for the lower fan. With the spacing established, I draw lines from the center point to the scallops, marking the rays.
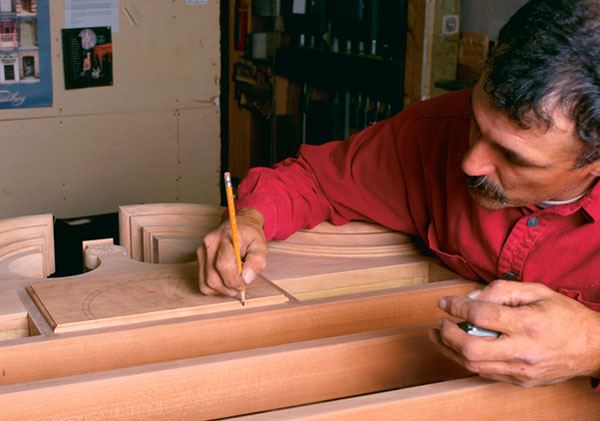
Because the lipped drawers stand proud of the case, the fan carving needs a transition to the horizontal rail below the drawer. To do that, I lower the surface of the drawer front immediately below the fan. I complete the layout by setting the drawer front in the case and scribing a line on the lower edge of the drawer using the rail as a guide.
|
A coin for the scalloped edge—A penny is the right size for the upper drawer fan. A nickel fits the lower fan. |
|
A scribe line marks the depth of the carved surface below the fan. This area forms the transition between the fan and the case rail. |
|
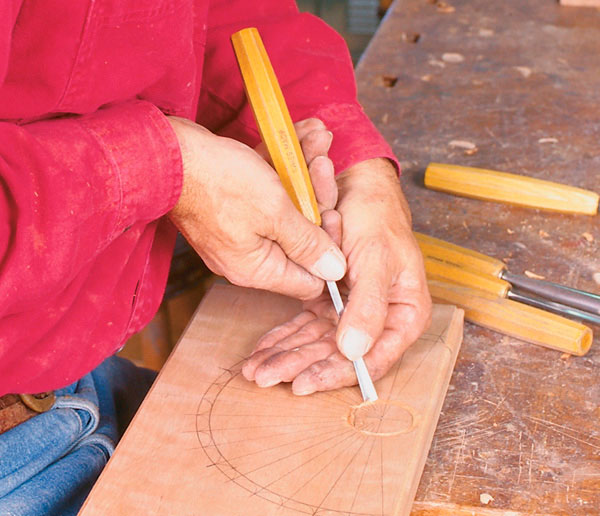
To prevent wood from splintering into the hub surface, outline this area with carving tools. |
|
Shape the fan background across the grain. Developing the S-shaped surface with mostly cross-grain cutting gives greater control over the tool. |
|
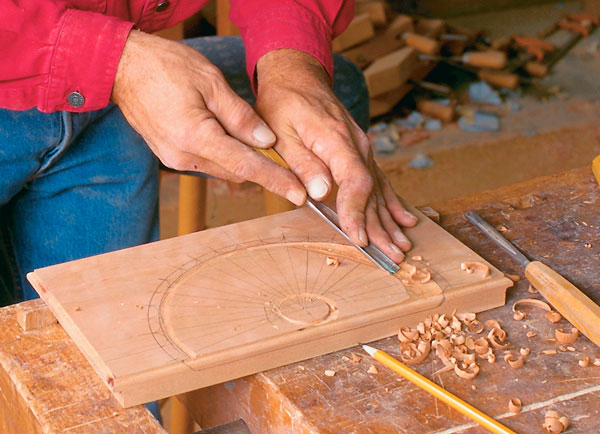
Smooth the surface with a sculptor’s rasp. A uniform surface makes carving the fan’s rays easier. |
Carve the background and then the rays
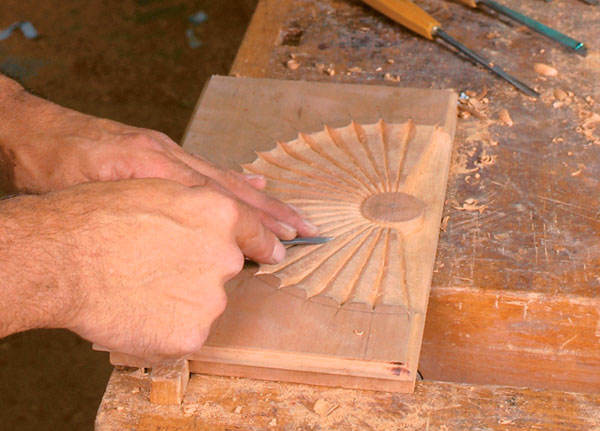
A crisp scalloped edge heightens the contrast between the fan and drawer surface. To prevent wood splintering beyond the area being worked, I cut the outline of the hub and scallops into the drawer face with carving tools. Using a gouge with a sweep that closely matches the curve makes this easy.
The area on which the rays are carved is worked with gouges to form a shallow S-profile. This S-contour makes the finished fan sensuous. The serpentine effect can be further accentuated by the depth of the individual rays, so don’t hog out too much material at this stage. I get the best results by removing the waste in a series of cuts along the curve. This is mostly crossgrain and skew-cutting, which minimizes the chance of taking too much material at once.
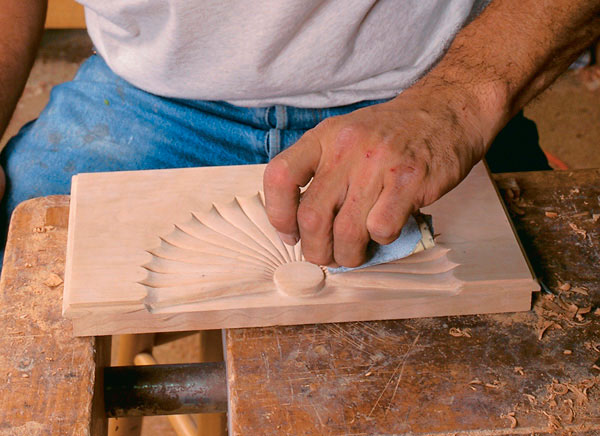
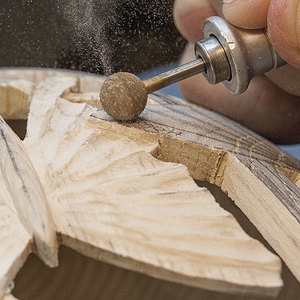
Once the bulk of the waste is removed, I smooth the surface with a sculptor’s rasp (see the bottom right photo on the facing page). I don’t use sandpaper until all carving is completed because grit particles left behind can quickly dull carving tools. Working the surface to the serpentine shape removes most of the ray lines between the hub and the inner radius. Now I redraw them.
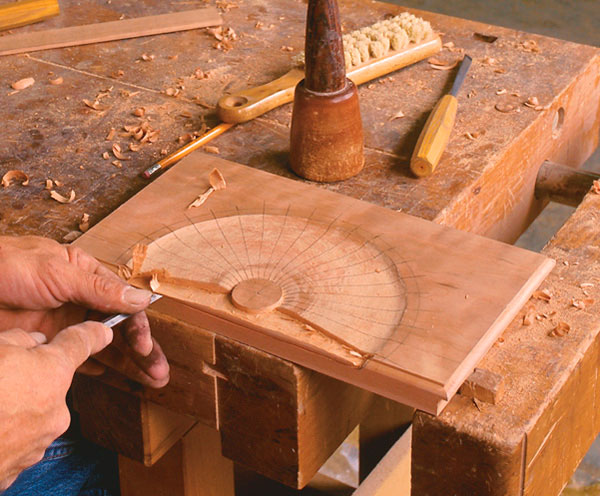
The rough-shaping for the ray surface is complete. I now hog out waste below the hub and bottom rays, making the transition to the rail on the carcase. 3/4-in. bench chisel works well for bringing this surface down to the line scribed earlier in the layout.
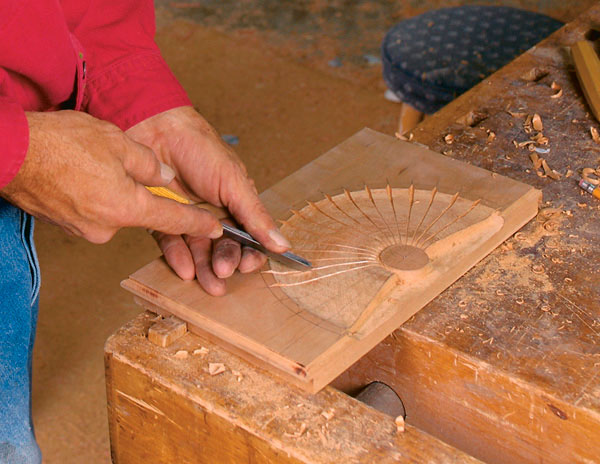
With the scallops and hub incised and the ray surface formed, I start carving the individual rays. A ray, in cross section, has a crowned shape. The height of the crown remains constant as the ray broadens, expanding from the hub to the scalloped edge. I begin carving the rays by defining the lines with a V-parting tool. Because of the serpentine surface, I have to change the tool direction so that I am always cutting downhill in relation to the grain. This helps me avoid lifting a big chip or having the wood split far ahead of the tool.
I use gouges to shape the rays. Starting from the V on either side, I cut along the ray, gradually working it to a rough convex shape. The faceted surface is smoothed into a continuous curve.
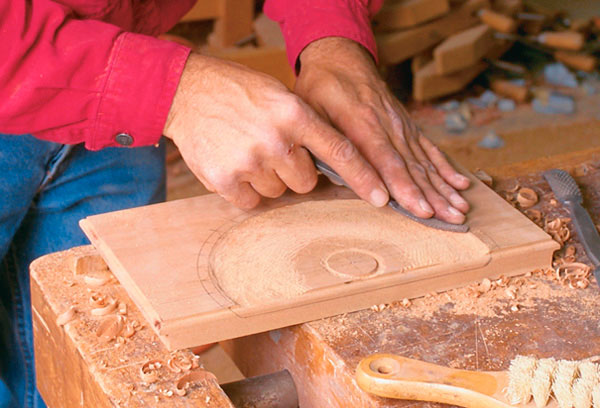
The hub is slightly tapered and crowned, but this detail is carved last. The hub can get nicked if you get too close with a V-parting tool or a gouge. These nicks are cut away with the final shaping. Periodically, I check the rays to make them the same, deepening the V between rays where it’s needed. I crown the surface of the hub and taper the sides slightly. Finally, rifflers and sandpaper complete the fan.
|
Use a bench chisel to remove the waste below the fan. This surface provides the transition from the carved drawer to the case rail. |
|
A V-parting tool is used to define the rays. Because the surface is S-shaped, wood grain can change direction. Take care not to run tools against the grain, which could cause tearout. |
|
A successful fan carving is symmetrical Shape the rays so they appear uniform in width and depth. |
|
Sand the fan. The scallops and hub should not be rounded over. |





Log in or create an account to post a comment.
Sign up Log in