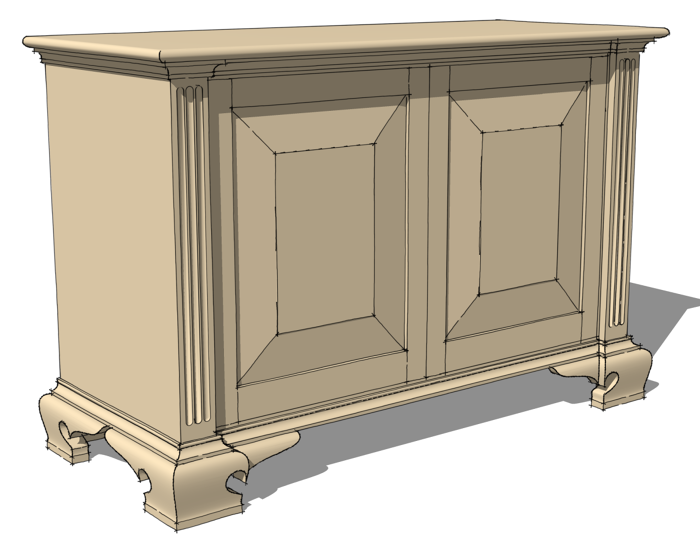
The other day I was talking with a fellow about SketchUp and we got onto the topic of details and the return on the investment of time spent drawing them. I’ve always held the opinion that one should draw only enough detail to get the point across. It is easy to get tied up drawing details that nobody can see just because you can do it but is there value in that?
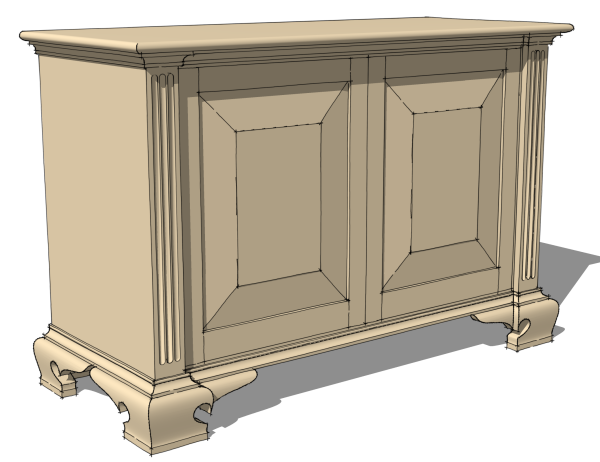
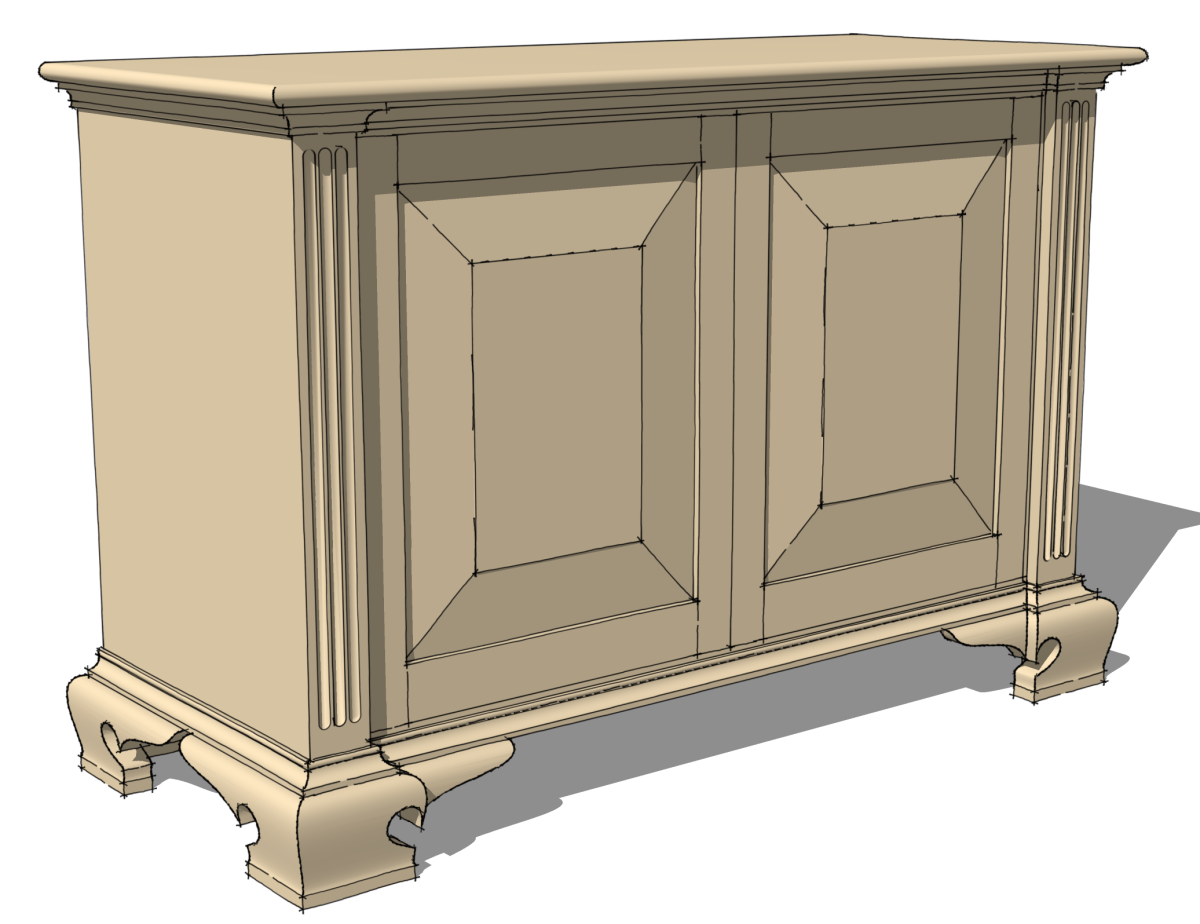
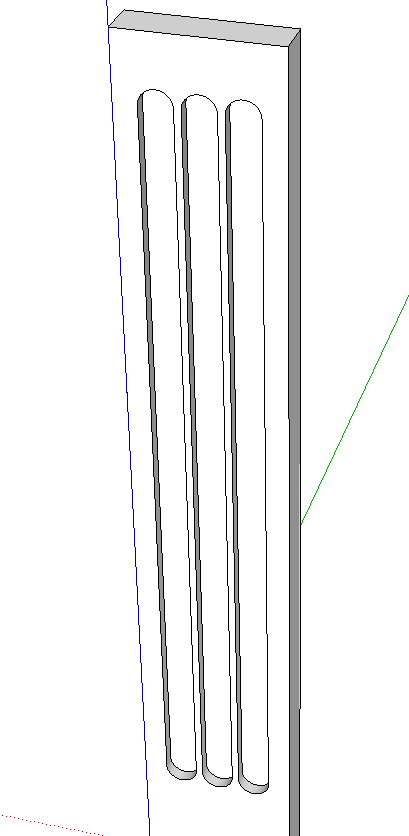
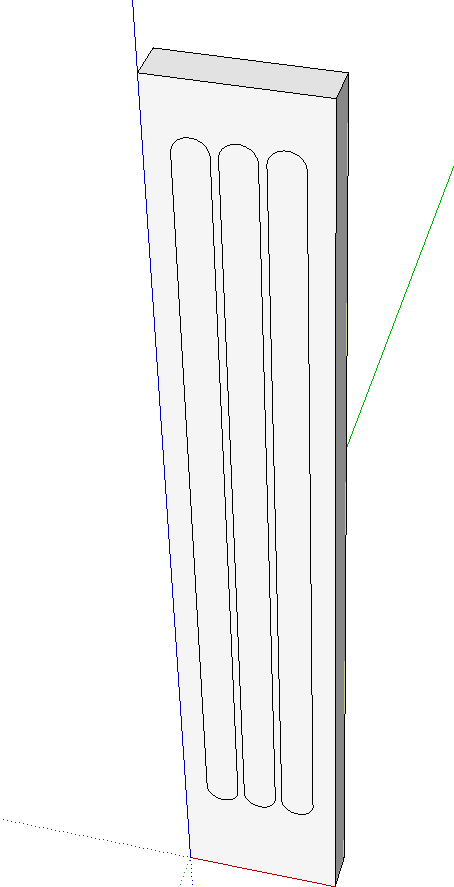
Later in the evening I was working on this chest illustration and was thinking about the fluted columns on the sides. I’ve drawn fluted columns that are nearly anatomically correct before but they take a fair amount of time and I didn’t think it was worth putting the time in on this piece. I wound up simplifying them. This method is quite fast and I think they look fine for what they are. Here’s how I did it.
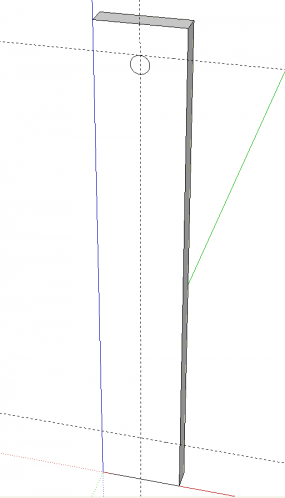
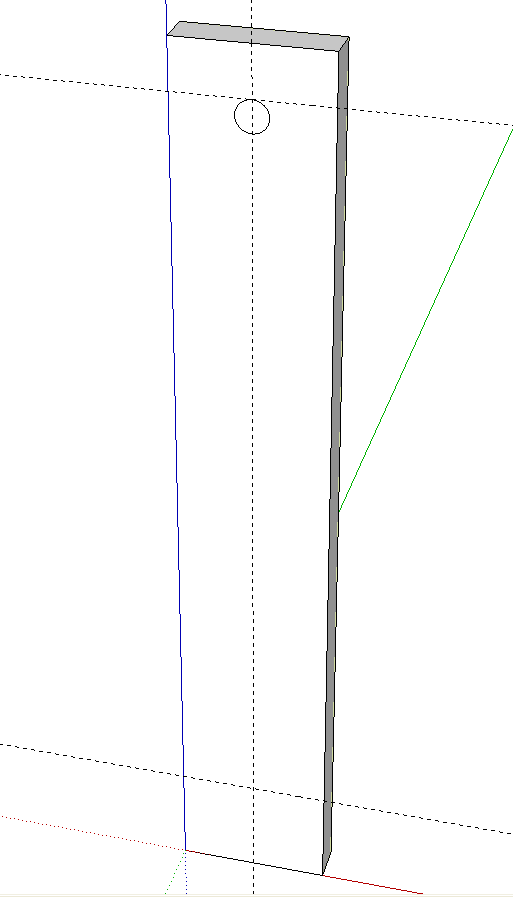
I laid out guidelines indicating the center line and the ends of the flutes. Then I drew a default 24-segment circle which has a diameter matching the width of the flute.
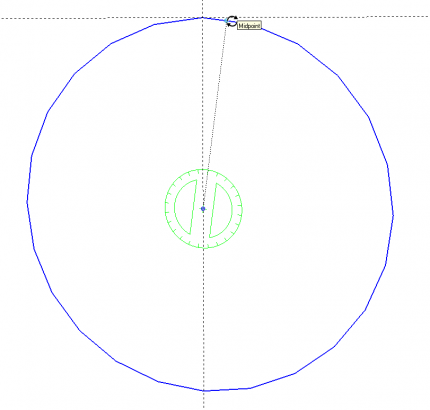
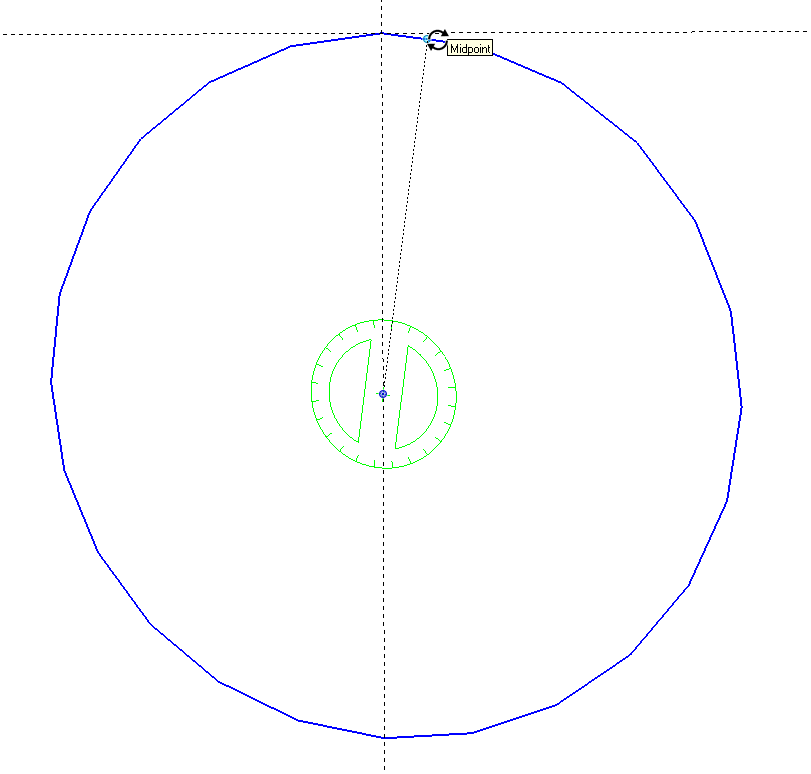
Next, I selected the circle and rotated it 7.5° so a flat side is up. To find the center of the circle, hover the Rotate tool over one of the vertices for 2 seconds and then drag the tool toward the center. The tool will snap to the center.
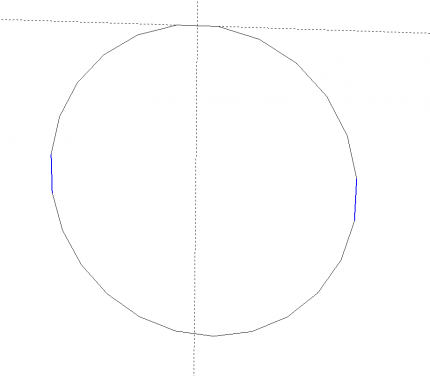
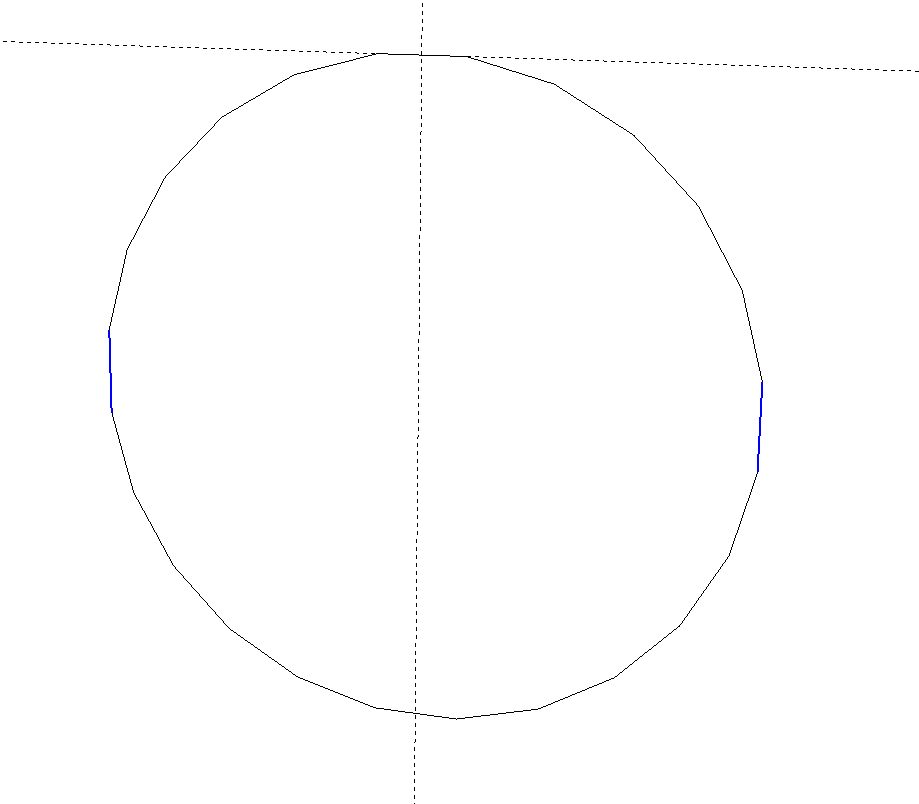
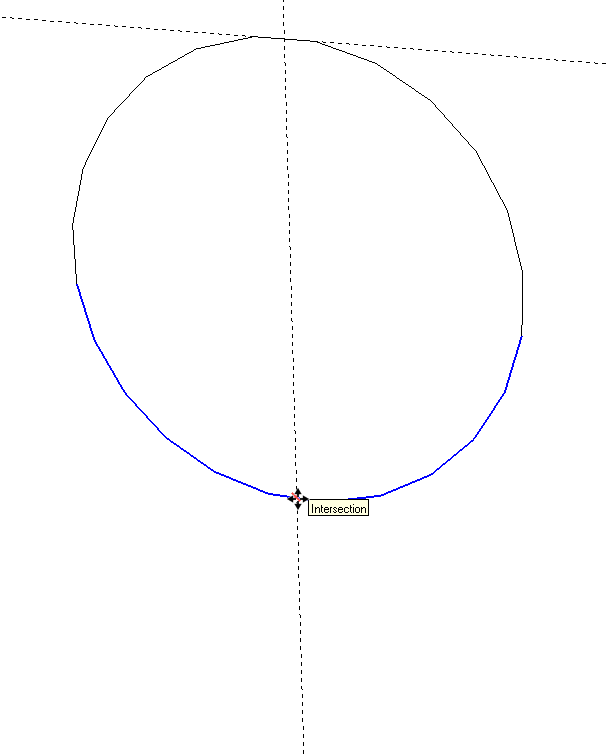
Then move the circle up so its edge is on the horizontal guideline. While the circle is selected, right click on it and choose Explode curve. Notice the highlighted segments in the circle, above, are now vertical.
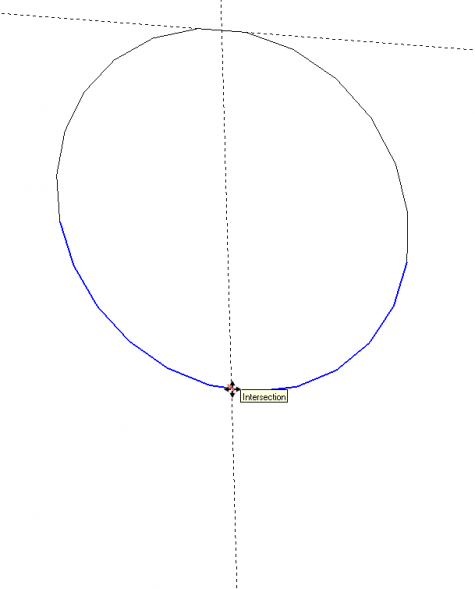
Drag a left to right selection box around the bottom half of the circle. This should select the segments as shown, above. Make sure you don’t get the vertical lines in the selection. Get the Move tool and click on the point where the bottom edge of the circle and the vertical guideline cross.
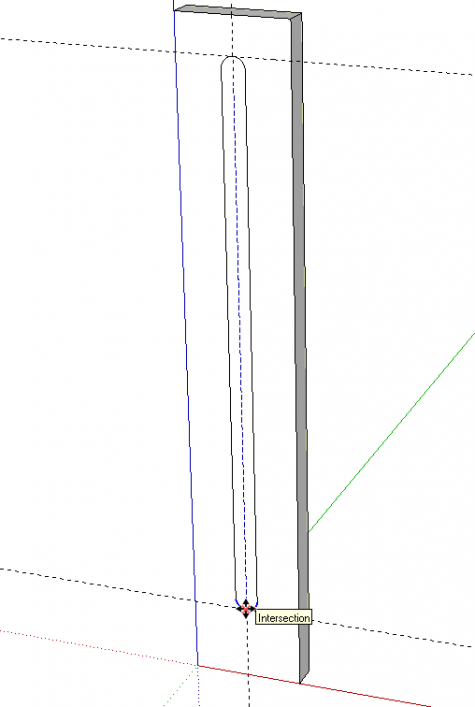
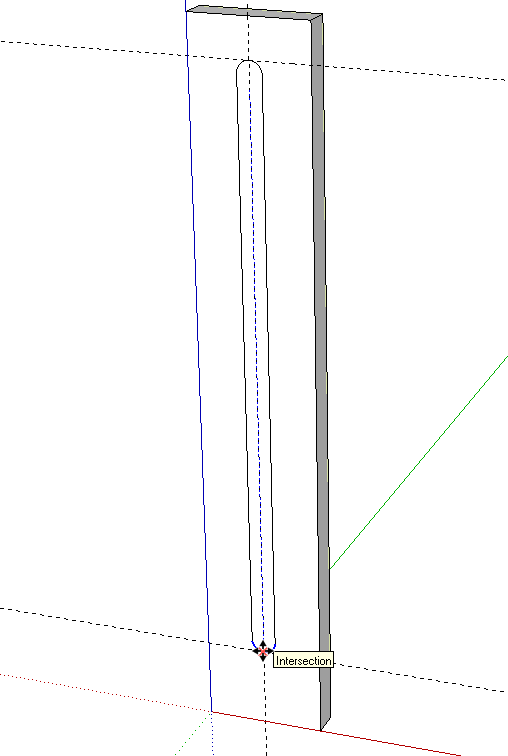
Drag the selected segments down until you get to the lower guideline. The tool will snap to the intersection and the message “Intersection” will confirm you’re there. Get the Select tool and select the outline of the flute and use Weld to weld them back into a curve.
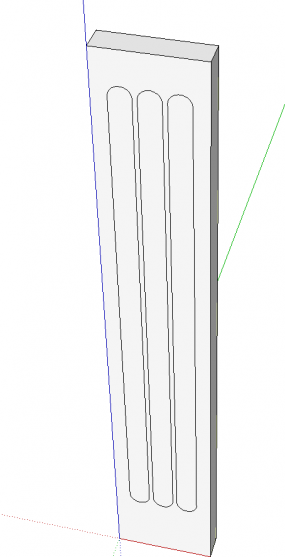
Use the Move/Copy function to make and place the other flute outlines.
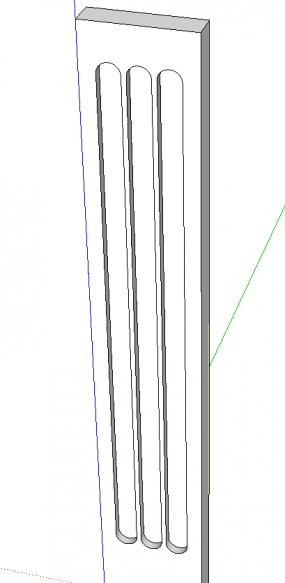
Use Push/Pull to to create the flutes. You could stop here but let’s refine the flutes just a little.
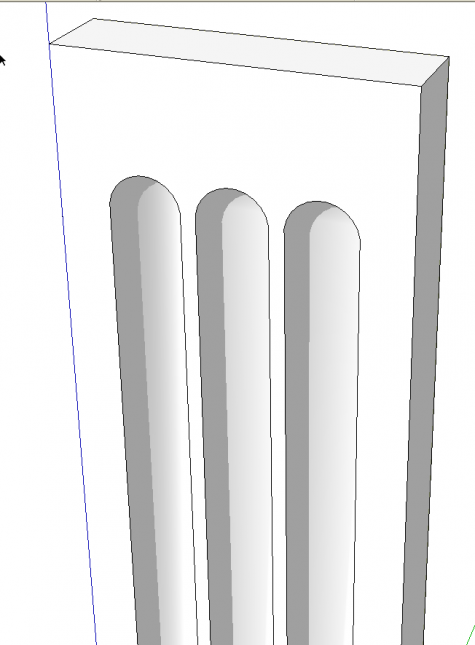
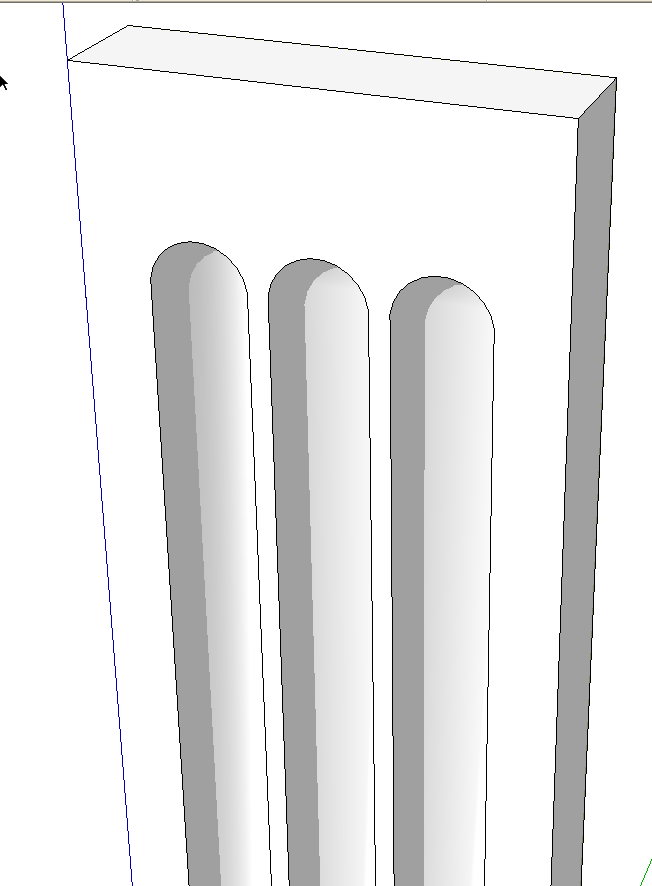
Select the edges in the bottoms of the recesses. Right click on one and choose Soften/Smooth Edges. In the dialog box that pops up adjust the slider to a little above 90°. Now you’re finished.
You could use the same method minus the smoothing to draw slots or mortises for loose tenons or Dominos. You could draw the loose tenons this way, or perhaps slats for a crib or headboard.
In reality my flutes are just slightly narrower than the diameter of the original circle. For the application at hand it doesn’t matter. In some cases it might be important, though. If it is, you can adjust the size of the circle with the Scale tool before exploding the curve.



Comments
That's brilliant Dave.
I've just given it a try. It's not necessary to do the rotation step, and this leaves the flute at the correct dimension. You can select and drag the bottom 12 segments of the circle downwards quite happily.
Hi Nick.
Yes, it works without rotating but I prefer to do it because I think the results look better without the points on the ends.
Actually Nick, if you make the flute as you describe without rotating the circle first, the sides of the flute won't be parallel to each other. You can see that in this screen shot. http://www.flickr.com/photos/8294157@N08/7633136478/ So it is only the correct dimension at one end.
How right you are.
SU has some odd misfeatures.
It is kind of strange but if you think about it, it's not too weird. The circle is really a polygon and it doesn't add any sides when you deform it. So it just moves the vertices and stretches the existing sides to fit.
Log in or create an account to post a comment.
Sign up Log in