Managing your preferences template can be more complicated than simply clicking on “Save As Template”. Perhaps you – as I am accustomed to do – on occasion modify your SketchUp Preferences Template. I will adjust a text font, style, dimension setting, background color, etc. and want these changes to be applied to future drawings. It seems I’m never satisfied, so it requires a periodic updating of my template. By changing the template, SketchUp remembers these new preferences, and starts up automatically applying them.
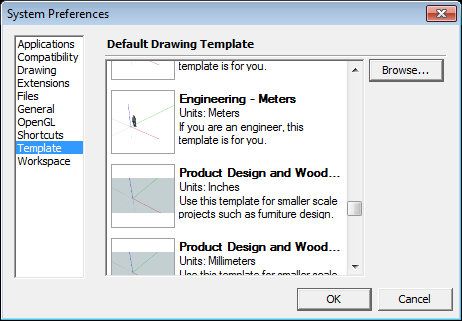
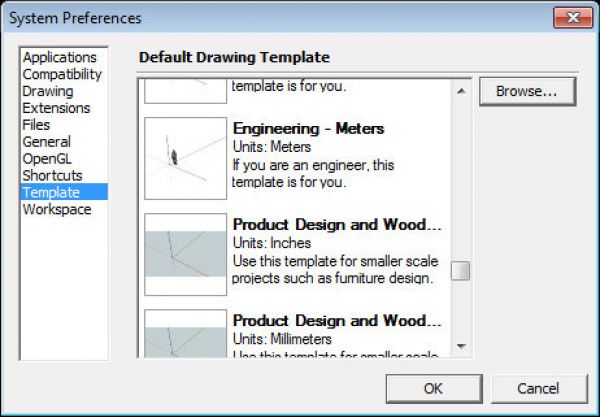
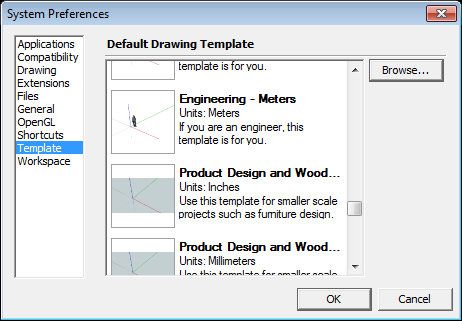
As a matter of review, SketchUp provides a standard set of preference templates, one of which is Product Design and Woodworking. These templates are found by clicking on Window in the Menu Bar, then picking Preferences from the menu. A dialog box appears as shown below. Click on Template in the left panel and you will see all the standard templates along with any that you have created.
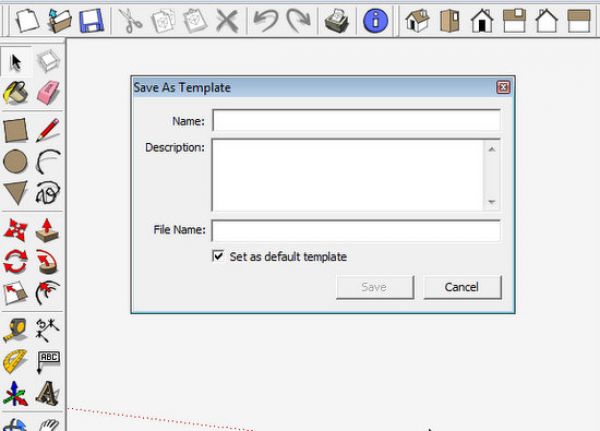
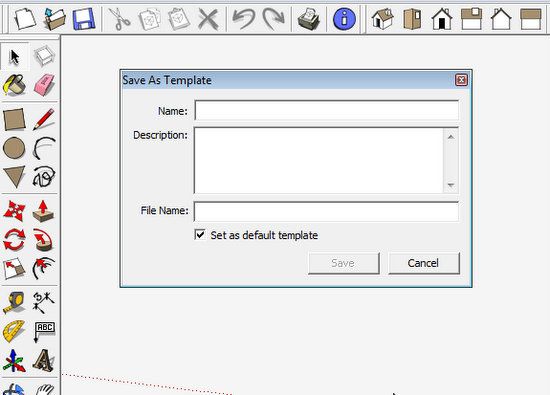
If you don’t like the settings in the standard templates, it’s quite easy to create your own. Simply open up a new SketchUp file, modify your settings, click on File, and then pick Save As Template from the menu. A dialog box will appear (shown below), assign a Name and Description, and hit Save.
Now back to the complicating issue in creating and managing templates…….
It’s tempting to use a recently completed SketchUp model as a basis for your new template. You like the way this drawing worked out, and would like to use it as a basis for future drawings. Before clicking “Save As Template”, you erase all graphics in the file. Bingo, you’ve got a new template.
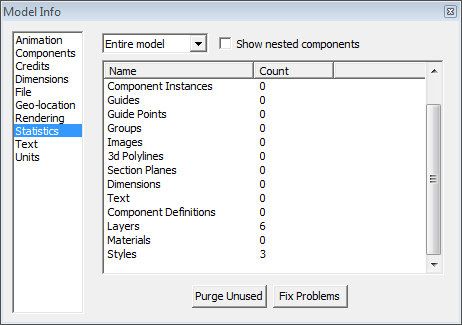
This will work, however the new template file will include all the “definitions” of Components, Styles, Materials, and Layers that were used in the source SketchUp model. You can check the status of these definitions by clicking on Window/Model Info. A dialog box will appear as shown below – click on Statistics in the left-hand panel. If there are more than zero Component Definitions, Layers, Materials, and Styles, then you may be carrying-over data that clutters future modeling work.
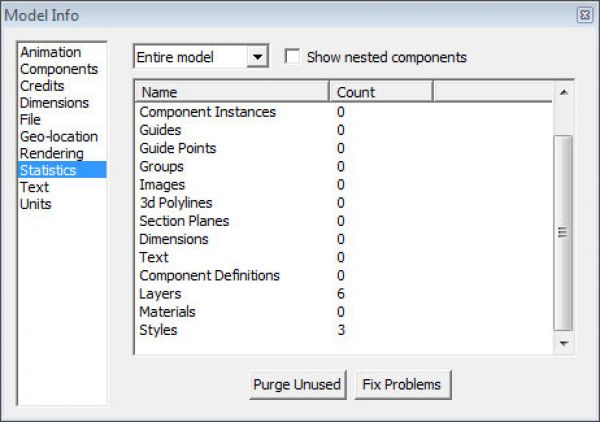
You can click on the Purge Unused button in the above dialog box, and remove all these contained definitions. Then you’ve got a “clean” template file for future work.
However, I prefer to include my standard Layers and Styles in the template, and if you Purge Unused, then all of these Layers and Styles are also purged.
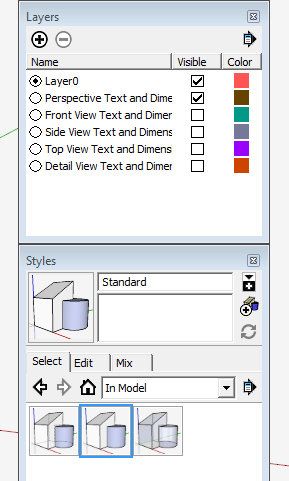
As shown above, I have six standard layers and three styles as shown in the following picture. Note that the three Styles are; Standard, Back Edges, and X-Ray.
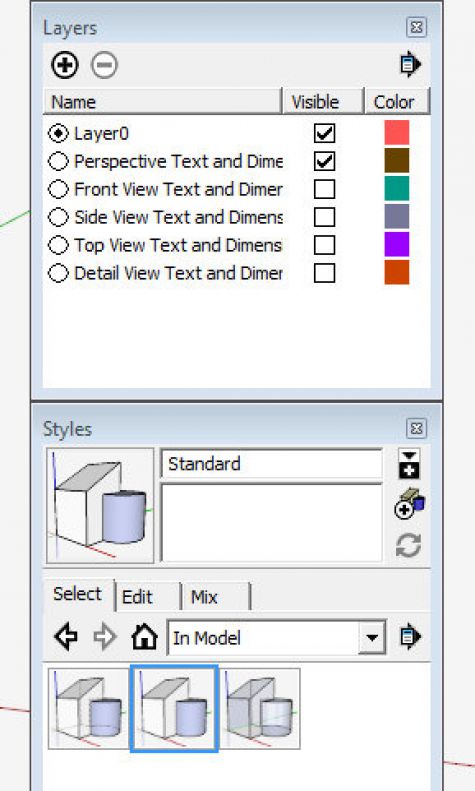
Since the purge deletes my standard Styles and Layers, I’m forced to re-enter these standard settings before saving as a template. Although this is not a big deal, I don’t like doing this extra work.
To avoid this re-entry, I’ve stopped making template files from existing model files. Rather I make the new changes to settings upon opening a new file. Then re-save as a new template. I typically add a date to the template name, and add a description of the specific changes in the dialog box.
Also, I’ve been saving my standard template file as a normal .skp in my drawing folder. Therefore, I can use this file to update the Template file on other computers and laptops on which I use SketchUp.


Log in or create an account to post a comment.
Sign up Log in