A Better Way to Add Stringing and Banding
If the central panel is veneered, you can just add the inlay pieces to the edges of the sheet before laying up the panel, with no wood-movement worries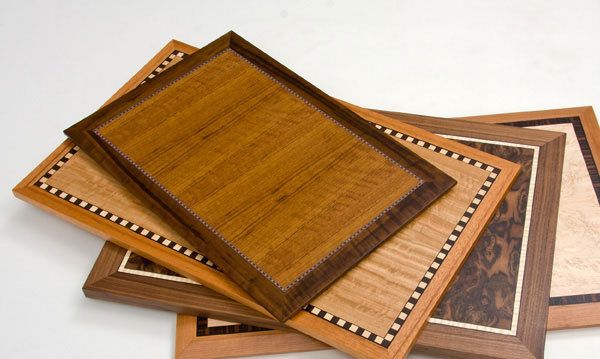
Whether your tastes run traditional or contemporary, learning to do a veneered tabletop opens up all sorts of design possibilities. For one, you now have access to scores of new wood species and grain patterns, all widely available and affordable. Secondly, you can cut and arrange the veneers into beautiful patterns not possible with solid wood. That’s just the beginning. My focus here is bandings and borders. Veneer makes those easier, too.
The traditional way to make bandings is to start with a bricklike lamination and slice off layers. Then you inlay them, excavating a channel in solid wood, with issues when you go across the grain. But since my tabletops are fully veneered on a stable substrate using a big vacuum bag, adding beautiful bandings and borders is as easy as cutting out pieces of veneer and taping them to a center field of veneer. After laying up the panel, I add solid-wood edging to protect the veneer and complete the look. Last, I rout a groove along the glueline and inlay the final piece of stringing the traditional way, hiding the glueline and any inconsistencies there. It is a foolproof system.
I also sometimes veneer all the way to the edge of the table, by simply making the bandings wider. I often use crossbanding this way, banding the side of the tabletop with the same veneer for a waterfall effect.
Stringing and banding separate the center field from the edges of the tabletop, and add a dash of both complementary and contrasting color. While you can buy banding in varied patterns, it’s just as easy to create your own using small pieces of figured veneer that are too nice to throw away.
A few shopmade helpers
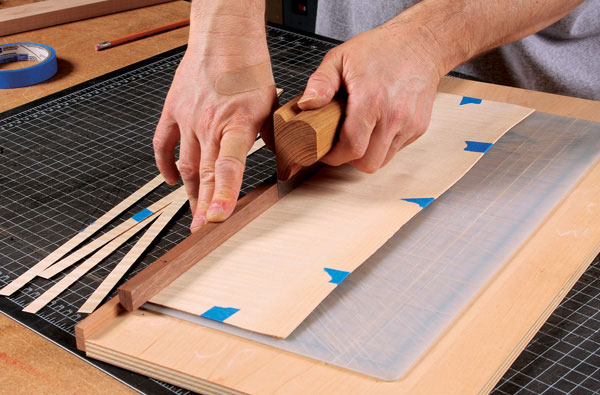
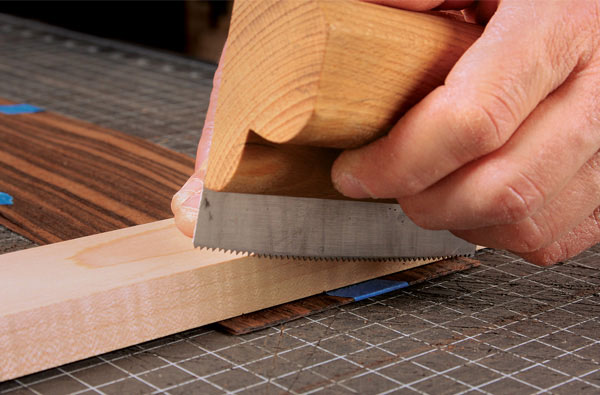
To make all of the bandings in this article, you’ll need a freshly sharpened veneer saw (see How to Sharpen a Veneer Saw to learn how) and a few simple shopmade devices. First, make a 2- or 3-in.-wide straightedge from MDF to joint edges. Then you’ll need a banding-cutting board with a fixed stop that sticks up about 1⁄4 in. to 1⁄2 in. The board works in conjunction with a simple cutting guide that matches the width of your desired banding. Both the cutting guide and straightedge need 60- to 120-grit sandpaper stuck to the bottom to stop them from slipping. You’ll also need veneer tape. I recommend “water gum” tape from schurchwoodwork.com.
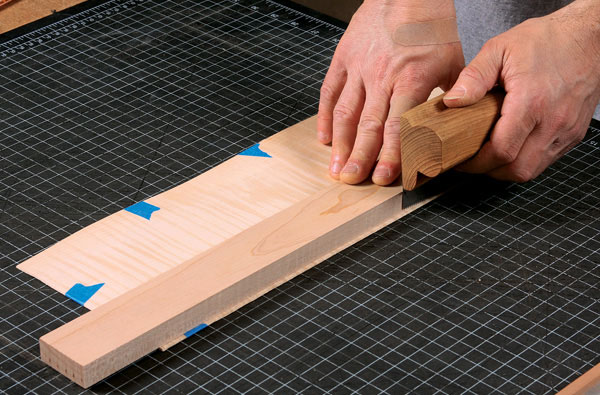
Let’s start by making 1⁄2-in.-wide straight banding of curly sycamore. Cutting any curly veneer along the grain creates interesting stripes across the width. We’ll need a 1⁄2-in.-wide cutting guide.
For bandings, I stack (and tape) two pieces of veneer and cut them at the same time for greater efficiency. But I don’t try to cut bandings any longer than 24 in.; it is hard to cut them straight. If I need longer pieces, I join them with a simple scarf cut that hides the seam.
Adding the stringing and banding is easy
After you have cut and assembled the veneer for the center of the tabletop, usually some sort of bookmatch, be sure all edges are straight, square, and clean.
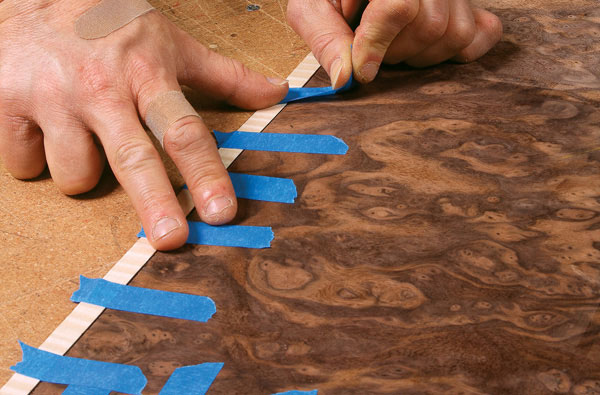
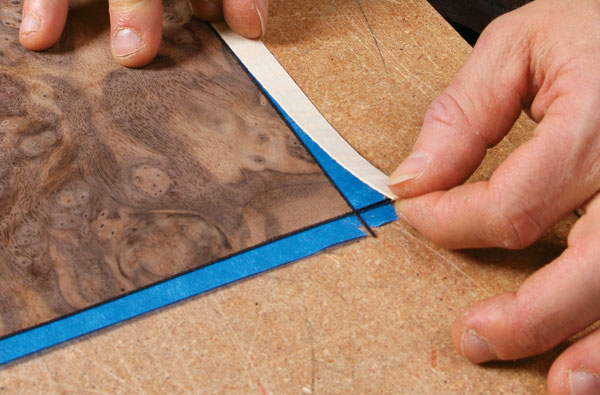
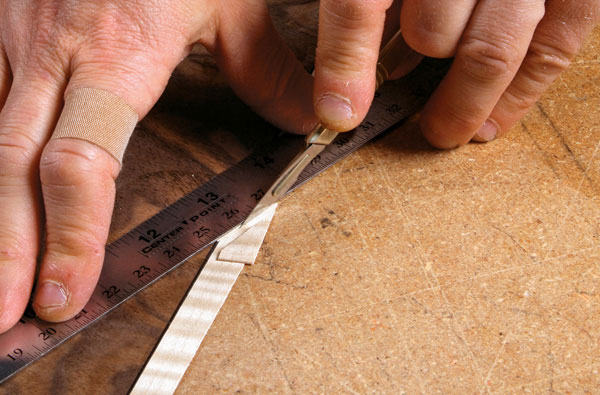
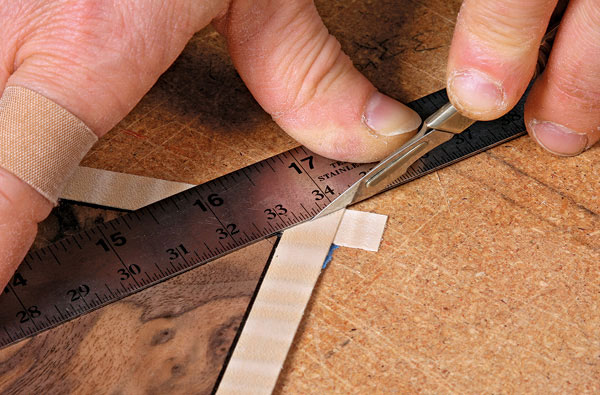
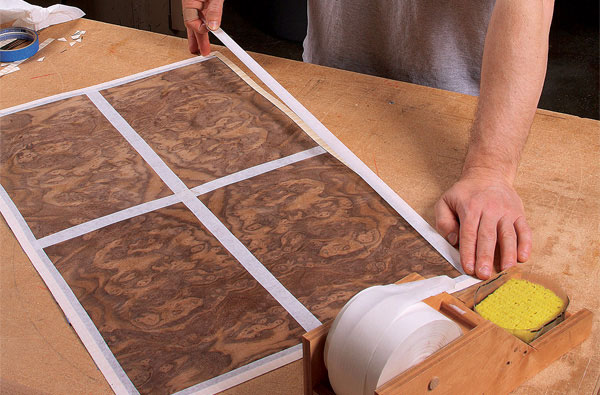
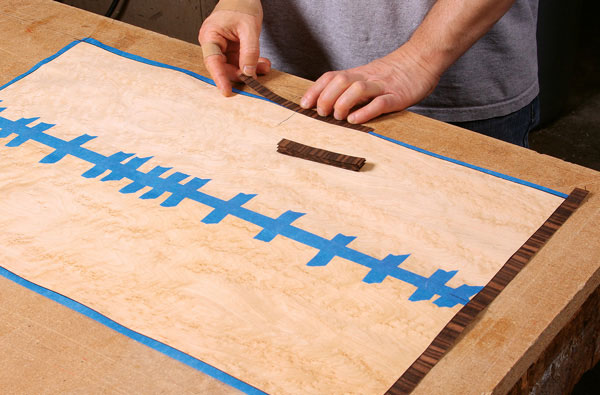
The inner line of stringing and the shopmade banding go on now, simply stuck down on tape, overlapped at the corners, and mitered with a single cut. For this first line, I tend to use commercial stringing (from originalmarquetry.co.uk). It comes in many widths and colors, and is relatively inexpensive. In this case it is roughly 1⁄16 in. wide (sold as 1.5 mm), and the same thickness as the commercial veneers I use. The best colors for these thin outlines are black and white. The black is usually dyed, not true ebony. For pure white, holly is best, though maple makes a great off-white stand-in.
Last piece goes in after glue-up
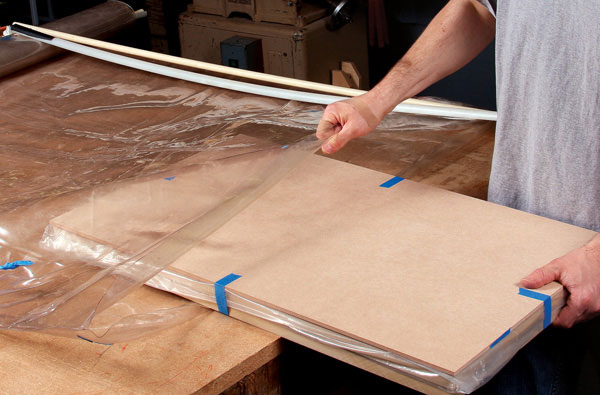
I use a vacuum press for my veneering, which is wonderfully effective and convenient. The sandwich includes evacuation mesh on top, MDF cauls top and bottom, thin plastic sheeting to keep glue off the cauls, the front and back veneers, and of course, the MDF substrate. Yellow glue works fine.
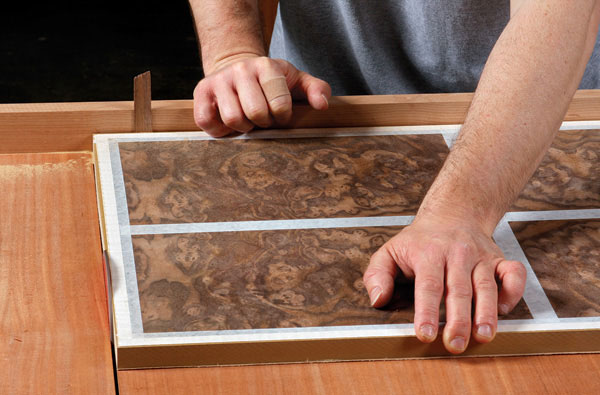
When the panel is out of the bag, trim the edges right to the edges of the border, and add the wood edging. Now the final piece of stringing goes in, covering the glueline and any gaps.
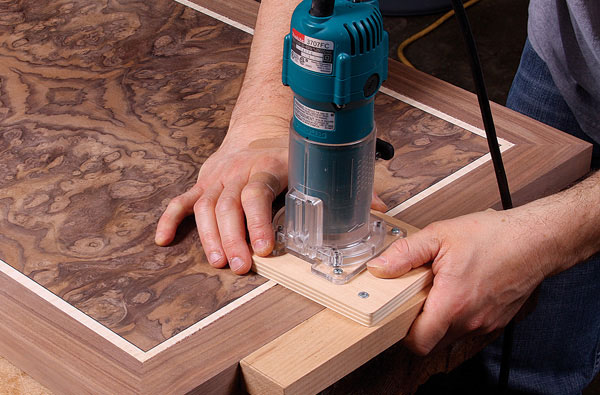
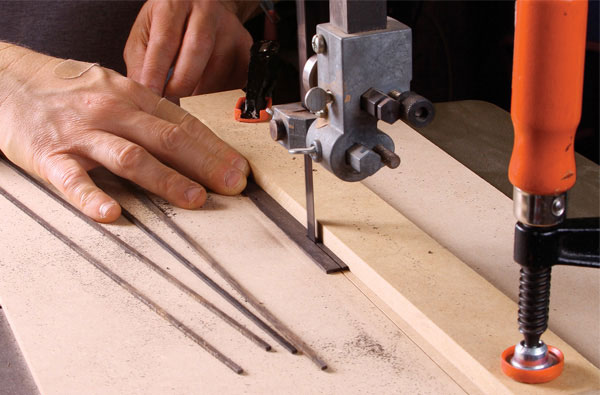
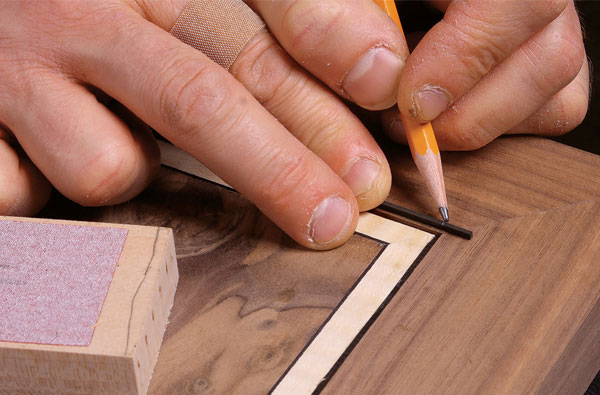
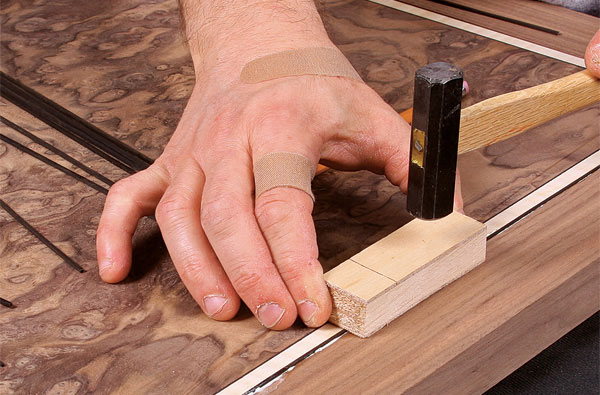
You can use more commercial stringing here, but installation is much easier if the stringing is a bit thicker and easier to handle. I cut these strips from a solid piece of Gabon ebony, making them a fat 1⁄16 in. wide by about 1⁄8 in. tall. Now that I have a drum sander, I just bandsaw my shopmade stringing and sand it to size. But before I had one, I did it as shown in the photos. After routing the tiny 1⁄16-in.-wide groove and installing the stringing (I use bit No. 5152, stewmac.com), wait 24 hours for the glue to dry, and then sand the entire tabletop smooth. Apply a finish and watch the full beauty emerge.
Cutting bandings
|
Inlay: Make it or buy it |
Adding the stringing and banding is easy
After you have cut and assembled the veneer for the center of the tabletop, usually some sort of bookmatch, be sure all edges are straight, square, and clean.
The inner line of stringing and the shopmade banding go on now, simply stuck down on tape, overlapped at the corners, and mitered with a single cut. For this first line, I tend to use commercial stringing (from originalmarquetry.co.uk). It comes in many widths and colors, and is relatively inexpensive. In this case it is roughly 1⁄16 in. wide (sold as 1.5 mm), and the same thickness as the commercial veneers I use. The best colors for these thin outlines are black and white. The black is usually dyed, not true ebony. For pure white, holly is best, though maple makes a great off-white stand-in.
Installation is easy
 |
|
Tape across the joints. Pull blue tape across the miter joints, and across the all the edges. Stretch and pull the tape as you apply it. |
 |
|
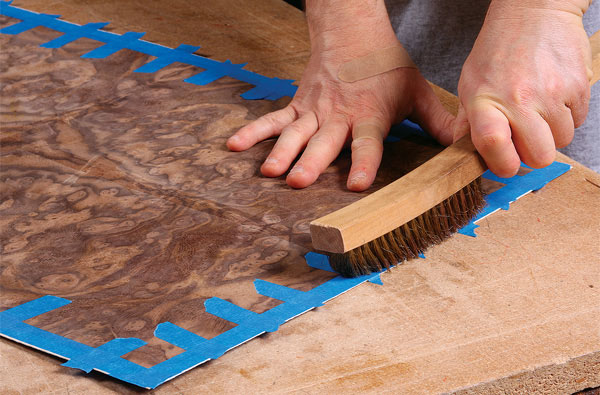
Always burnish. After running long pieces down the joints, burnish down all the tape with a brass-bristled brush for a strong bond. |
Last piece goes in after glue-up
I use a vacuum press for my veneering, which is wonderfully effective and convenient. The sandwich includes evacuation mesh on top, MDF cauls top and bottom, thin plastic sheeting to keep glue off the cauls, the front and back veneers, and of course, the MDF substrate. Yellow glue works fine.
When the panel is out of the bag, trim the edges right to the edges of the border, and add the wood edging. Now the final piece of stringing goes in, covering the glueline and any gaps.
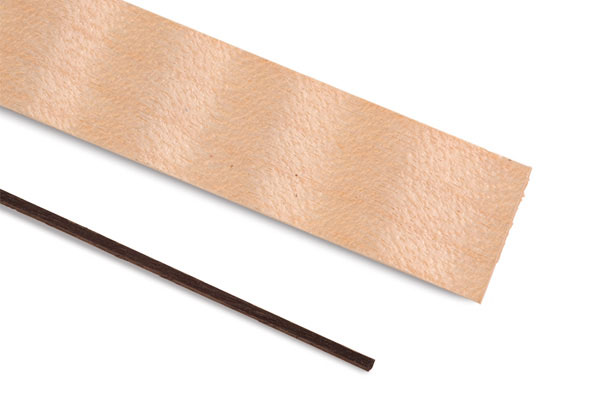
You can use more commercial stringing here, but installation is much easier if the stringing is a bit thicker and easier to handle. I cut these strips from a solid piece of Gabon ebony, making them a fat 1⁄16 in. wide by about 1⁄8 in. tall. Now that I have a drum sander, I just bandsaw my shopmade stringing and sand it to size. But before I had one, I did it as shown in the photos. After routing the tiny 1⁄16-in.-wide groove and installing the stringing (I use bit No. 5152, stewmac.com), wait 24 hours for the glue to dry, and then sand the entire tabletop smooth. Apply a finish and watch the full beauty emerge.
Sheet becomes a panel
Different deal for the last piece of stringing
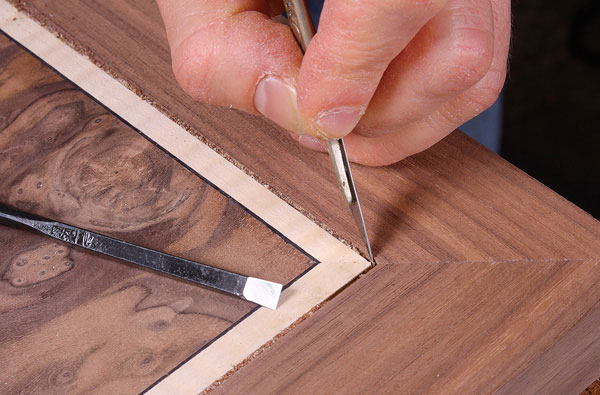
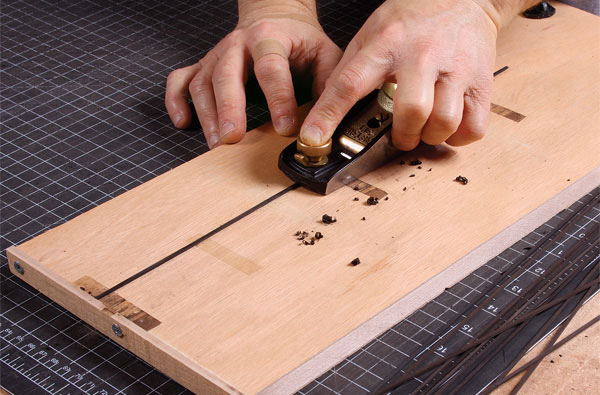
It is next to impossible to install the last piece of stringing beforehand and then trim the panel precisely flush to it, so Thibodeau installs it after attaching the solid-wood edging to the tabletop, routing a groove right over the glue joint.
 |
|
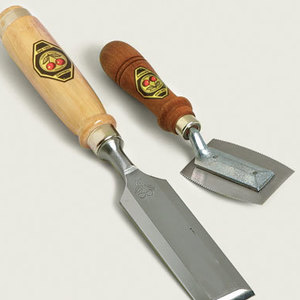
Square the corners by hand. Be careful not to rout too far, then finish up the corners with a narrow chisel and scalpel. |
 |
|
Need to fine-tune it? Make a little planing jig like this one, with a low stop, and add pieces of double-stick tape to keep the stringing from bowing as you plane it. |
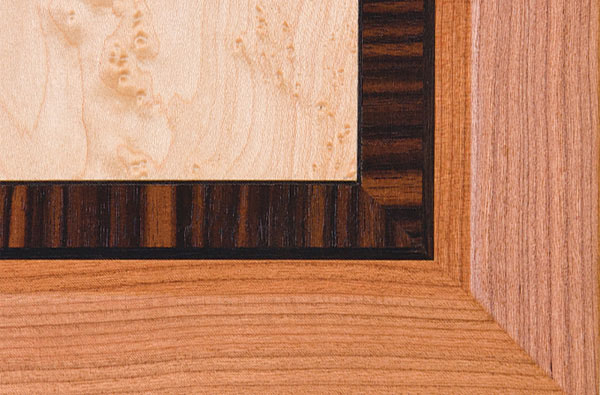
Crossbanding isn’t much harder
 |
|
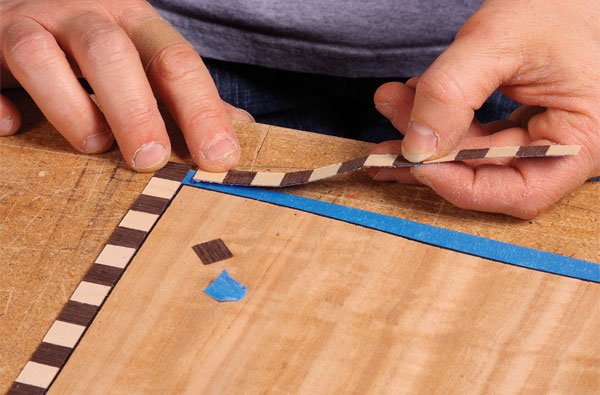
Thibodeau likes Macassar ebony for crossbanding, as its striped pattern is eye-catching and hides the seams between the short pieces. |
 |
|
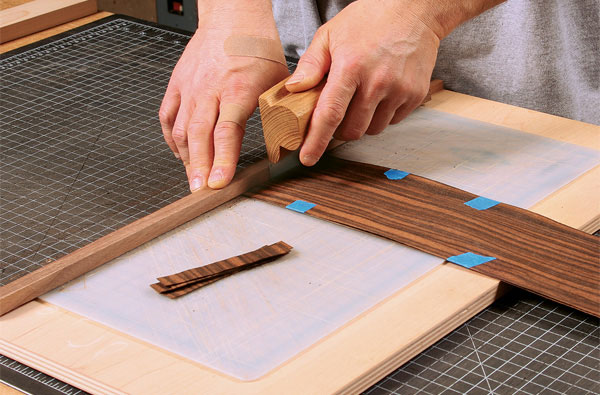
Back to the cutting board. Starting at the square end, cut as many strips as you need. As before, make a series of light passes for each cut, with a short reverse cut before each pass. |
Checkered banding catches the eye
 |
|
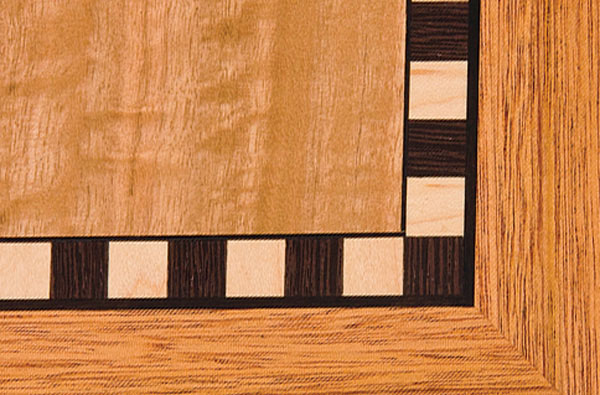
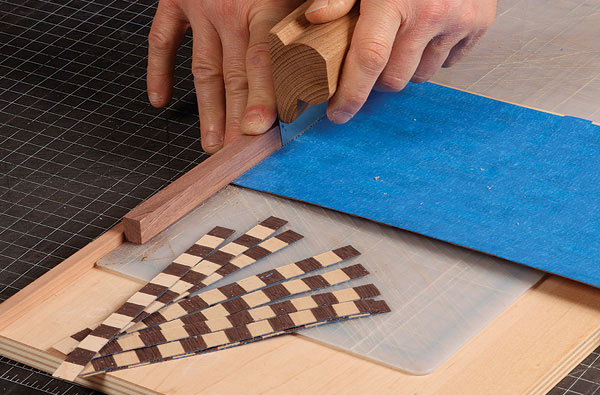
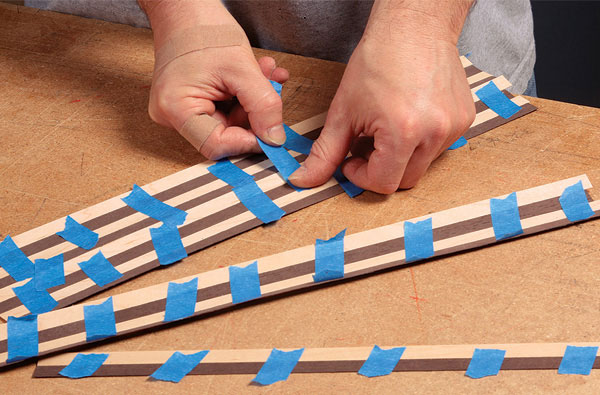
Any very dark and light colors work well for this type of banding, in this case maple and wenge. |
 |
|
Crosscut your bandings. After squaring one end of the sheet, use the banding jig again. Cut tape-side-up, and make more than enough strips for the job. |
Fine Woodworking Recommended Products
Whiteside 9500 Solid Brass Router Inlay Router Bit Set

Bahco 6-Inch Card Scraper







Log in or create an account to post a comment.
Sign up Log in