Sanding Jig is the Segmented Turner’s Secret Weapon
Learn how to build a sanding jig for perfect segments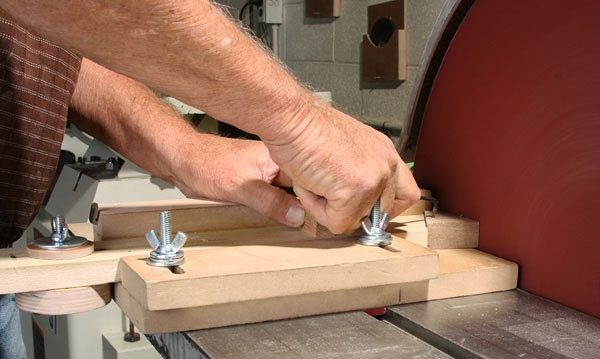
To make segmented vessels that look great (and won’t come apart on the lathe!), you need to be able to make perfect segments. That means the perfect length and the perfect angle. Errors quickly get compounded when you assemble a full ring of, say, 12 segments. As I showed in my article, The Secrets of Segmented Turning (FWW #228), you can overcome small errors by making half-rings, and then sanding their edges flat before joining them, but you don’t want to push it too far. With smaller segments, big adjustments will show up.
In the article, I offered a great tablesaw jig for crosscutting your segments. But if my blade isn’t cutting well, or if I am using a lighter wood that shows glue joints more obviously, or I’m making a ring of many tiny segments, I move next to another very helpful fixture: an angle jig for the disk sander. It creates the most precise segments of all, and is pretty darn ingenious. I learned it from the other guys at my community shop and then made one for myself.
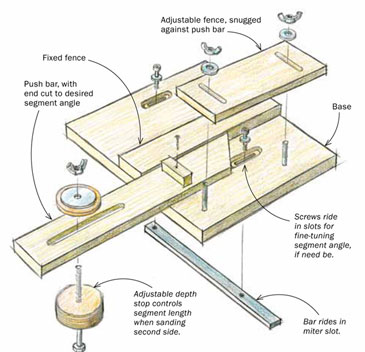
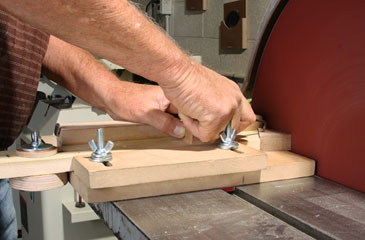
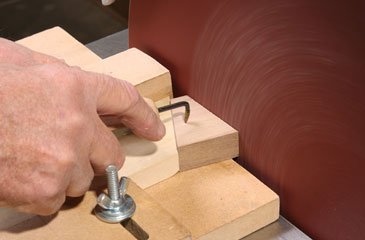
The jig controls the angle of the segment perfectly and, with its stop on the underside of the push bar, controls the length perfectly too. The base rides in the machine’s miter slot. Two fences, one fixed and one adjustable, create a track that will accommodate various push bars with precise anges at their tip. For the bowl in the article, I used a push bar cut to the full 30-degree segment angle for a 12-sided ring.
Anatomy of the Jig
 |
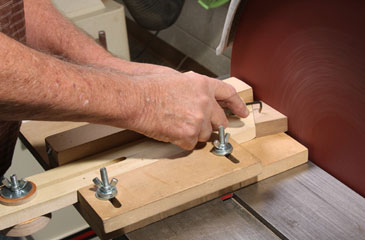
Here’s how to use the jig:
 |
|
Sand one edge clean. Don’t worry if it is against the fence at this point. |
Fine Woodworking Recommended Products
CrushGrind Pepper Mill Mechanism








Log in or create an account to post a comment.
Sign up Log in