Secrets of Segmented Turning
Clever tips and jigs unlock these puzzles in the round
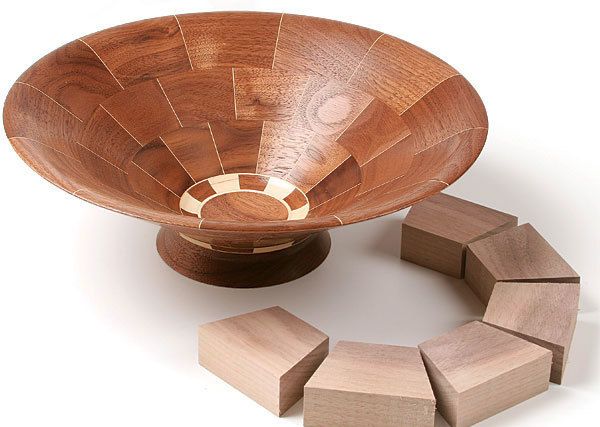
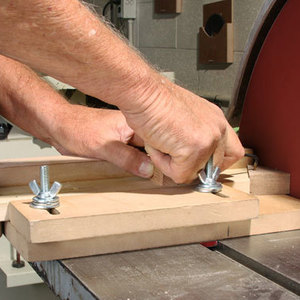
Synopsis: Give segmented turning a try, and you may quickly become an addict like Art Breese and his woodshop friends. It’s fun, you get a beautiful end project, and you don’t need a big lathe or special accessories. Here, Breese gives the basics on sizing the segments and cutting them using easy-to-make jigs, using rub joints to glue up the segments into rings and ensure they are dead-flat, gluing the rings together into a blank, and turning the blank for a beautiful end result. You may not achieve perfection on the first bowl, but as Breese says, the quest for perfection is half the fun.
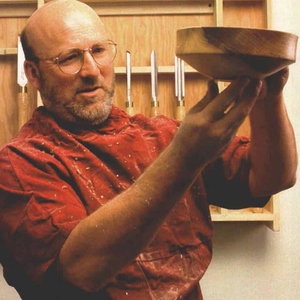
It was golf that drew me to Sun city West, a huge active-retirement community outside phoenix. but there are only so many rounds a guy can play, and I soon wandered into the woodworking club there. An amazing sight awaited me: 7,000 square feet of first-class equipment and bench space, and dozens of people working away happily.
After doing a few projects on my own, I noticed a couple of people making segmented bowls, having fun and sharing knowledge. They were extremely helpful in getting me started.
I quickly became an addict. When you make segmented turnings you are never in full control. You can sketch out a perfect plan for the segments, angles, and glue-ups, but you don’t know exactly what you are going to see until the last surface is sculpted. In our shop, we think of a first attempt at any design as a prototype, knowing we can improve on it the next time. That’s the fun: striving for perfection, never quite achieving it, but always showing improvement.
And you don’t need a big lathe or special accessories to do it. A combination disk/belt sander is very helpful, though.
Start with a precise plan
Obviously, an almost infinite array of glue-ups can produce an infinite variety of patterns. but there are two main types of assemblies, rings and staves, often combined in more complex vessels. I’ll stick with the ring method here. It is the most basic approach, yet very versatile.
The first step is to decide on the patterns you want in the finished turning. You can base your design on photos of other people’s work, or on your own brainstorming and sketches. Then you need to make a scale drawing to sort out the rings and segments needed. The segment angles are pretty standard. You just divide the number of segments into 360. However, to get the length and width of the segment blocks, you need an accurate cutaway side view of the bowl (see above). That will show you the width and thickness of each segment, but you still need the segment lengths. The simplest way to determine that is to take the circumference of each ring (π times its diameter) and divide by the number of segments. That will get you close enough, but the two methods at right are a bit more precise.
From Fine Woodworking #228
For the full article, download the PDF below:


Log in or create an account to post a comment.
Sign up Log in