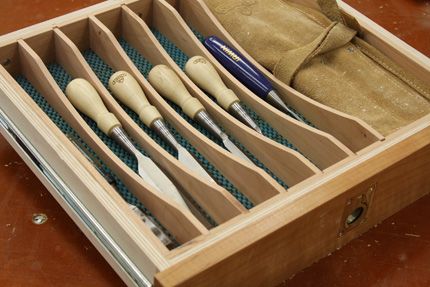
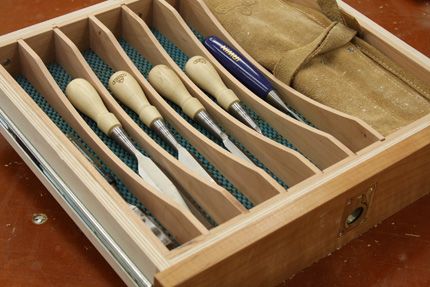
A custom drawer for my chisels keeps my bench neat and organized.
With my new workbench built, and a couple of coats of boiled linseed oil applied to the maple, I’ve decided to turn my attention to outfitting its built-in drawers. Chisel storage was my first order of business. Using some of the cherry scraps left over from my false fronts, I figured I’d provide some simple, classy storage for my humble selection.
Dadoes Hold the Dividers
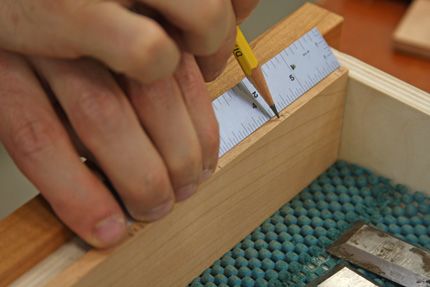
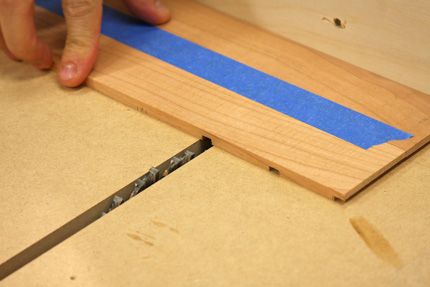
I began by cutting up a piece of rubber drawer liner to fit the drawer bottom and then went on to mill some 1/4-in. stock. I cut two pieces to fit against the drawer front and back, and proceeded to layout the positions of dadoes that would house the dividers that separate all my chisels. I also marked out for a rabbet on each end of these two components. Don’t bother marking out for dadoes on both pieces, one will suffice. You can tape the two pieces together and run them over a box joint blade set on a crosscut sled. This will allow you to cut two dadoes in one pass.
Screws Allow for Changes
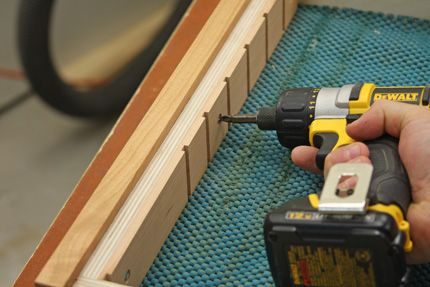
With the dadoes cut, I pre drilled some countersunk screw holes and mounted the two cherry pieces to my drawer front and back. Why screws? Well, glue certainly won’t allow for seasonal wood movement and besides, drawer layouts like this are likely to change over time, and screws make it easy to disassemble and re-work the drawer layout if the need arises. I suppose you could just opt out of screwing these pieces into place, but by fastening them in, I was able to clamp down the rubber drawer liner beneath the dividers. Before attaching the opposite cherry workpiece, I was then able to pull the rubber taut and screw everything into place. Finally, I measured, cut, and fit the remaining two pieces that line the drawer’s interior. These pieces fit into the rabbets cut on each end of the front and back components that have the dadoes cut into them.
Curved Dividers are Key
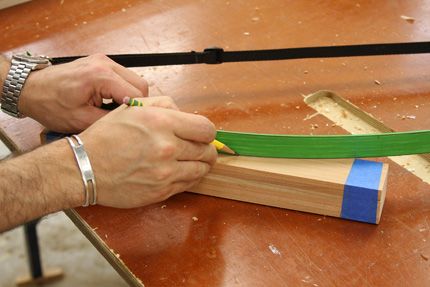
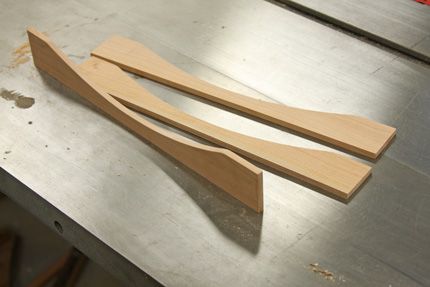
Next, I stacked my chisel dividers and taped them all together before using an asymmetric bow to layout a pleasing curve on all the workpieces. This curve is key. If you leave the dividers full height, you’ll have a heck of a time reaching your fingers in between the dividers to access your chisels.
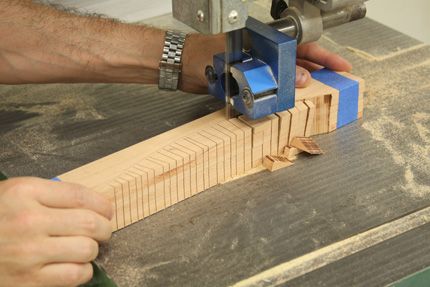
After the curve was laid out, it was just a matter of making some relief cuts, and then cutting the waste away at the bandsaw. A bit of work at the spindle sander took care of the machine marks, and a follow-up with some finer grits smoothed everything over nicely.
When it comes to fitting the dividers into place, you may find they’re just a bit tight. A bit of light sanding at the ends of each divider should allow the dividers to slide into place nicely.



Comments
Yet another "why did'nt i think of that"
moments. ;^) Great idea Ed, many thanks
for sharing.
I was "taught" early on that when something is pulled into tension, it becomes "taut" ...... MiracleMike
Very nice, Ed! Making the drawing flexible for future growth is a great idea.
Nice work!
You need to know though, that the disparity in wood movement between the parts you screwed in and the drawer box is not an issue since the wood grain is in the same direction. It would have made more sense if all you had said was that you used screws instead of glue so you could remove the dividers later, and left out the wood movement part of your story.
Also, what is the purpose of all those bandsaw crosscuts? Why not just make the curved cut and move on?
This is a really nice looking project and it looks like it turned out really well, but you may be over-thinking some things a bit.
Hal Johnston
RiverCity Woodworks
http://www.rivercitywoodworks.net
Log in or create an account to post a comment.
Sign up Log in