7. Fuming and Tabletop Flattening
Plus, access more than 500 video workshop episodes when you become a member
Videos in the Series
-
Introduction: Hayrake TableAugust 7, 2012
-
1. Legs: Tearout Free Through-MortisesAugust 7, 2012
-
2. Start the HayrakeAugust 7, 2012
-
3. Curved End Cap for the HayrakeAugust 7, 2012
-
4. Clamp-Free Glue-UpAugust 7, 2012
-
5. Base Glue UpAugust 7, 2012
-
6. Flatten Wide Boards on a Small JointerAugust 7, 2012
-
7. Fuming and Tabletop FlatteningAugust 7, 2012
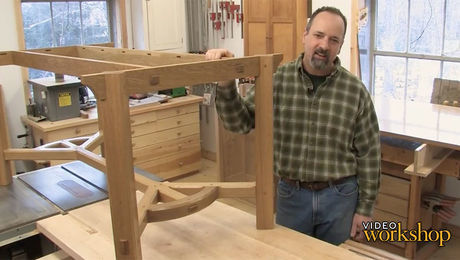




Comments
Good work and nice presentation!
thnx
Love your work. I always enjoy the presentation and clarity of your instruction. Thank you for sharing your knowledge of woodworking and I look forward to taking a class of yours in the future.
Great job! I made a hay rake table a year ago from light European oak but my fussy client (my daughter) insisted that it should be extendable and have six matching chairs! I wish I had seen this video before I started but I think the project was a success, anyway. I preferred my hay rake to have a straight, rather than curved cross member.
Michael, what a wonderful piece. My wife and I love it. I ditto comments from the others. You are a great instructor with great projects. Looking forward to your next one. Thanks
Randy
This table will be my next, and largest, furniture project to date. This video series was really helpful and gave me some great tips, especially on the sequence of the build elements. Thanks Mike for the guidance and clarity.
Mike, Thank you for this clear, step-by-step video. I would not be able to do this project just from a set of plans. The quality of the video along with your tips and explanations are amazing. For example, using a gouge with a shallow sweep to extend the chamfers is something I never would have thought of myself. Now, I’m heading out to select the stock and try not to go into cardiac arrest when I pay for it.
Log in or become a member to post a comment.
Sign up Log in