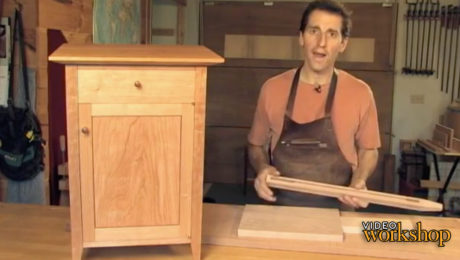
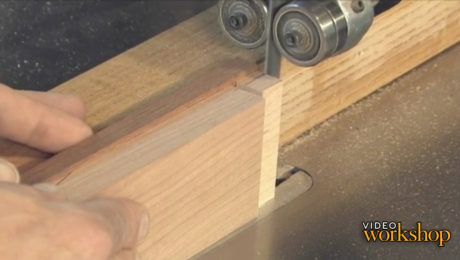
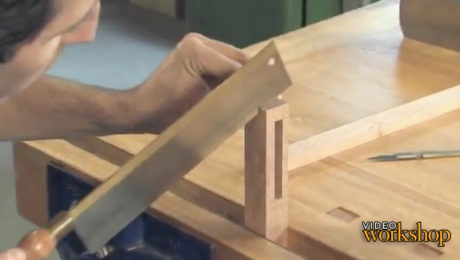
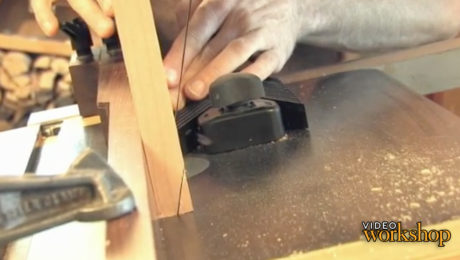
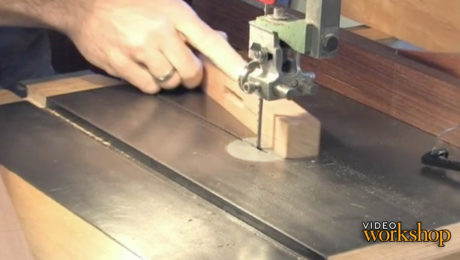
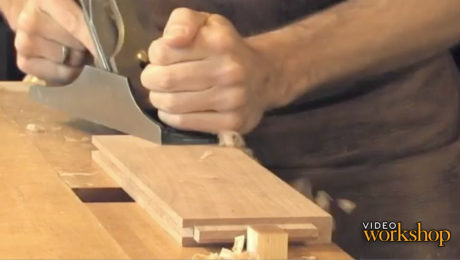
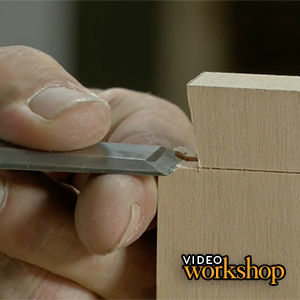
A Smart Technique for Tenons
Videos in the Series
-
Build a Small Cabinet: IntroductionAugust 7, 2012
-
Build a FrameAugust 7, 2012
-
A Smart Technique for TenonsAugust 7, 2012
-
The BladesAugust 7, 2012
-
Runners and KickersAugust 7, 2012
-
The PanelsAugust 7, 2012
-
Smooth Surface for a FinishAugust 7, 2012
-
The Moment of Truth: The Glue UpAugust 7, 2012
-
Make a Flat, Sturdy DoorAugust 7, 2012
-
The Ultimate Knife-Hinge LessonAugust 7, 2012
-
Piston-Fit DrawerAugust 7, 2012
-
The Drawer, ContinuedAugust 7, 2012
-
Finishing TouchesAugust 7, 2012





Comments
I like the way you made those tenons Tim. I’ll try that method.
I would have thought the top part of the tenon should have been launched, also the material left at the top of the mortise looks very thin making it susceptible to braking out, also, according to David Charlesworth, if you need a hammer to dry fit your mortise and tenon joints, you will need a sledgehammer to fit it when it has glue.
Haunched not launched 😀
Good advice to allow for the solid wood panel expansion and contraction especially at the peak of summer's humidity Vs the low in the winter a very common weekend woodworkers/cabinet makers error.
Nice video and great idea.
Can you tell me what type of miter gauge you have on your table saw? I looks pretty stout.
I have used Tim's shim method on a LOT of tenons. Once you get the shim right, it'll be your faithful friend for years to come. Thanks, Tim great idea and excellent demo.
Excellent presentation especially for new wood workers like myself,
I just don't see the point of using the shim to cut dead-on tenons on the bandsaw. If your tenon is to be centered in the mortise you should be able to cut the outside cheek as you have, and then just flip the piece (180 degrees) and cut the other. If your bandsaw is set up carefully for these cuts no shim is necessary. I cut 60 tenons for the rails of 15 frame and panel doors in this manner. All fit their respective mortises neatly and flushed out with the faces of the intersecting stiles.
Response to cmascolo: I agree that if the fence is set up perfectly, once you make the first shoulder cut it’s just a matter of turning the rail over and making the same cut to form the other shoulder. However, if the fence setting is off the error will be compounded by a factor of 2, so a 1/64” error becomes 1/32”. I believe the advantage of using a shim is that it keeps the tenon exactly at the design width to fit the length of the mortise. If you have an error of 1/64” in the fence setting, the tenon is still the correct width. Also, if the design calls for non-centered tenons, you don’t have to cut one shoulder, then adjust the fence (again, fraught with error) to cut the other. You just pop in the correct shim that results in the tenon size you want. Be aware that your set of shims is matched with a particular bandsaw kerf because the shim thickness is the tenon width plus the kerf. But once you’ve made your hardwood shims, properly labelled, you are set for cutting perfect tenons straight off the saw as long as you use that same blade. The wish list would be having a second band saw dedicated to cutting tenons so that your tenoning blade never had to be re-installed.
Log in or create an account to post a comment.
Sign up Log in