Hawaiian Steel Guitar Project-Part 3
 Aug 07, 2012
After the top and back are fit to the sides, they are trimmed with a chisel to overhang the sides by about 1/8 of an inch.
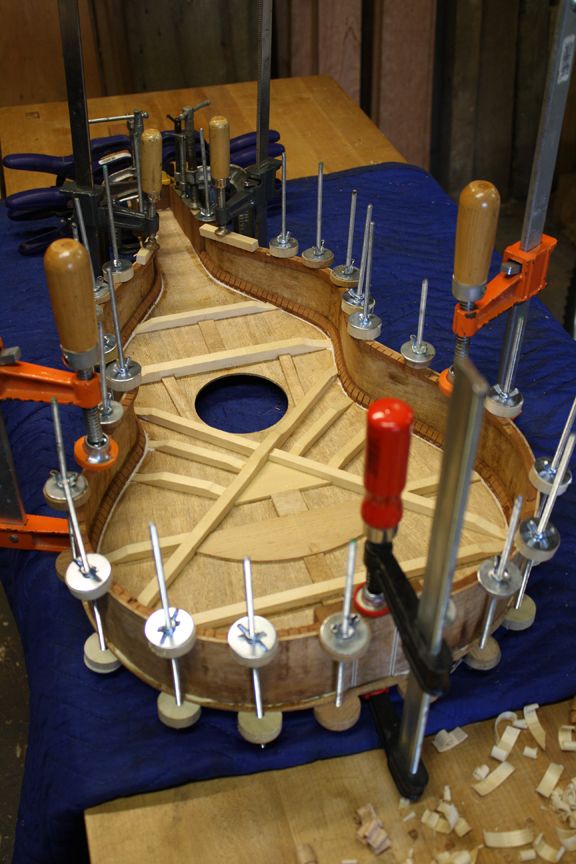
In Part 2 the guitar back was fit to the sides. In Part 3, the sound box is now together, and from a few taps on the top and speaking into the soundhole – it seems like this guitar is going to be loud. To help make the glue-up easier, I made a bunch of “spool” clamps. Simply cut sections of 3/16″ in. threaded rod about 6 inches long and add a 1/2 thick slice off a 1 1/2 in diameter dowel to each end. A washer and wing nut at each end allow clamping pressure from both sides.
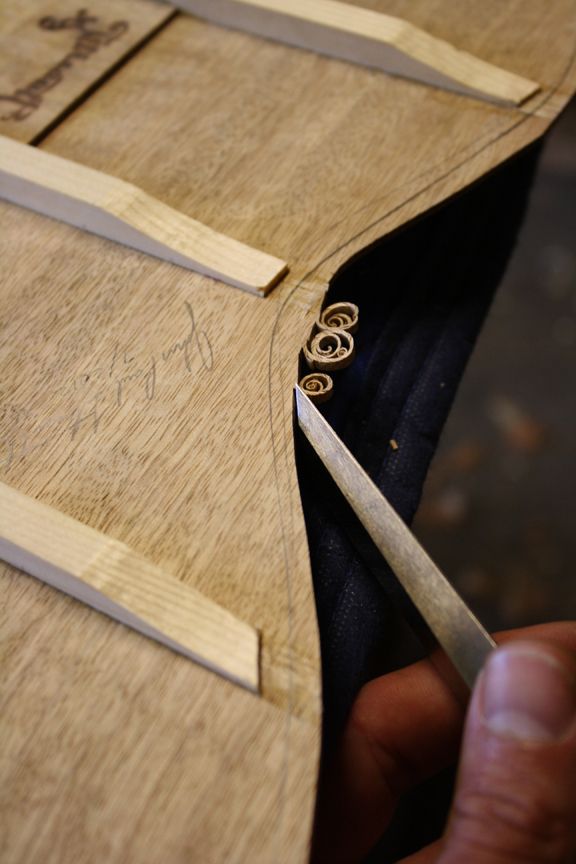
The rope binding was a little tricky (I had to go back and re-do one section at the waist) but I think the extra time was worth it to add a little traditional detail. The rope binding is bent on a hot pipe and then glued to a small rabbet around the top and back edges. I used a rabbeting bit with a bearing to rout the top and back. I added blue tape to the bearing until I got the correct rabbet depth – leaving just the outer black strip proud of the sides, to be later removed exposing the “rope”.
-
After the top and back are fit to the sides, they are trimmed with a chisel to overhang the sides by about 1/8 of an inch.
-
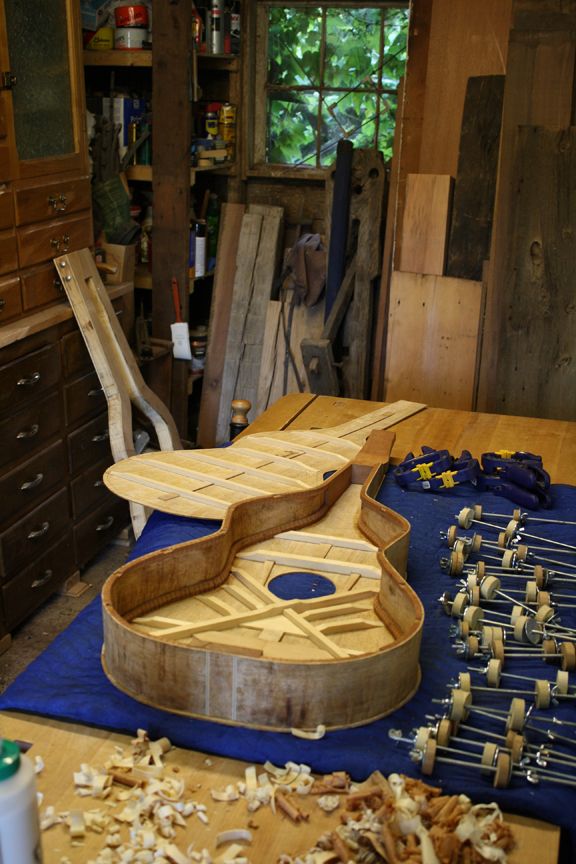
The top is glued on first. In this photo you can see the mortises in the kerfed lining of the sides, where the back braces lock in.
-
The top is attached and ready for the back to be glued on.
-
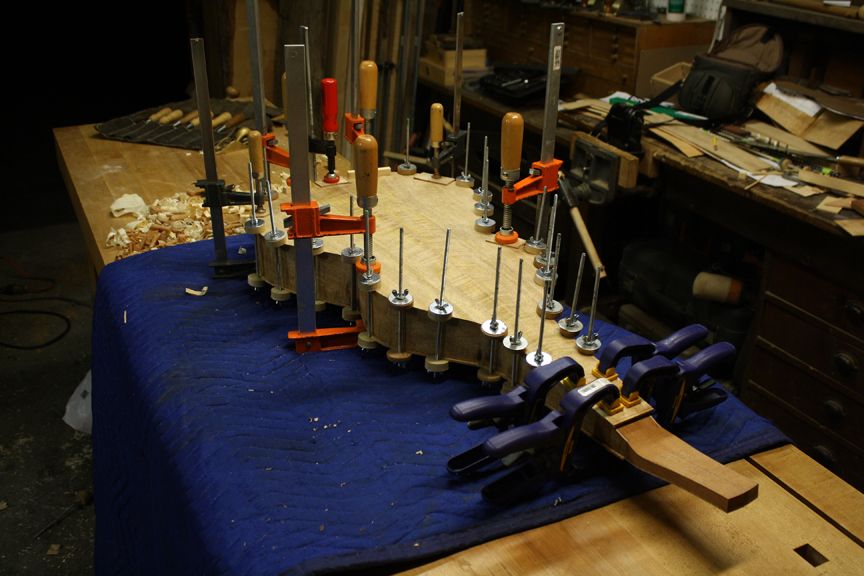
The back glue-up.
-
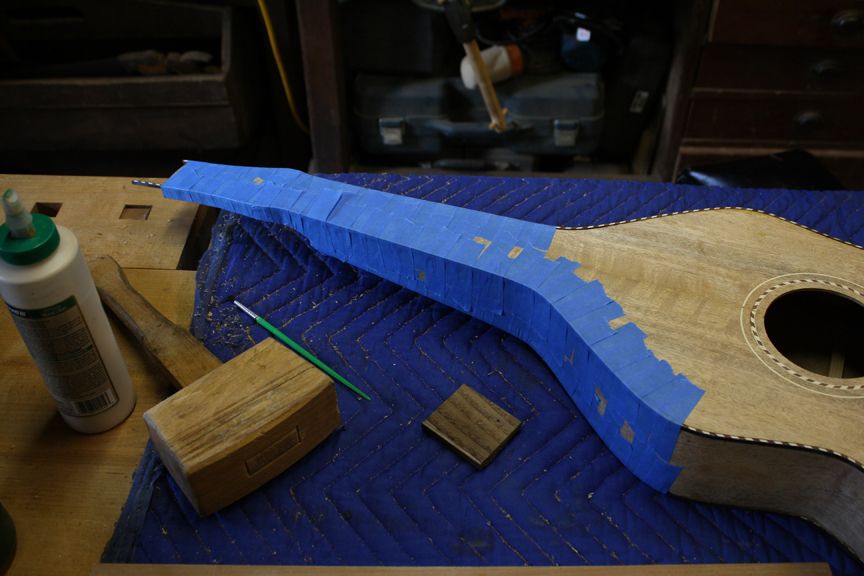
Adding the rope binding. It's glued in place and held by blue tape.
-
The last part of the binding was the very top of the headstock.
-
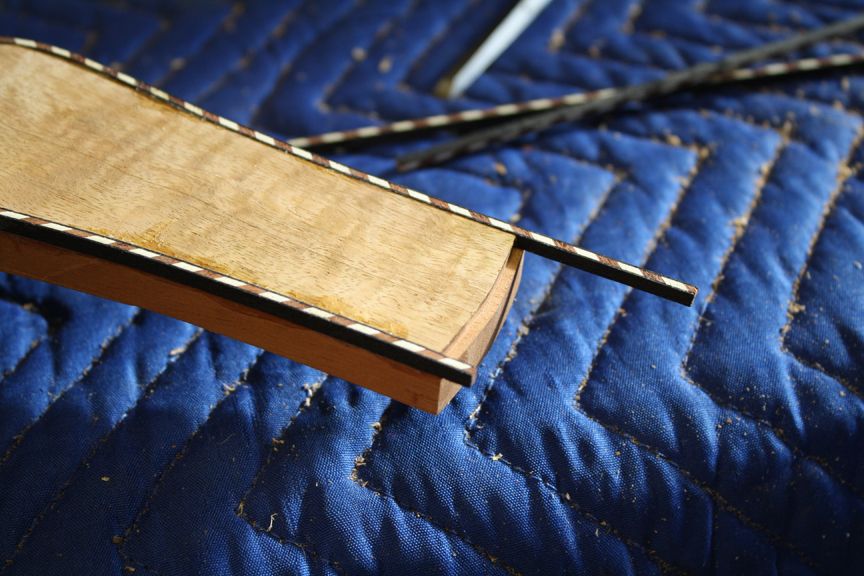
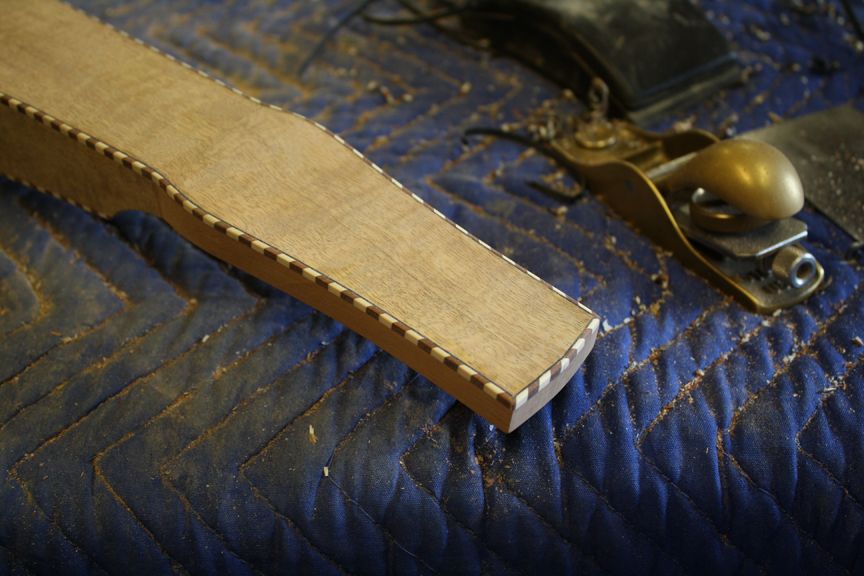
At the back of the neck, the binding stops at the transition between the back and the solid headstock.
-
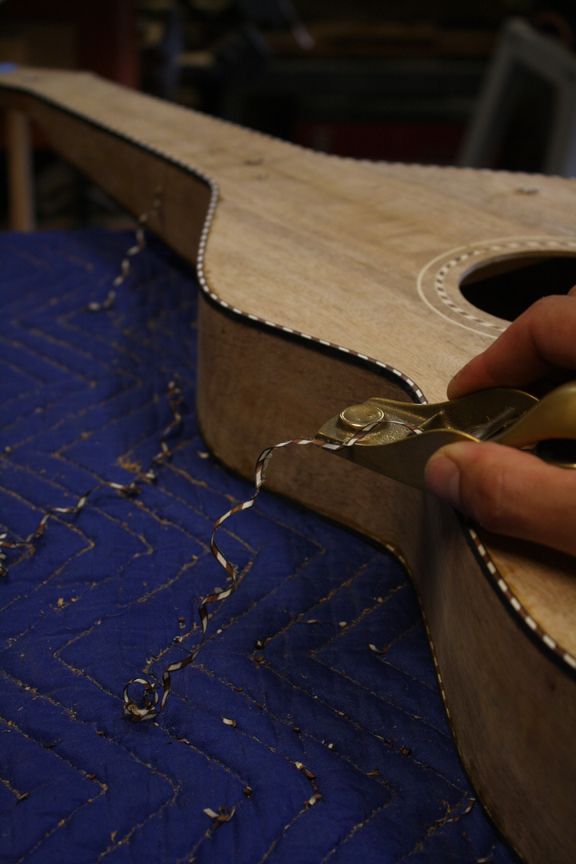
A small block plane is the perfect tool for planing the binding flush with the top.
-
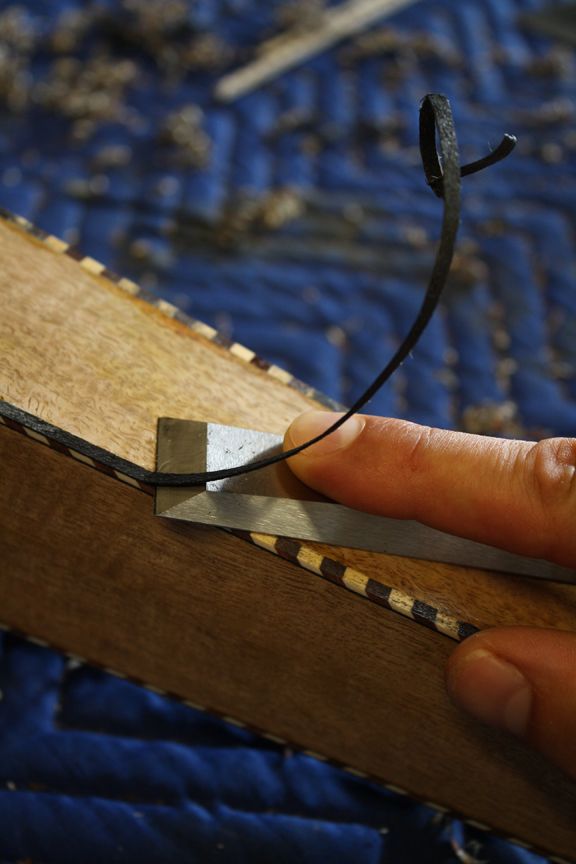
Trim the outer black edge off to reveal the rope from the side. Then use a chisel and scraper to get the bindings flush with the top and back.
-
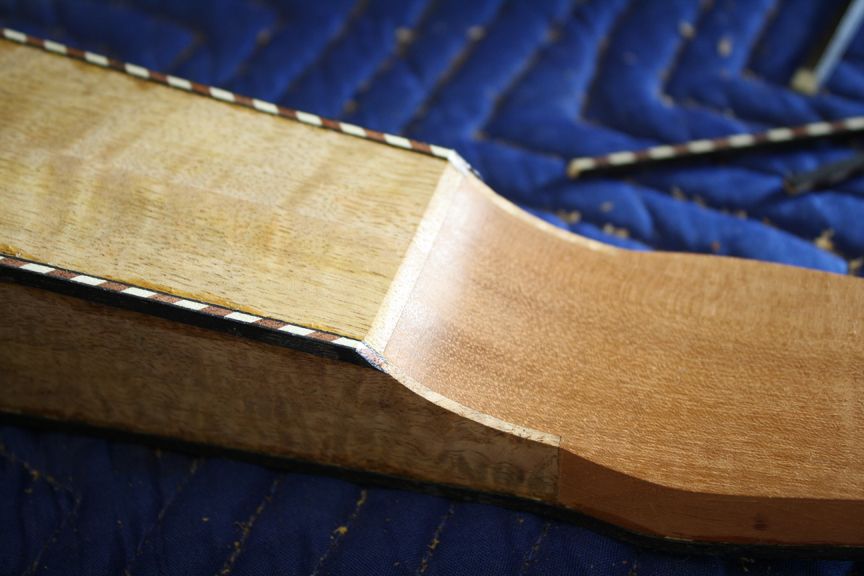
Here's a detail of the headstock with the binding meeting at the top.
-
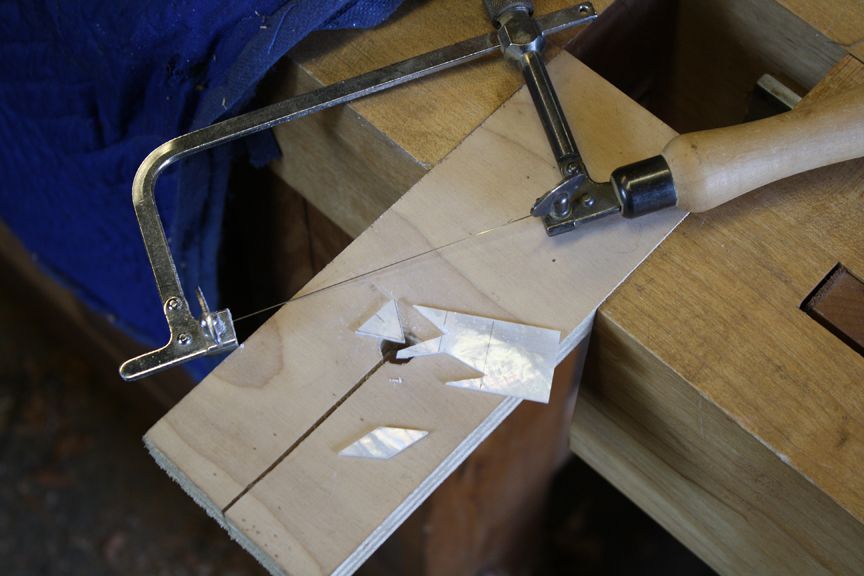
With the binding complete, I started cutting the pearl inlay for the fretboard.
-
Here's a photo of the pearl inlay ready to be epoxied in place. Next, I'll add the pearl dot inlays to the fret board, and then be ready to apply the finish!


Log in or create an account to post a comment.
Sign up Log in