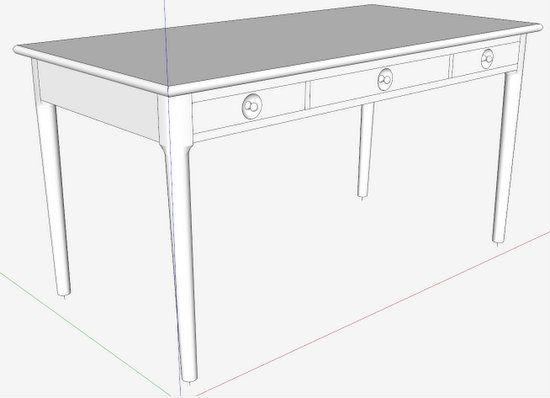
Recently a reader on Knots Forum asked how to create and edit tenon pins on a mortise and tenon joint. Specifically, the reader wanted to know how to change the size of the tenon peg after already placing a larger hole size in SketchUp. So I’ve created a video below and on YouTube that shows my procedure for doing this SketchUp construction.
As an example, I’ve used a modern Danish style desk that I’m building now. I don’t think the original piece had tenon pegs, but I am likely to add them. I will be using Ebony pegs. The main material for the desk is Modesto Ash, so there will be a great contrast in color. I square the tenon pegs and whittle a point, then drive them into the round peg holes.
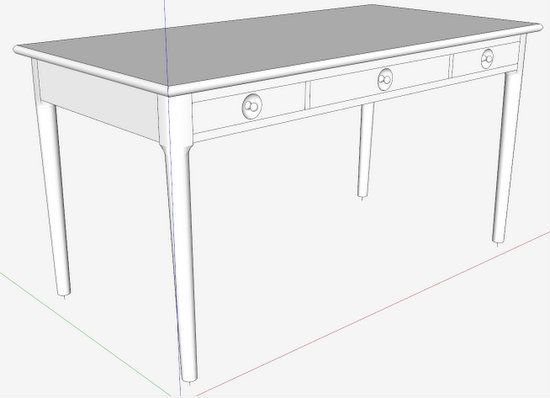
The overall desk assembly without tenon pegs is shown below.
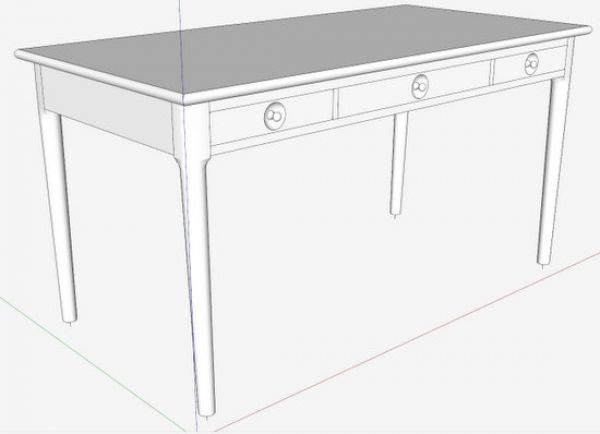
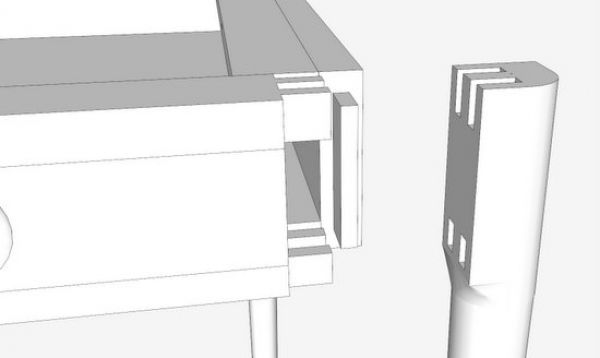
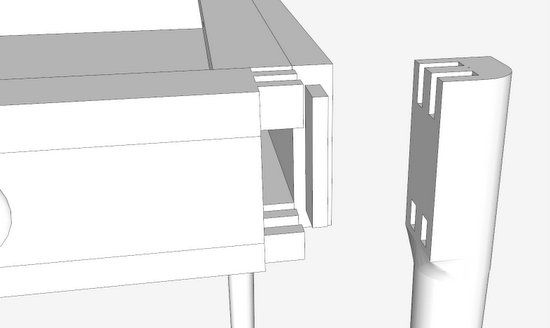
Here is the leg joinery also without tenon pegs.
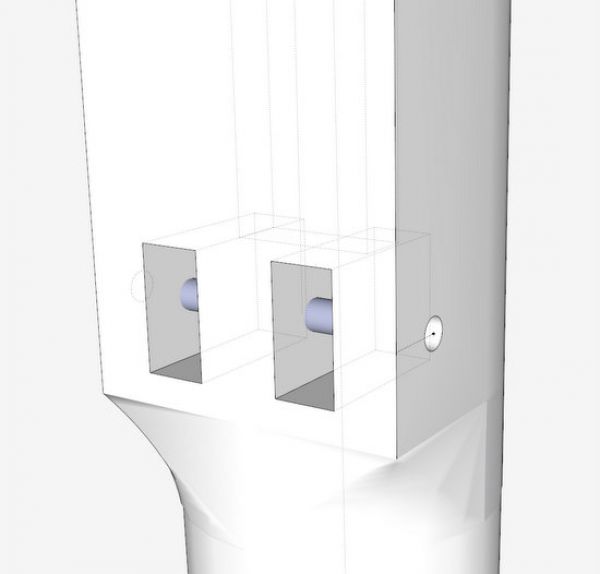
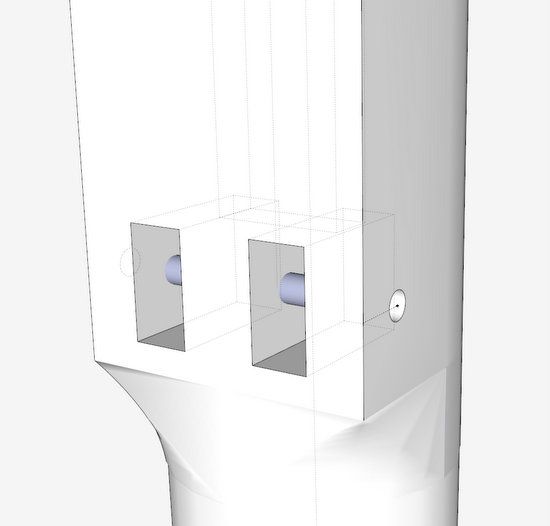
A close-up view of adding the tenon peg hole.


Comments
Thanks for an excellent SketchUp woodworking video. I am an advanced SU modeler and learned about showing the center point of a circle, which I didn't know previously. Please continue making SU videos.
Here's a tip for you. (I don't get any finder's fee for saying this. I am just a happy user.) Check out the SpaceNavigator mouse at 3DConnexion.com. I could not help but notice the conventional way you moved around the model. This 3D mouse lets you fly around the model (with ease) like a humming bird. A fantastic tool for avid modelers, at about $100 (last I heard.) You can find a great review on it at
http://www.srww.com/blog/?p=1181
If you have any trouble getting the Point at Center option to show up in the menu, do the following:
Cliick on Window in the Menu Bar and choose Preferences. On the Mac, click on SketchUp and Prefer-ences. In the System Preferences dialog box, click on Extensions. Make sure that Ruby Script Examples is checked. Then try to place the guide point again.
Tim
Log in or create an account to post a comment.
Sign up Log in