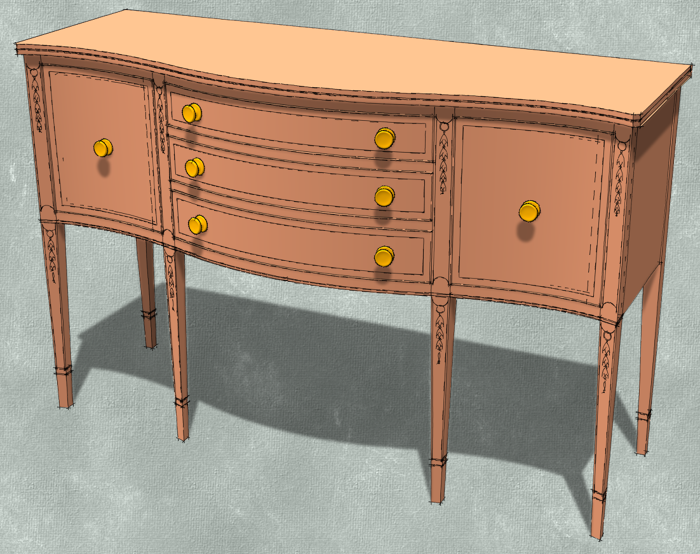
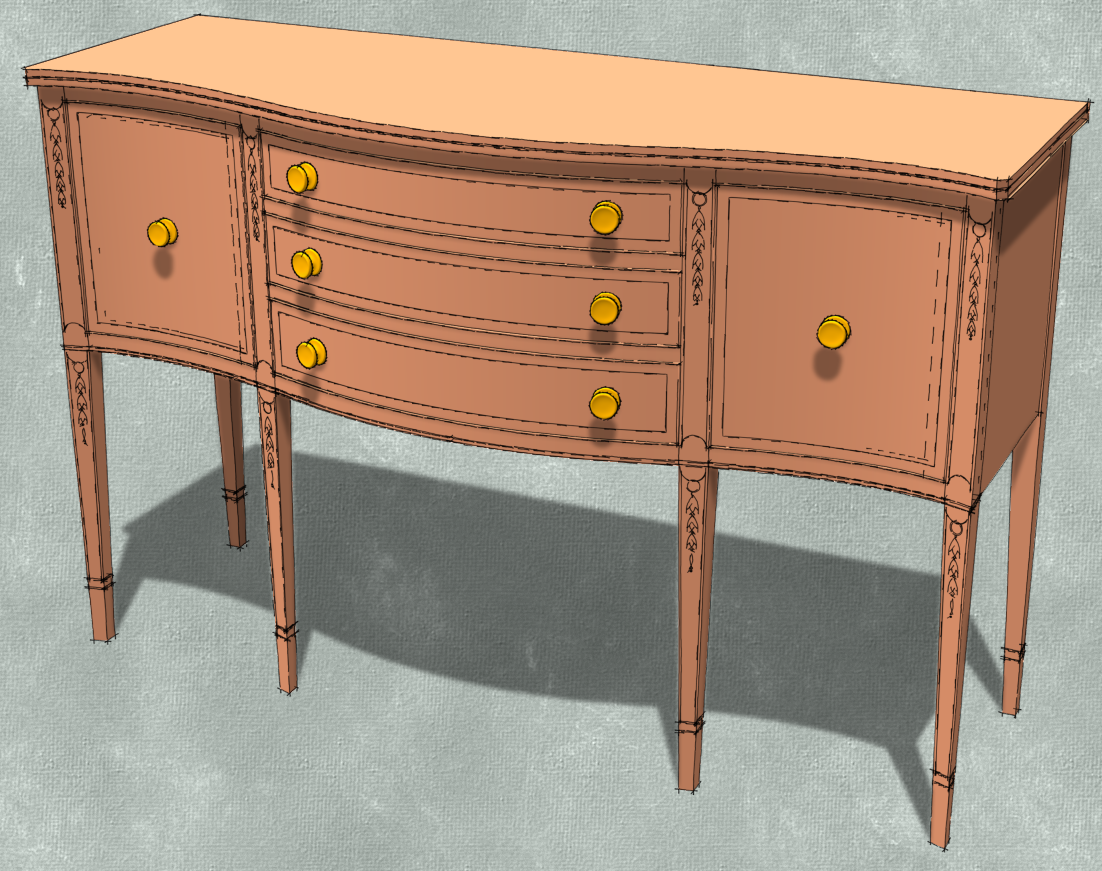
So you’ve created a SketchUp model of your project and included the joinery and other details so you can build it in the shop. How do you go about showing those details? There are several options available. Here is a look at a few of them. By the way, I’m using the model I created of Steve Latta’s Serpentine Sideboard for the examples here.
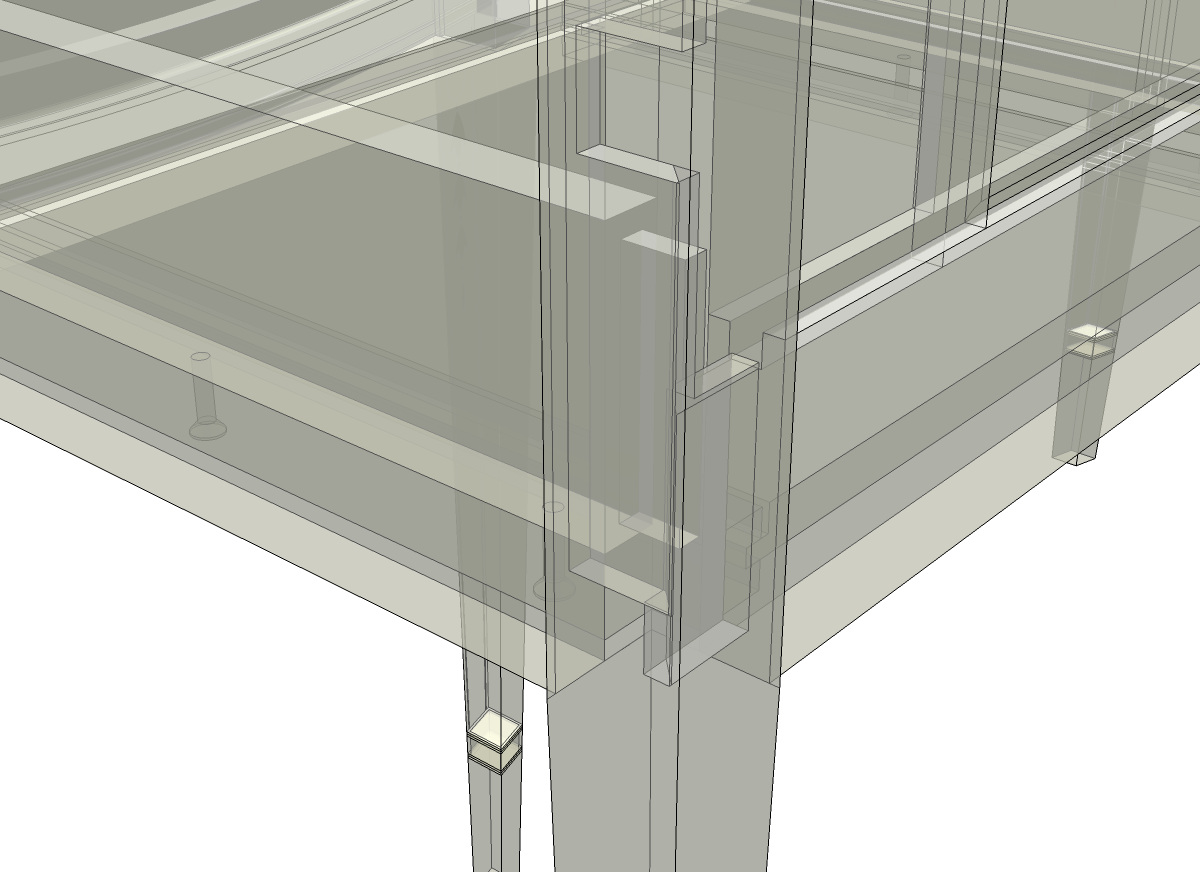
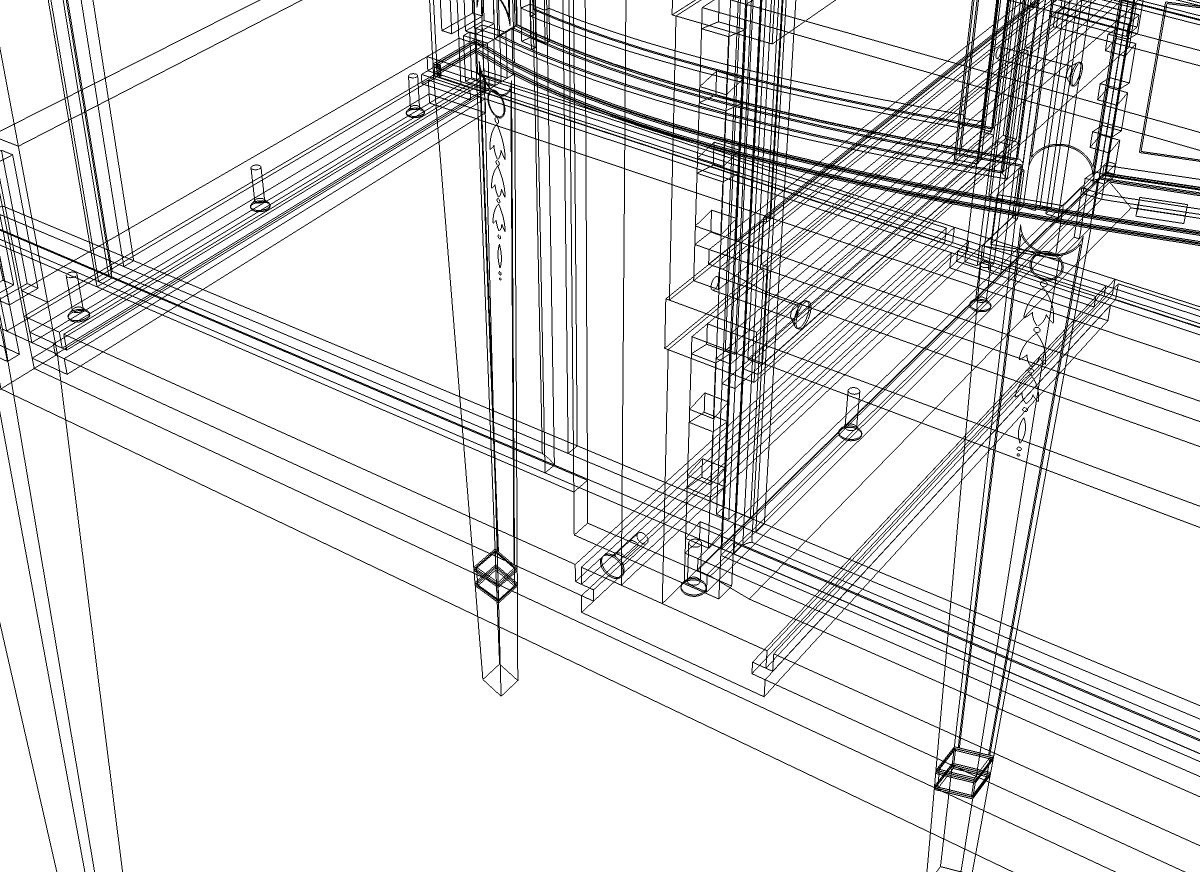
One option might be to use the X-ray face style which you can find under View>Face styles, on the Styles toolbar or in the Styles window (Window>Styles>Edit)
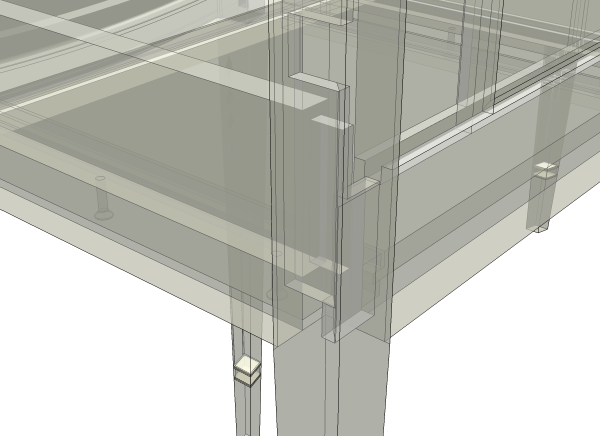
This can work but it can also be confusing as in the above image unless you make sure to eliminate unneeded parts from the view.
There’s also Wireframe accessed from the same options as X-ray.
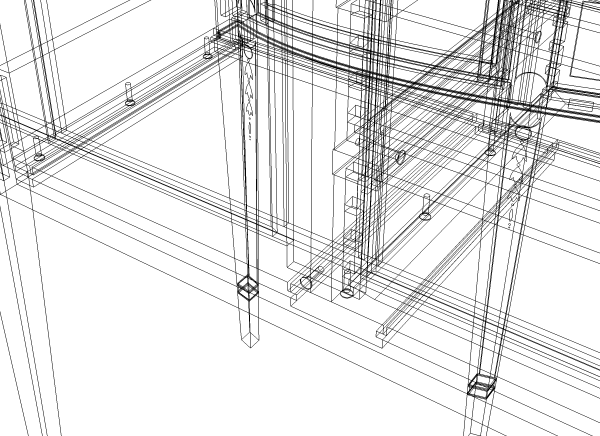
Again, this can be confusing if you don’t eliminate unneeded parts from the view.
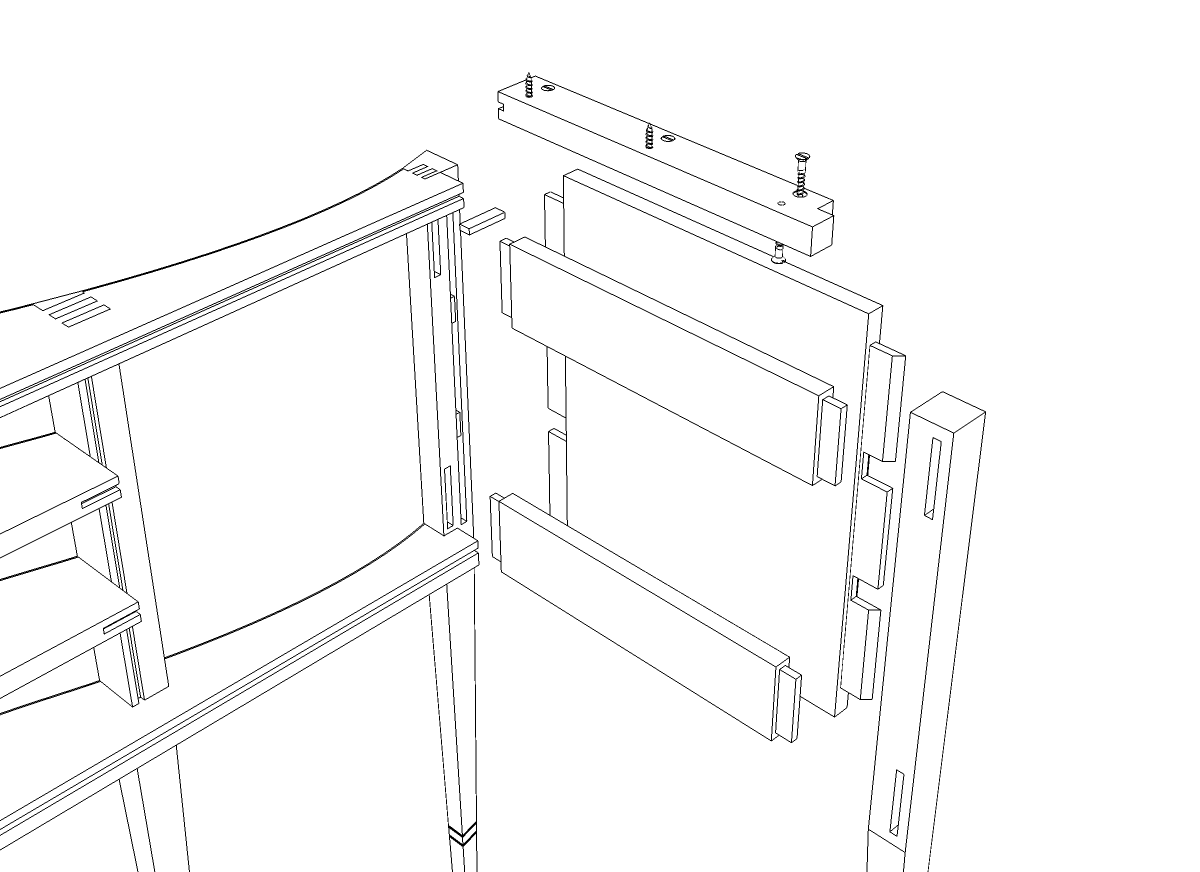
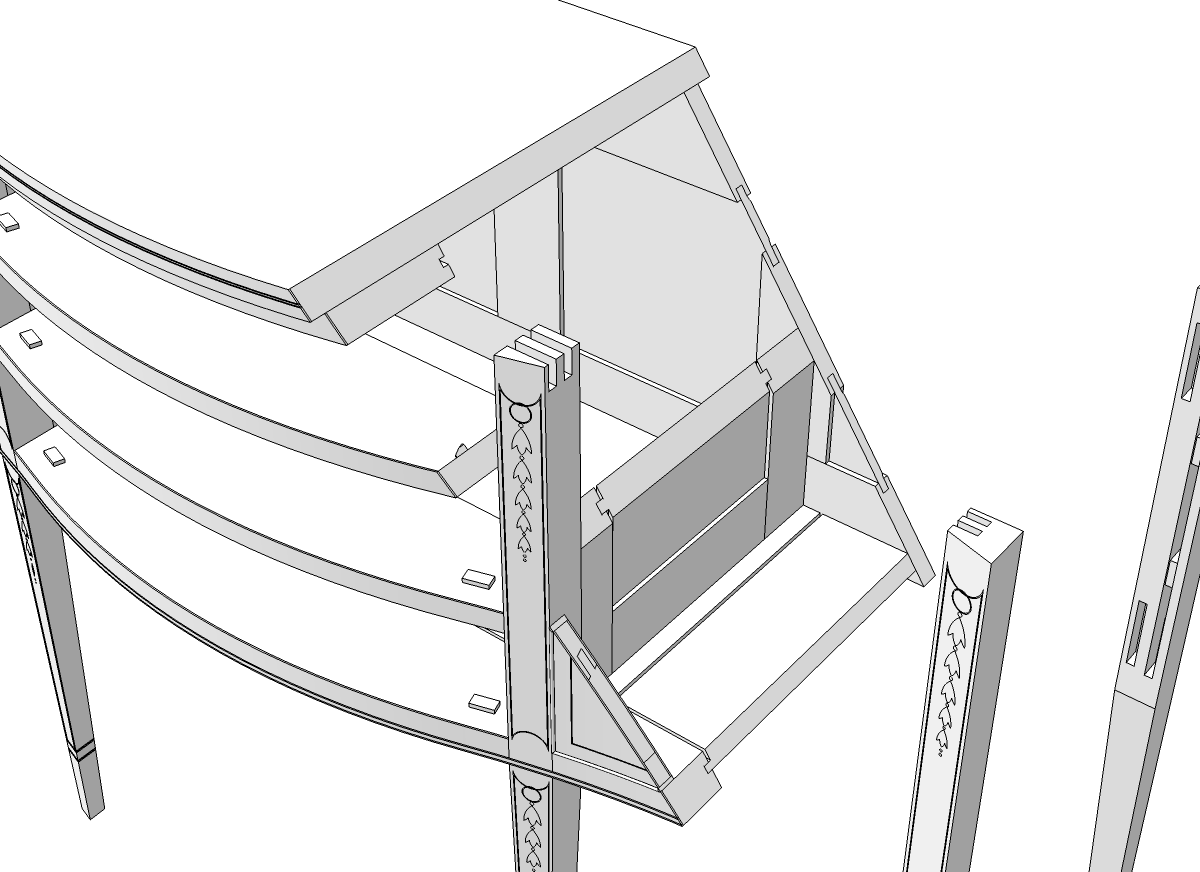
You might make exploded views to show how things go together.
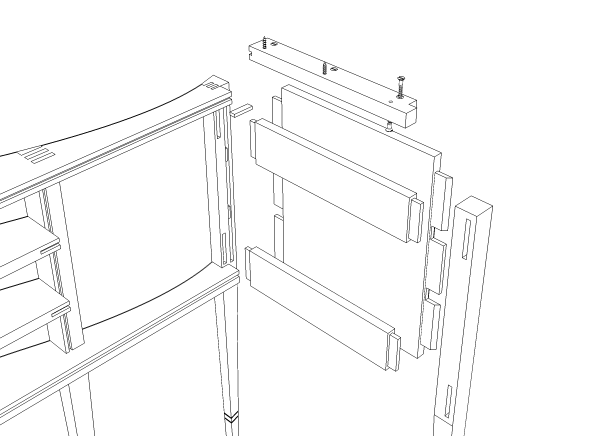
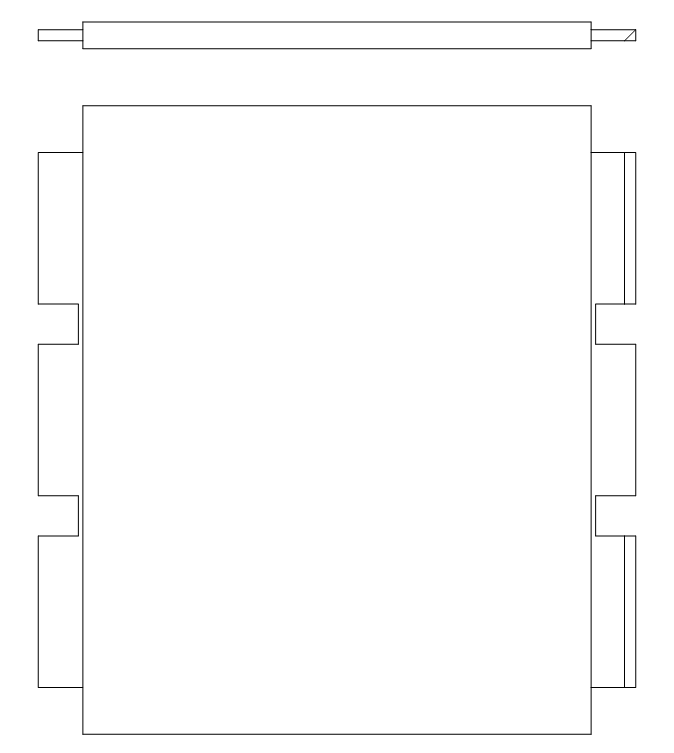
Or you might just make views of individual parts.
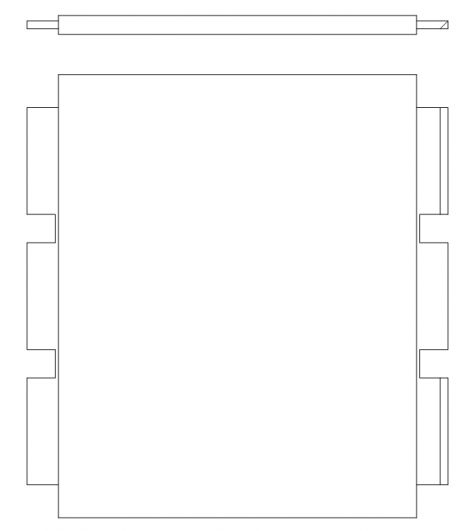
You could also use section planes. Tim showed this recently.
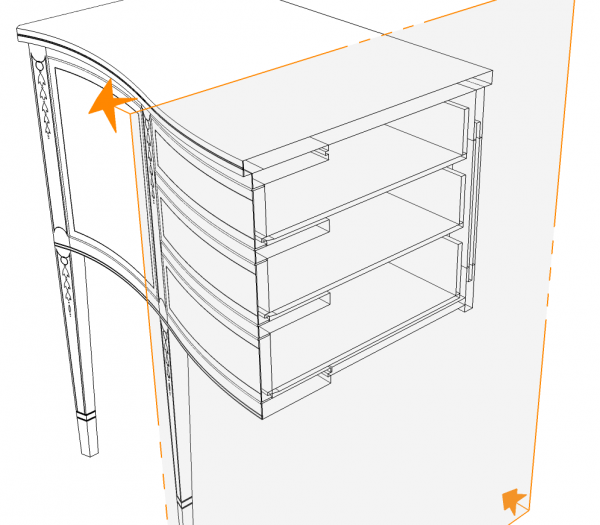
Since SketchUp is a surface modeling tool, It shows the insides of the parts.
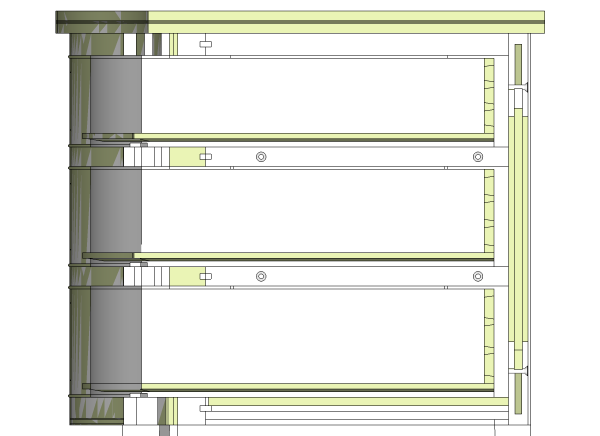
Switching to the standard right side view and Parallel Projection helps to clarify the view somewhat. It’s still a bit confusing because we can see all the way to the next faces back. This image uses the Monochrome face style. It as well as Shaded and Shaded with Textures will show the back face color on the insides of components.
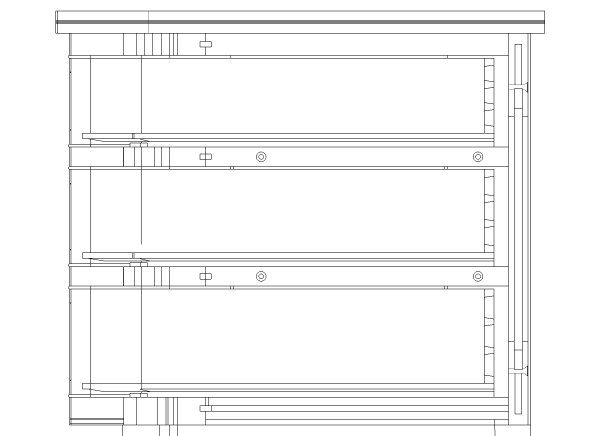
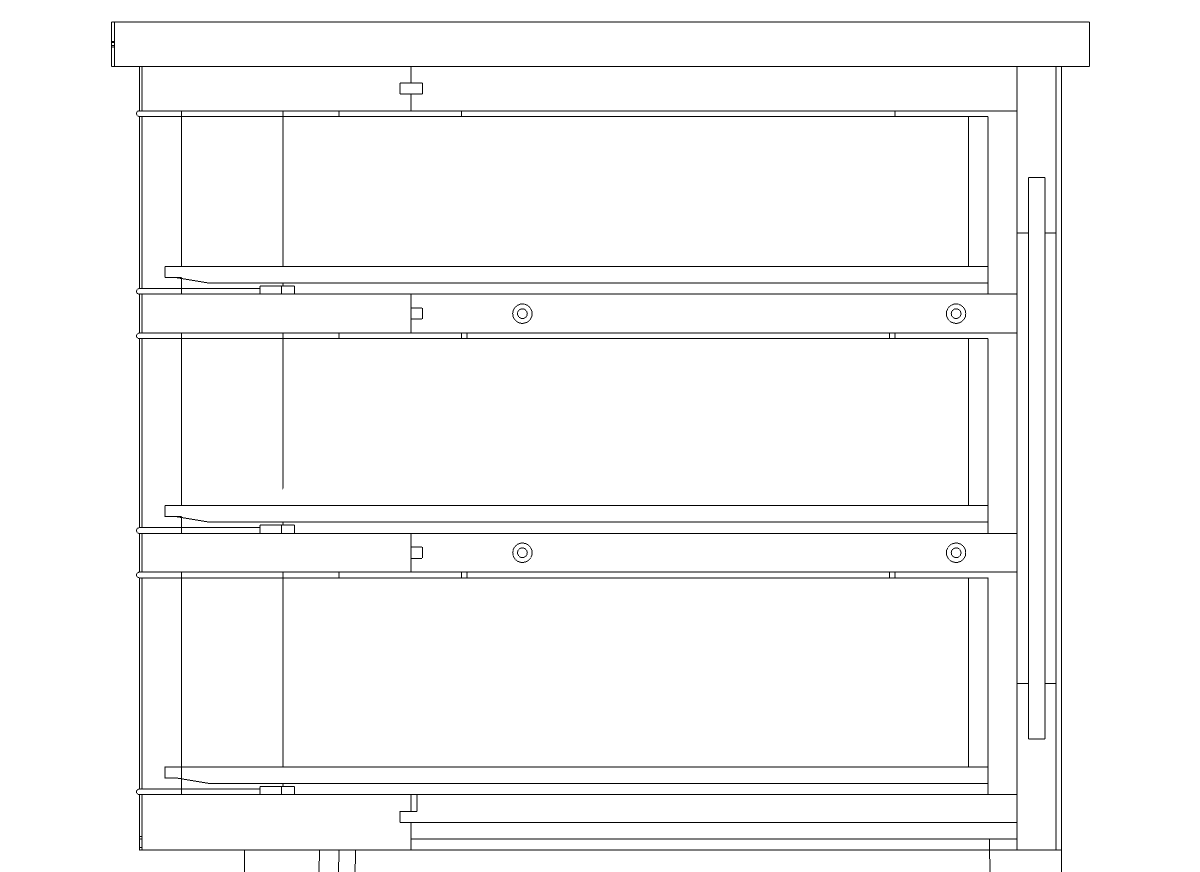
The Hidden Line face style helps to clean it up a bit but there might still be a lot of clutter. It’s difficult to tell what’s going on inside the components in both of these views.
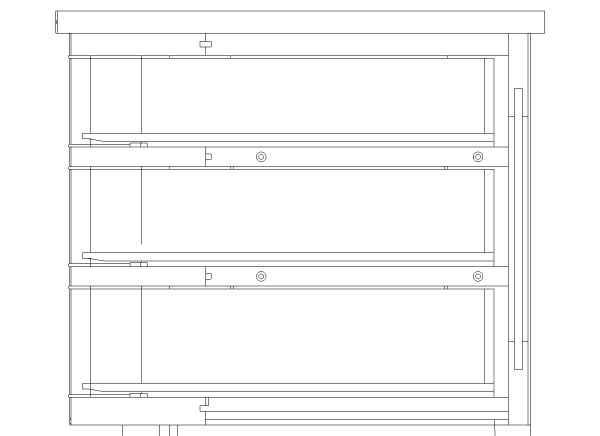
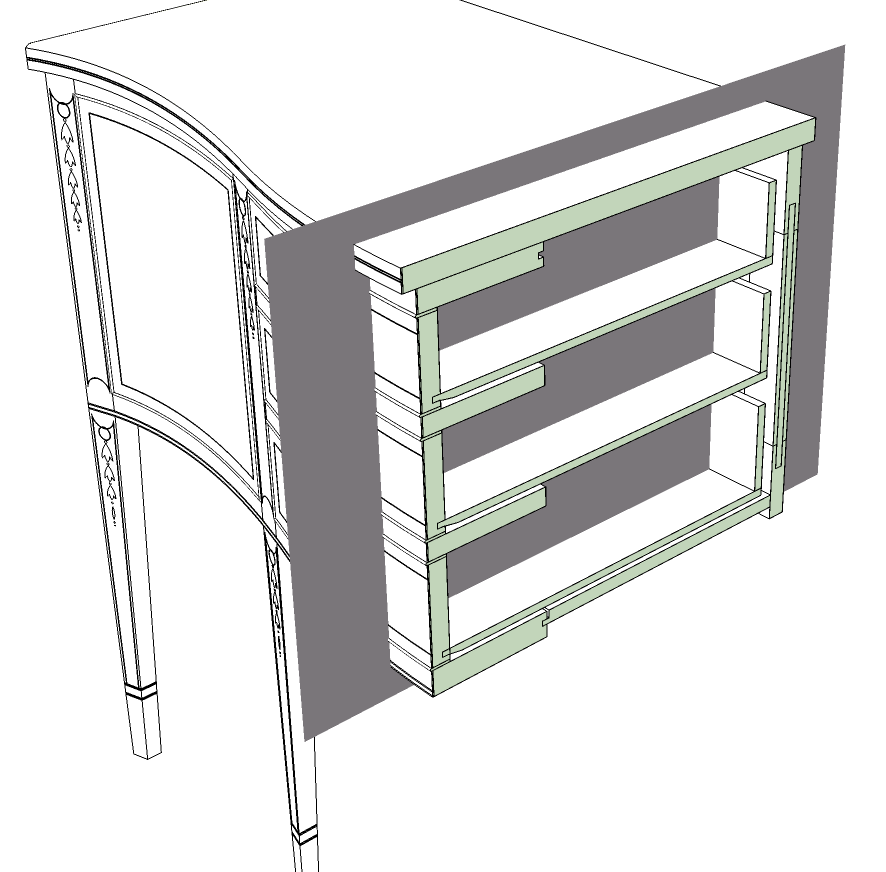
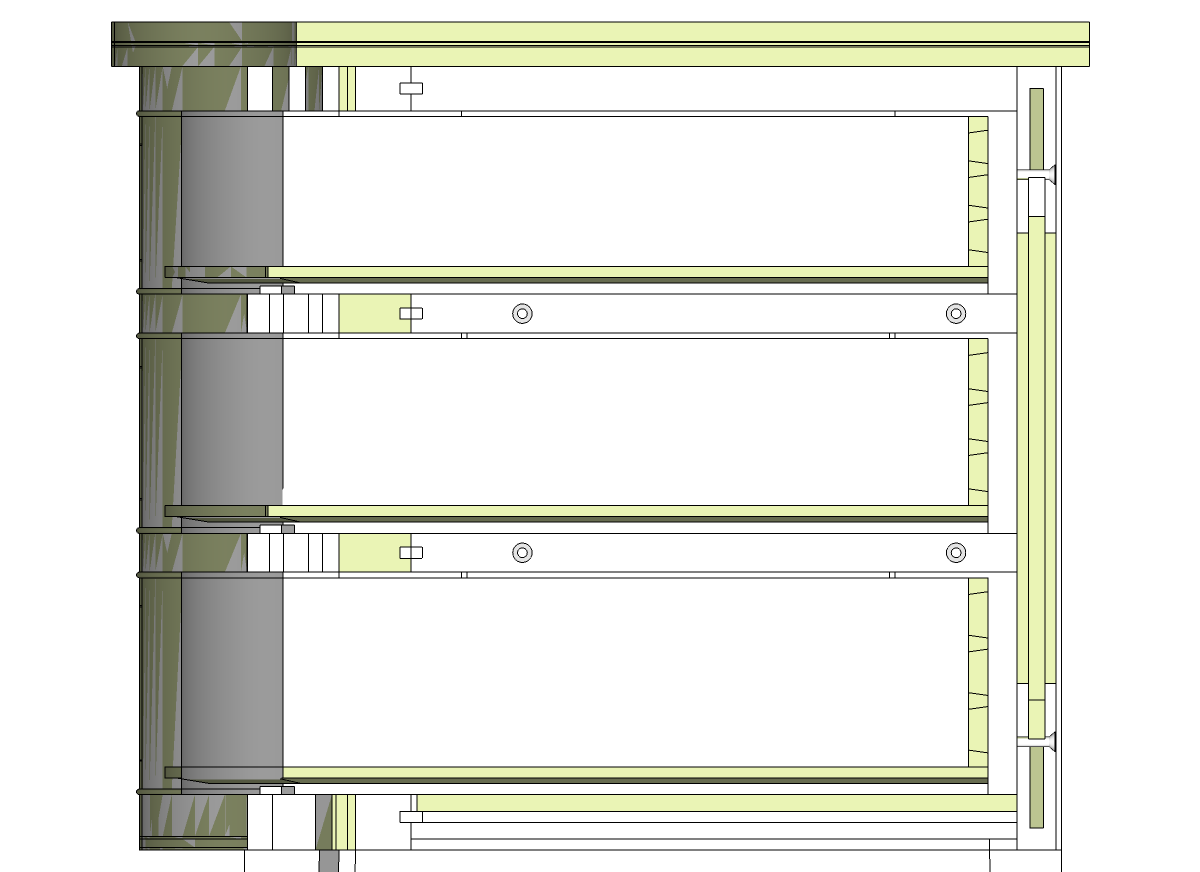
That can be partially fixed with a plugin called Section Cut Face. It will draw faces very close behind the section plane hiding the interiors of the sectioned components.
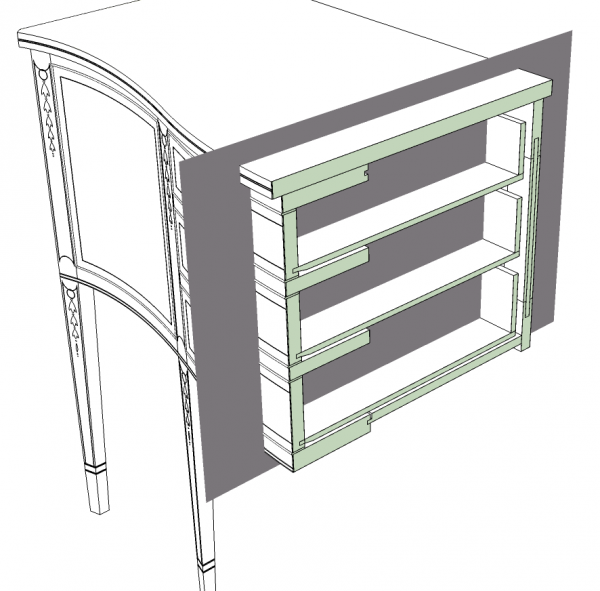
The section cut face is shown in green, above. We can simplify the section view further by adding a face behind the section cut, shown in gray. Hide the edges of that plane so they don’t show.
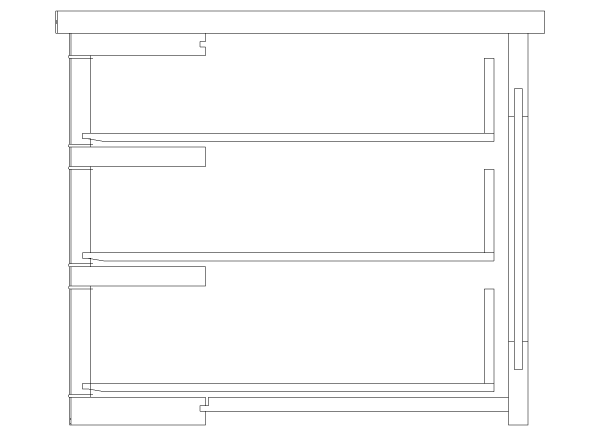
With that face added in we end up with something as above.
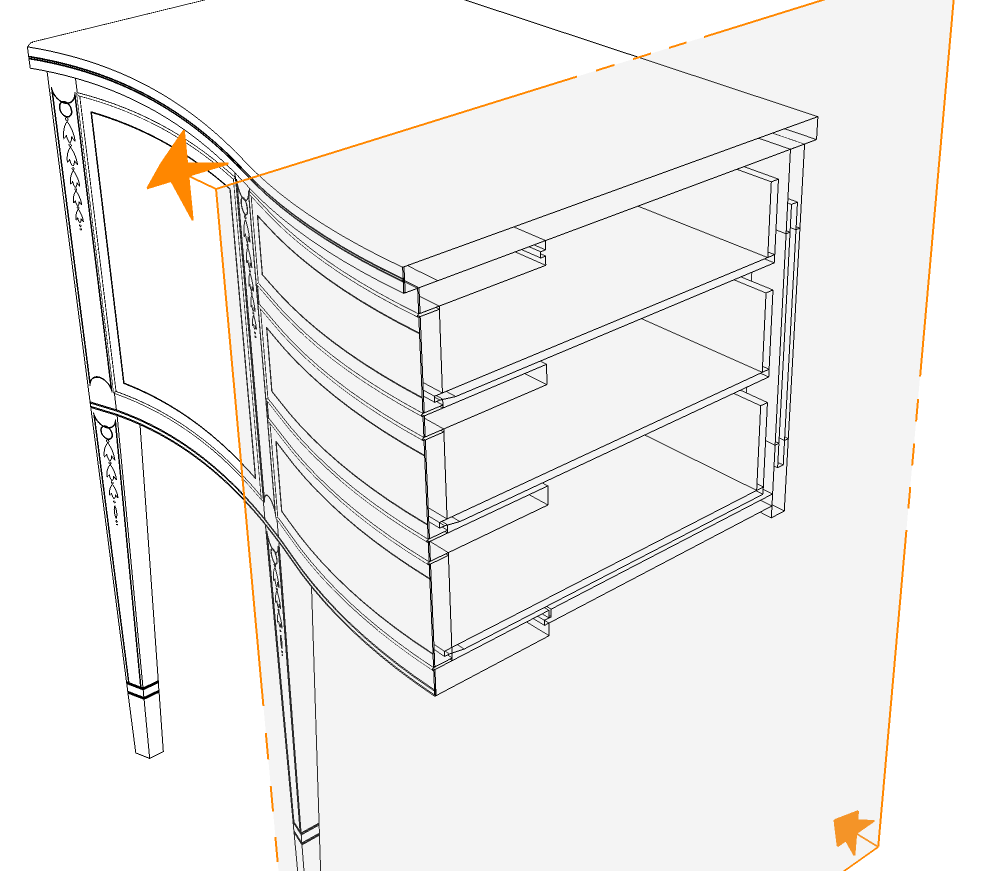
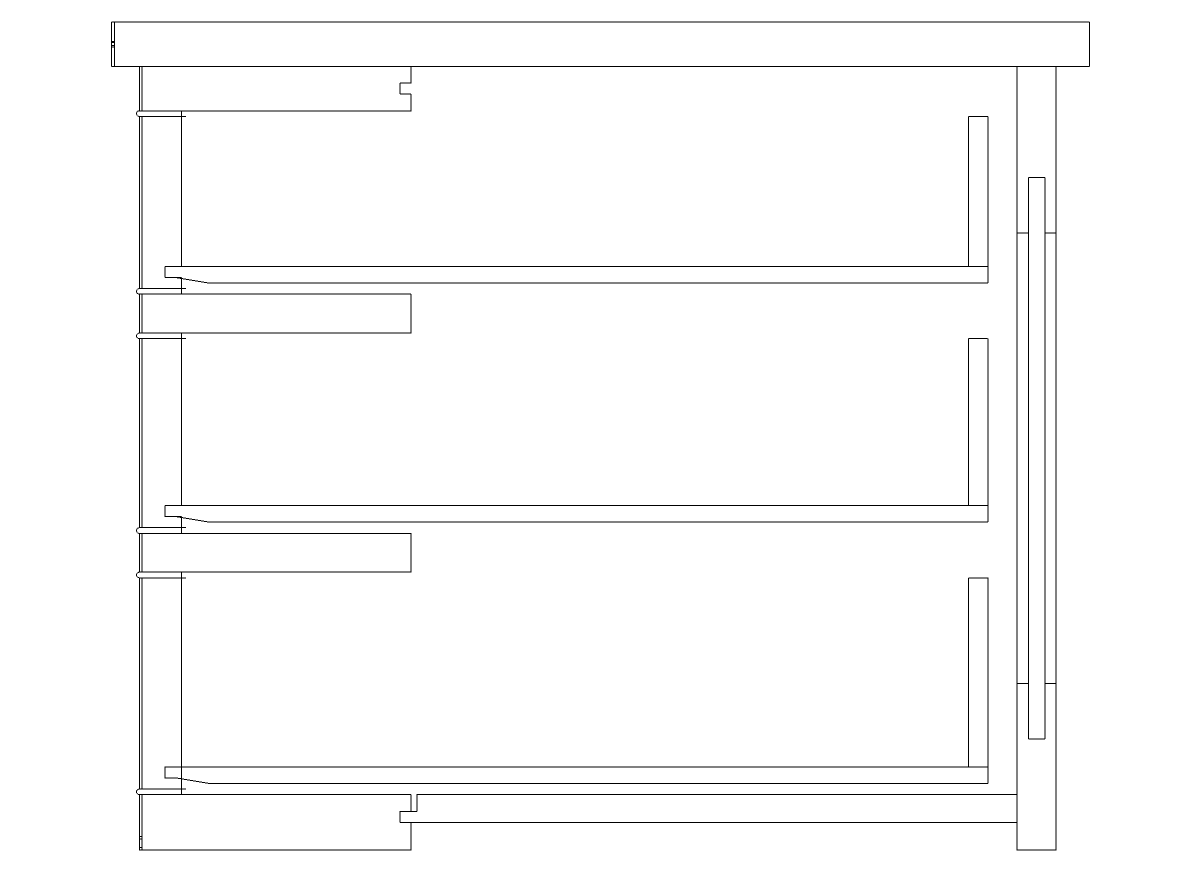
There are a number of other possibilities when using section planes. If you have a component open for editing, only that component will get cut by the section plane.
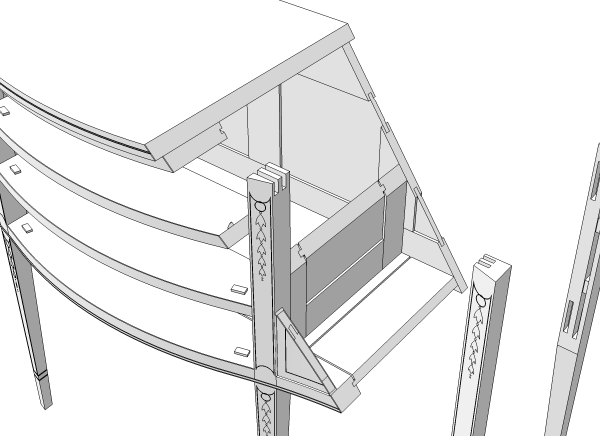
In this example I made a component of the case but the legs and drawers weren’t included. I then opened the case component for editing, inserted the section plane and the section cut face. The layer for the drawers was left turned off. You could actually create section cuts in multiple locations by adding them to various components in the model.
Perhaps a section cut won’t do the job for you. Maybe you’d like to use dashed or dotted lines to show a detail.
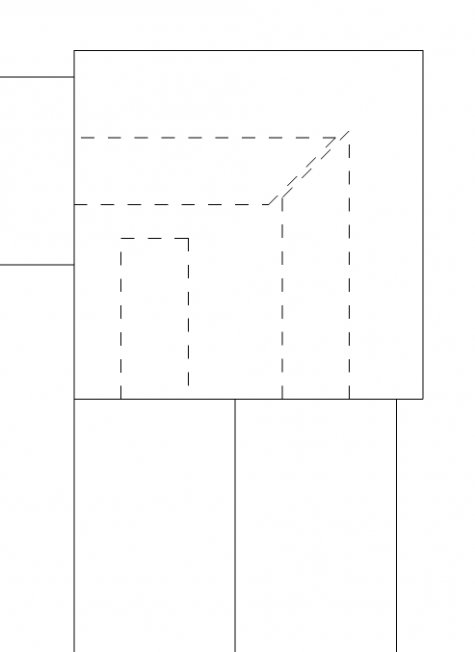
One way to do that is to use the Dashed Lines plugin from Smustard.com as I did for the above view. The plugin divides selected edges into short segments and hides every other segment. I didn’t want to modify the tenons on my components so I traced the top edges of those tenons with the line tool and then applied the Dashed Lines plugin to those lines.
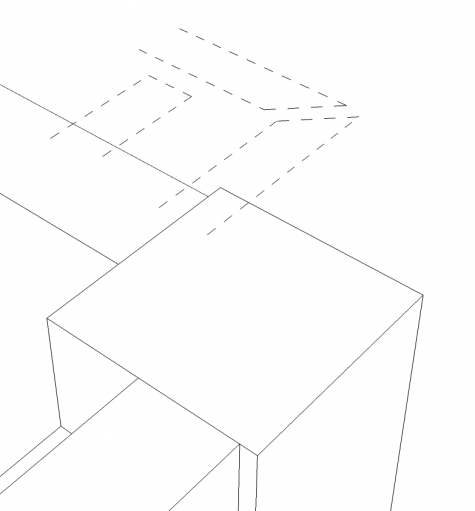
The dashed lines were moved up above the components so they could be seen without a section cut.
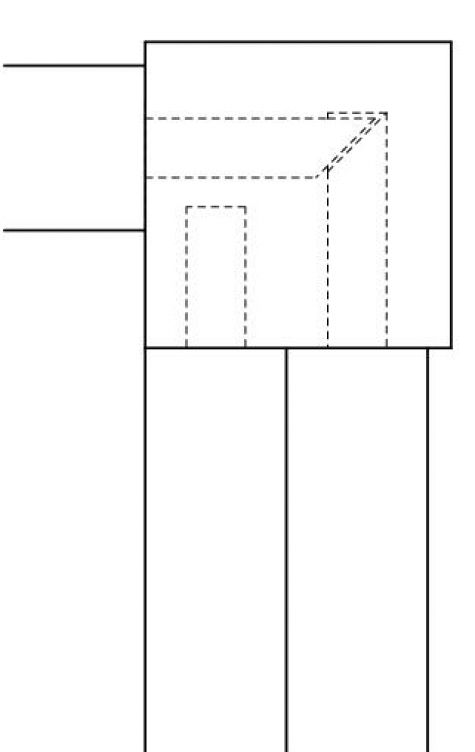
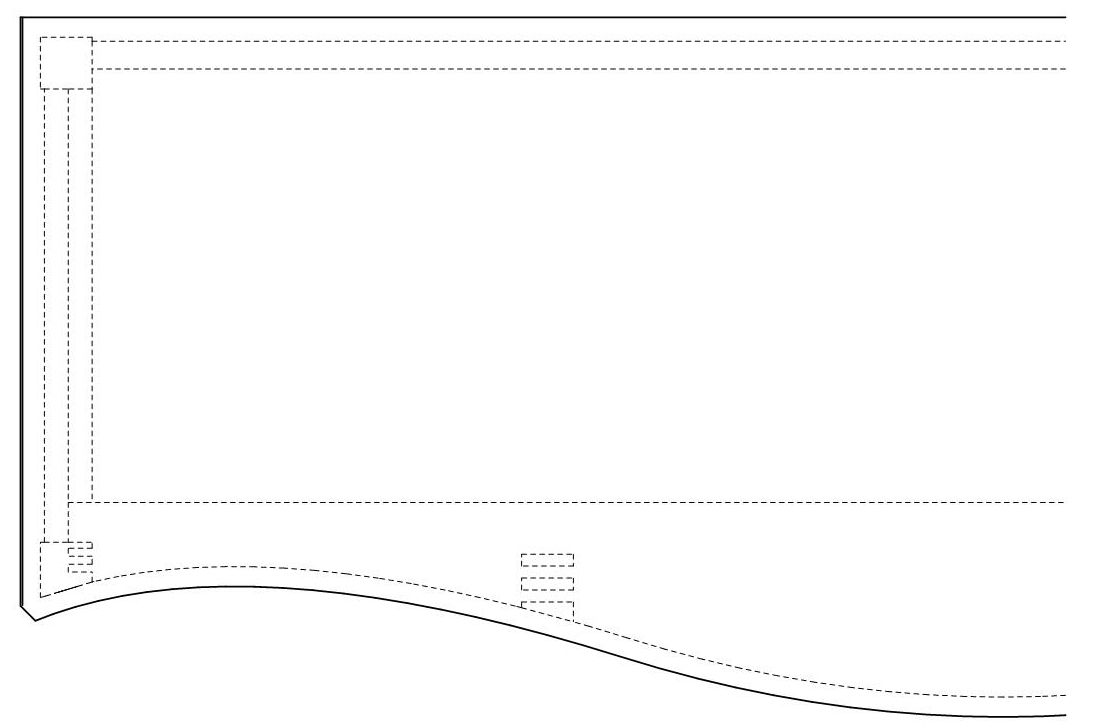
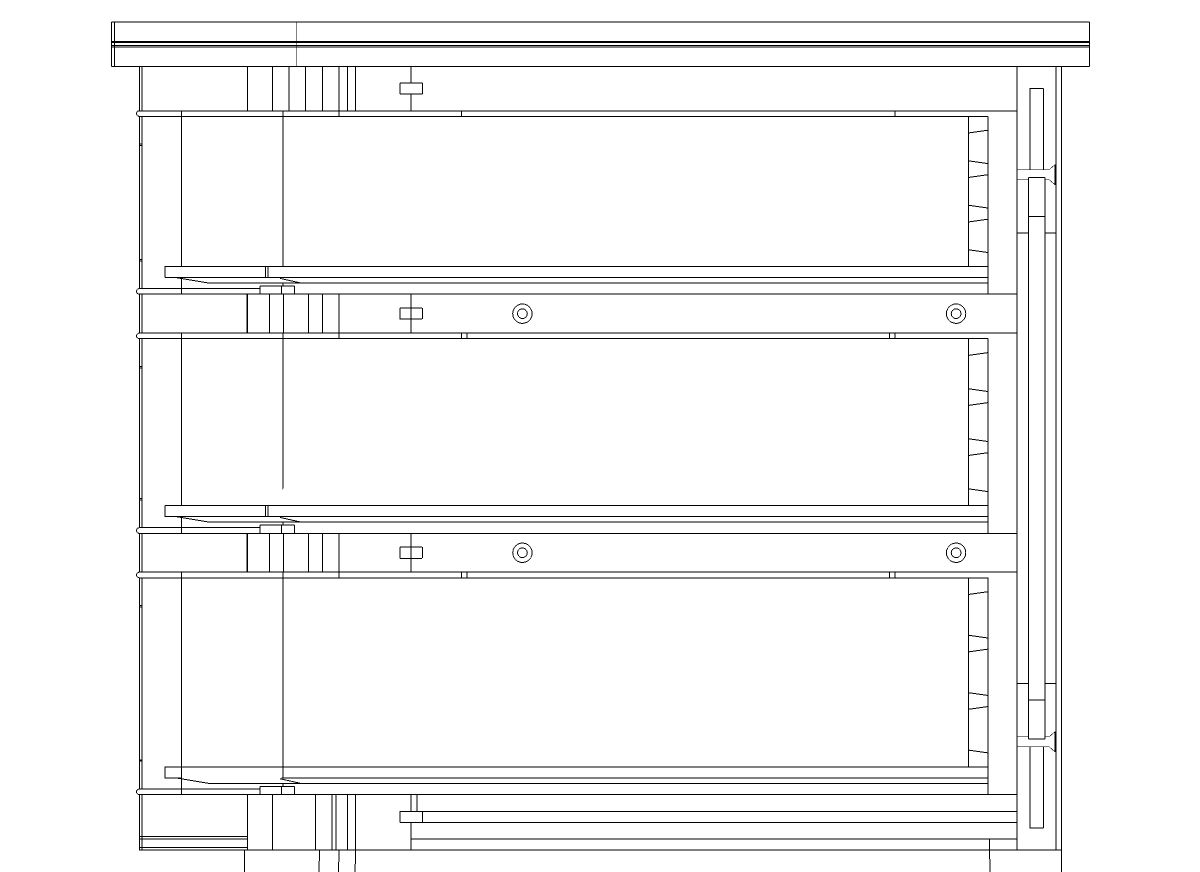
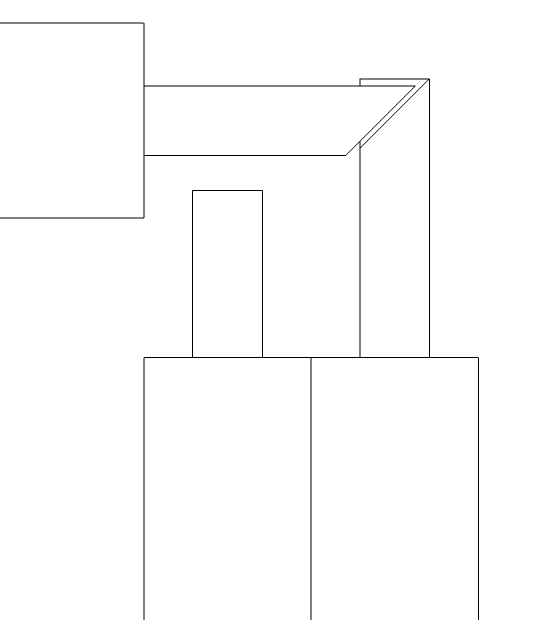
Here’s a better way to make dashed lines if you are using SketchUp 8 Pro. This method utilizes LayOut 3’s ability to create dashed lines. for the example,above, I created two scenes in SketchUp.
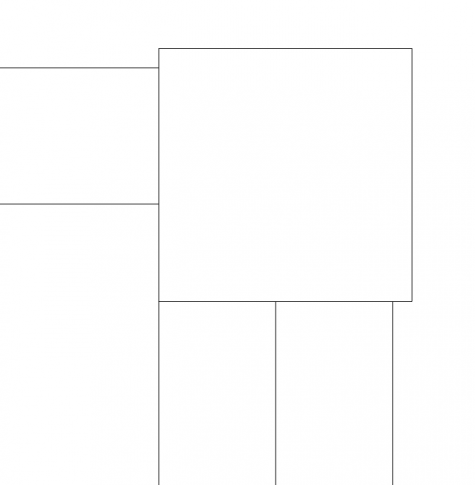
The first is a simple top view of the leg, back and both side rails. We’ll call this scene “Top View.”
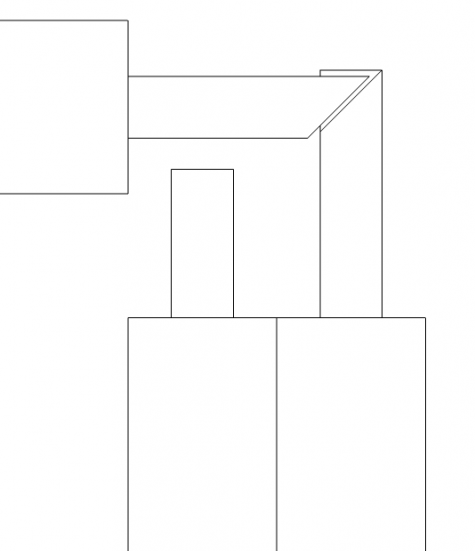
The second is with the same camera position but with the layer for the leg turned off. this scene is called “Tenon View.”
Send the SketchUp file to LayOut. In LayOut create two layers. One called “Model” and the other, “Dashed.” Layers in LayOut have an order to them with layers higher in the list being on top, unlike SketchUp’s layers in which layer order makes no difference. Put the “Dashed” layer above the “Model”layer in the list.
While the Model layer is active, choose the scene called “Top View.” Then right click on the view and choose Send to Current Layer. Right click on the view again and choose Copy. Set the Dashed layer to be active, right click and choose Paste. Or hit Edit>Paste, Ctrl-V or Command+V on Mac. A copy of the Top View will be pasted on the Dashed layer. Things won’t look much different at this point. While this pasted view is still selected, change the scene to “Tenon View” in the SketchUp inspector box. After the view renders you’ll see the tenons overlaying the top view. With the “Tenon View” selected, still, choose Vector for the rendering style. Then right click on it and choose Explode. Then in the Shape Style inspector set the line style to dashed and choose your desired line weight and scale factor for the dashes. Don’t forget to change the Top View to Vector as well.
This may sound very complex, especially if you haven’t use LayOut. In reality this takes less than a minute to do if you have the order of operations down.
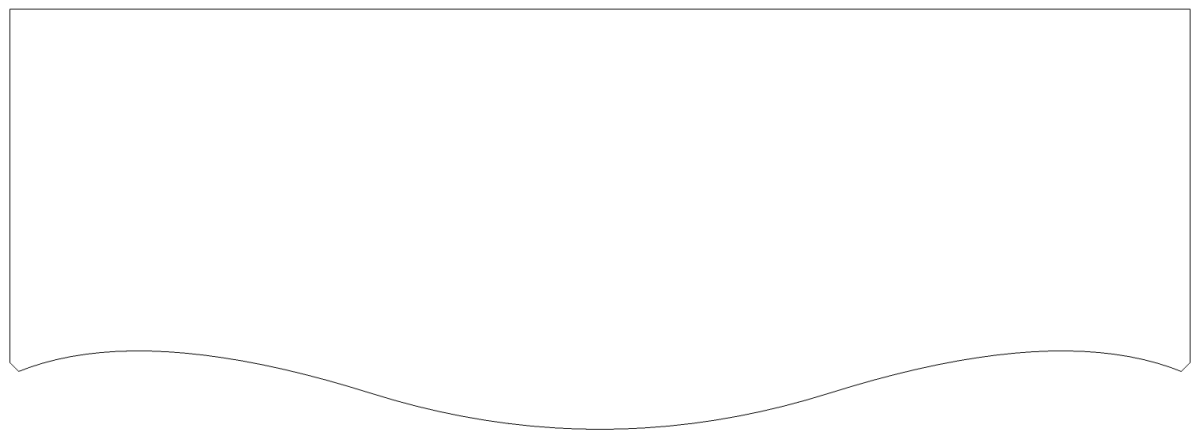
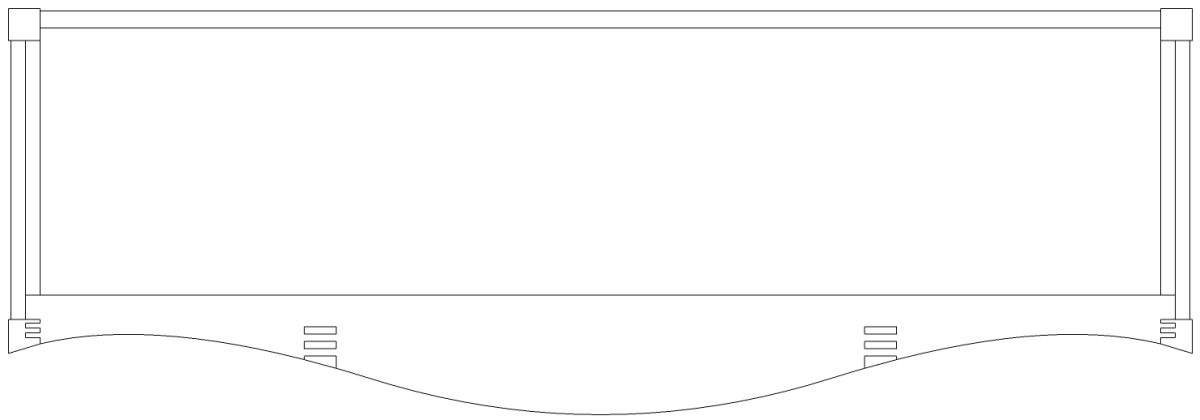
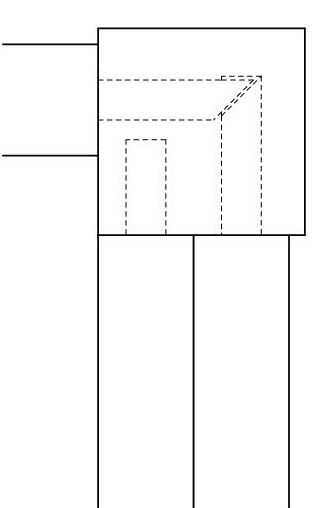
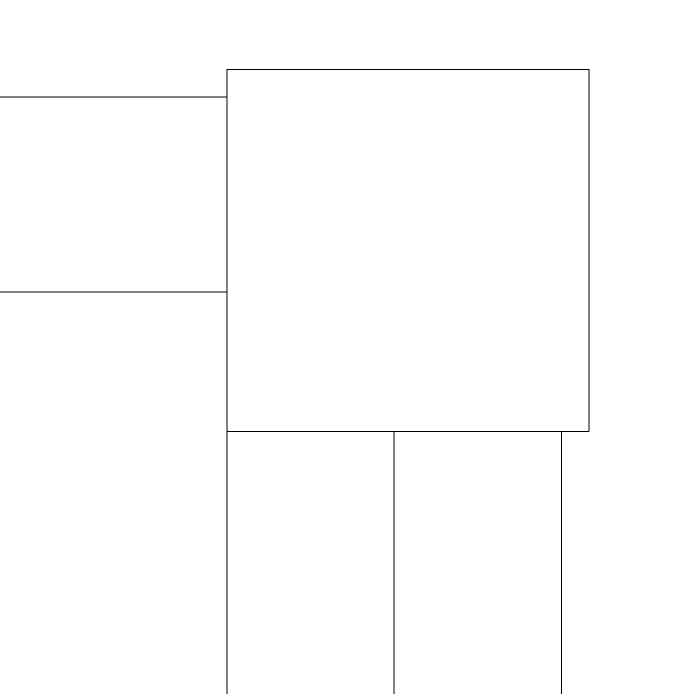
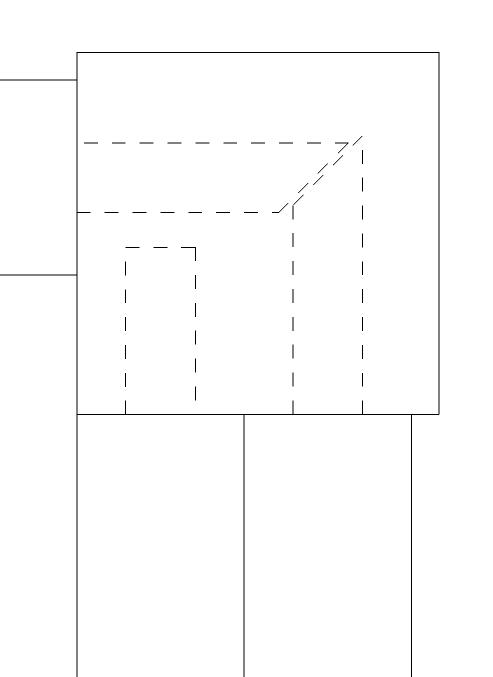
Here’s another example of the same process showing the top of the case assembly.
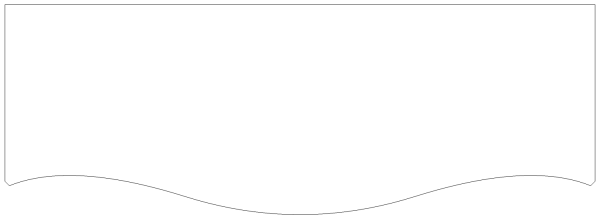
First view
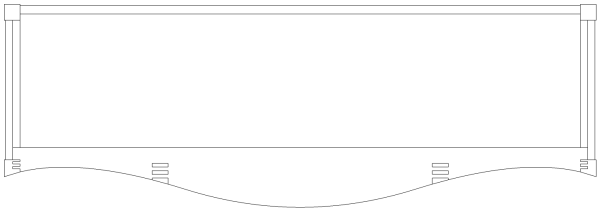
Second view
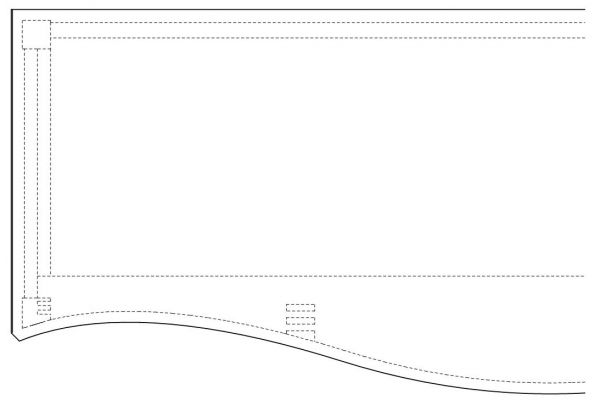
Both views combined.
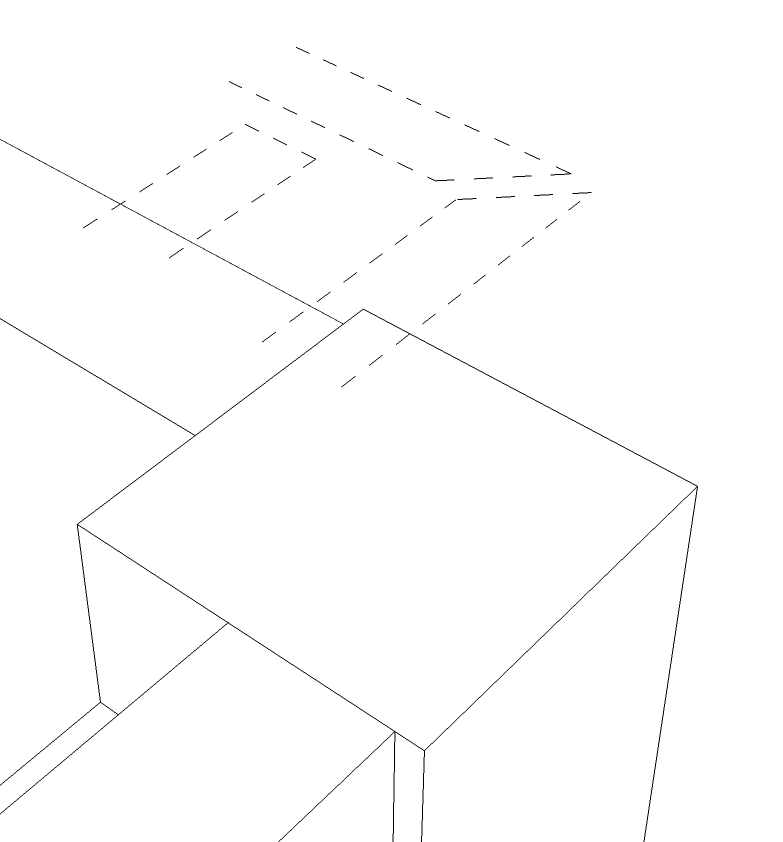
You could also do a similar thing using perspective views to show joinery details in 3D if you want.
There are probably many other options for showing details. If you have some, I’d be interested in knowing them.



Comments
How do I go about having this software called "sketch up"?
Download it from http://www.sketchup.com/
I tried downloading the Section Cut Face plugin, and I put the file in the plugin folder of the program file. I couldn't find anything related to Section Cut Face when using Sketchup. I also tried installing a couple other plugins, with the same result. The files download, and I put them into the program file, but they don't seem to do anything. Any idea what the problem and solution may be?
Thanks
to davidm20659, three possibilities come to mind. first, the Section Cut Face plugin only appears in the context (right click) menu if you right click on a section plane.
Second, since you tried installing several other plugins and they don't appear, are you using Windows 7 or Vista? If so, you must have full administrative rights to install files to folders under Program Files. Refer to this: https://www.finewoodworking.com/item/34107/installing-plugins-from-zipped-files for help on that.
Third, have you reopened SketchUp after installing the plugins? You'll need to get SketchUp to load the files and closing reopening SketchUp is the easiest way to do that.
If you still have problems, send me an e-mail.
-Dave
The file gets placed into the plugin folder ok. This may sound stupid, but I keep reading about clicking on the plugin tab on the menu bar. I have no plugin tab, and I can't figure out how to pull it up.
Although the plugin file shows in the Plugins folder, if you are using Win 7 or Vista and do not have full admin rights, the file won't get loaded.
Your comment about not having a Plugins menu, though, is a huge clue. Go to Window>Preferences>Extensions (or SketchUp>Preferences on Mac) and tick the boxes you find there. I'd tick all of them except Ocean Modeling. That should get you the Plugins menu and get SketchUp to load the plugins you have installed.
If you still have trouble send an e-mail by clicking on my name at the end of the blog post, above.
dave
Log in or create an account to post a comment.
Sign up Log in