Easy jig for routing through dovetail pins
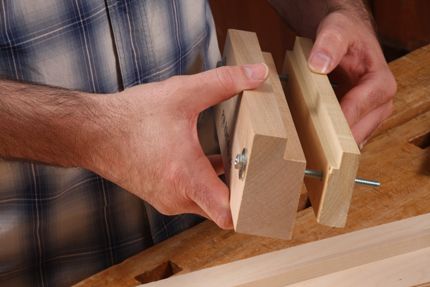
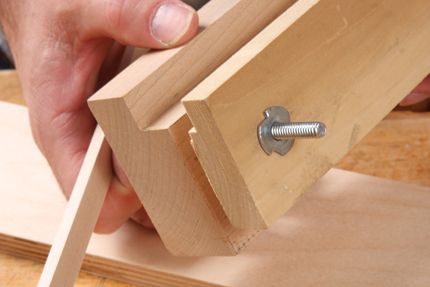
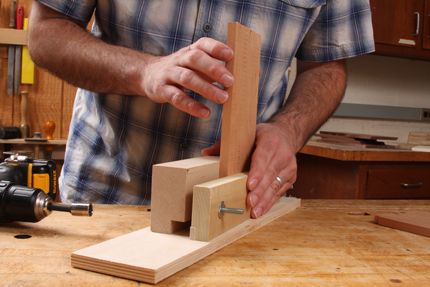
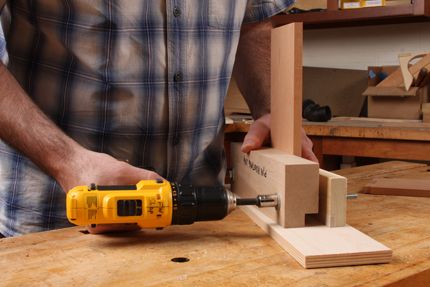
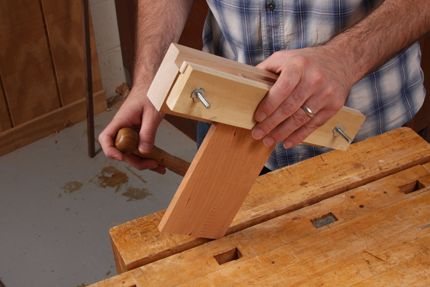
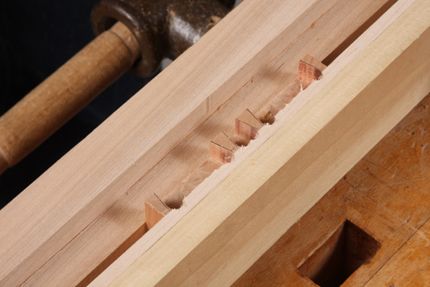
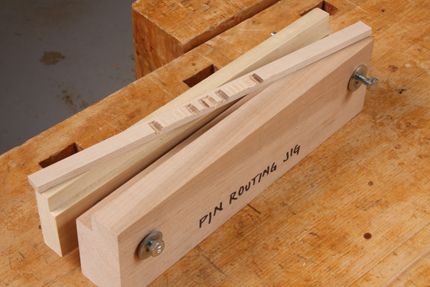
Two-part jig. Use harwood and put a rabbet in the top edge of both. The rabbet on the thicker piece (maple) provides clearance for the bit to enter the pin board. The rabbet on the back is for a replaceable backer strip.
One of the things I like about being an editor at Fine Woodworking is that every article I edit is like a one-on-one woodworking class. When it comes to articles that demonstrate a technique, I always head out to the shop and try out the technique several times. It helps me to better understand what the author is telling me and to get that across in the article. So, when I was editing Stephen Hammer’s article “Half-Blind Dovetails in Half the Time,” I was out in the shop giving it a go. The technique is great. An insanely simply jig lets you cut perfectly symmetrical tails at the bandsaw that are indistinguishable from handcut tails. Another clever jig holds the pin board vertically, so that you can rout out the waste between the pins. There’s almost no paring to do afterward. I love cutting dovetails by hand, but I must admit that nowadays when I cut dovetails its almost always Hammer time for me.
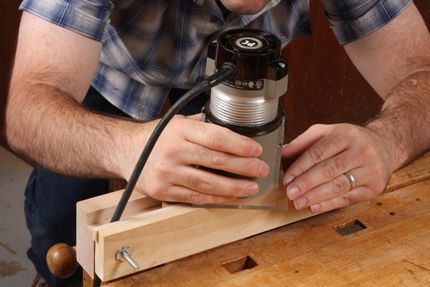
As good as Hammer’s technique and jigs are, there is one problem. The pin routing jig is designed for half-blind pins, which I never use anymore. Even on drawer fronts, I use through-dovetails and then glue on a thin false front. That means I need to rout all the way through the pin board, which would mean routing into the jig. That’s a problem because you want something backing up the board when you rout through it. But routing into would mean that the second time you used it, you wouldn’t have anything backing up the cuts.
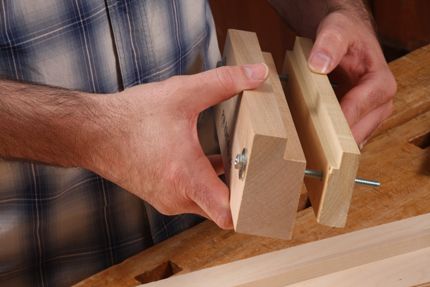
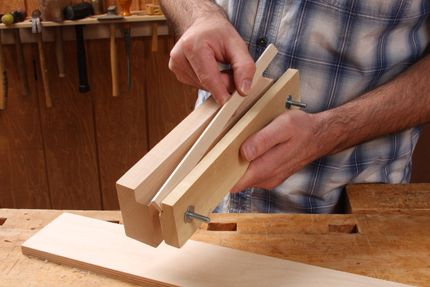
 So, I set to work on coming up with a better solution for through pins. I tried out many variations on the jig you see in the photos here. This one is the polished version. It works great. The main body of the jig can be used over and over, because there’s a rabbet that holds a back strip that can be replaced as needed. Check out the photos for more details.
One thing that’s not shown in the photos is how to set the router bit’s cut depth. I turn my router over and stand the pin board up on end. Then I just adjust the bit until it’s bottom is aligned with the marking guage line that I cut into the board. Oh yea, you’ve got to first cut a shoulder line into the board with your marking guage. You don’t have to scribe the shoulder line on every pin board, though. Because the end of the pin board is aligned with the top edge of the jig, all the other pin boards can just be aligned in the jig and then the bit will be set to the right depth to rout out the pins.




Log in or create an account to post a comment.
Sign up Log in